How to Manage Your Time Zone
Setting the correct time zone ensures your CRM activities, reports, and automation run according to your preferred local time. Follow this step-by-step guide to manage and update your time zone settings effortlessly.
🔧 Steps to Update Your Time Zone
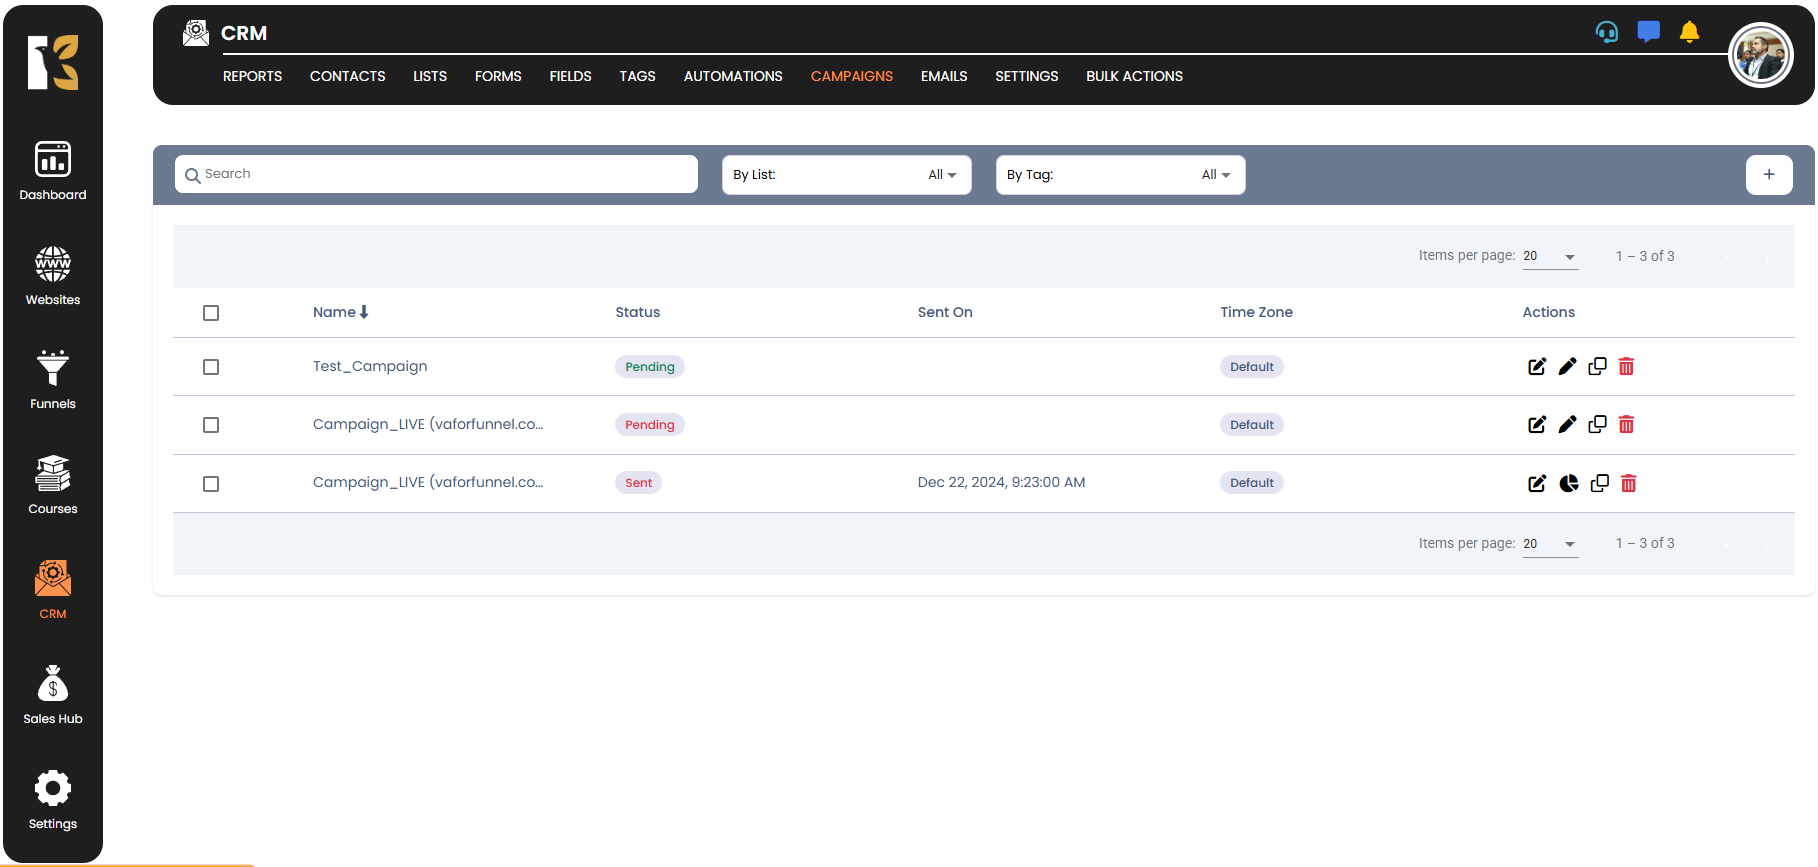
✅ Step 1: Access the CRM Panel
From the side menu, click on the CRM option.
✅ Step 2: Go to CRM Settings
Click on the Settings button to open the configuration panel.
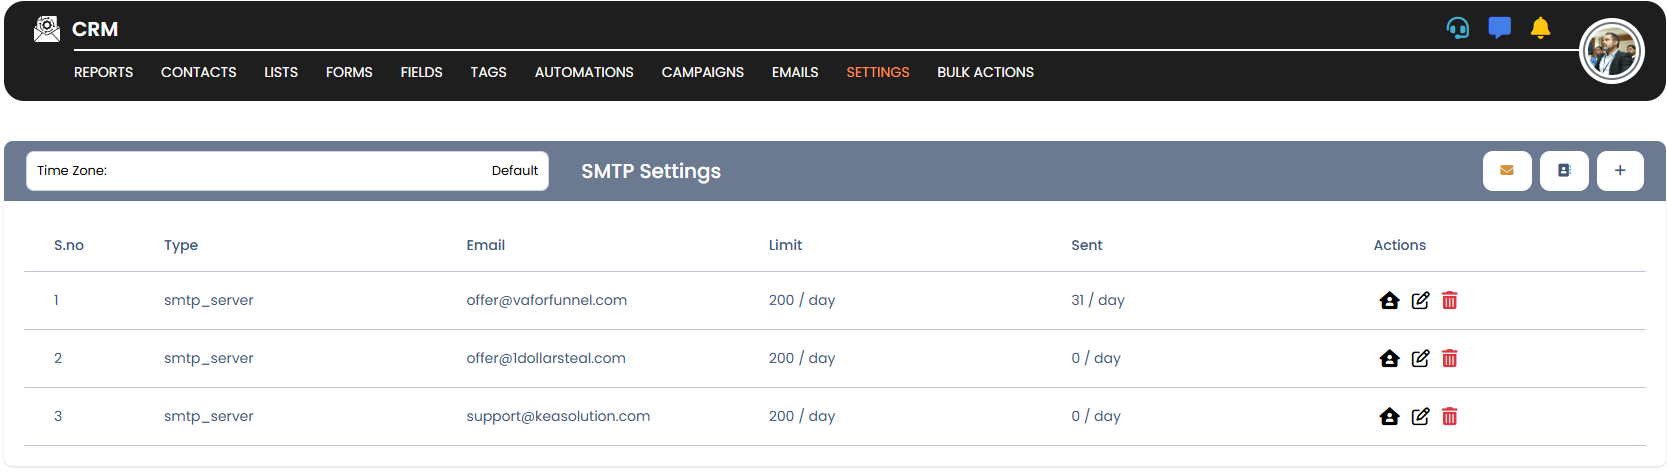
✅ Step 3: Locate Time Zone Settings
In the settings panel, find the section labeled "Default Time Zone Setting."

✅ Step 4: Open Time Zone Options
Click on the Timezones dropdown to view available time zones.

✅ Step 5: Select Your Preferred Time Zone
Choose the desired time zone from the list of options provided.
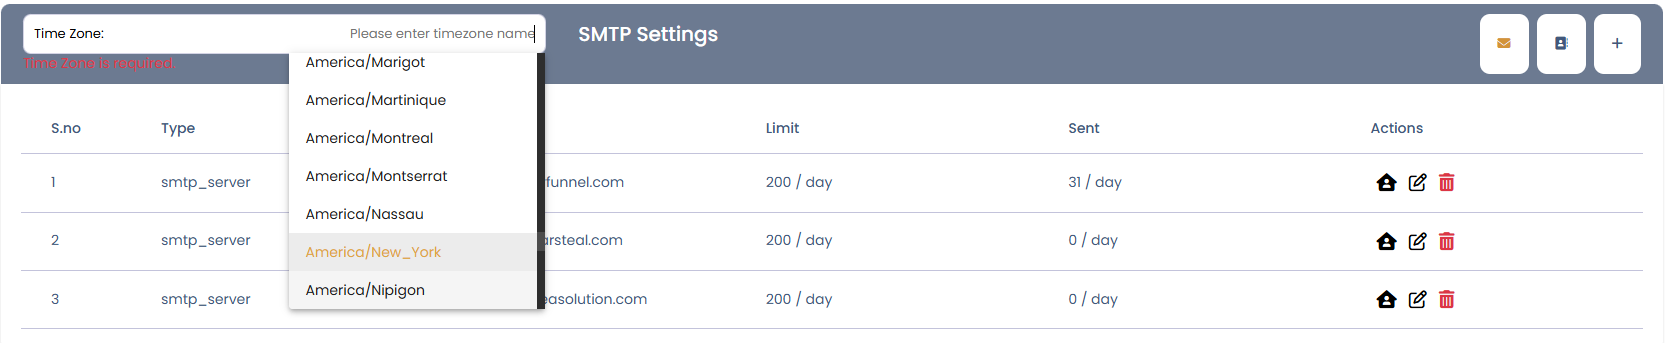
✅ Step 6: Time Zone Updated
Your selected time zone will be saved and applied automatically.

💡 Note:
Setting the correct time zone ensures accurate scheduling of emails, campaigns, reports, and CRM activities.