Help Doc – How to Manage Customization of Membership Area in KeaBuilder
Customizing your membership pages is an essential step to ensure your website or platform reflects your brand identity and provides the best experience for your users. With KeaBuilder, you can easily manage and modify the look, feel, and content of your login, library, and other membership-related pages.
Follow the detailed steps below to manage customization effectively:
Step 1: Access the Membership Section
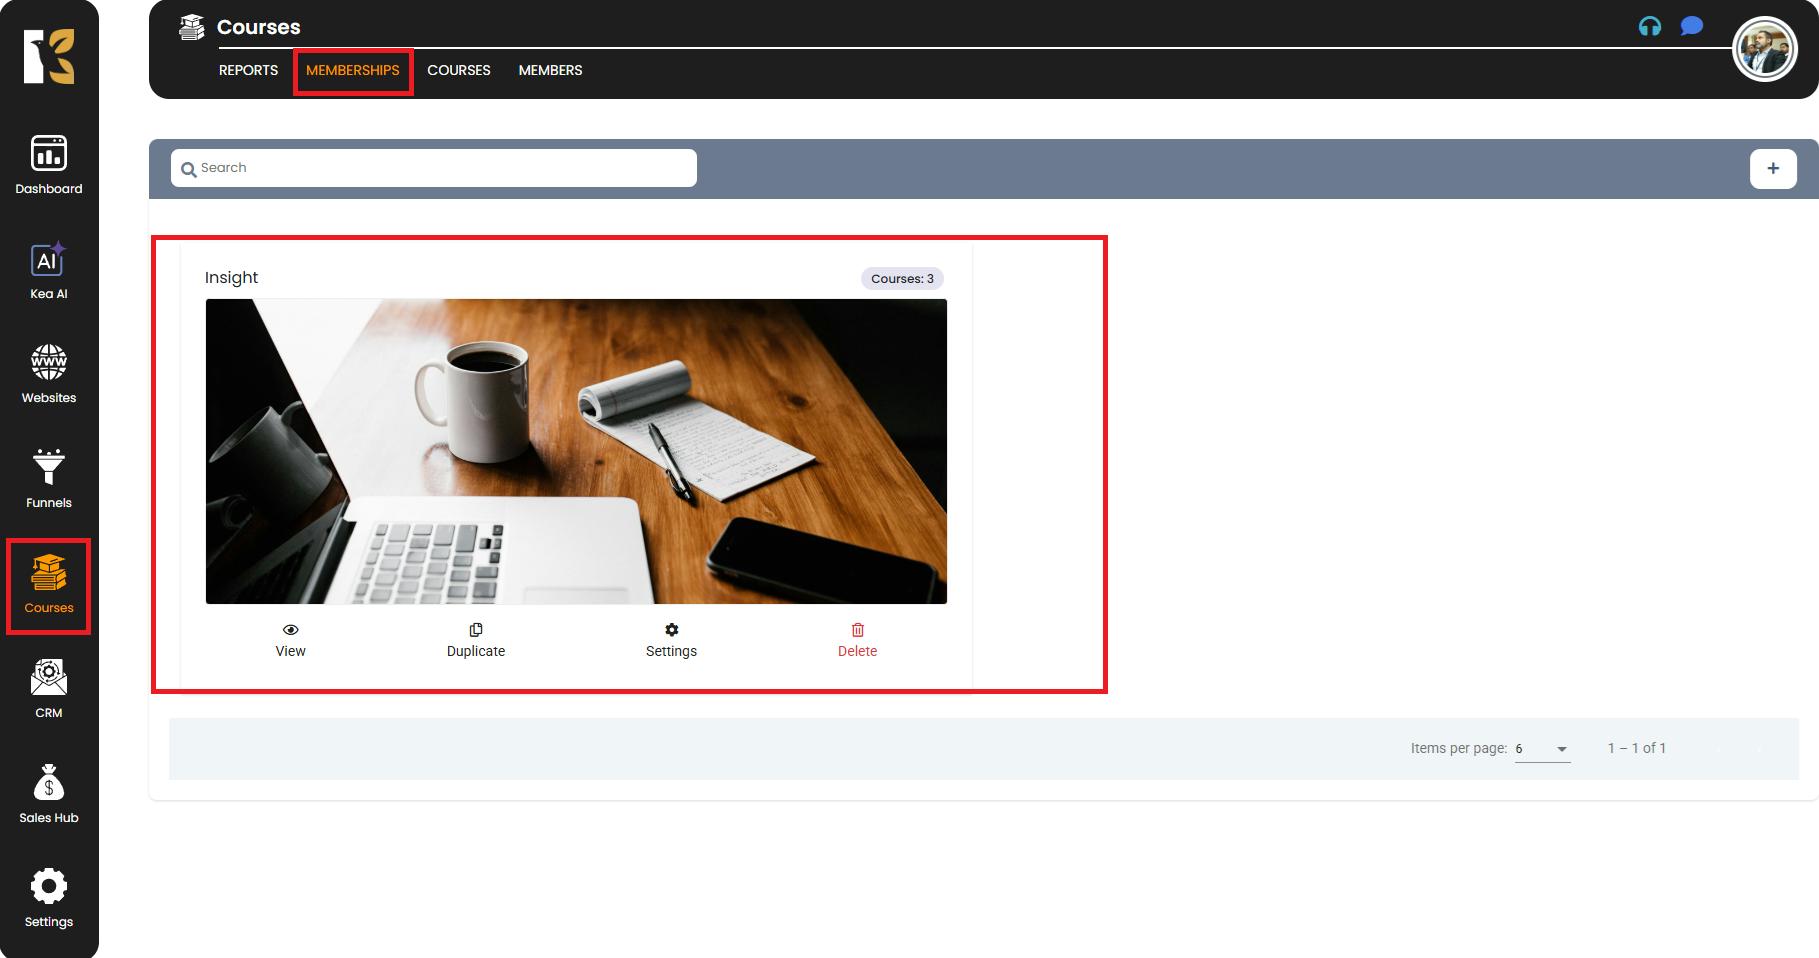
- From your KeaBuilder dashboard, navigate to the top menu.
- Click on the Memberships option to open the membership management area.
- This is where you’ll handle all settings related to your membership pages.
Step 2: Open the Customization Panel
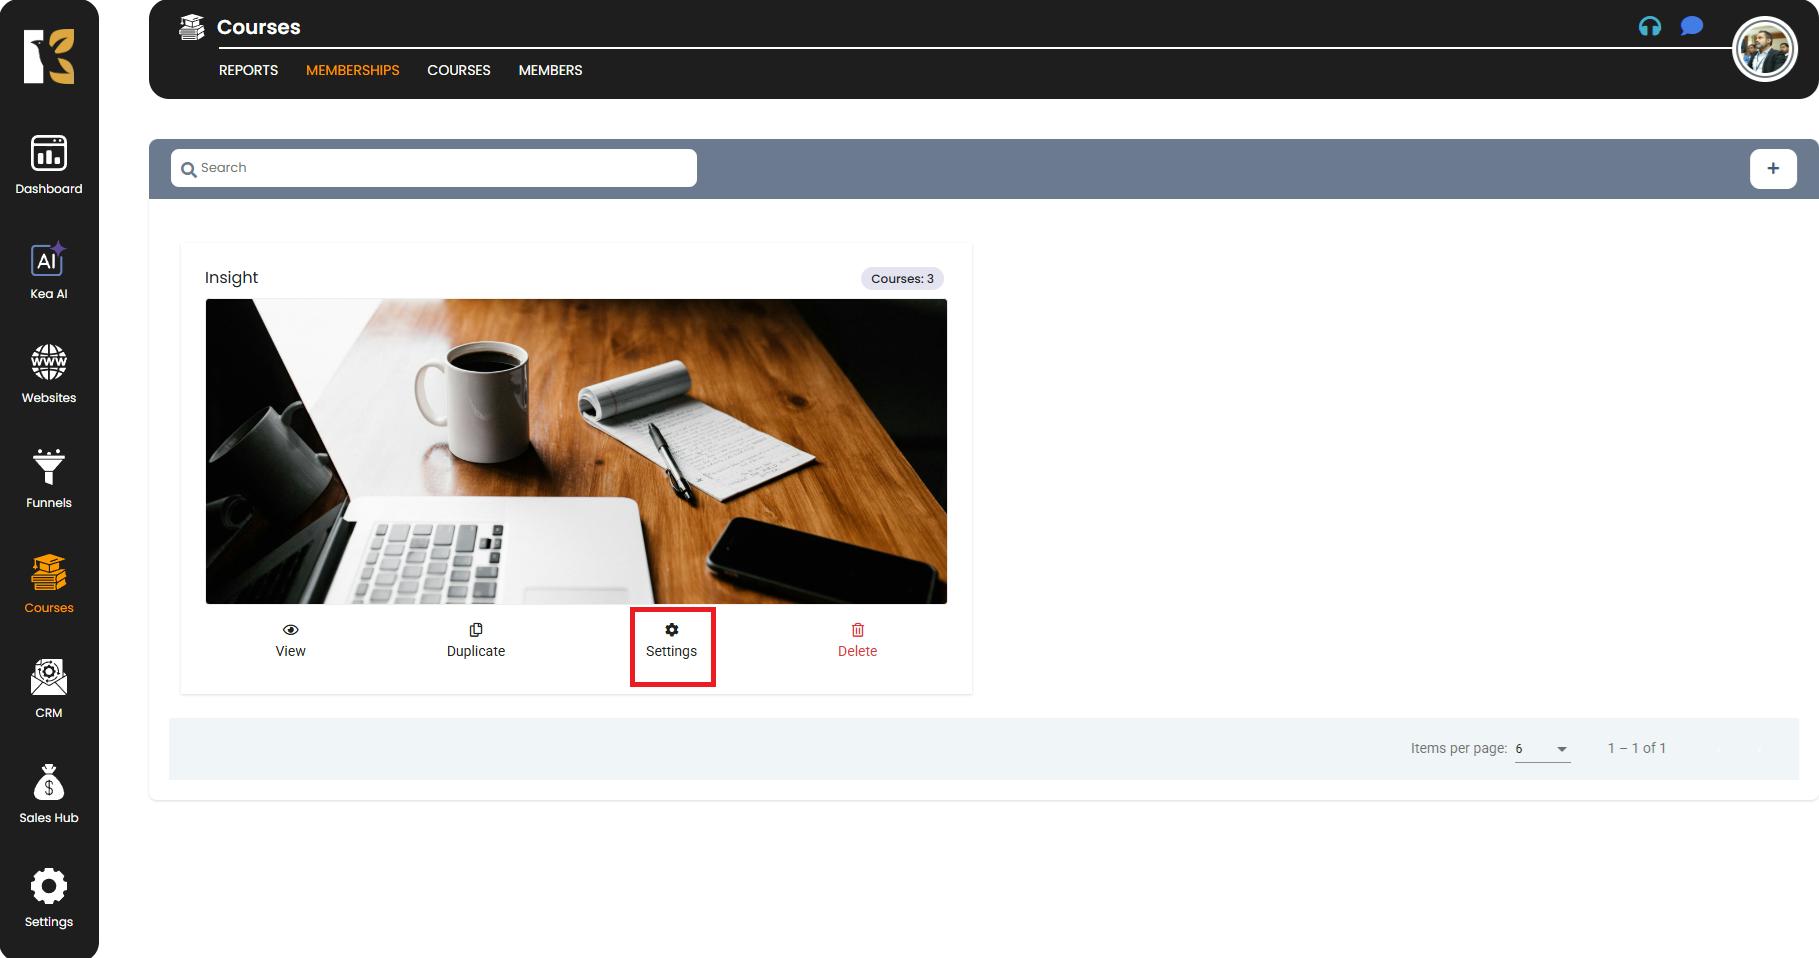
- Inside the Membership section, locate and click on the Settings button on the specific Membership area that you want to customize.
- This button will open the Insights of that particular Membership Area and you can open the Customization Panel, where you’ll manage and edit the visual elements and page layouts for your membership area.
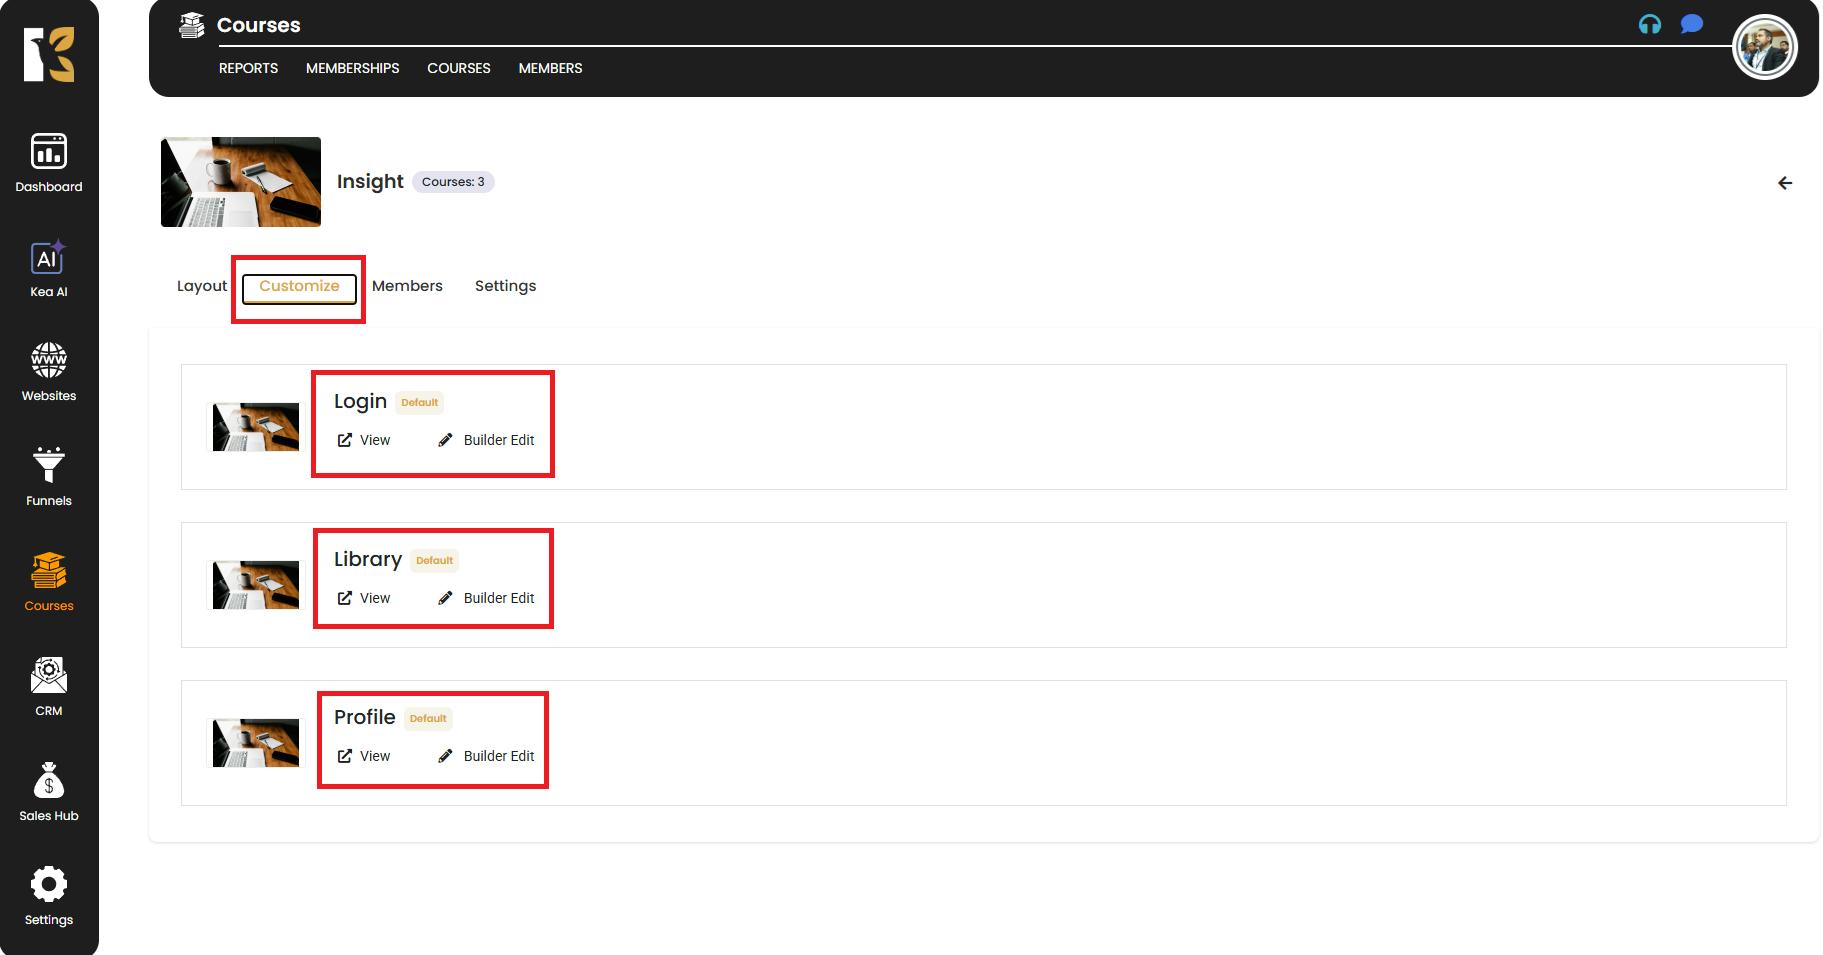
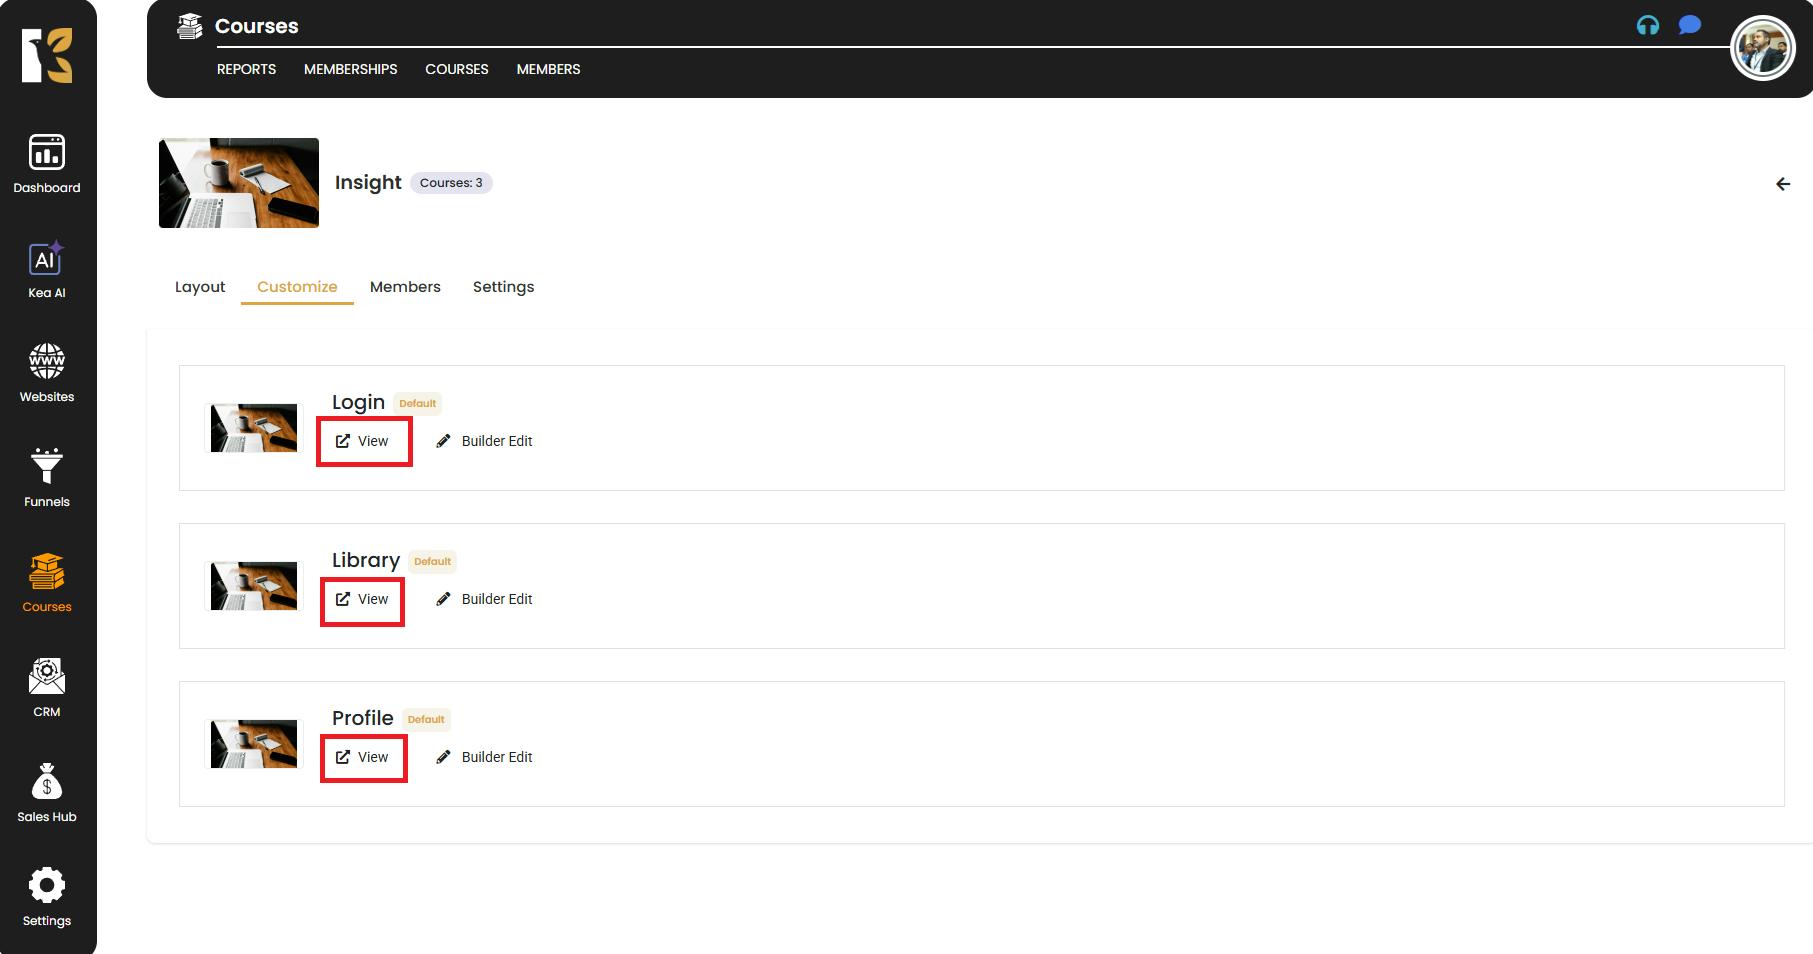
Step 3: Explore the Customization Panel
- Once the panel opens, you’ll see default sections such as:
- Login Page – The page where users sign in.
- Library Page – The page where members access your content.
- These are the default options, but you can modify, rearrange, or add new sections as per your project needs.
Step 4: Edit the Required Pages
- To make changes to any page, simply click the Edit button next to the page name.
- This will take you directly to the KeaBuilder Page Builder.

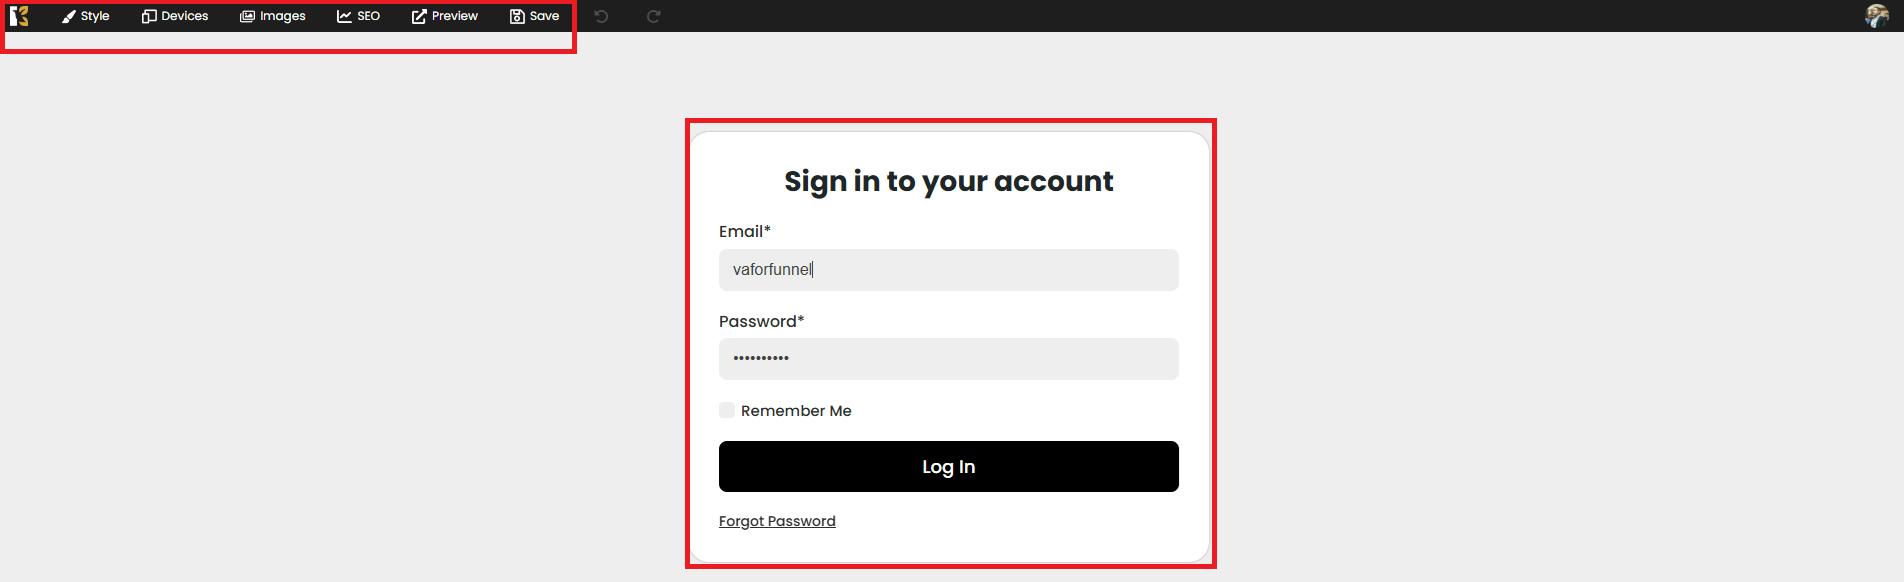
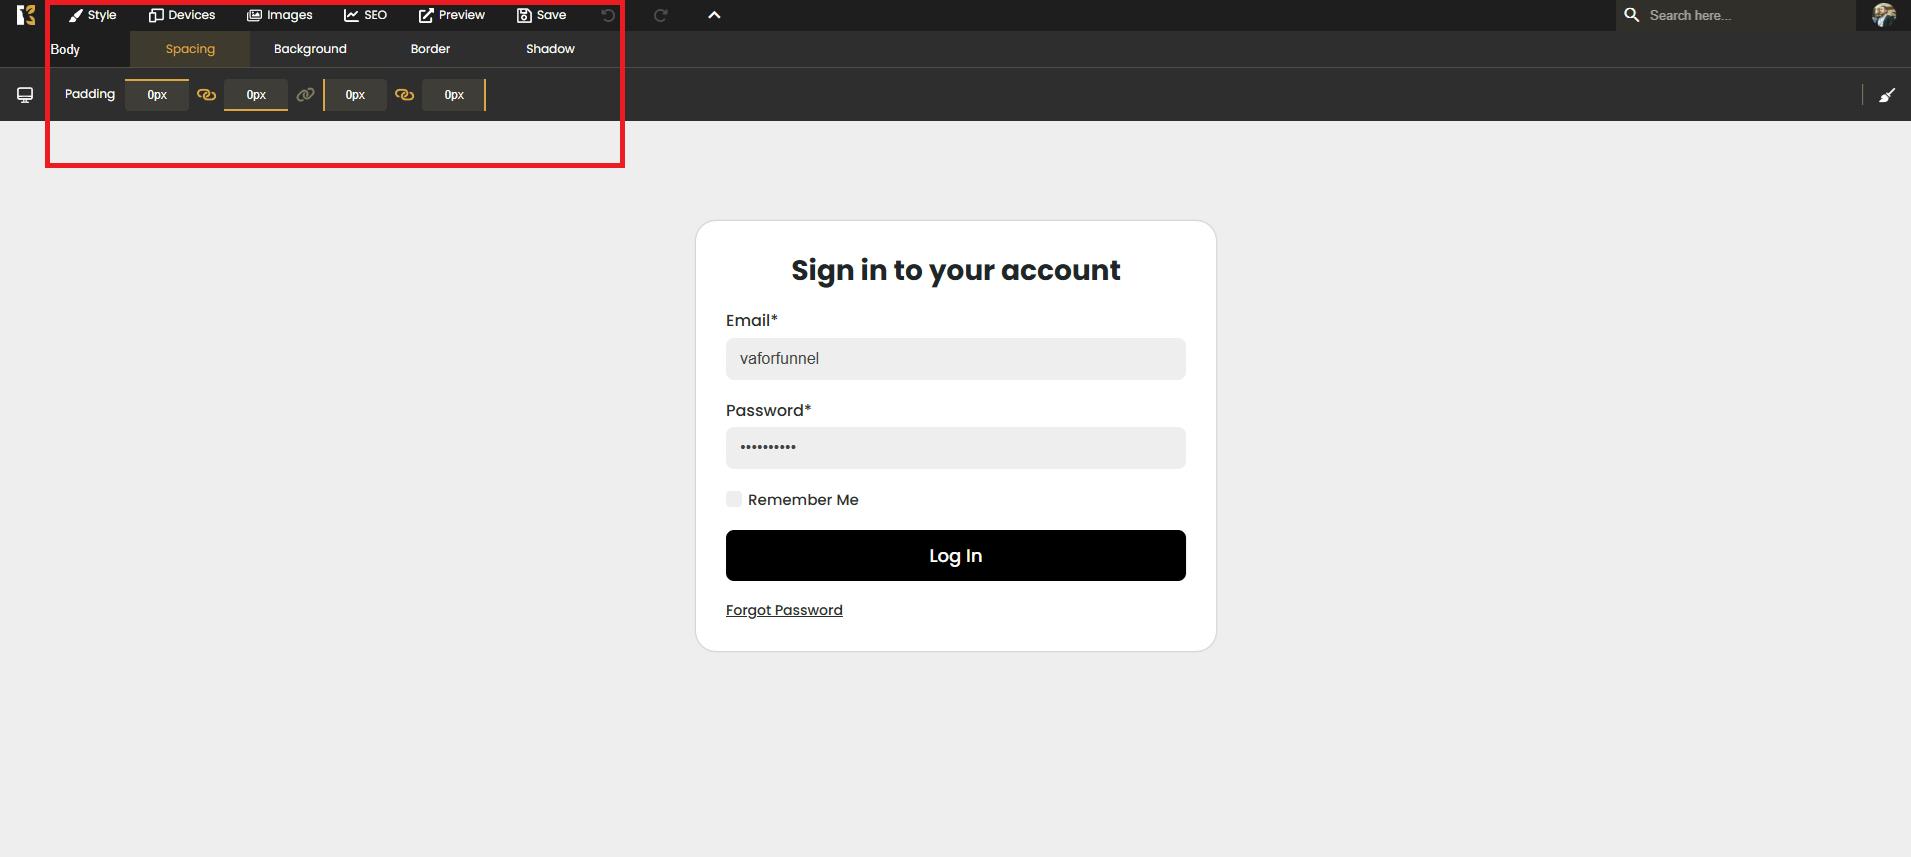
Step 5: Customize Using the Page Builder
- Once redirected to the builder:
- You can edit text, change images, modify layouts, and update designs to match your brand.
- Use KeaBuilder’s drag-and-drop functionality to easily add, move, or delete elements.
- After making all the necessary adjustments, click Save to ensure your changes are applied.
Step 6: Review Your Customizations
- After saving, return to the customization panel to preview the updated look.
- Check the Login and Library pages to confirm that all modifications appear as intended.
- You can make further tweaks if required.
Pro Tips for Better Customization
- Maintain Consistency: Use your brand colors, fonts, and style across all membership pages.
- Preview Before Publishing: Always check how your customized pages look on both desktop and mobile views.
- Save Regularly: To avoid losing progress, save your edits frequently while working in the builder.
This detailed process ensures you have complete control over the appearance and functionality of your membership pages, providing a seamless and branded experience for your users.