How to Manage the Settings of Your Course in KeaBuilder
KeaBuilder makes it simple to manage and customize the settings of each course you’ve created. You can update titles, descriptions, thumbnails, and even enable or disable comments—all from one place.
Follow the steps below to update your course settings:
Step-by-Step Guide
Login to Your KeaBuilder Account
- Login to Your KeaBuilder Account
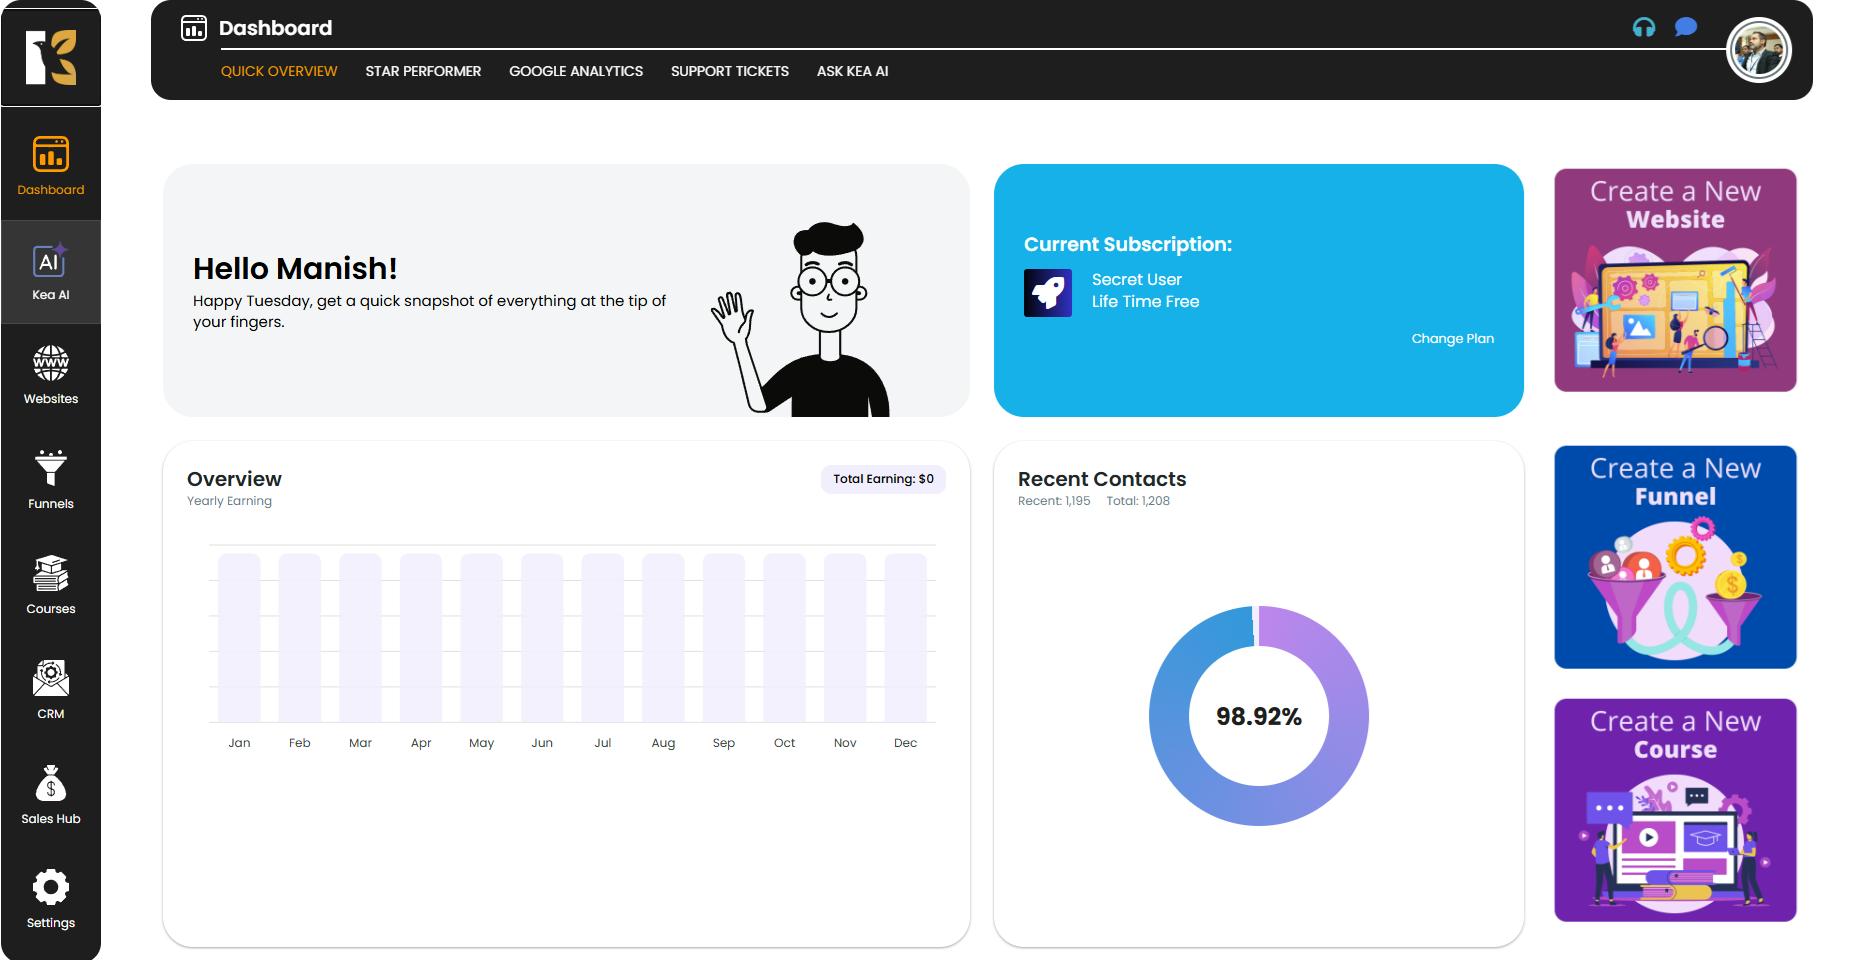
- Enter your credentials to access your Main Dashboard.
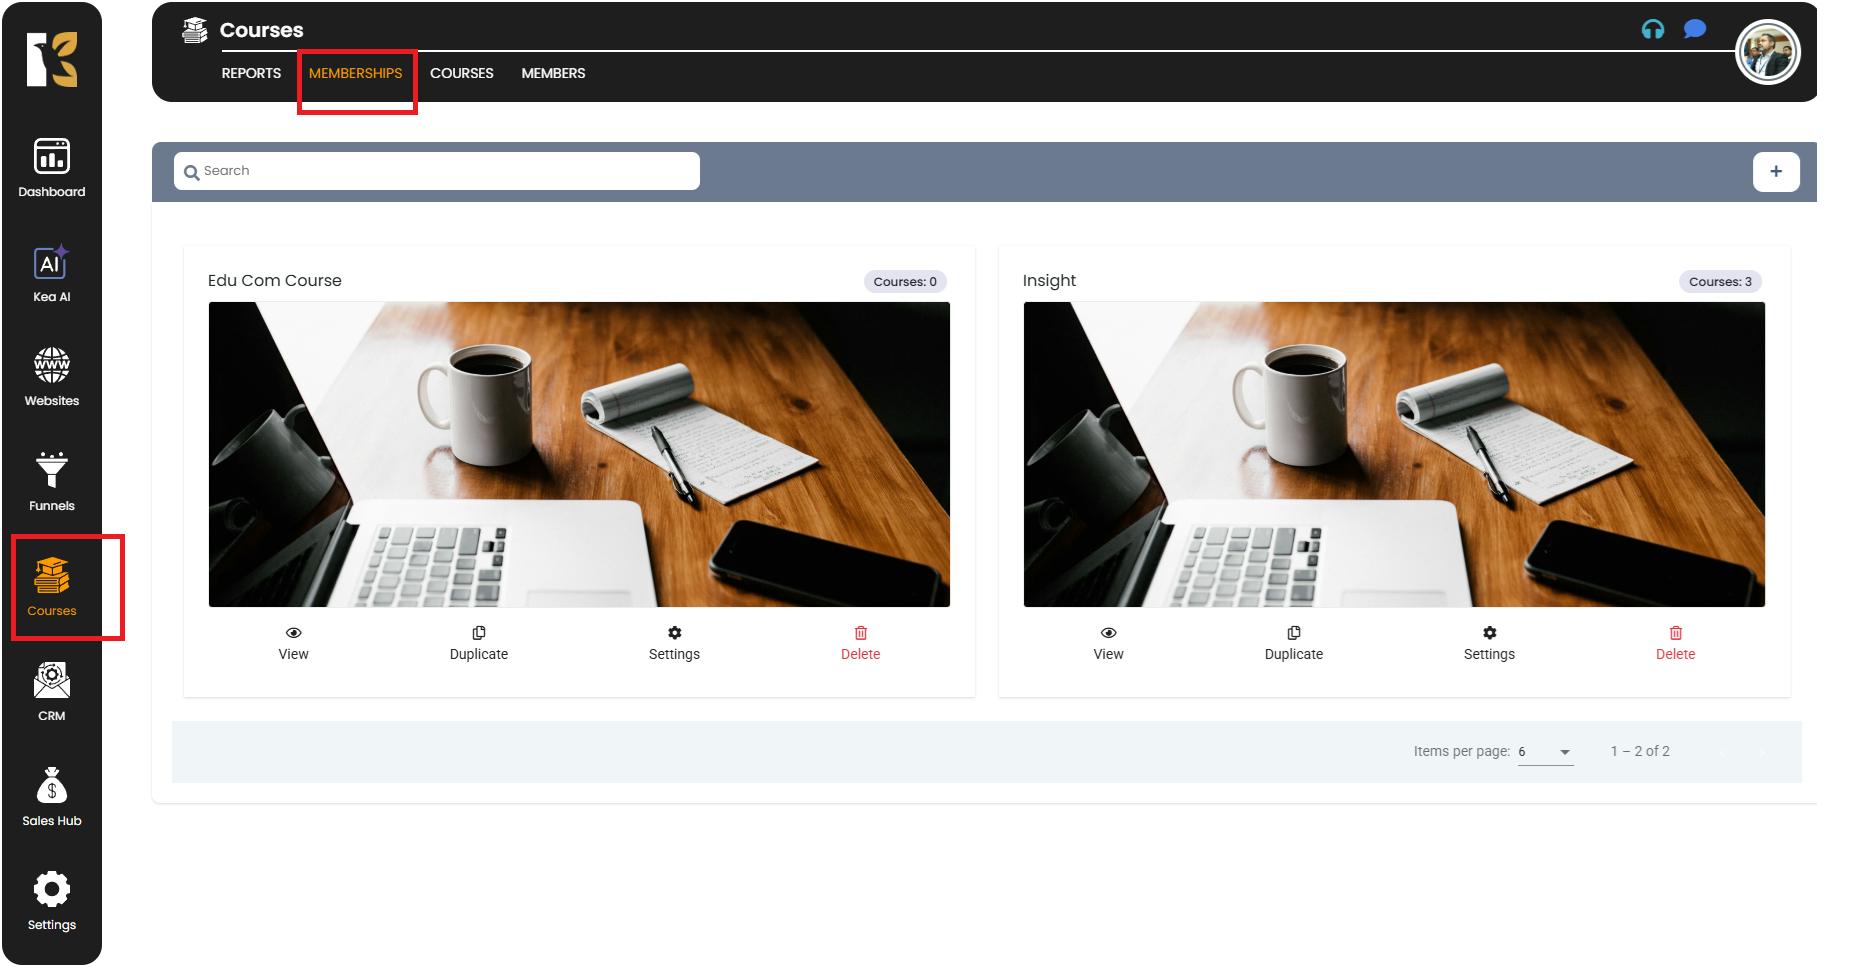
Navigate to the Courses Section
- In the Vertical Menu on the left-hand side, scroll down and click on Courses.
- You’ll first be redirected to the Memberships Section, where all your created memberships are listed.
Open the Courses Page
- Next to Memberships, click on Courses.
- You’ll now be redirected to the Courses Page, where you’ll see a list of all your created courses (if any).
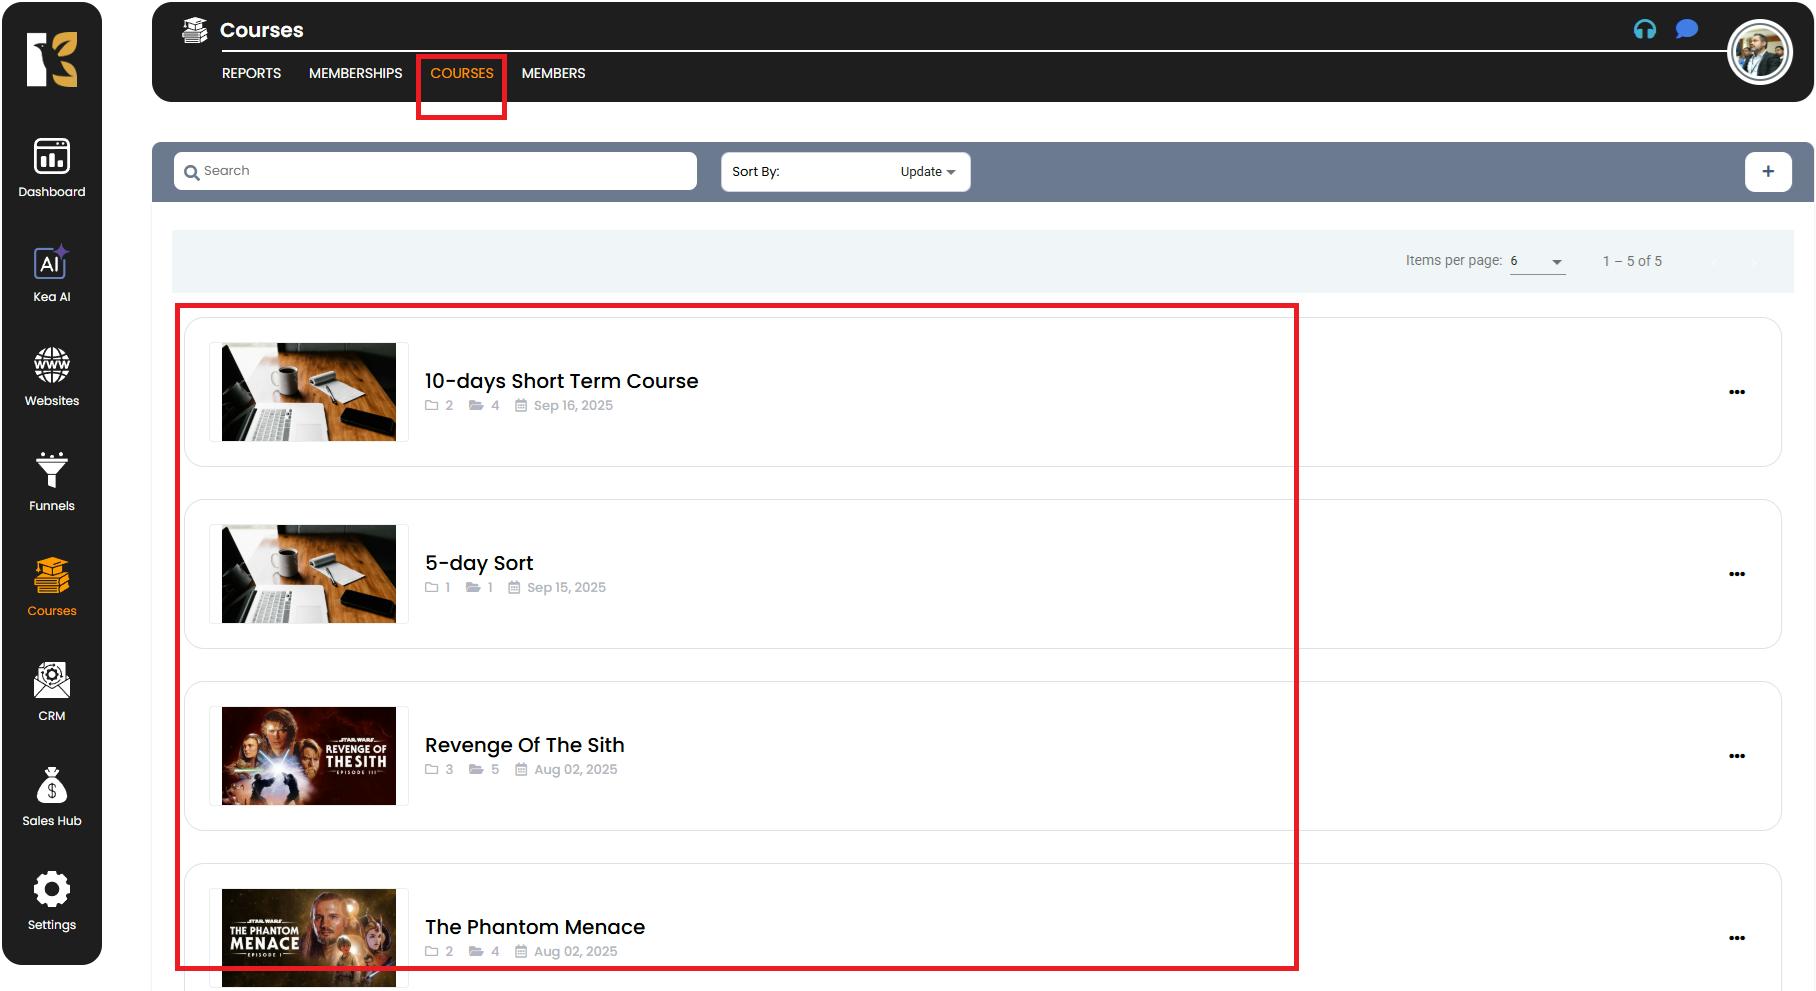
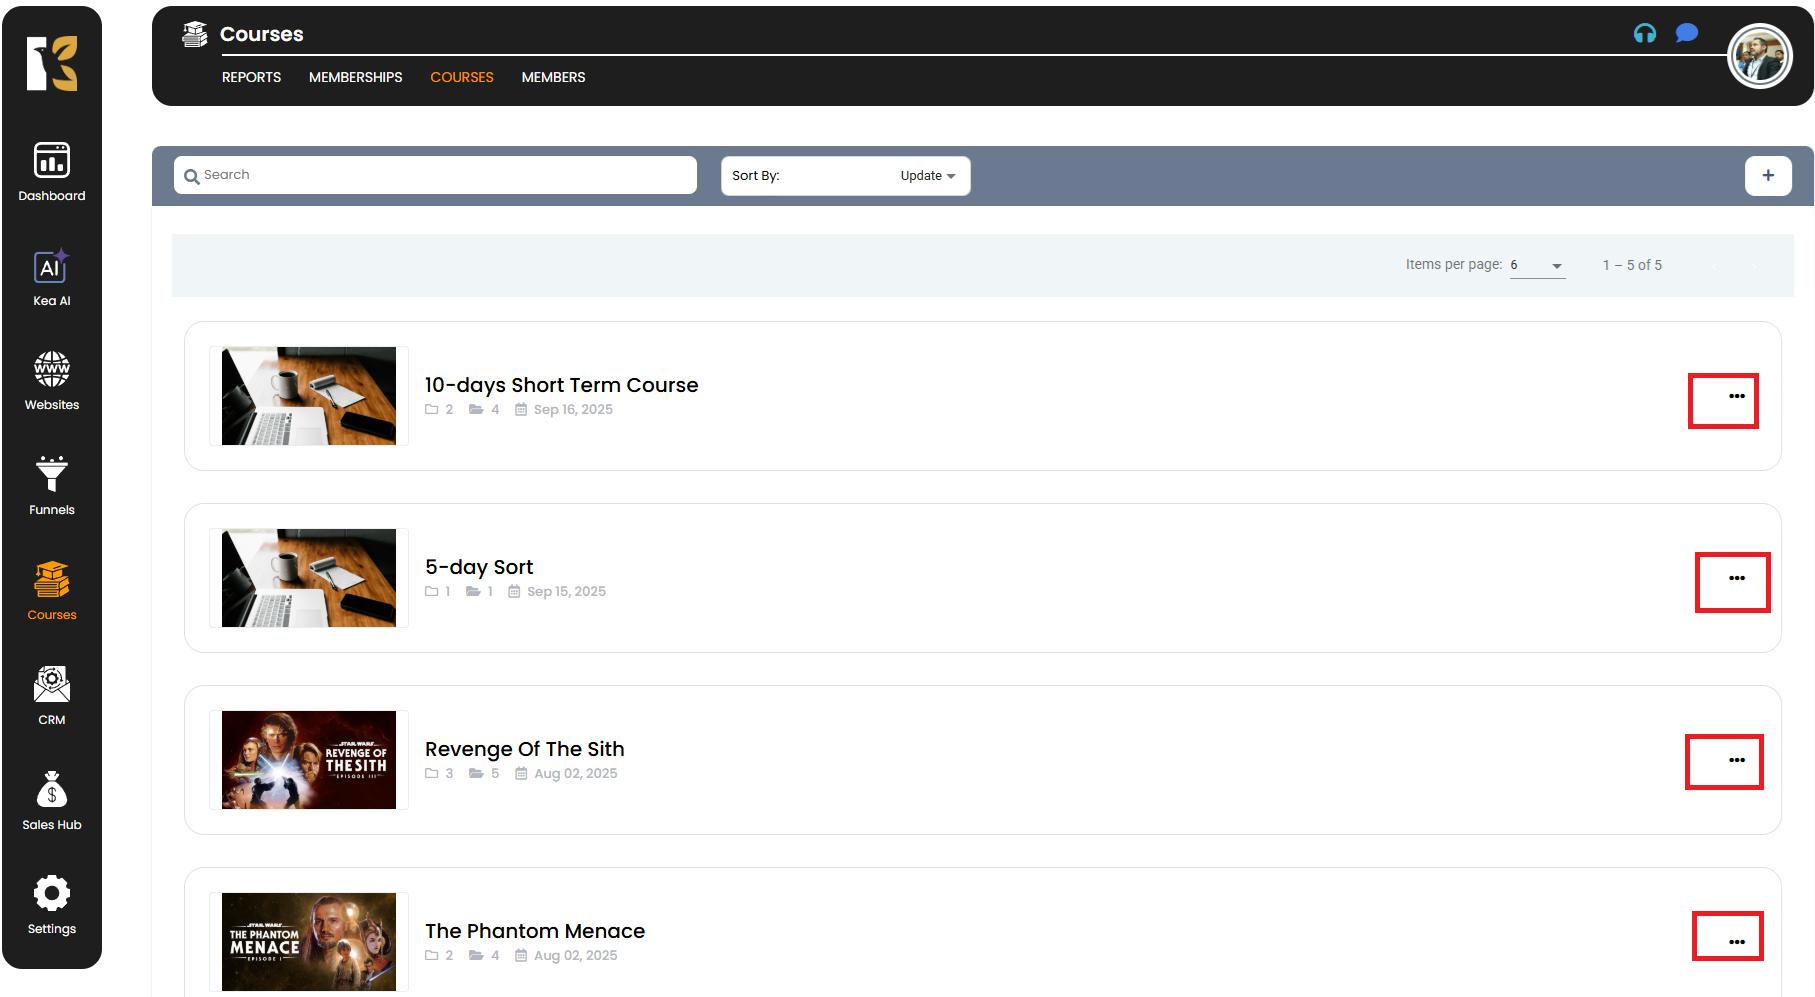
Locate the Course You Want to Edit
- To access its settings, you have two options:
- Option 1: Click directly on the course name.
- Option 2: On the far-right of each course row, click the three-dot menu (⋮).
- This will open a drop-down menu with options:
- View Course
- Duplicate
- Settings
- Delete
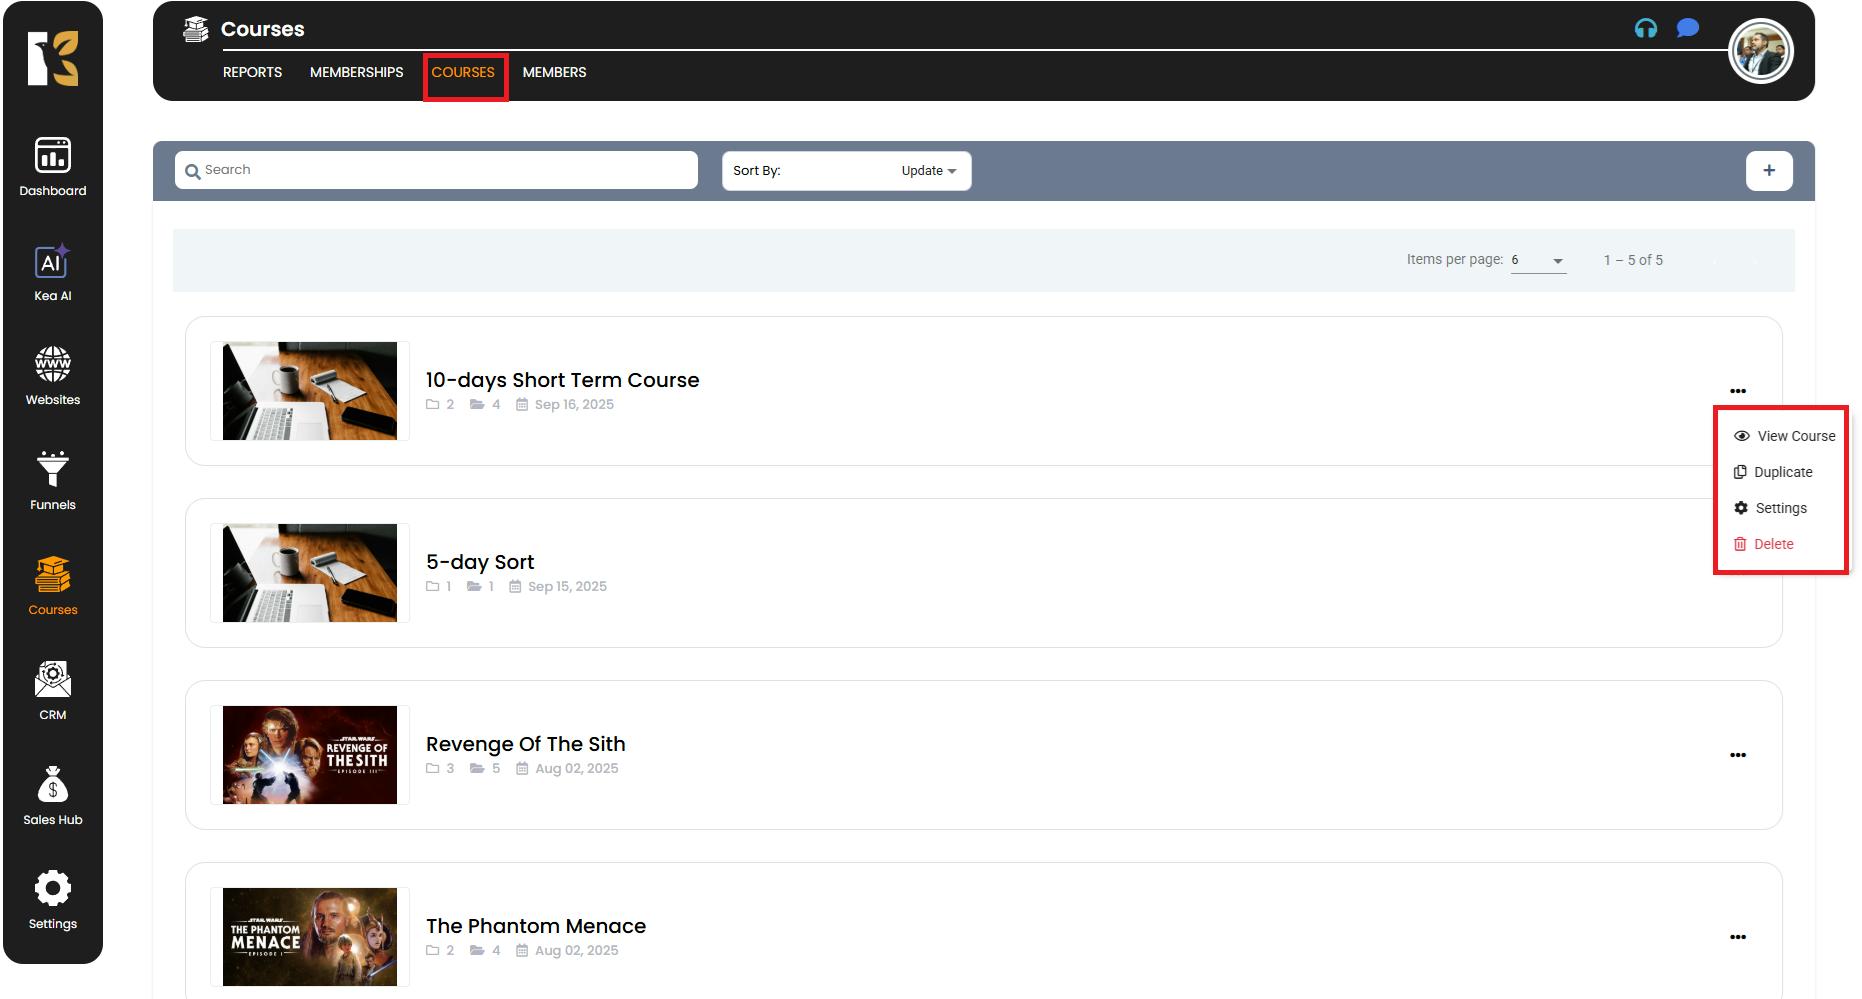
Open the Settings Page
- Click on Settings from the drop-down menu.

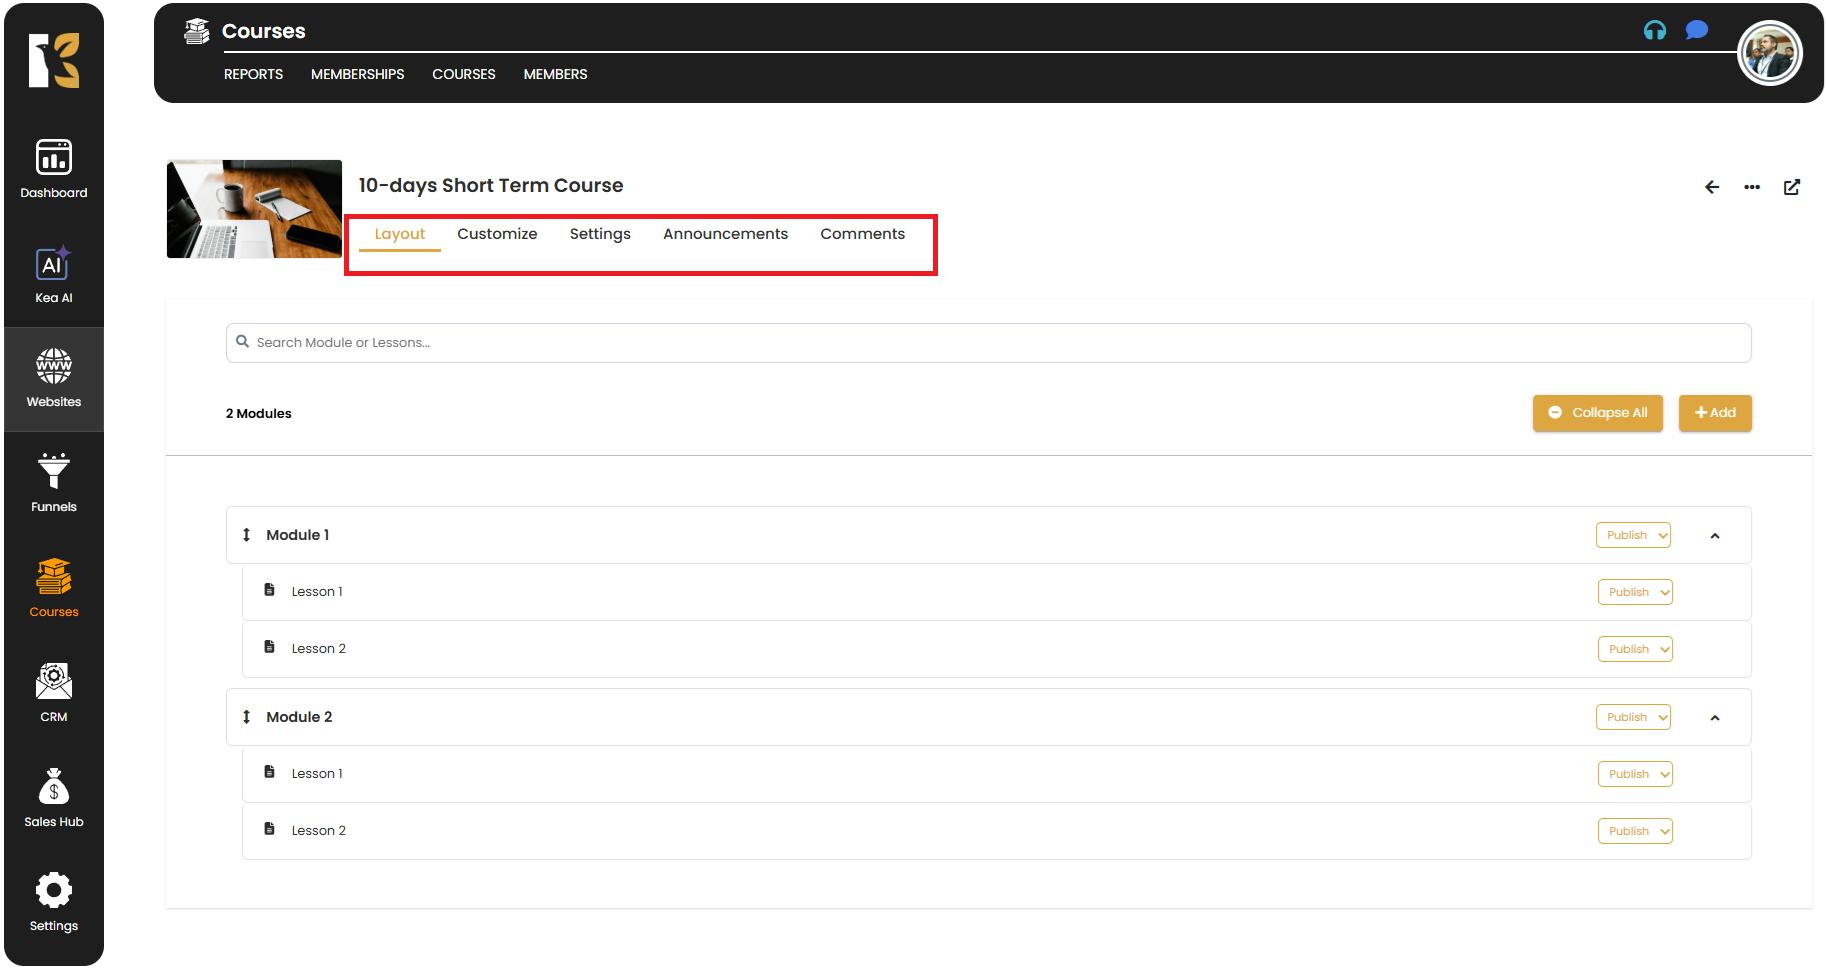
- You’ll be redirected to the Settings Page of the selected course.
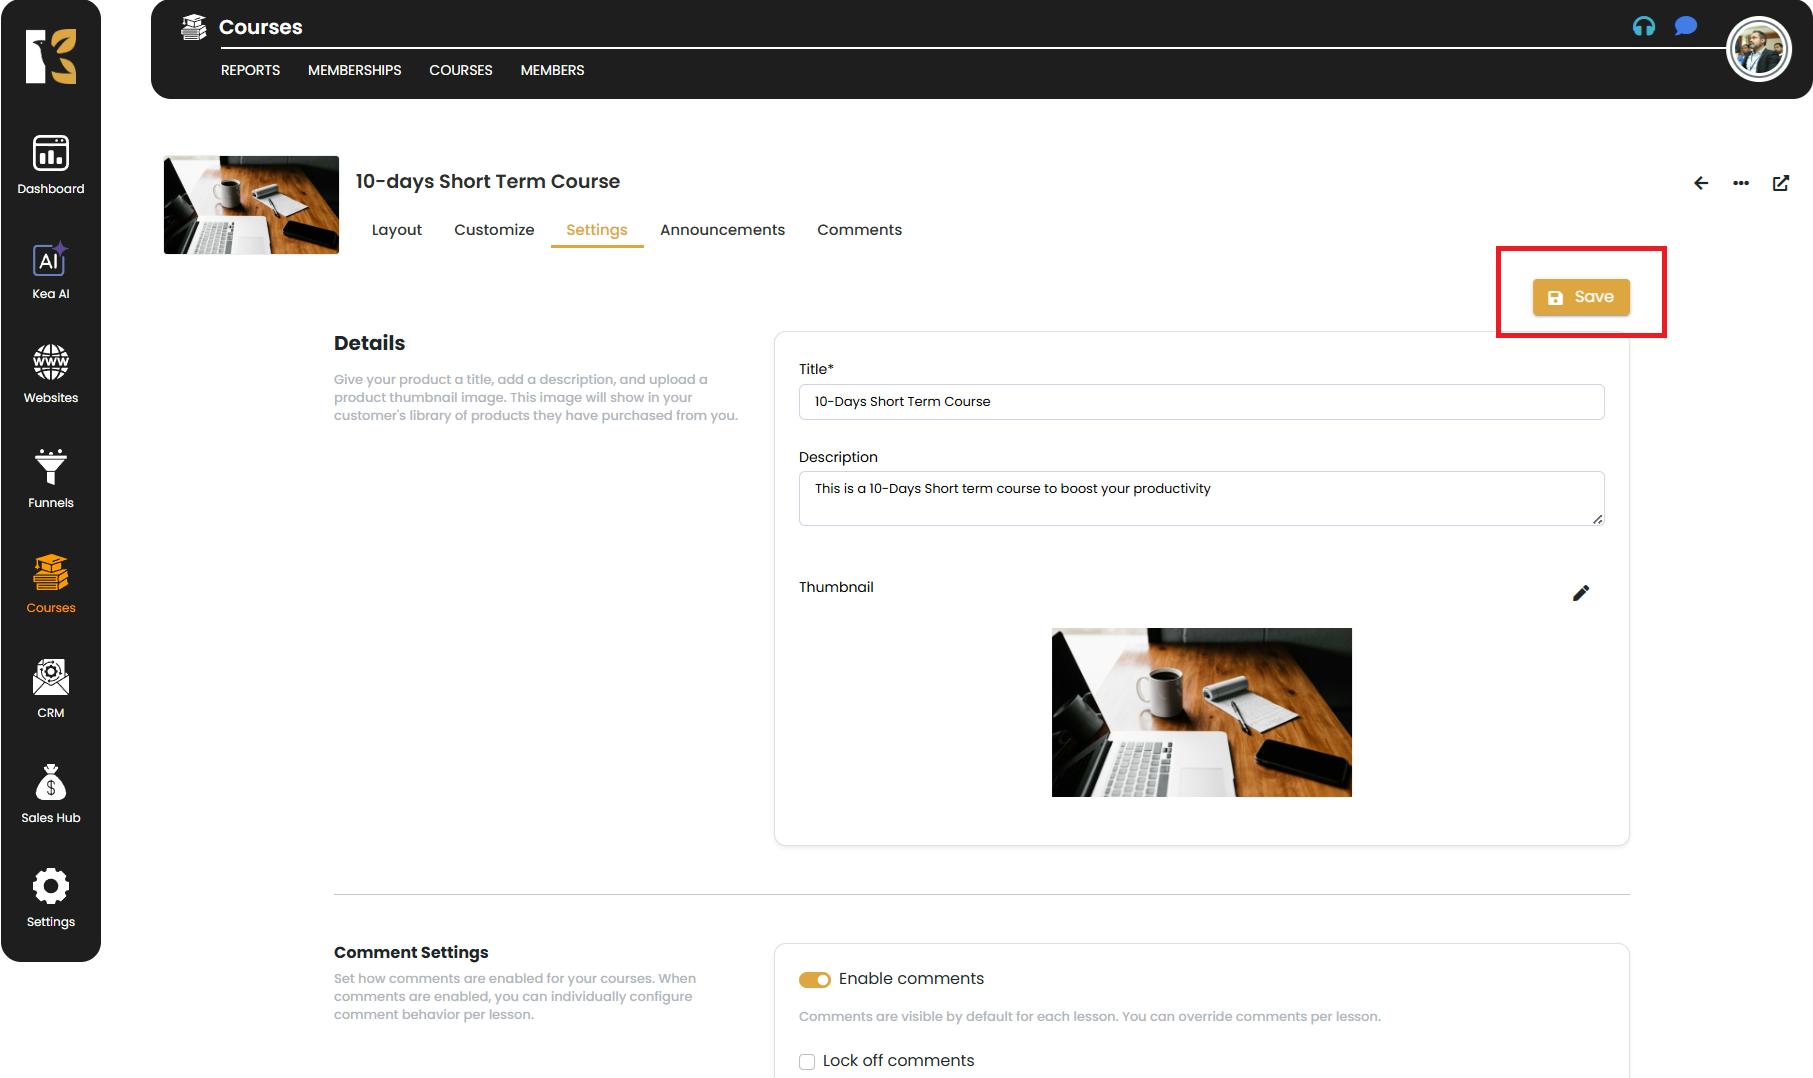
Update Course Settings
- Inside the Settings Page, you can make changes such as:
- Course Title
- Course Description
- Course Thumbnail
- Enable or Disable Comments for your learners.
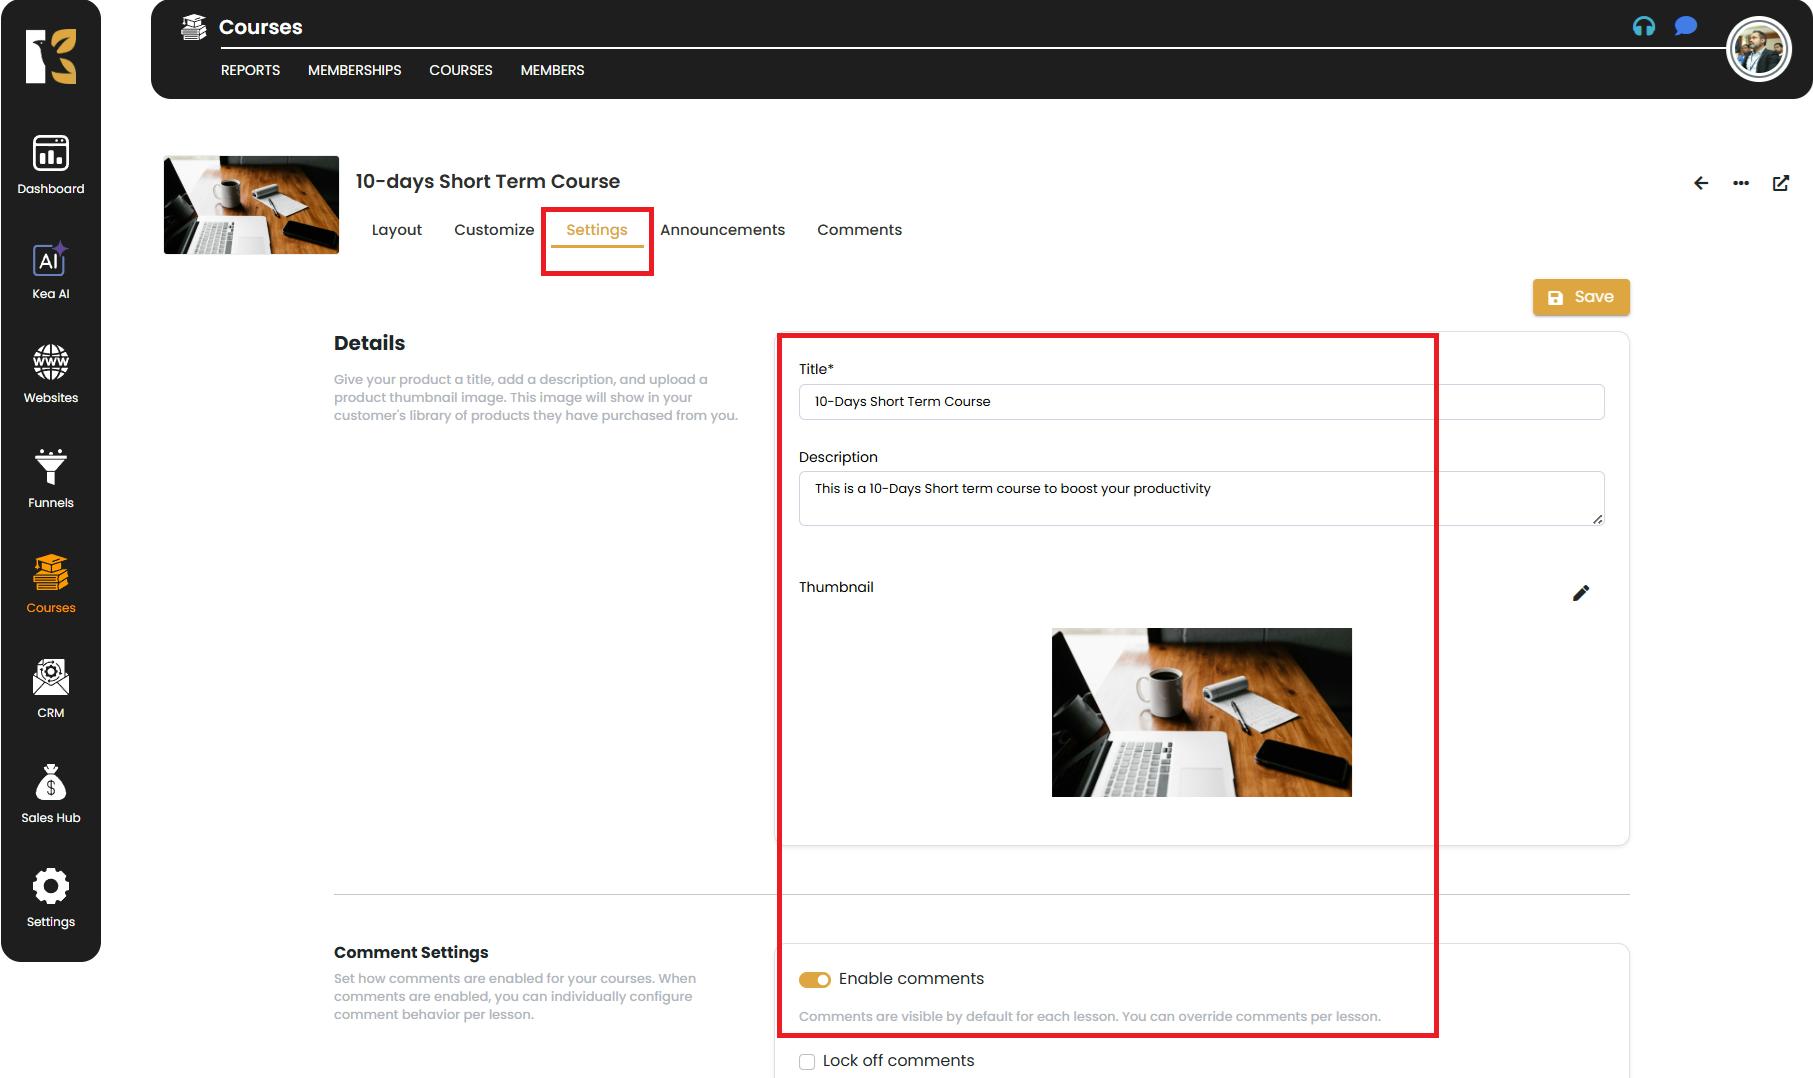
Save Your Changes
- After making all required edits, click the Save button to apply and reflect the changes immediately.
✅ Tip: Use the Settings page regularly to keep your courses updated with the latest content, branding, or features for your learners.