How to Publish a Campaign
Publishing a campaign in Kea involves preparing, reviewing, and confirming your campaign settings and email templates before launch. Follow the steps below to efficiently publish your campaign and begin engaging your audience.
👣 Step-by-Step Guide: Publish a Campaign
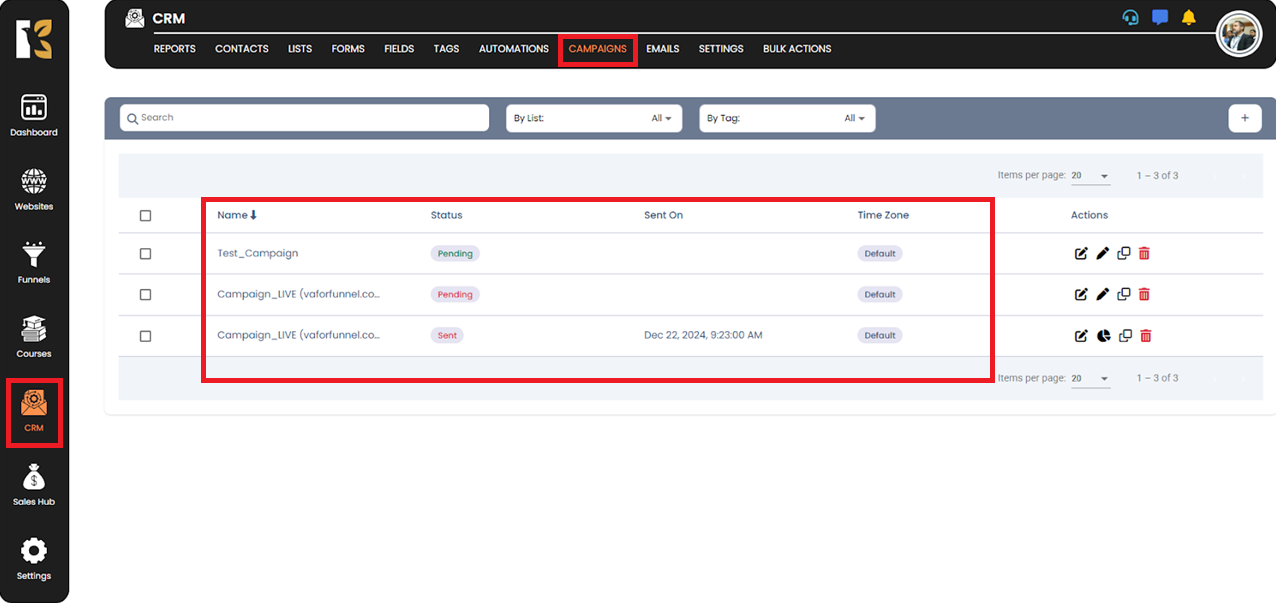
🔹 Step 1: Navigate to Campaigns
Go to the CRM panel via the side menu or top navigation bar.
Click on the “Campaigns” button to access your campaign list.
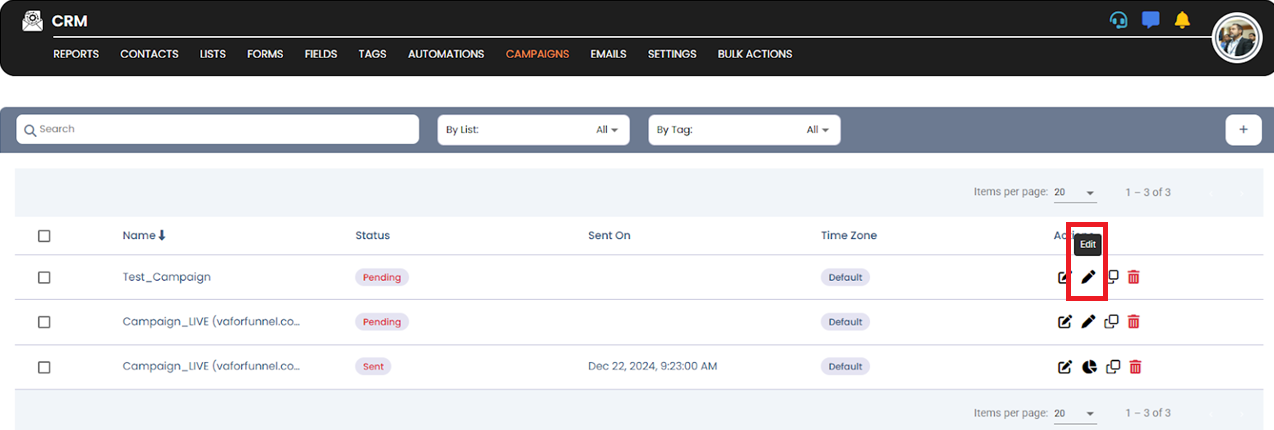
🔹 Step 2: Edit Your Campaign
Locate the campaign you want to publish.
Click on the “Edit” button to open the campaign editor.
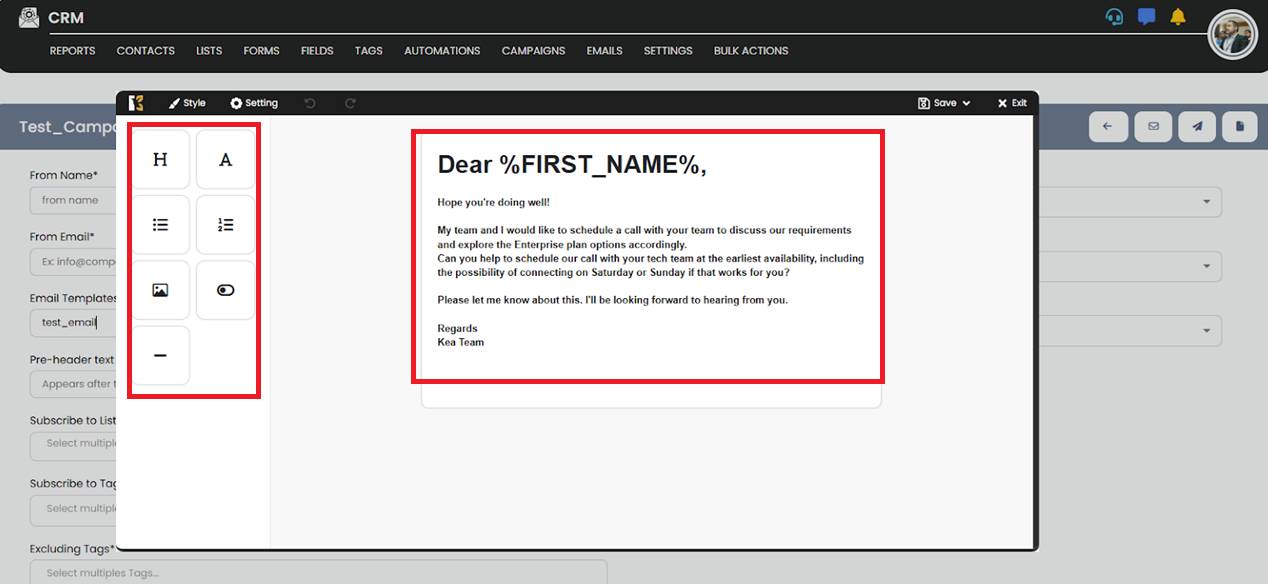
🔹 Step 3: Add Email Templates
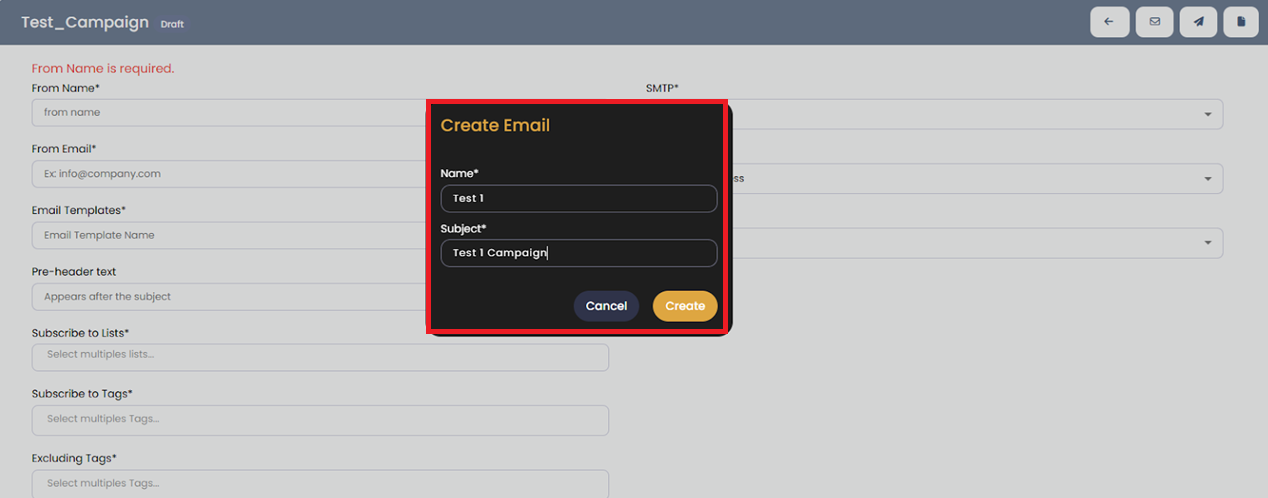
Under the “Email Templates” section, add your email templates to the campaign flow.
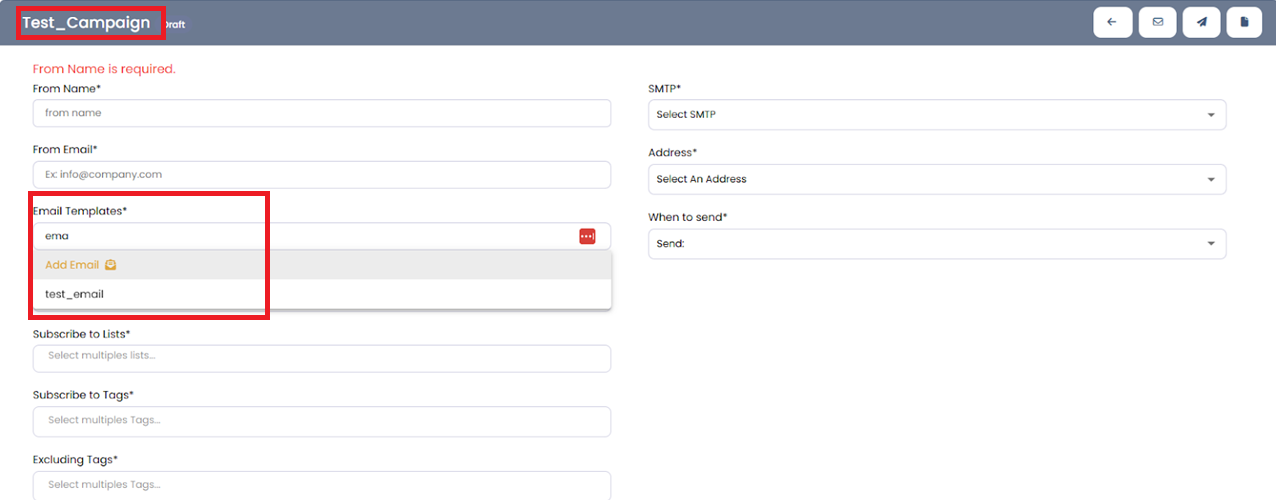
🔹 Step 4: Complete Campaign Settings
Fill in all required fields in the Campaign Settings area (e.g., name, subject, scheduling options).
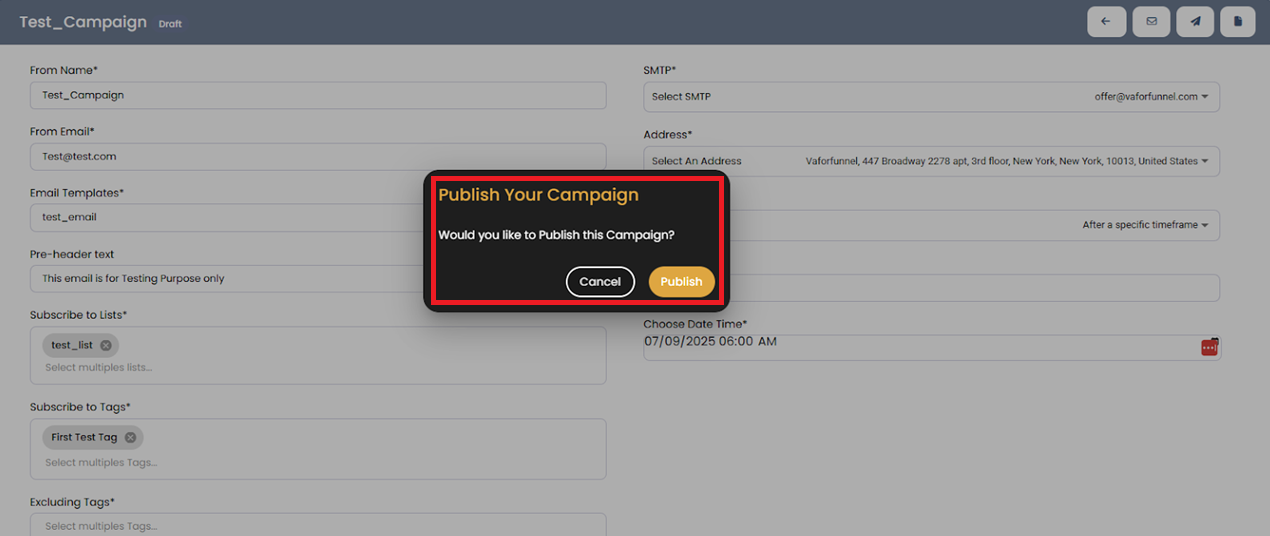
🔹 Step 5: Publish the Campaign
Click the “Publish” button to initiate the campaign.

🔹 Step 6: Confirm Publishing
A confirmation dialog box will appear.
Click “Publish” to proceed with publishing.
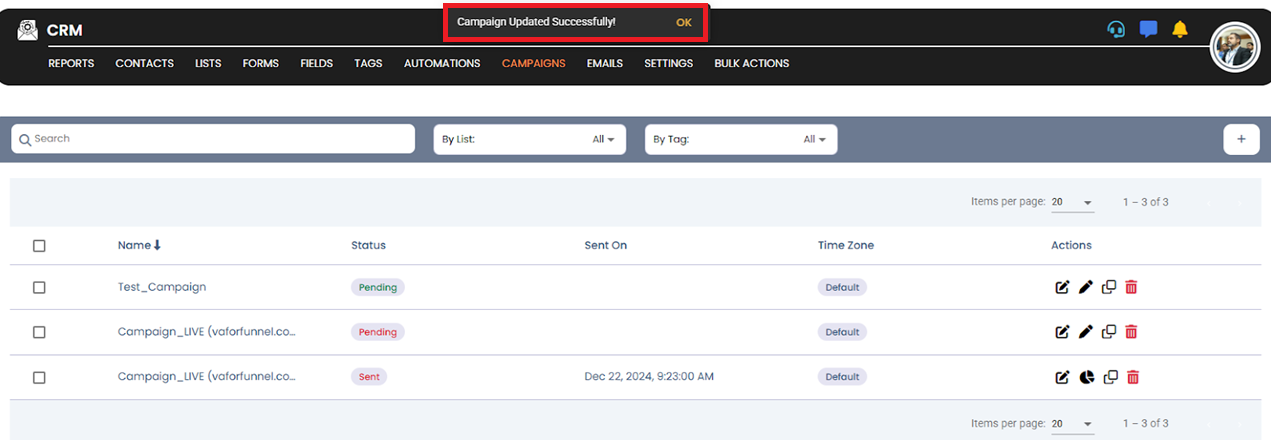
✅ Step 7: Confirmation
A success message will confirm that your campaign has been published.
💡 Tip:
Double-check your campaign schedule and email content before publishing to ensure everything is ready to go live.