How to Manage the Membership Settings in KeaBuilder
Managing your membership settings allows you to customize and control how your membership pages look and function. In KeaBuilder, you can easily update key details such as the title, domain, thumbnail, favicon, and tracking codes to ensure a professional and consistent experience for your members.
Step-by-Step Guide
Login to KeaBuilder
- Sign in to your KeaBuilder account.

- Once logged in, you’ll land on the Main Dashboard.

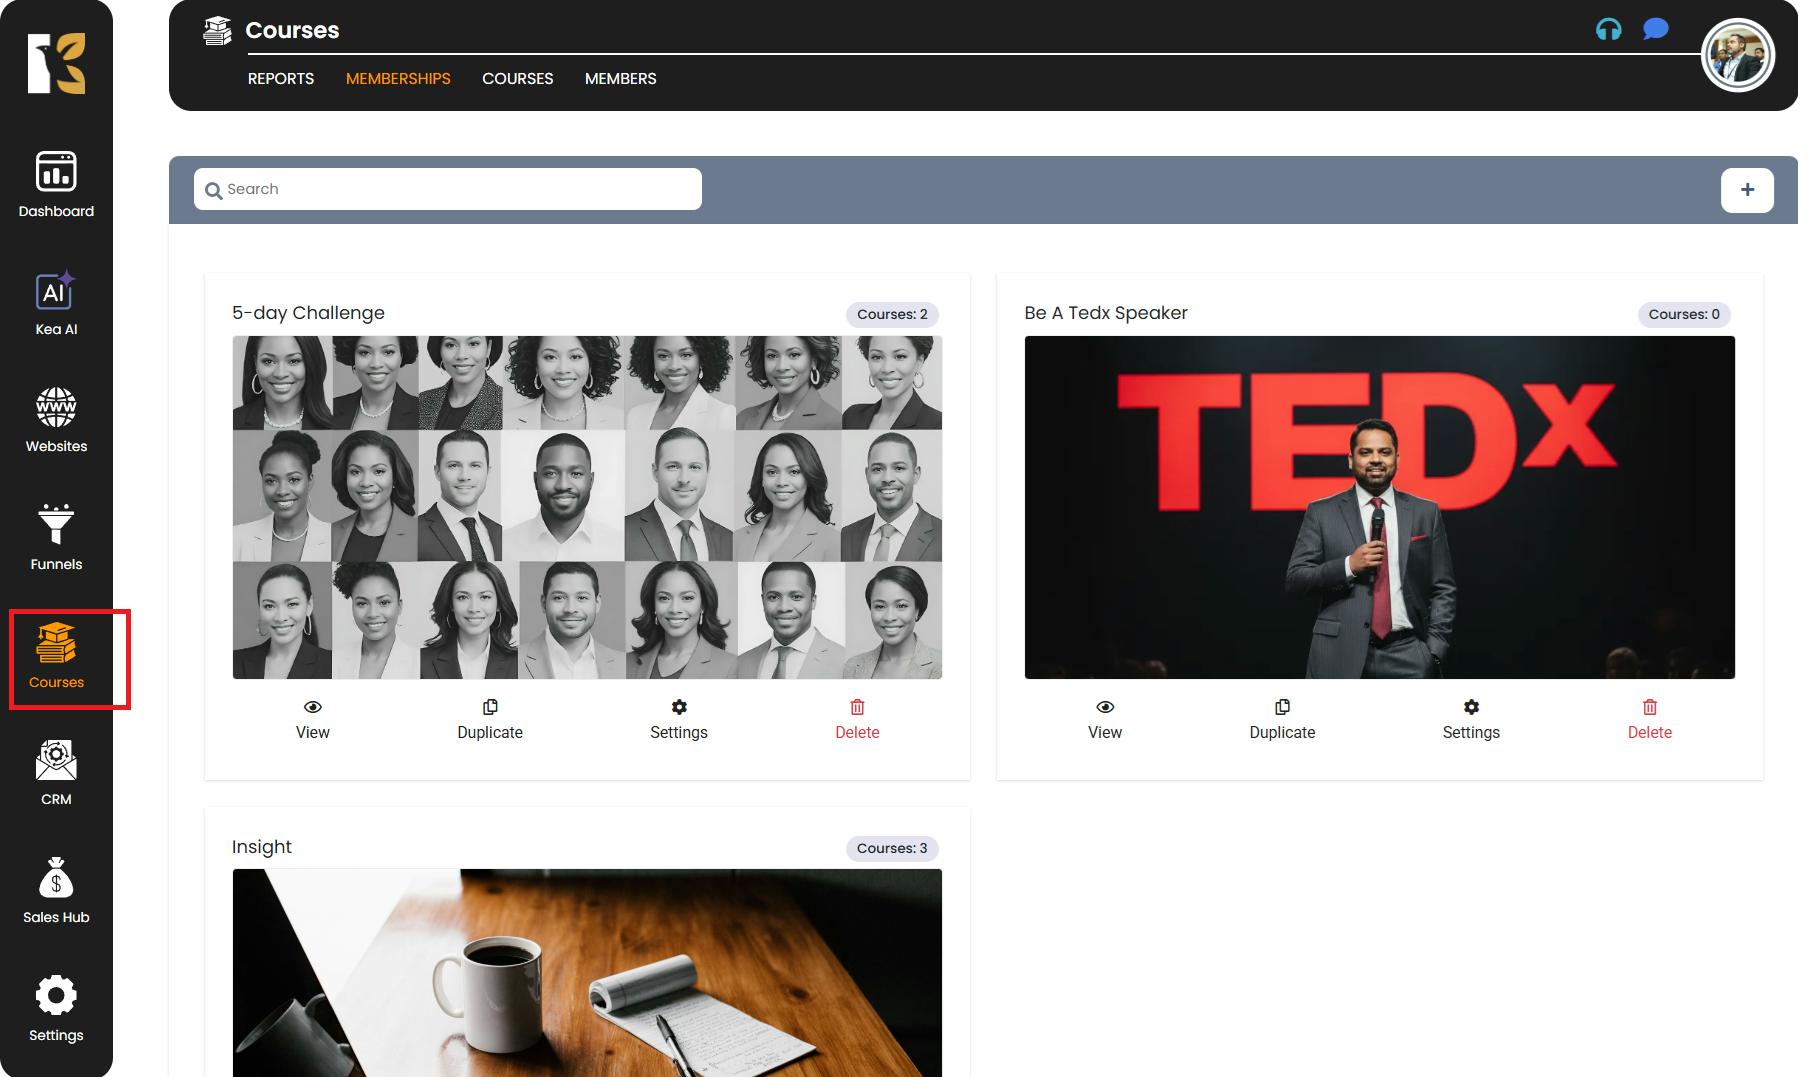
Navigate to Courses
- From the Vertical Menu on the left-hand side, scroll down to Courses and click on it.
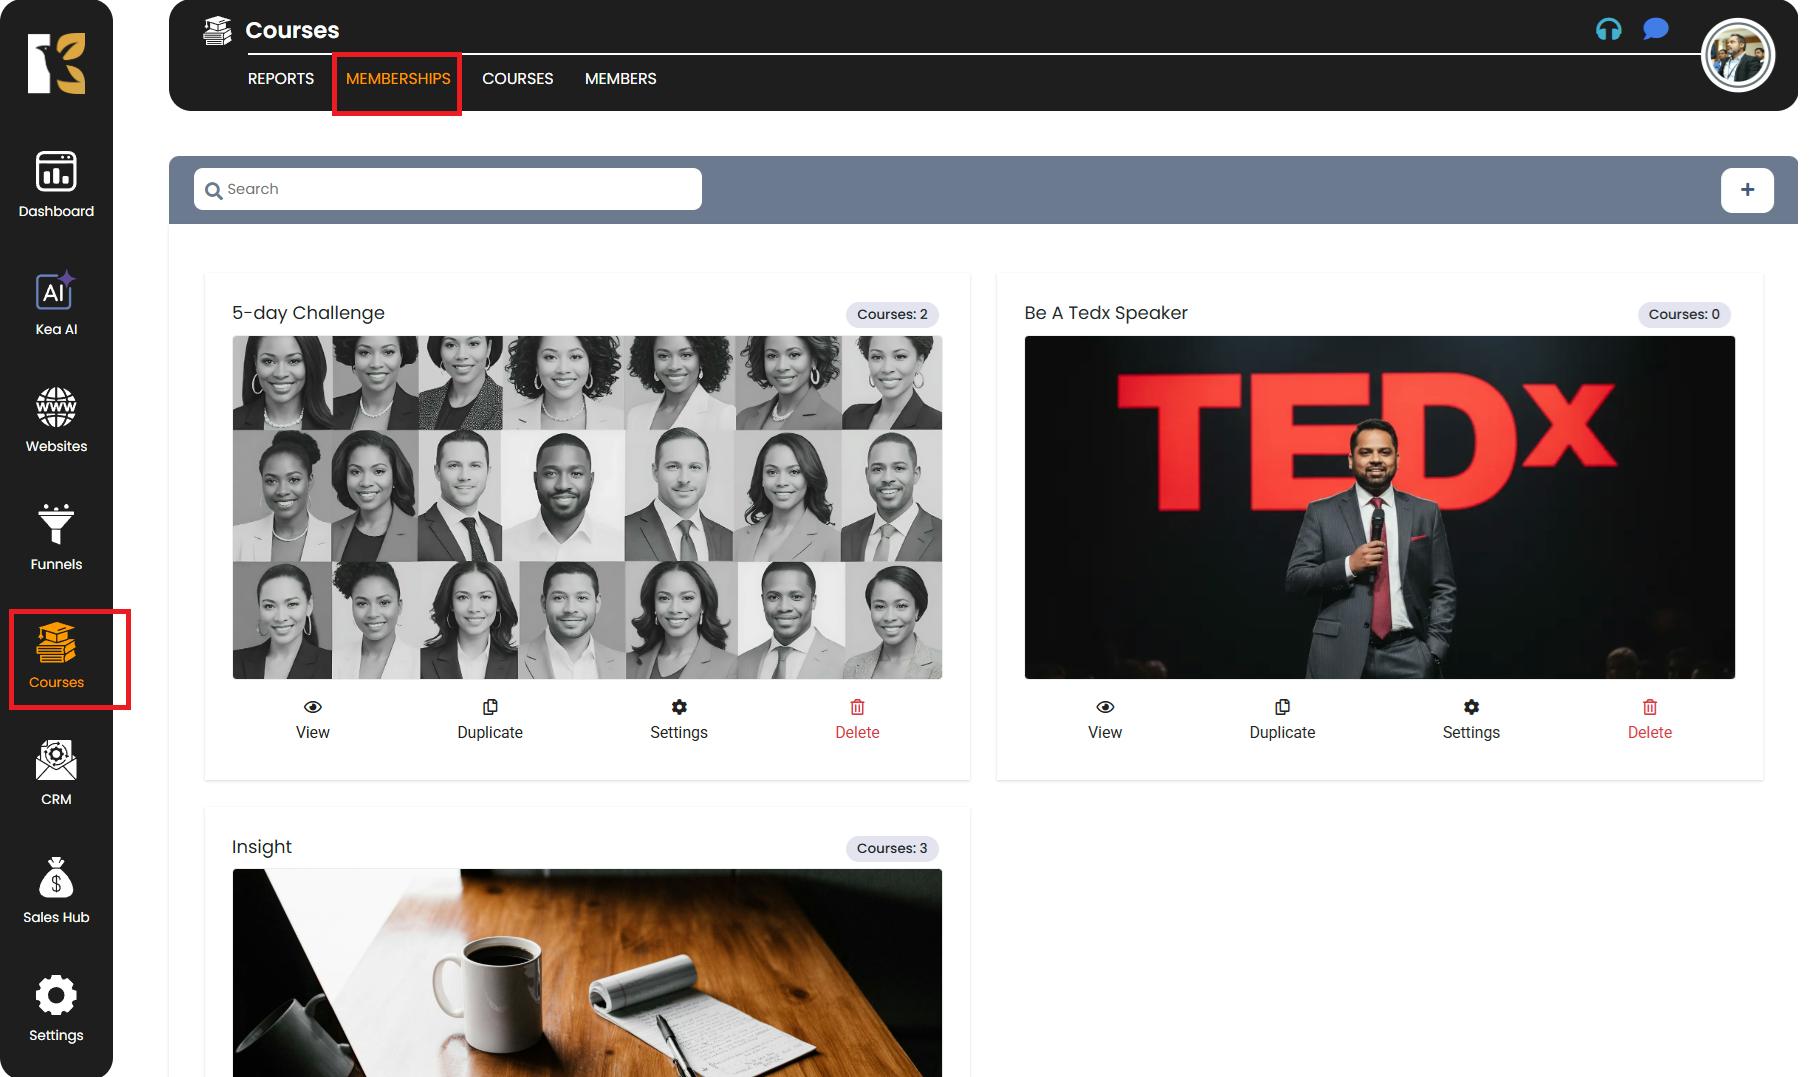
Access Memberships
- You will be redirected to the Memberships Section, where you can see the list of all the memberships you’ve created (if any).
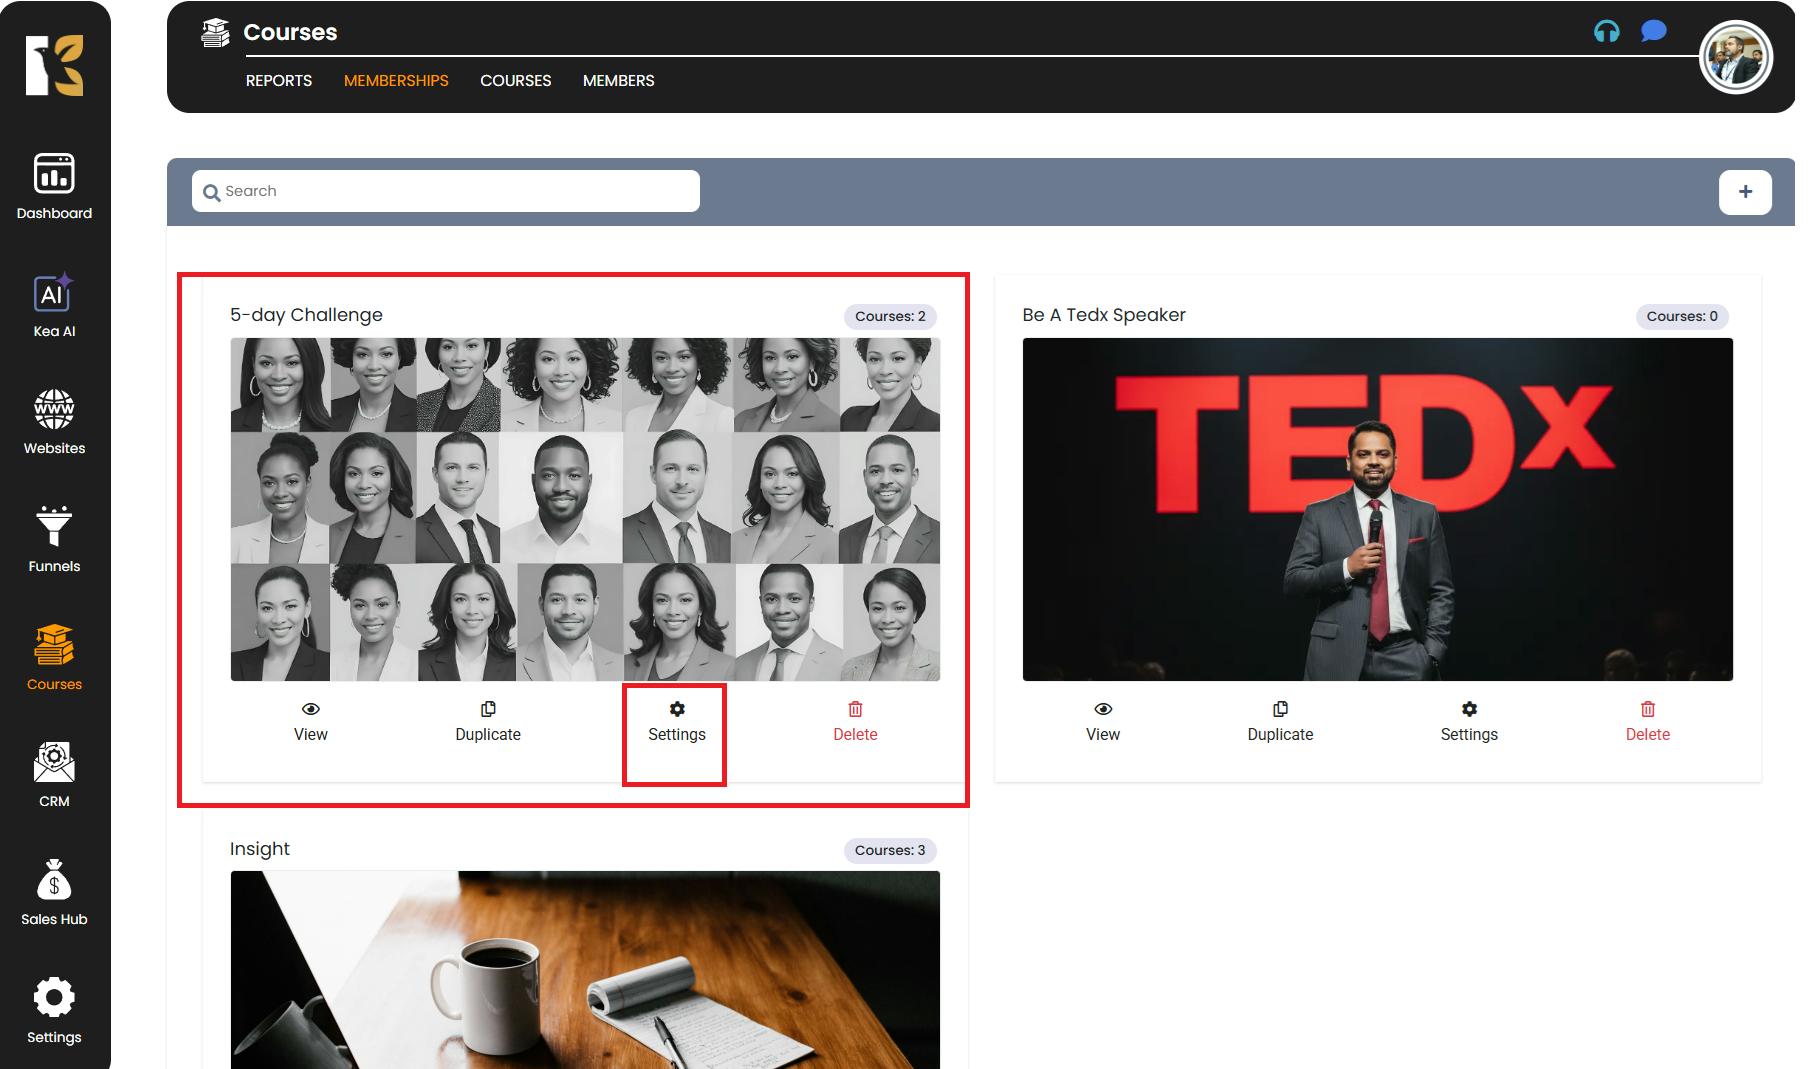
Select the Membership to Manage
- Identify the membership you want to manage.
- Underneath that particular membership, click on Settings.
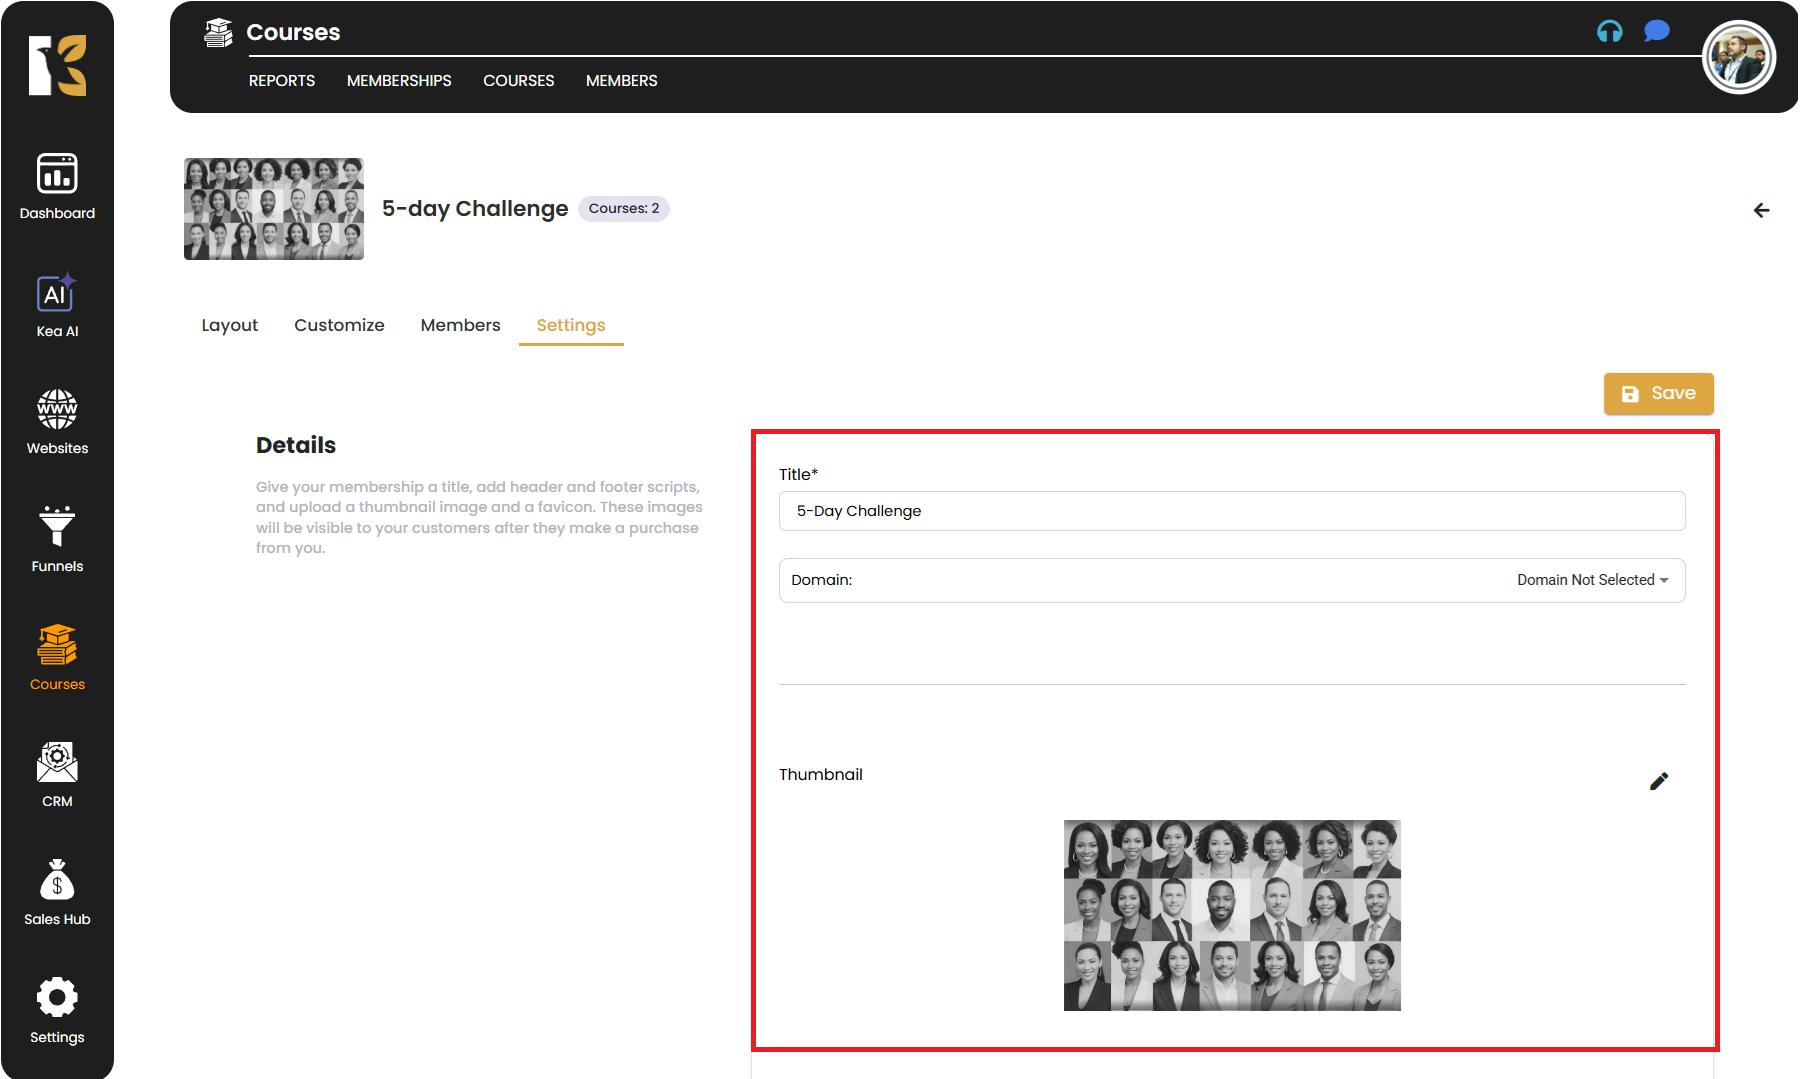
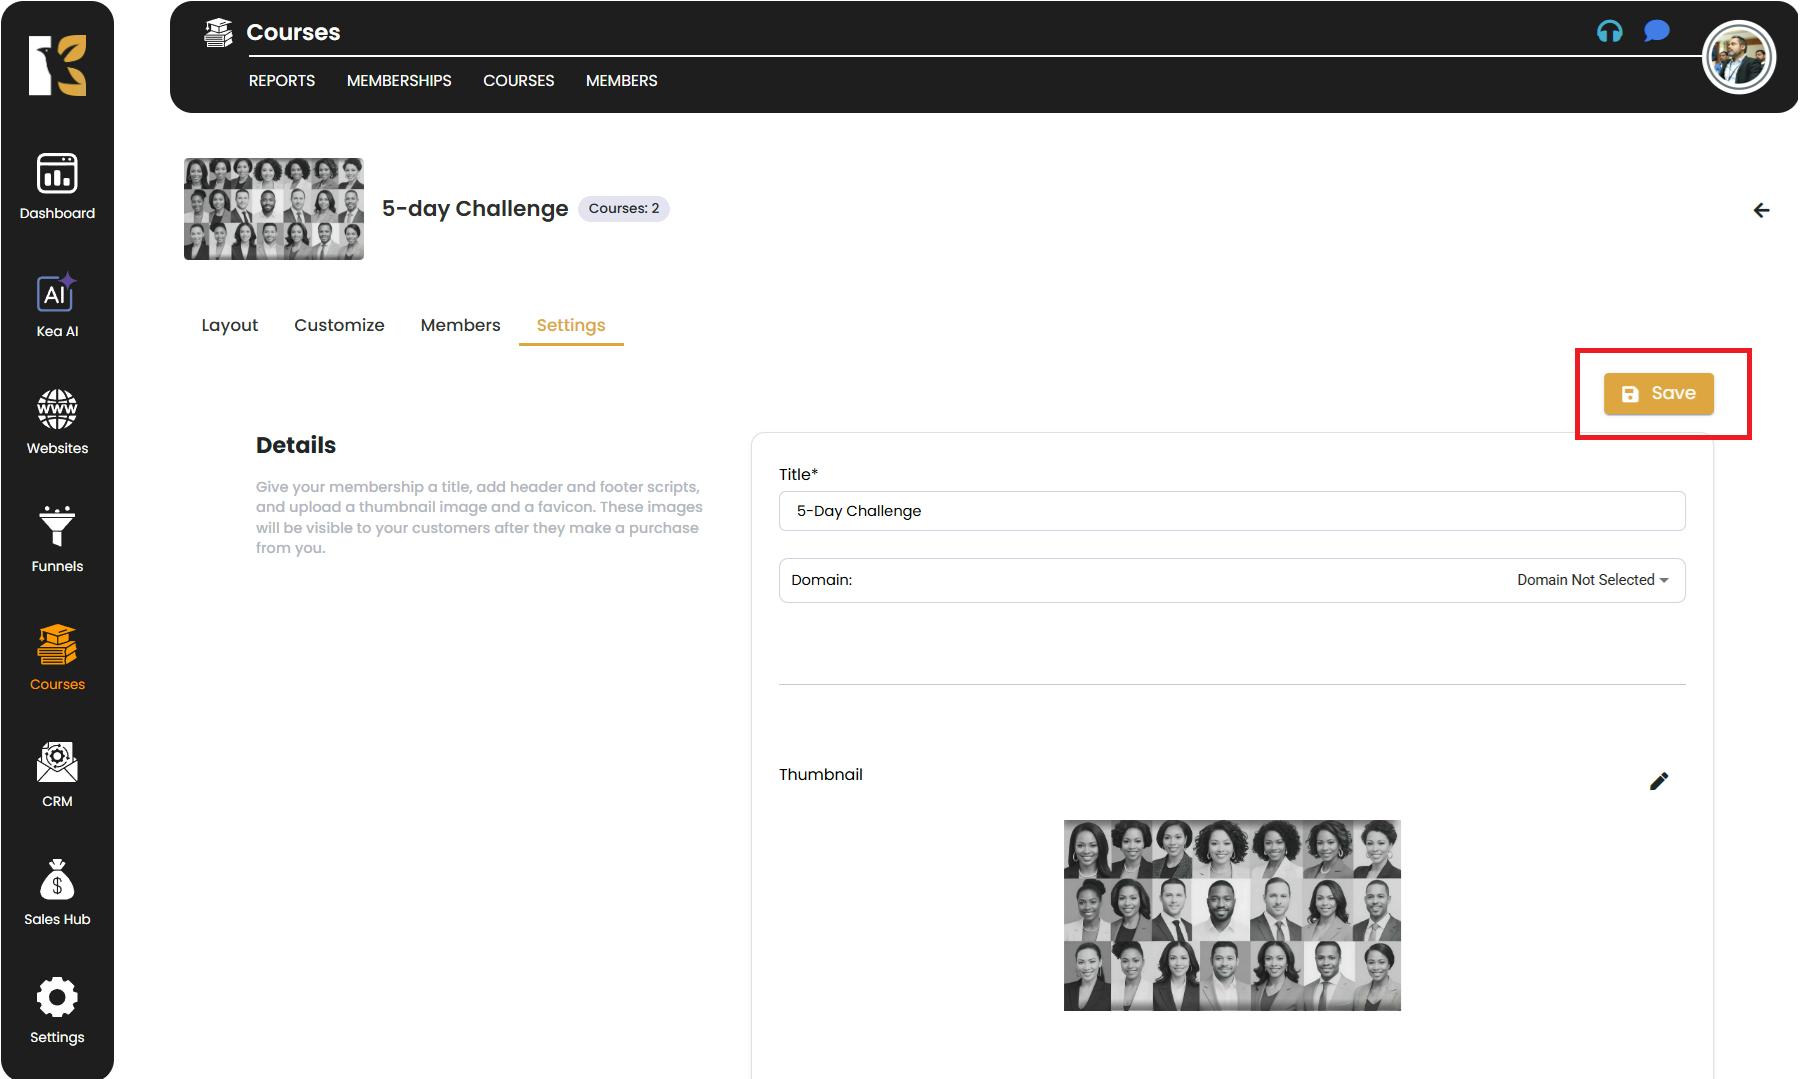
Edit Membership Settings
- You’ll be redirected to the Settings Page for that specific membership.
- Here you can edit and update the following:
- Title – The name of the membership.
- Domain – The custom domain or URL where your membership is hosted.
- Thumbnail – The main image representing your membership.
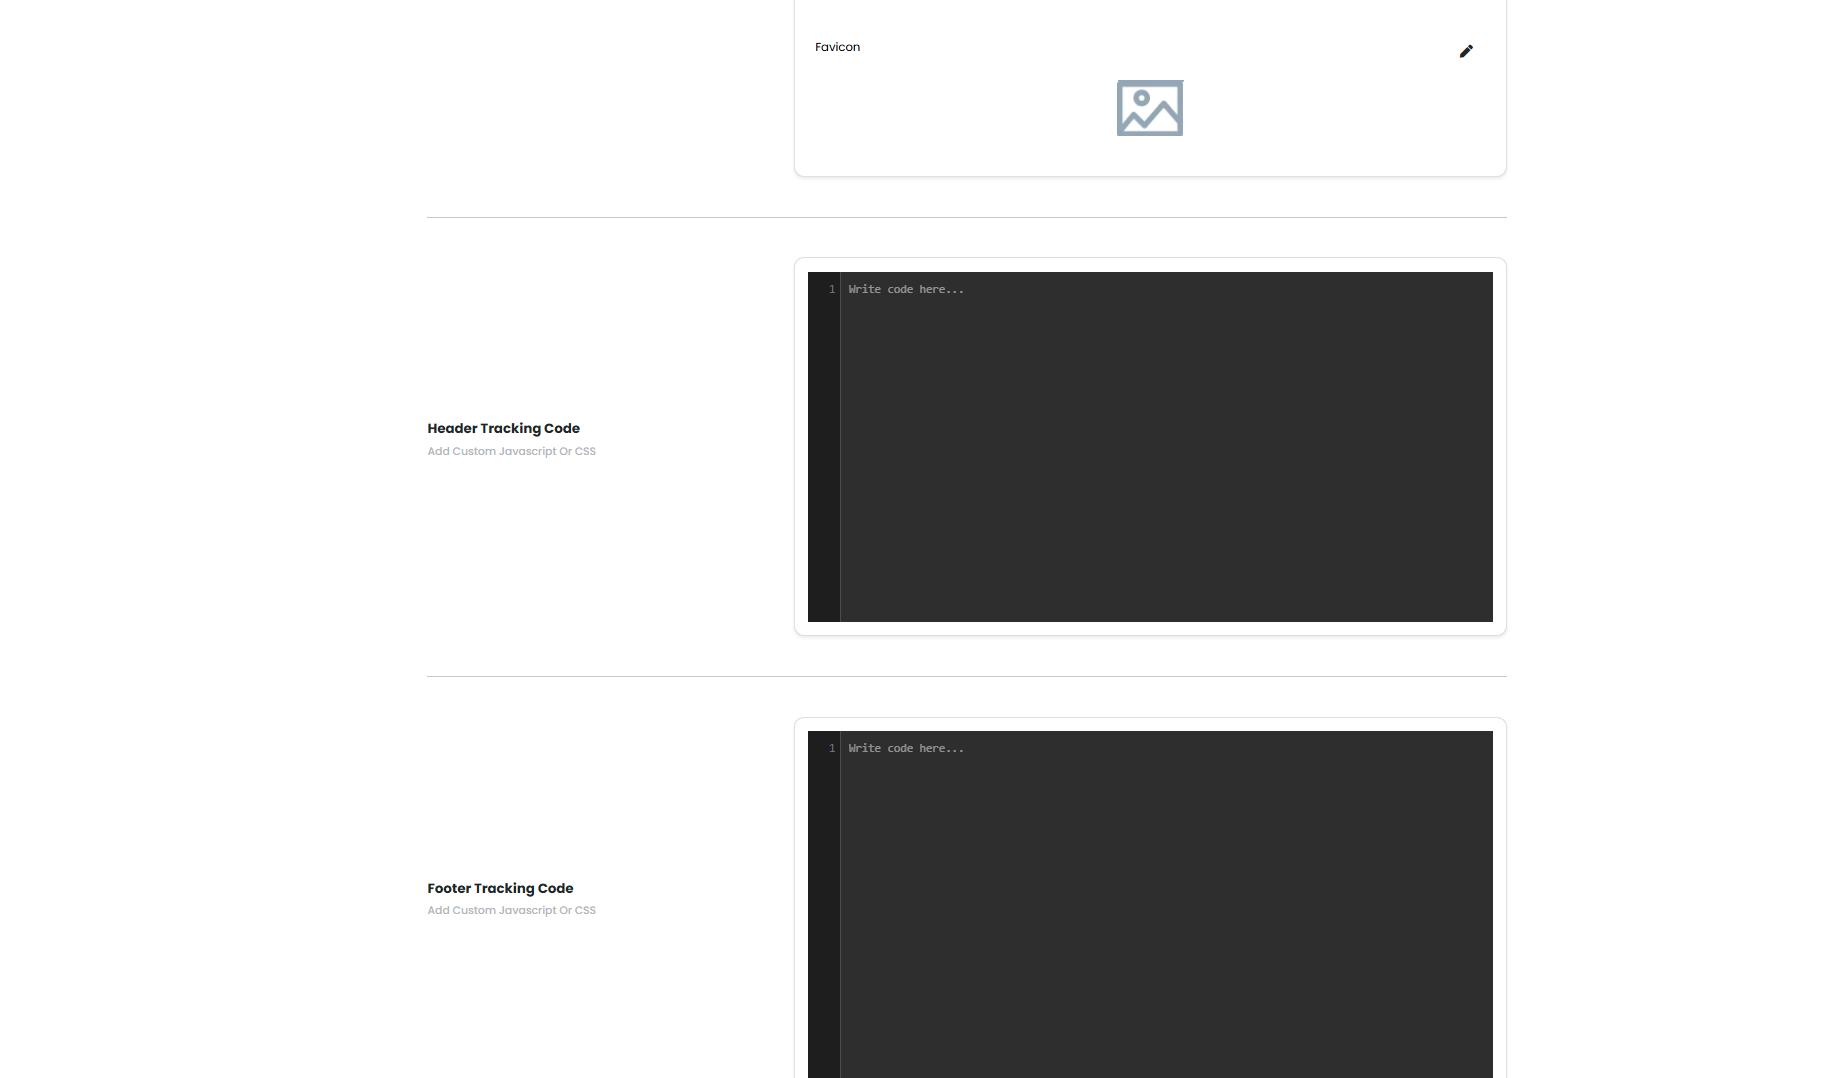
- Favicon – The small icon displayed on browser tabs.
- Header & Footer Tracking Code – Add scripts (like Google Analytics, Facebook Pixel, etc.) to track performance.
Save Your Changes
- After making all necessary changes, click Save to apply them instantly.
Quick Tips
- Ensure your thumbnail and favicon are high quality to maintain brand consistency.
- Double-check your tracking codes before saving to avoid errors in analytics.
- Review your membership settings regularly to keep your content and branding up-to-date.