How to Edit Your Emails in KeaBuilder
Managing and customizing your emails is an essential part of running effective marketing campaigns. With KeaBuilder’s Email Builder, you can easily edit your emails, personalize the content, and make design changes to ensure your message perfectly matches your brand and audience expectations.
Follow this detailed step-by-step guide to edit your emails within the CRM:
Steps to Edit Emails
Step 1: Open the CRM
- Begin by logging into your KeaBuilder account.
- On the left-hand navigation panel, locate and click on the CRM option.
- This will open your CRM dashboard where all your customer relationship management tools are located, including your email management section.

Tip: The CRM is your central hub for handling leads, contacts, lists, tags, and email communications.
Step 2: Navigate to the Emails Section
- Within the CRM dashboard, find and click on the Emails tab from the top menu.
- This will take you to your email management dashboard, where you can view all the emails you’ve created or scheduled.

Step 3: Locate the Email You Want to Edit
- From your list of emails, scroll or search to find the one you’d like to modify.
- Once you locate the desired email, click on the Edit button next to it.
- This will open the selected email inside the Email Editor so you can make changes.

Step 4: Access the Email Builder
- After clicking on Edit, you’ll be redirected to the Email Builder tool.
- Here, you can view, customize, and restructure your email’s design and content.
- The Email Builder provides an intuitive drag-and-drop interface, making it simple to update various elements.

Step 5: Customize Your Email Content
Once inside the Email Builder, you can personalize different parts of your email:
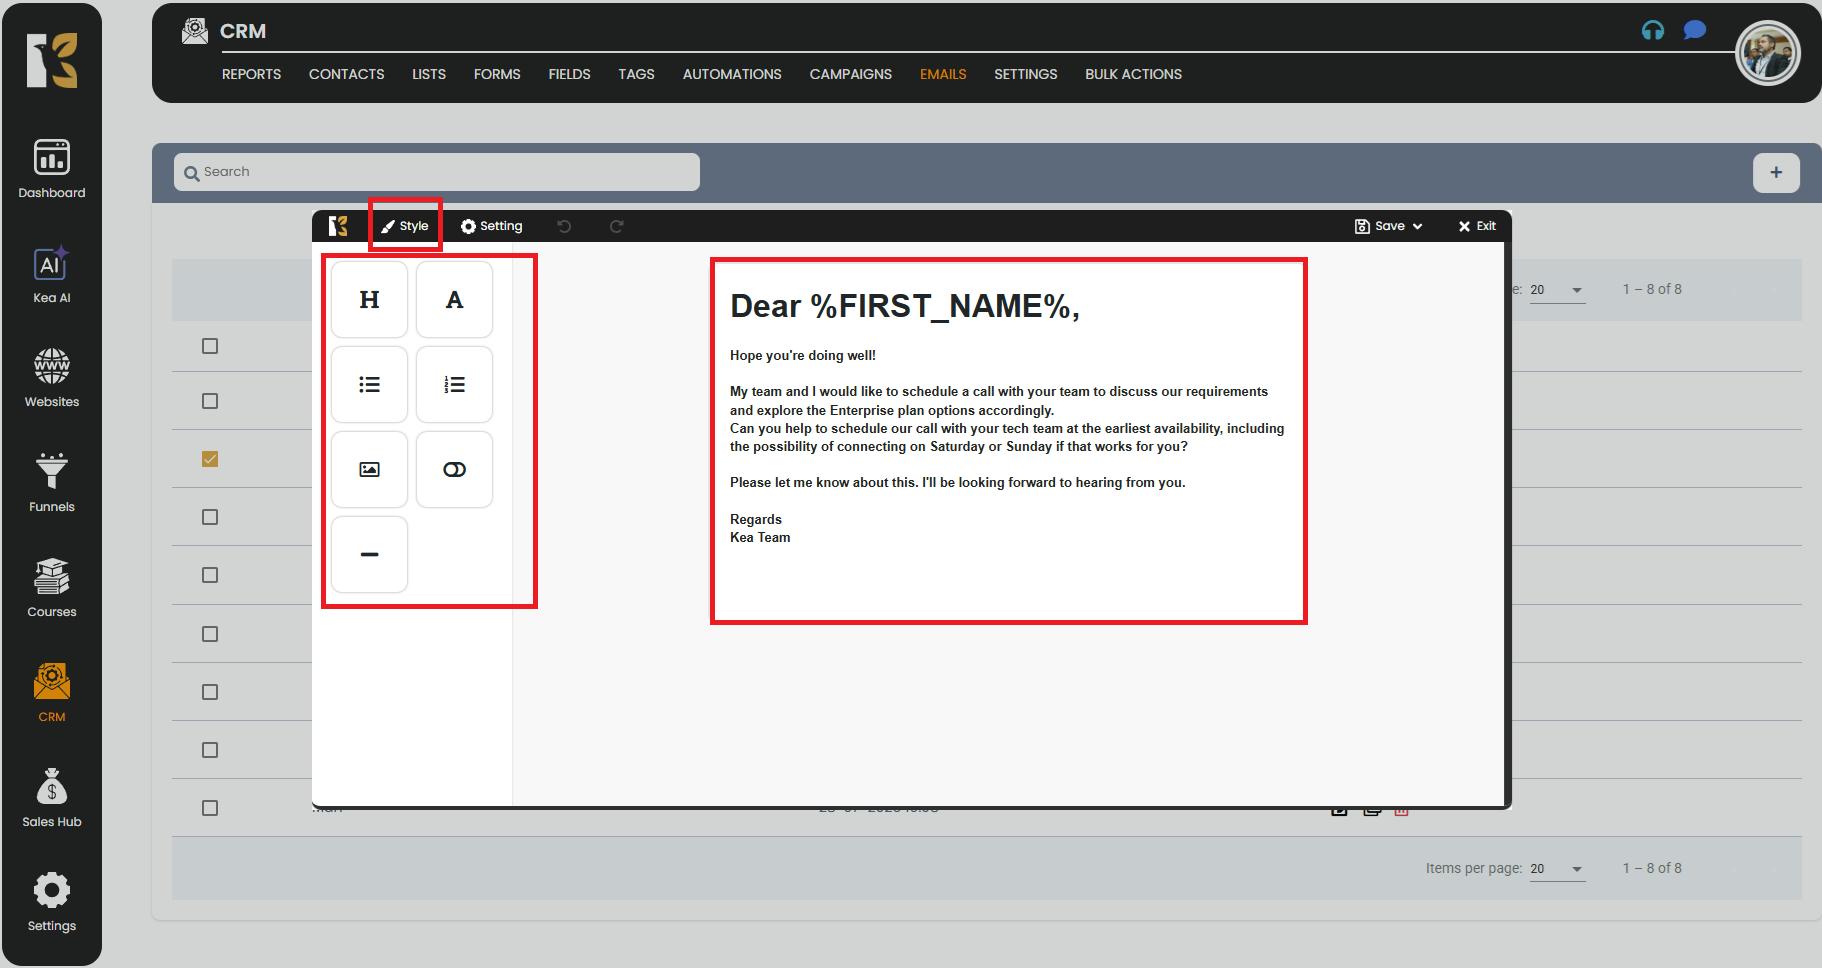
- Open the Element Panel:
- From the top horizontal menu, click on Style to open the element customization panel.
- Edit Various Components:
- Headings: Change the titles or adjust their size and styling.
- Content Blocks: Rewrite or update the email body text to better align with your goals.
- Images: Replace existing visuals or add new ones to make your email more appealing.
- Links & Buttons: Update call-to-action links, button styles, or URLs for better conversions.
- Colors & Fonts: Adjust themes and typography to keep your emails consistent with your branding.
Pro Tip: Always preview your email after making changes to ensure it looks perfect on both desktop and mobile devices.
Step 6: Save and Exit
- Once you’ve made all the desired changes, click on the Save & Exit button in the top-right corner.
- Your edits will be applied, and the updated version of the email will be available in your email dashboard.
- You can now schedule, send, or further test your email as needed.

Summary
By following these steps, you can seamlessly edit your emails in KeaBuilder and ensure they align with your marketing objectives. Whether it’s updating visuals, rewriting content, or changing links, the Email Builder gives you full control over your communication strategy.