How to Create an Invoice in KeaBuilder
Creating invoices in KeaBuilder allows you to manage your sales transactions efficiently, track payments, and maintain organized billing records for your clients. The platform simplifies the process, letting you create and customize invoices for both one-time and subscription-based products within a few clicks.
Step-by-Step Guide
Login to Your KeaBuilder Account
- Start by logging into your KeaBuilder dashboard using your credentials.
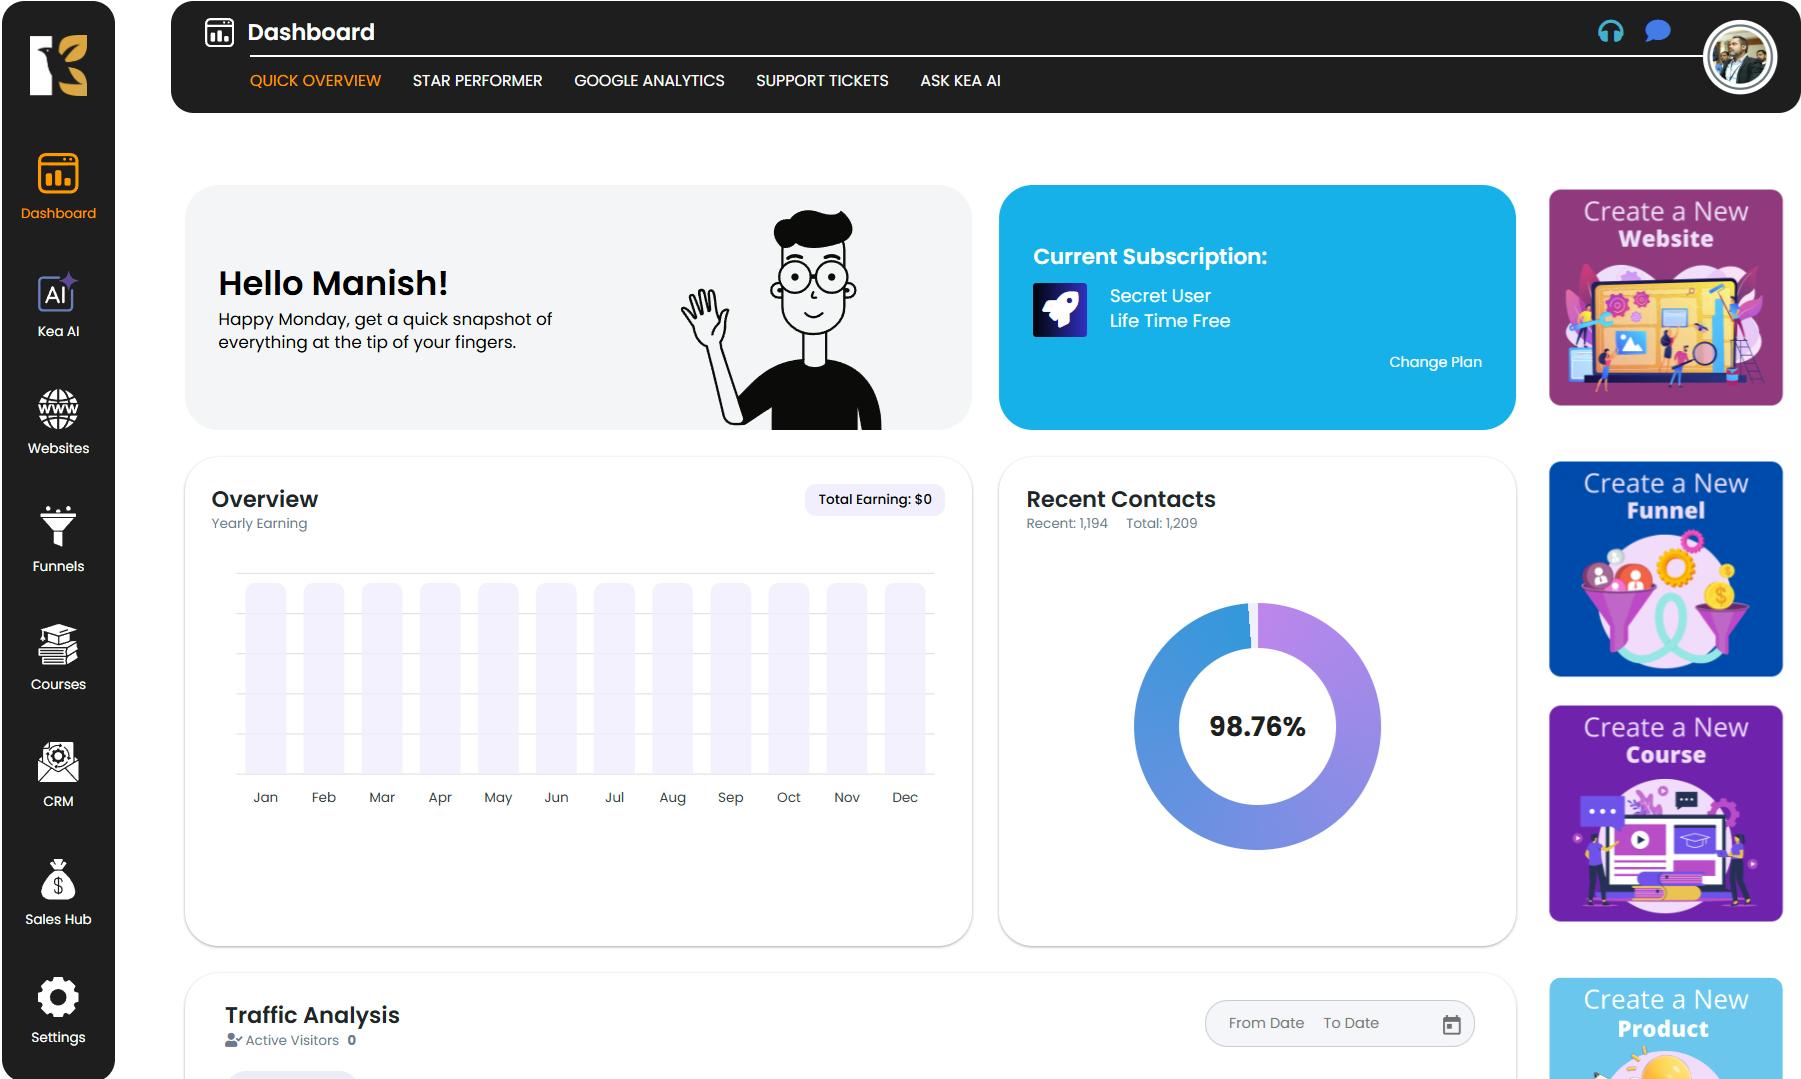
- Once logged in, you’ll land directly on the Main Dashboard, where you can access various tools and modules.
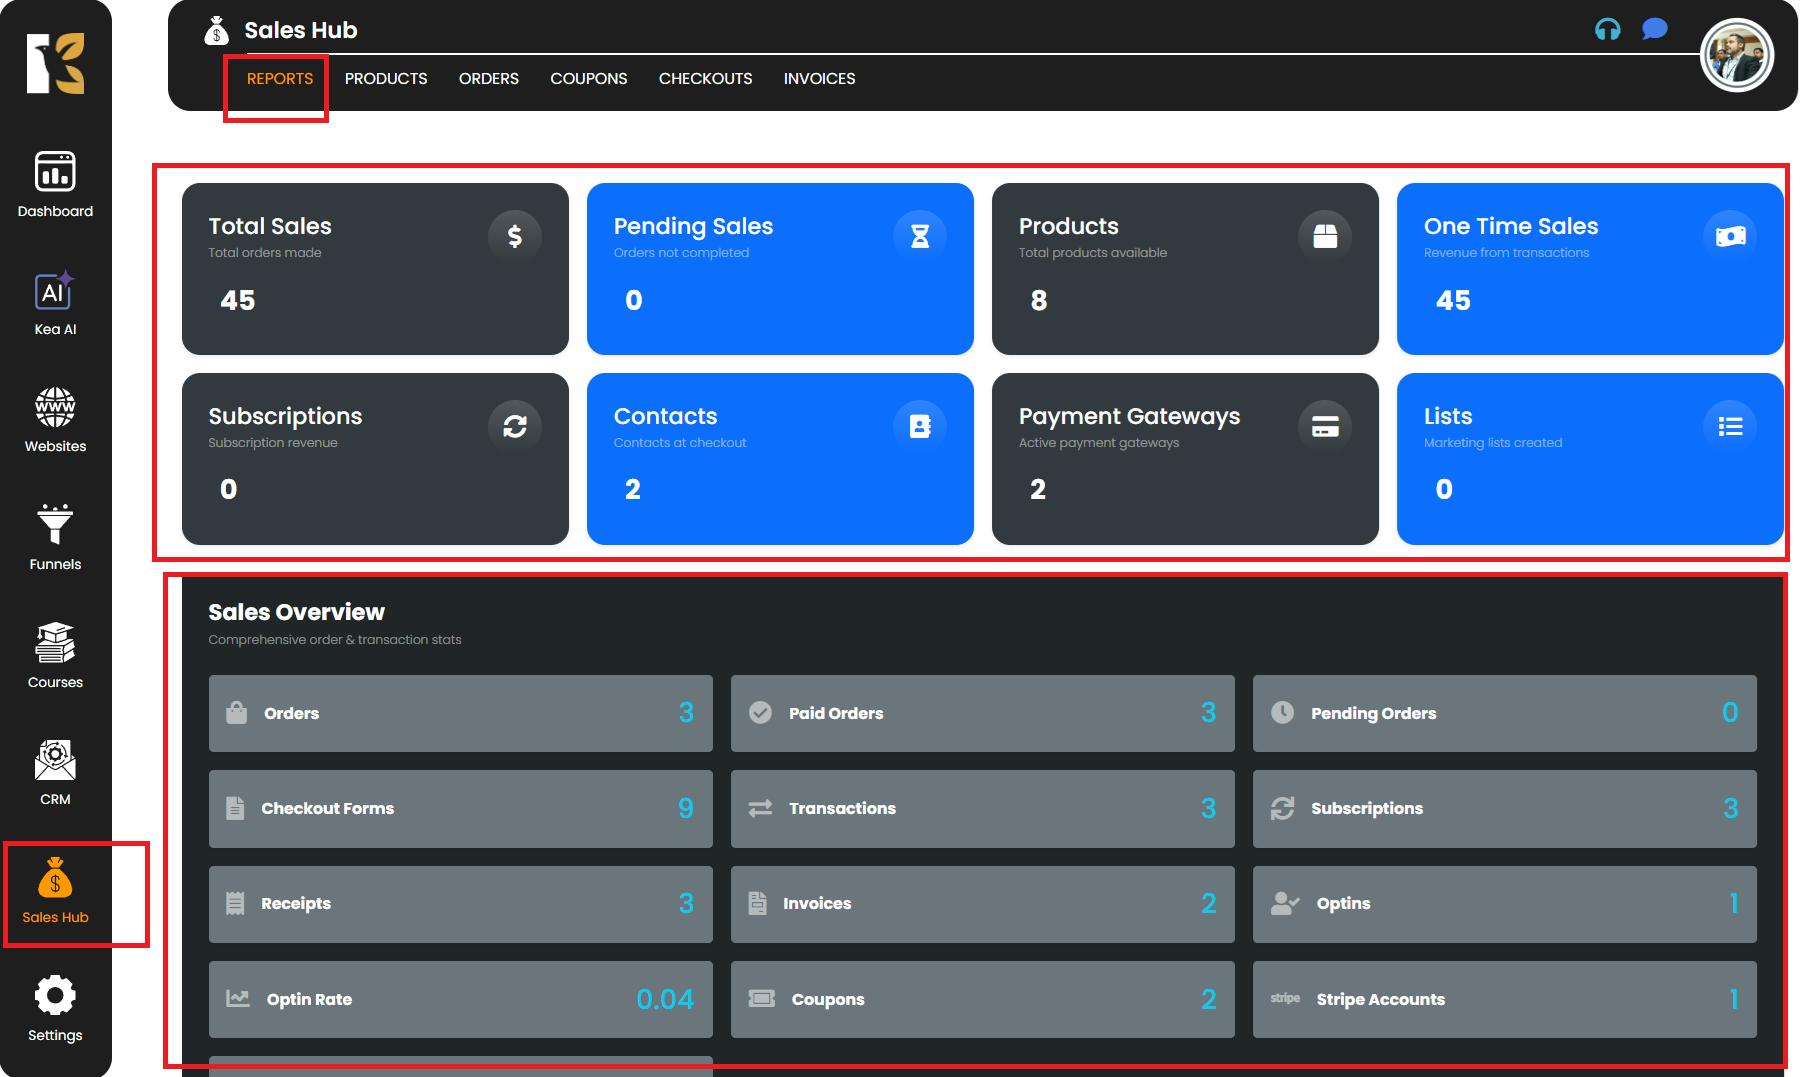
Navigate to Sales Hub
- From the Vertical Menu on the left-hand side, scroll down and click on Sales Hub.
- This section contains all sales-related modules and analytics.

View Sales Overview
- You will be redirected to the Reports Section of KeaBuilder.
- Here, you can see a summary of your business activities including:
- Total and pending sales
- Subscriptions and one-time sales
- Products available in your store
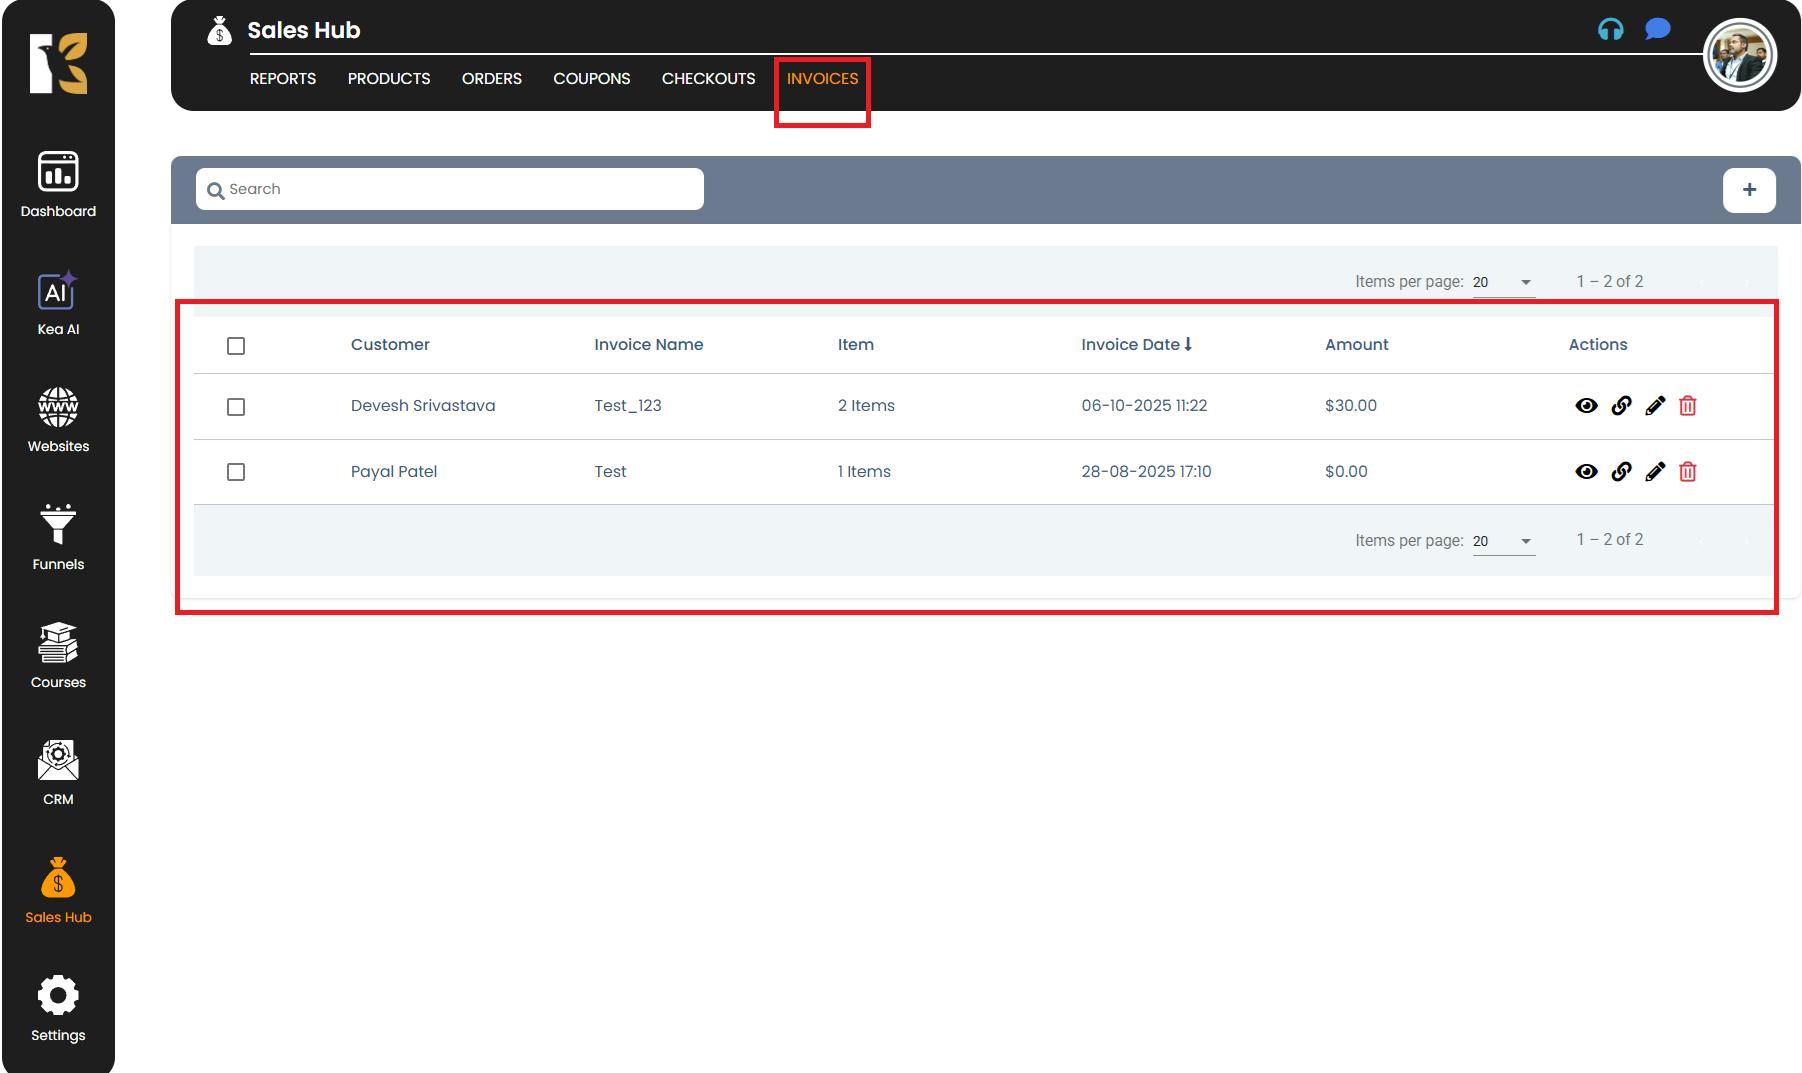
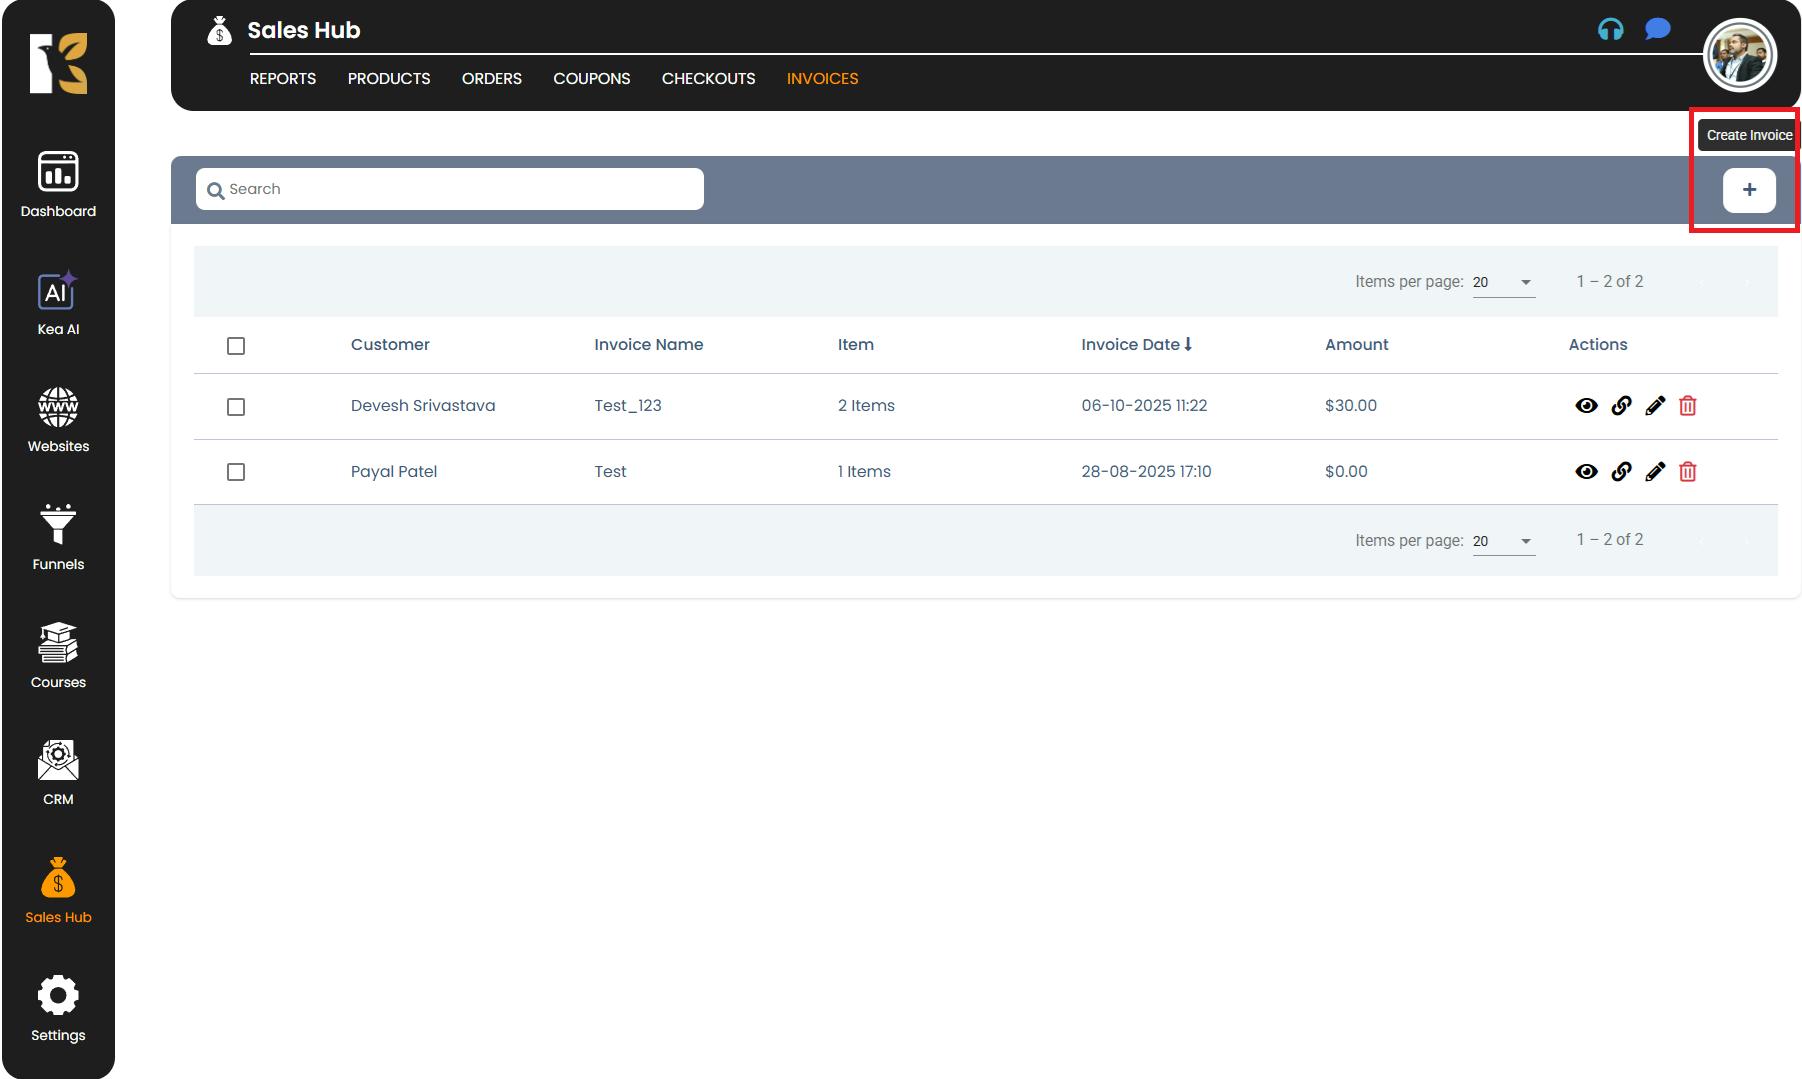
Access the Invoice Section
- Next to Reports, click on Invoices.
- You will be redirected to the Invoices Page, where you can see the list of all invoices you’ve created (if any).
- If you haven’t created any yet, the page will appear blank.
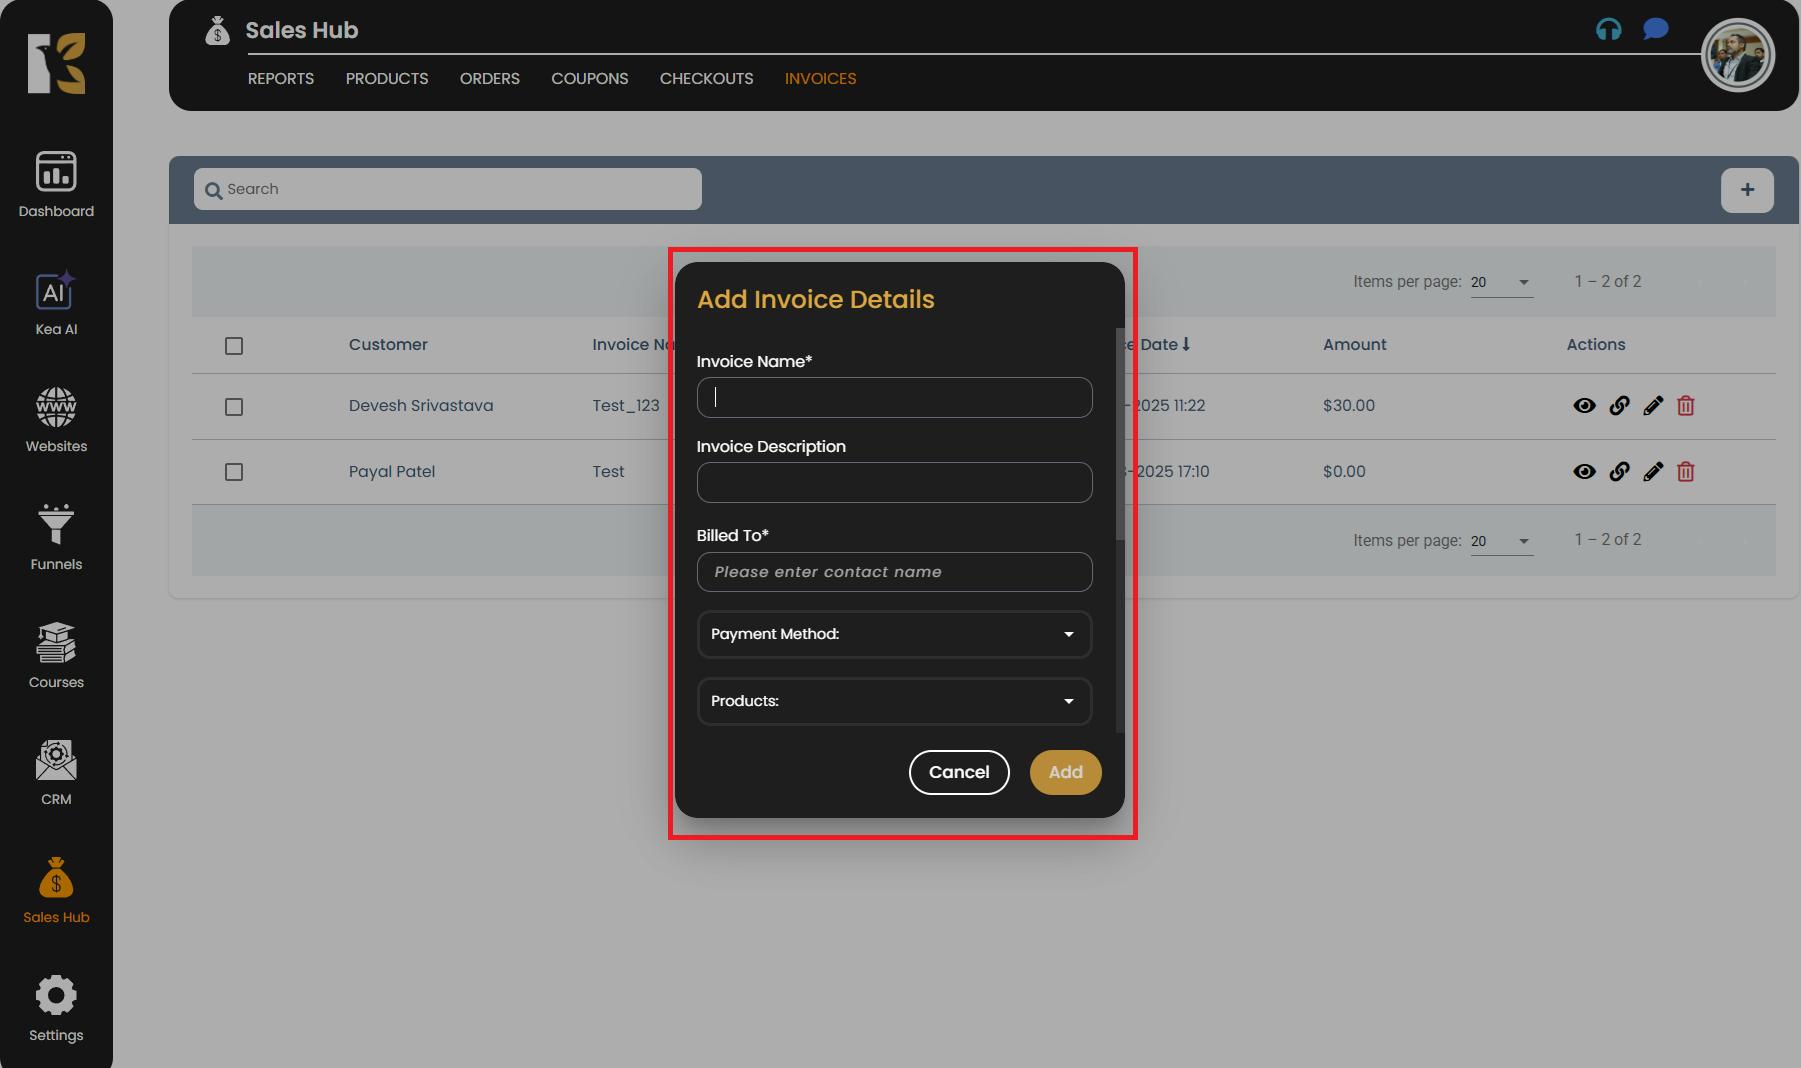
Create a New Invoice
- To create a new invoice, click on the “+” (Add New) button.
- A Pop-up window will appear prompting you to enter the necessary invoice details.
Fill in Invoice Details
Provide the following information to complete your invoice setup:
- Invoice Name – Enter a descriptive name for your invoice (e.g., “Website Design Package – March 2025”).
- Invoice Description – Add a brief explanation or reference for the transaction.
- Billed To – Start typing the client’s name and select the appropriate contact from the dropdown list (linked to your contact list).
- Payment Method – Choose the payment gateway (Stripe, PayPal, etc.) from the dropdown options.
- Products – Select the product you are billing for (from the connected product list).
- New Product Option – If the product isn’t listed, click on New Product to create and add it instantly.
- Subscription Price – Choose one or multiple subscriptions (if applicable) from the dropdown menu.
- Add Note – Include additional information, instructions, or internal notes for clarity.
- Test/Live Mode – Toggle between Test Mode (for testing invoice setup) or Live Mode (for actual client transactions).
Pro Tips
- Use descriptive invoice names to easily identify them later (include date or project name).
- Double-check billing details before saving to avoid errors in client records.
- If using multiple currencies or payment gateways, ensure each invoice reflects the correct settings.
- You can use Test Mode first to verify the payment workflow before sending it to clients.
- Regularly review your Invoices Page to track pending or failed payments.