How to Delete a Campaign
Managing campaigns within the CRM is crucial to keeping your marketing data clean and organized. There might be times when you need to remove outdated or unnecessary campaigns from your dashboard. Follow the detailed steps below to delete a campaign safely and effectively.
Steps to Delete a Campaign
Step 1: Open the CRM Panel
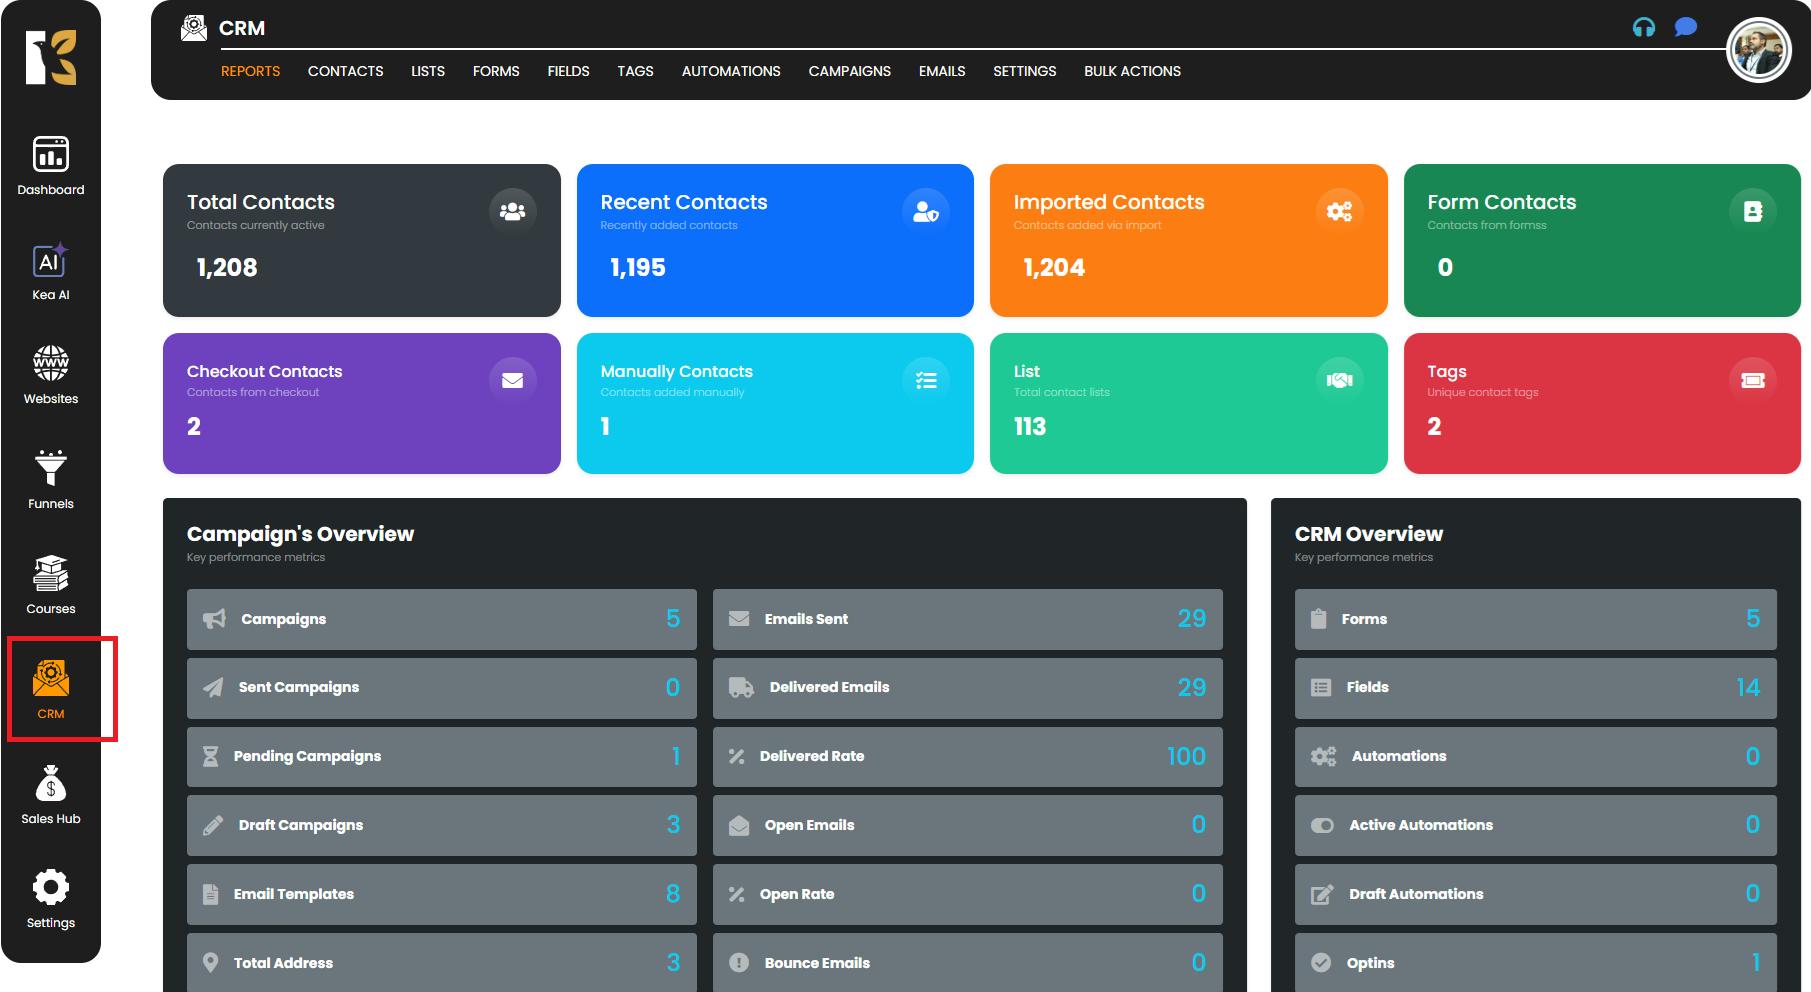
- From your dashboard, navigate to the side menu.
- Click on the “CRM” option to open your CRM workspace.
Step 2: Access the Campaigns Section
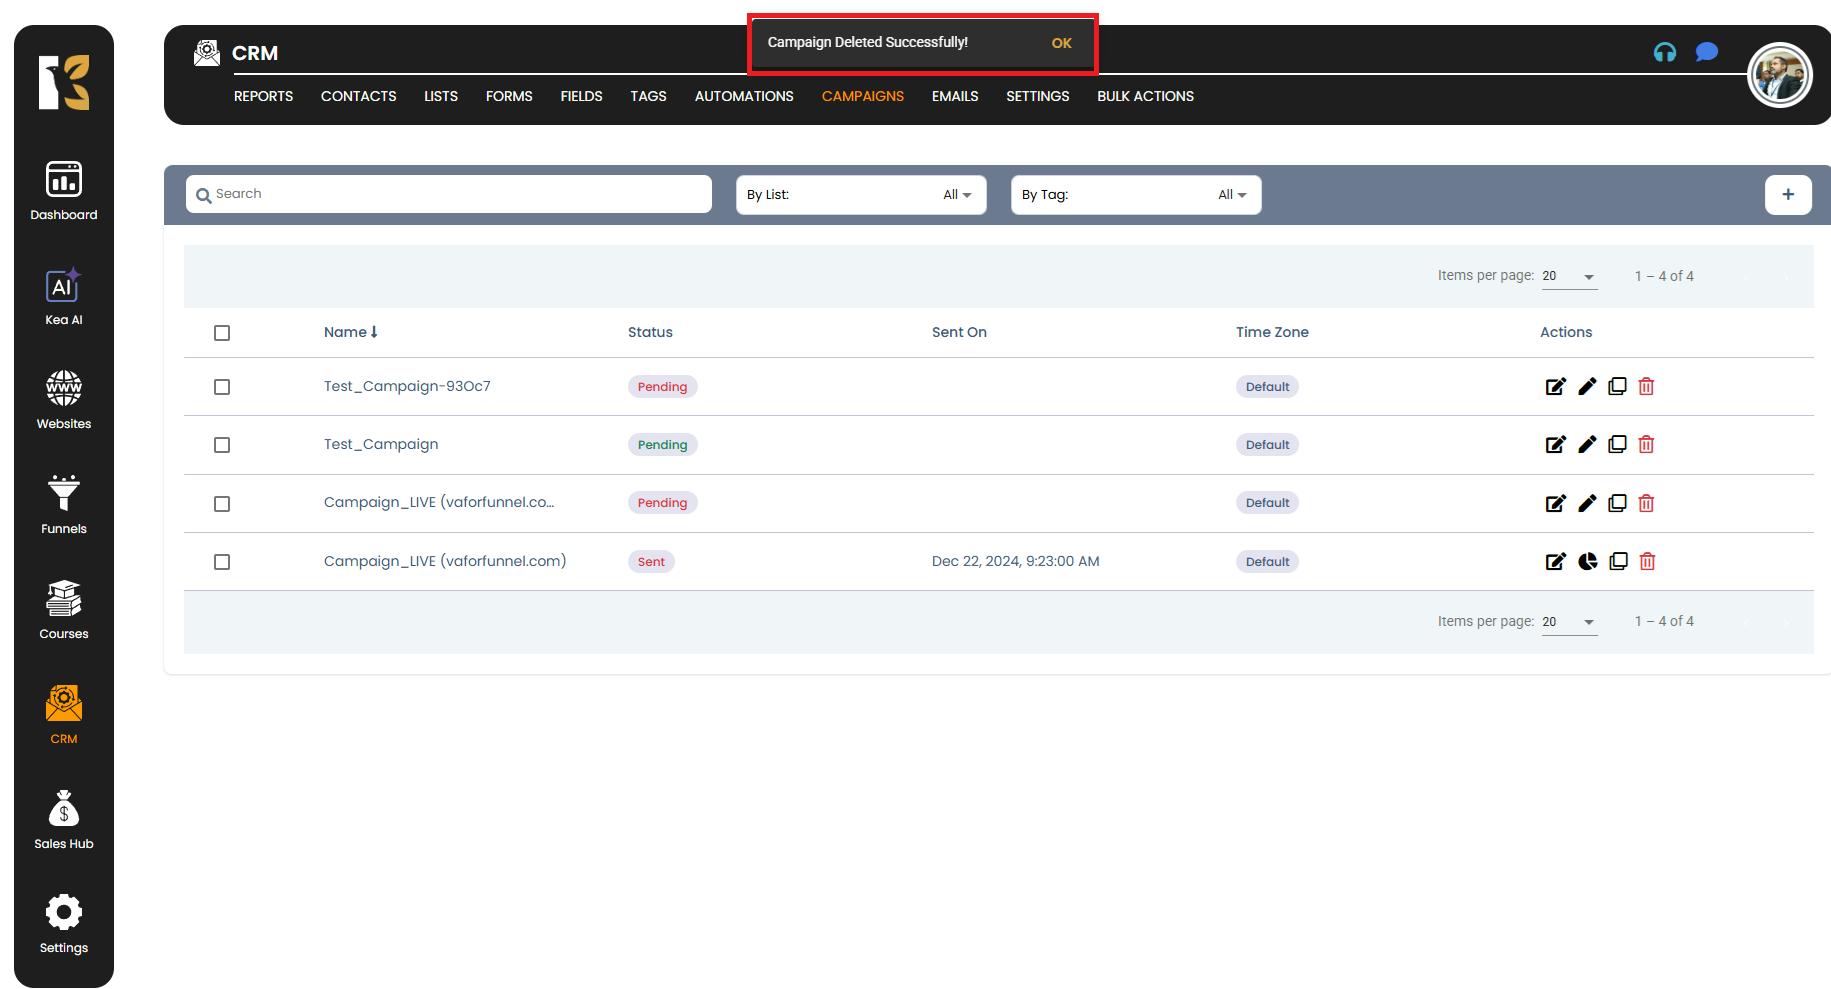
- Within the CRM panel, click on the “Campaign” tab.
- This will take you to the Campaigns Dashboard, where all your active, scheduled, and completed campaigns are listed.
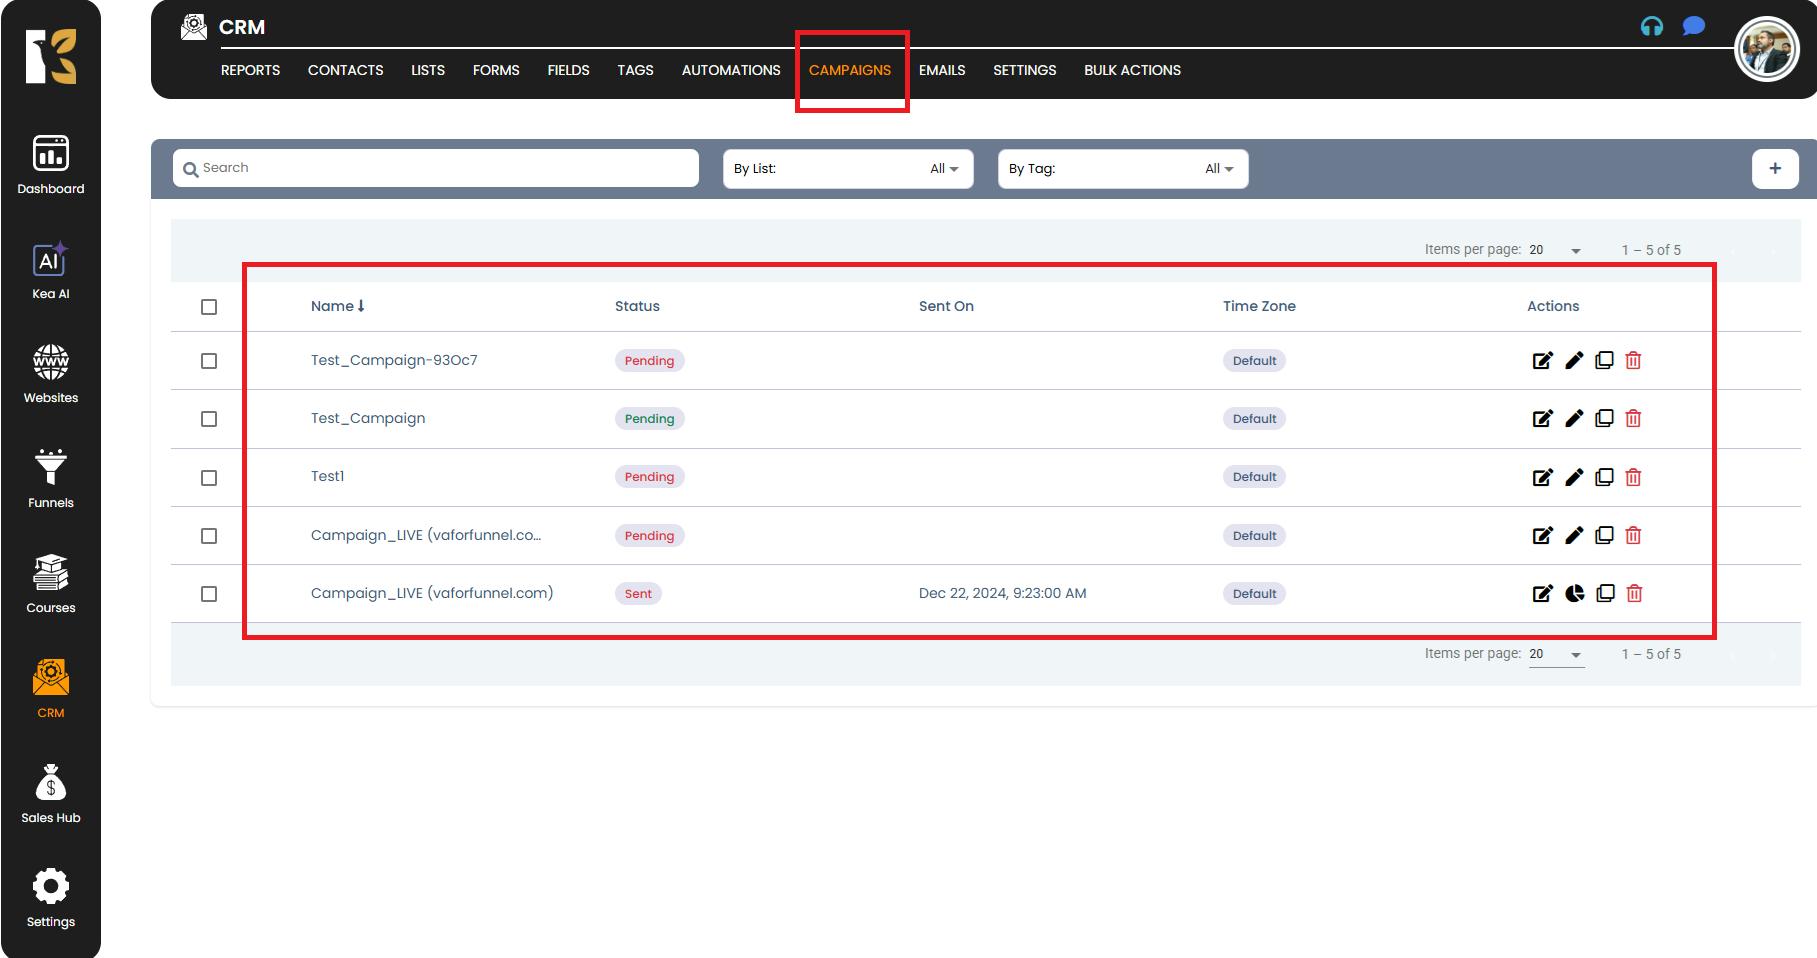
Step 3: Locate the Campaign You Want to Delete
- Scroll through the list of campaigns to find the specific campaign you want to remove.
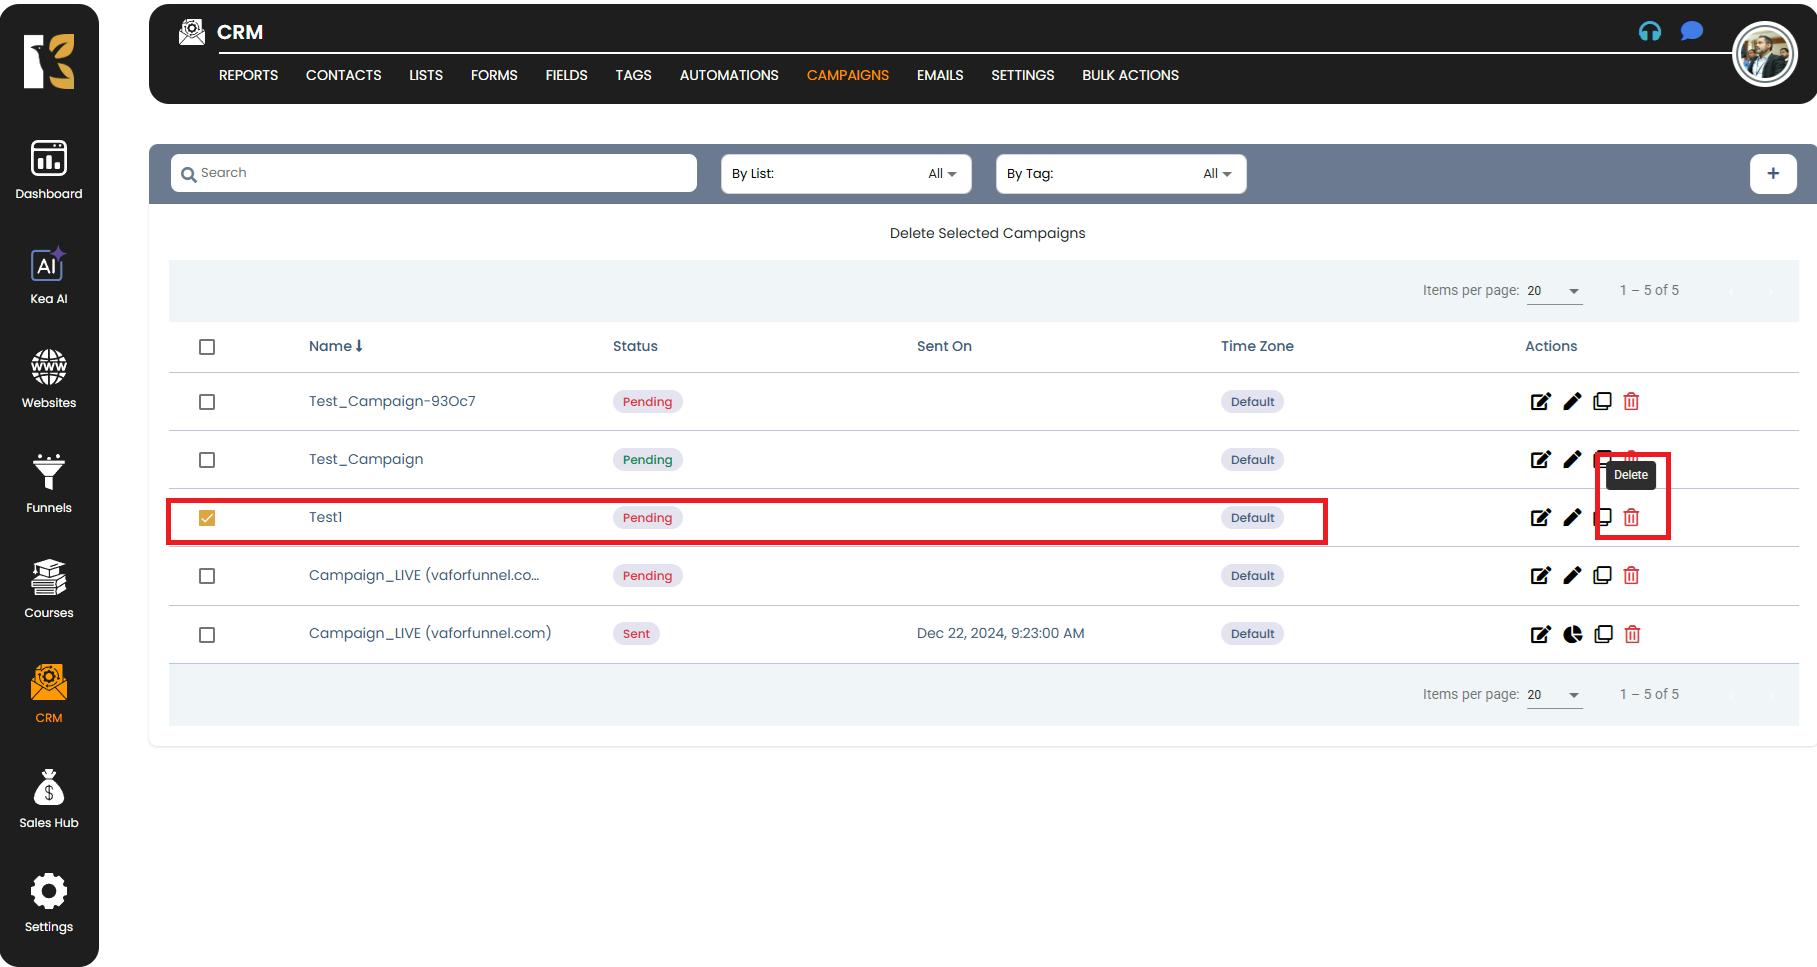
- Once located, go to the extreme right side of that campaign row.
- Click on the Delete icon (represented by a bin/trash icon).
Step 4: Confirm the Deletion
- Upon clicking the delete icon, a confirmation popup will appear.
- The system will prompt you to confirm if you really want to delete the selected campaign.
- Carefully review before proceeding, as this action cannot be undone.
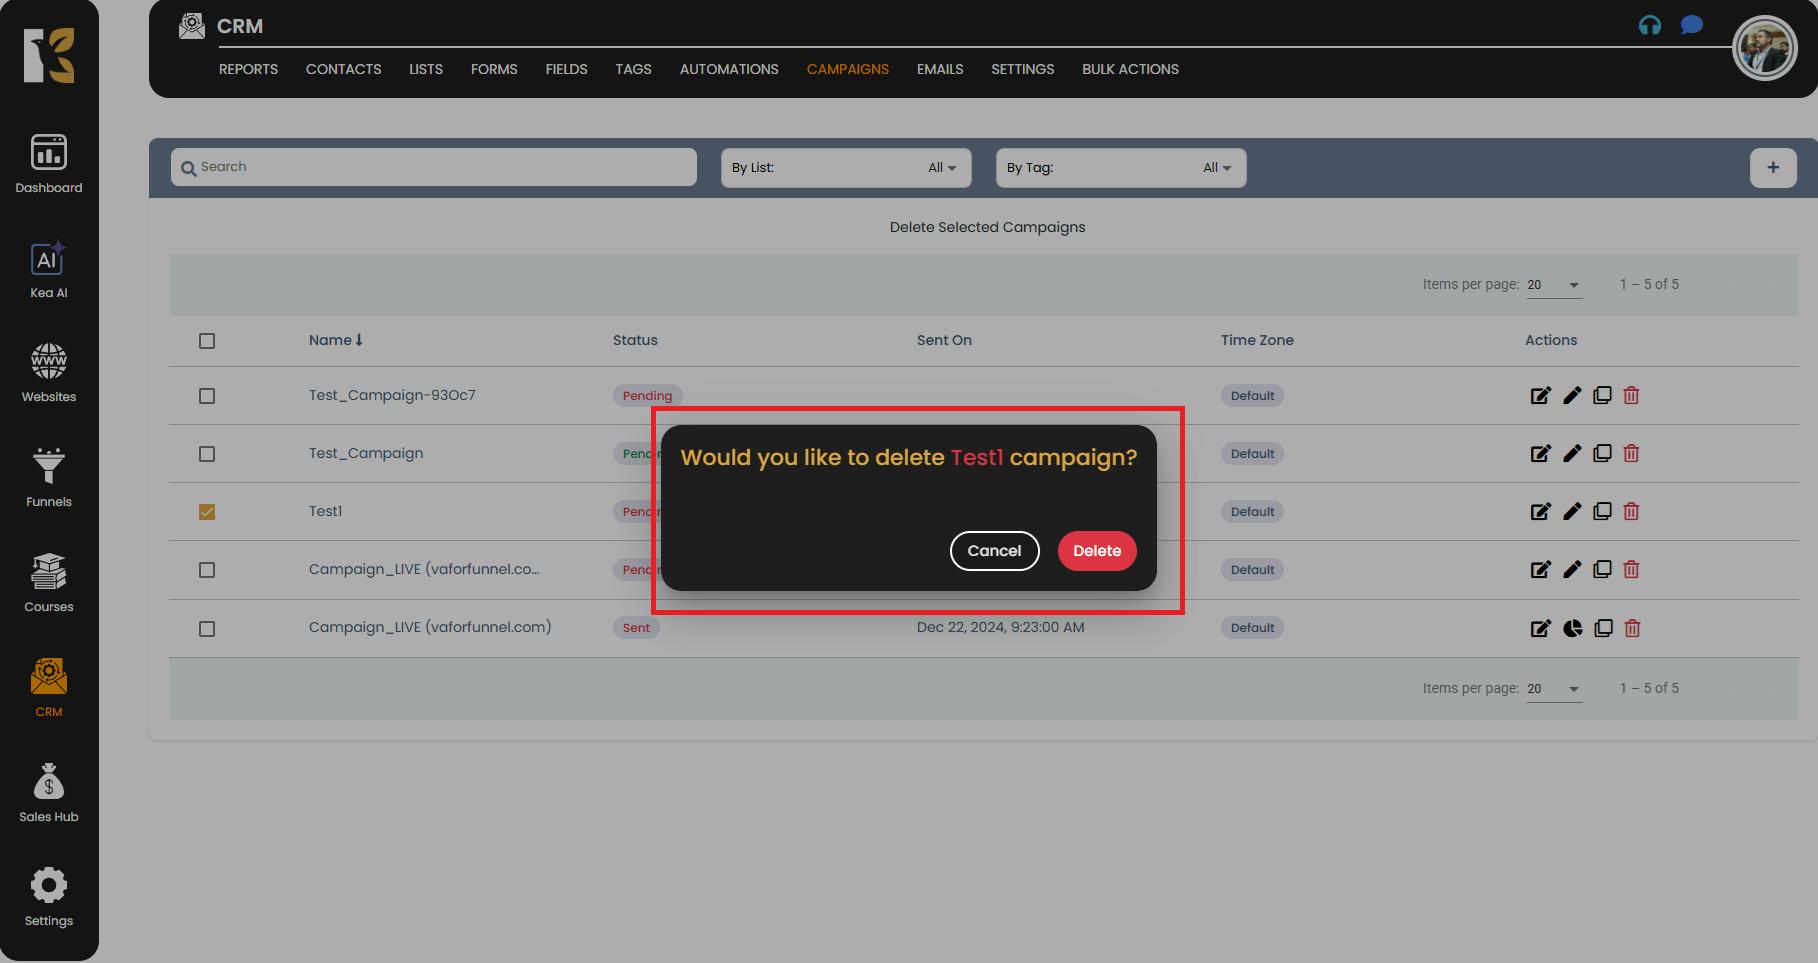
Step 5: Delete the Campaign
- Click on the “Confirm” or “Delete” button in the popup.
- The selected campaign will be permanently deleted from your campaigns list.
Important Notes
- Once deleted, a campaign cannot be recovered. Ensure you double-check before deletion.
- If the campaign contains associated contacts or reports, make sure to export necessary data before removing it.
- For bulk campaign deletion, repeat the same process for each campaign you want to remove.