How to Test a Campaign
Before launching your campaign, it’s important to test it to ensure everything—from content to design—is functioning as intended. Testing helps you preview the campaign as your recipients will see it and catch any errors before sending it live.
👣 Step-by-Step Guide: Test a Campaign
🔹 Step 1: Access the Campaign Panel
Navigate to the CRM panel via the side menu or top navigation bar.
Click on the “Campaigns” button to view your existing campaigns.

🔹 Step 2: Edit the Campaign
Find the campaign you want to test.
Click on the “Edit” button beside that campaign.
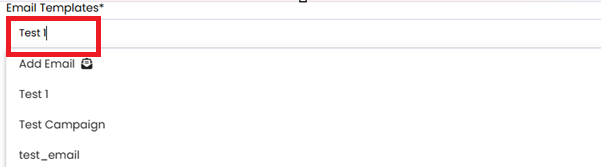
🔹 Step 3: Design Your Campaign
In the “Email Templates” section, add your email templates and relevant content.

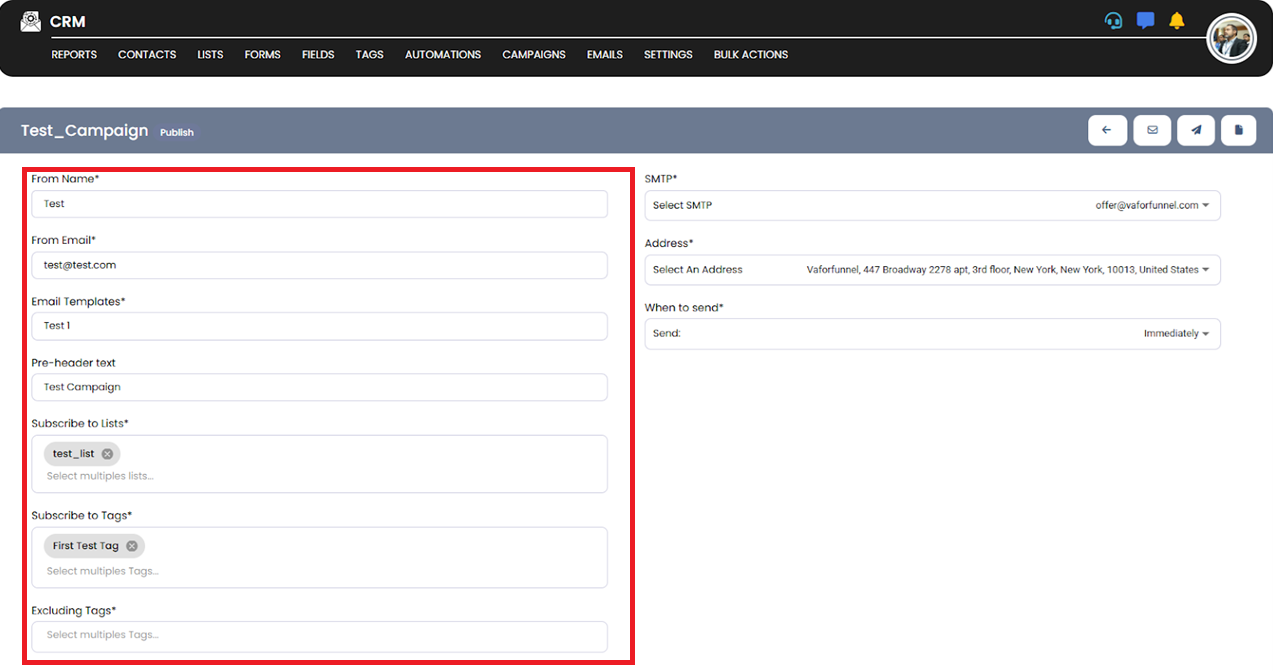
🔹 Step 4: Fill in Campaign Settings
Complete the required fields under the Campaign Settings section, such as:
- From Email
- From Name
- Email Template
- Pre-header Text
- Subscribe to List
- Subscribe to Tags
- Excluding Tags
- SMTP
- Address
- When to Send

🔹 Step 5: Initiate the Test
Click the “Test” button to begin a test run.
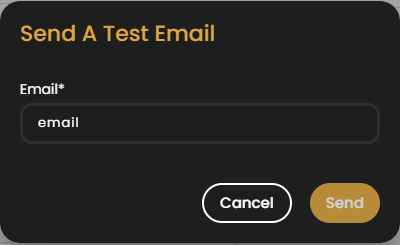
🔹 Step 6: Enter Test Email Address
A dialog box will appear prompting you to enter an email address.
Add the recipient email address where you want to send the test.
🔹 Step 7: Send the Test
Click “Send” to dispatch the test campaign.

✅ Step 8: Confirmation
You’ll receive a confirmation message, and the test email will be delivered to the provided inbox.

💡 Pro Tip:
Always test campaigns with multiple email addresses (Gmail, Outlook, etc.) to ensure proper rendering across platforms.