KeaBuilder Zapier Integration
Overview
The KeaBuilder Zapier integration allows you to connect KeaBuilder with 5,000+ apps on Zapier and automate workflows without writing any code. Using this integration, you can automatically sync data, trigger actions, and streamline operations such as lead management, email notifications, CRM updates, and internal workflows.
This guide walks you through the complete process of setting up and using the KeaBuilder Zapier integration.
Step 1: Access KeaBuilder on Zapier
- Log in to your Zapier account.
- Click on the “Create” button in the left menu.
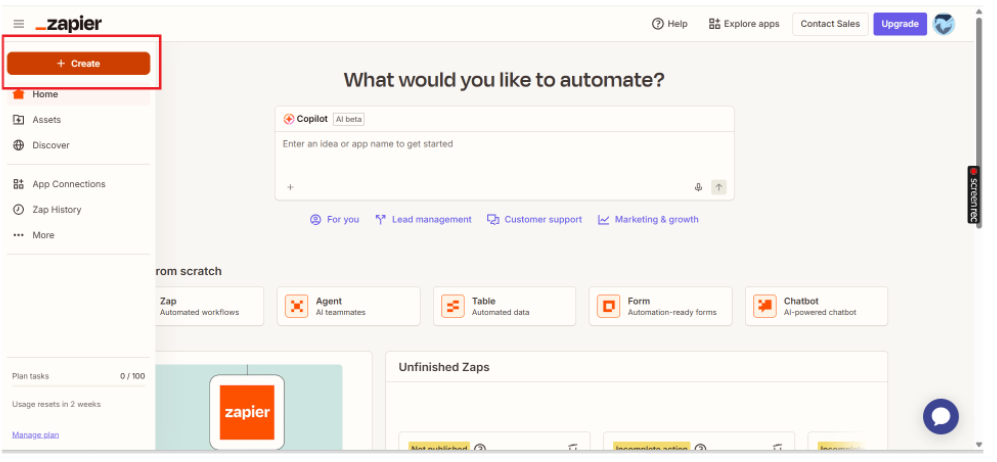
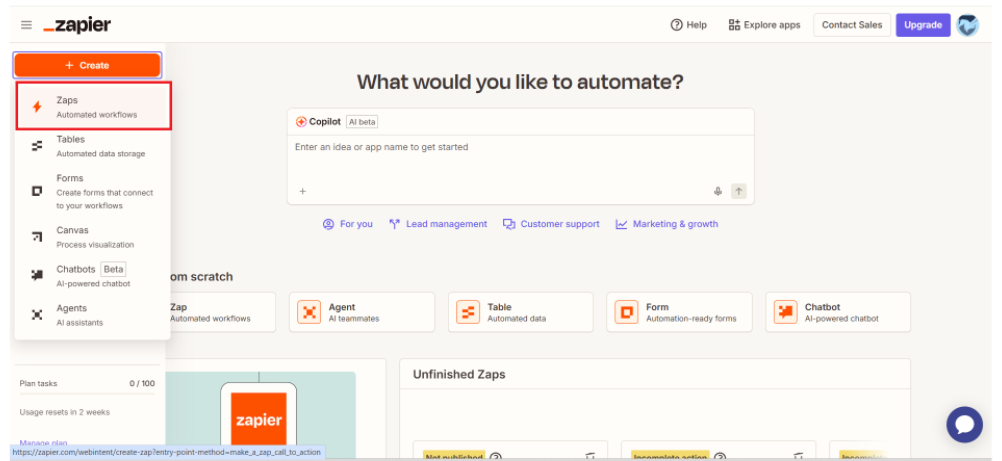
- Click on “Zaps” option.
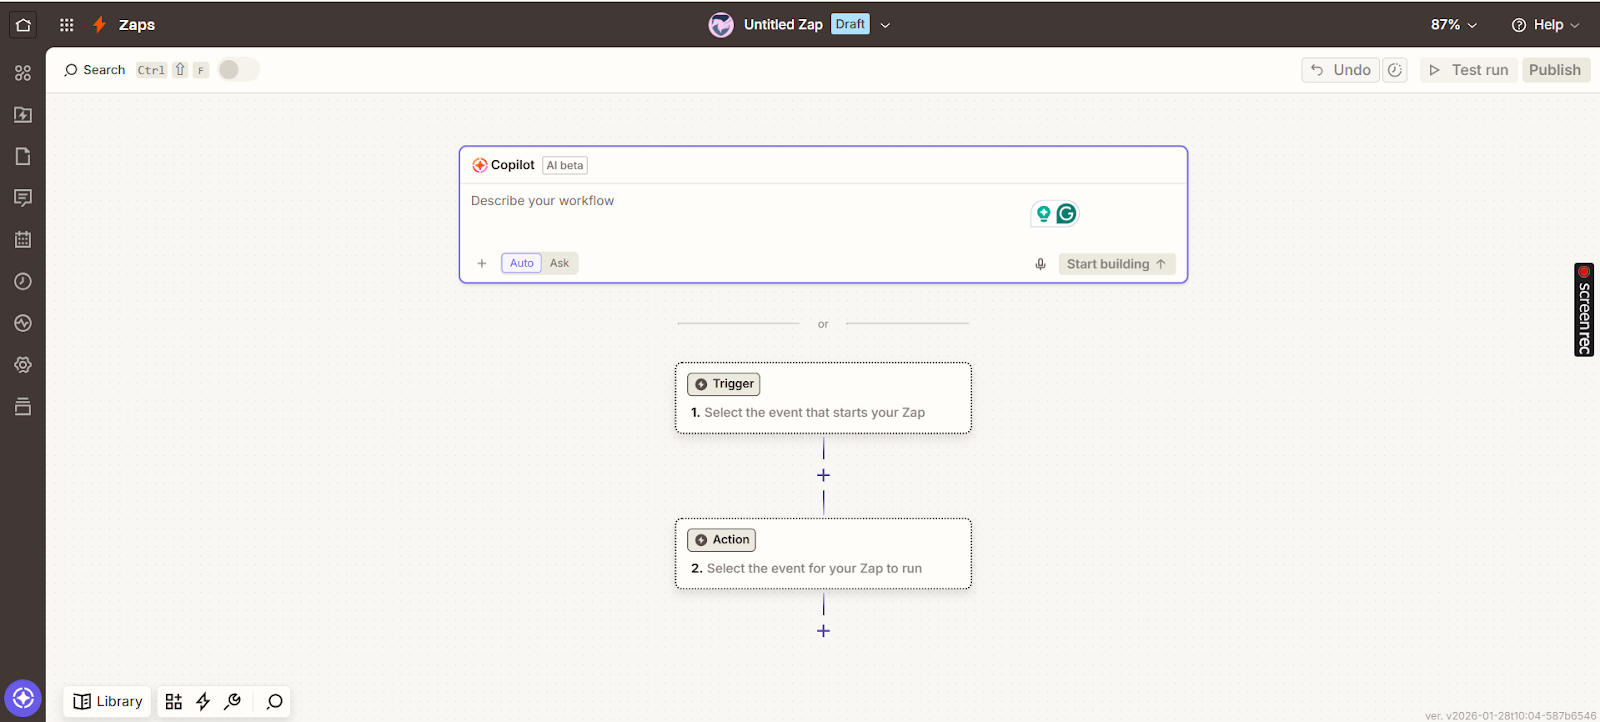
Step 2: Choose Trigger or Action
- You will be asked to choose a Trigger App.
- Select KeaBuilder as the trigger or action app (depending on your use case).
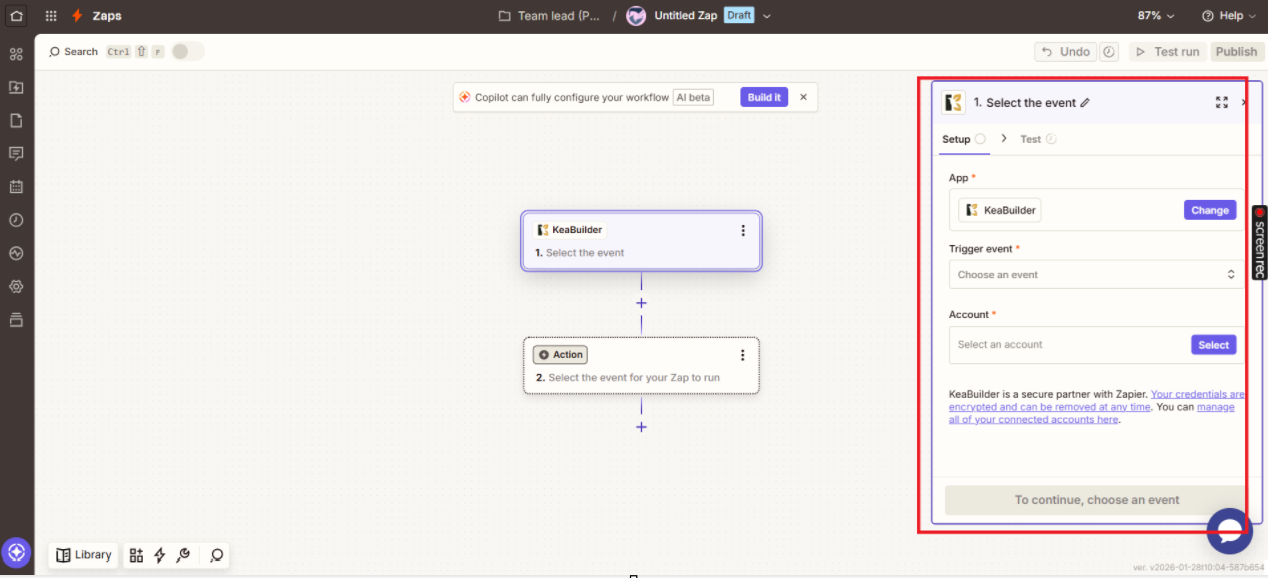
Step 3: Choose a Trigger Event (From KeaBuilder)
After selecting KeaBuilder, choose the trigger event you want to use.
Common examples include:
- New lead created
- New user registered
- New record added
- Data updated inside KeaBuilder
Click Continue once the trigger event is selected.
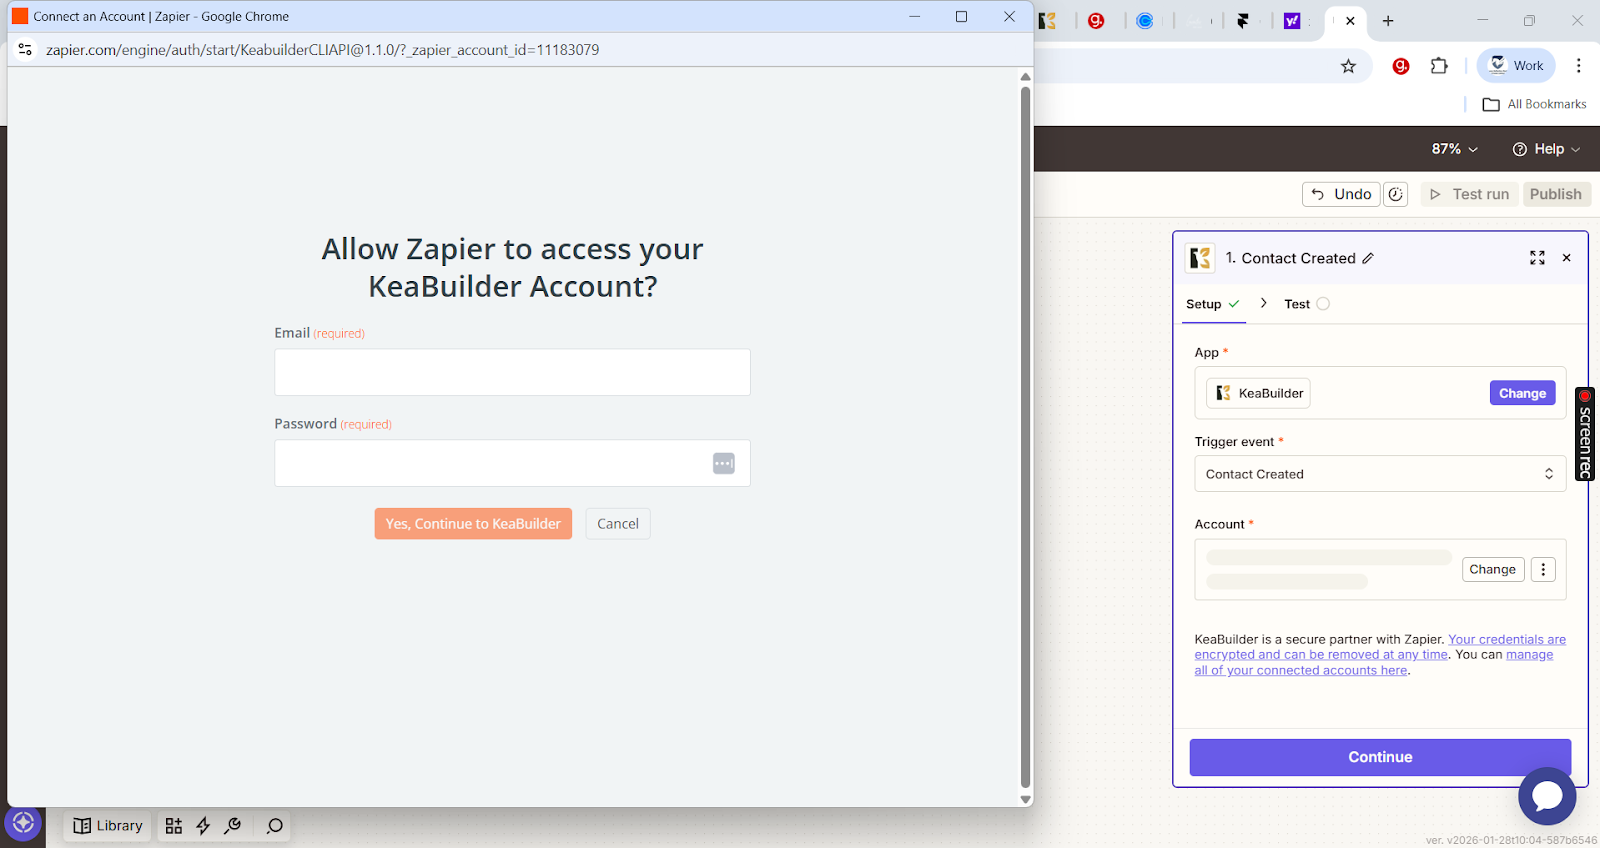
Step 4: Connect Your KeaBuilder Account
- Click Sign in to KeaBuilder.
- A popup window will appear asking for authentication.
- Enter your KeaBuilder API key or login credentials (as prompted).
- Approve Zapier’s access to your KeaBuilder account.
- Once connected, select the correct KeaBuilder account and click Continue.
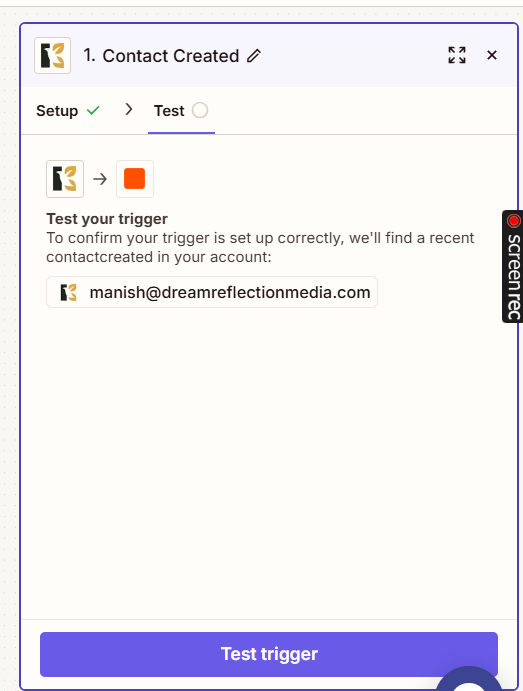
Step 5: Set Up Trigger Details
- Configure any required trigger fields (for example, workspace, project, or data source).
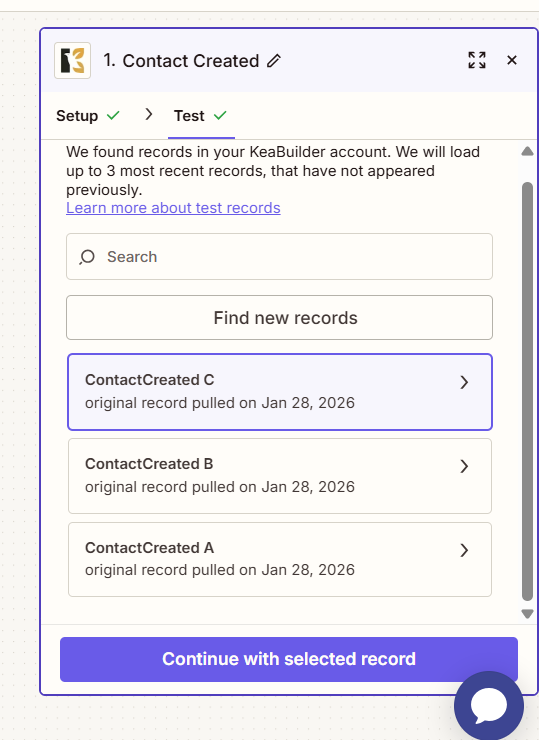
- Click Test Trigger.
- Zapier will pull sample data from KeaBuilder to confirm the connection is working.
If the test is successful, click Continue.
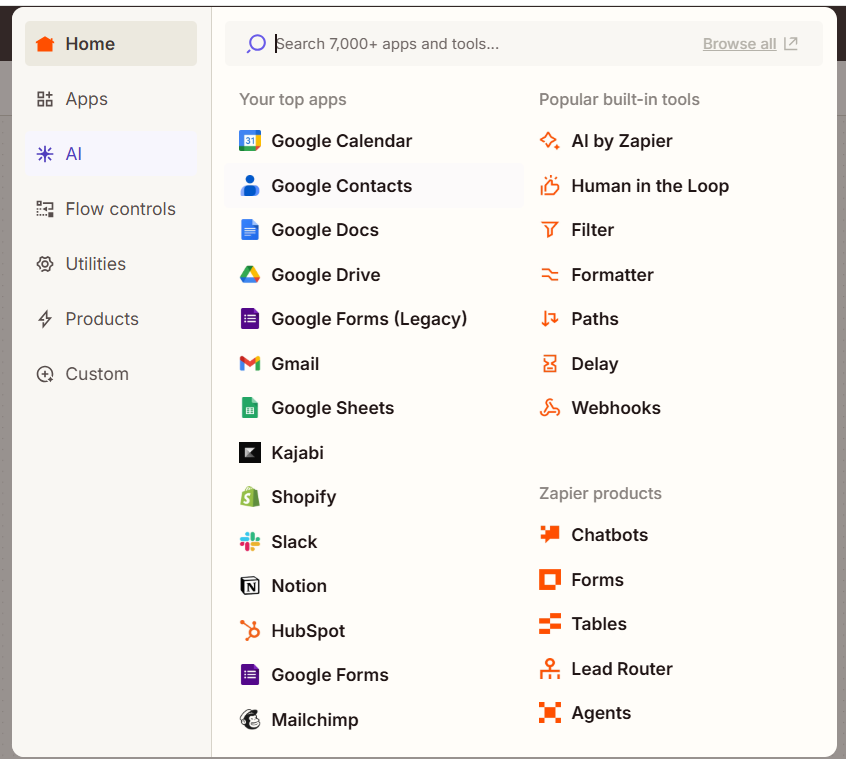
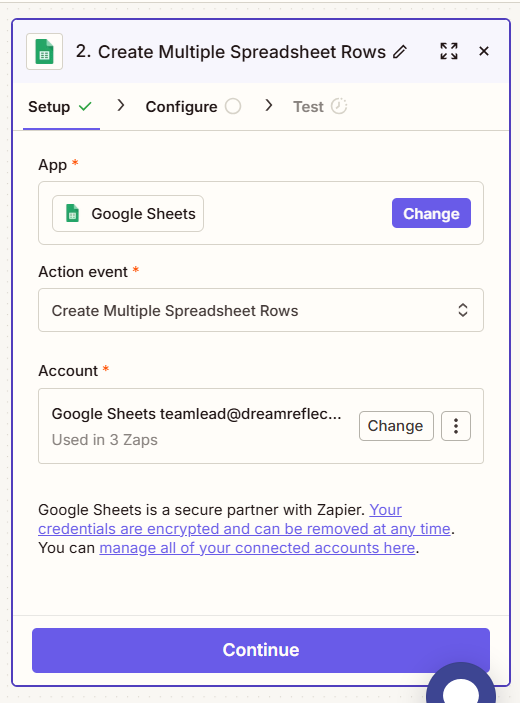
Step 6: Choose an Action App
- Select the app where you want the data from KeaBuilder to go.
- Google Sheets (add a new row)
- Slack (send a notification)
- CRM tools (create/update contact)
- Email platforms (send automated emails)
- Choose the action event and click Continue.
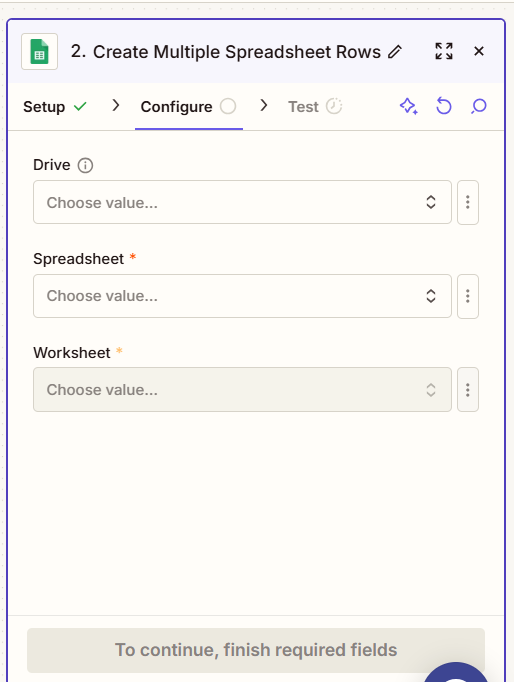
Step 7: Configure Action Settings
- Map the KeaBuilder data fields to the corresponding fields in the action app.
- Customize values as needed using Zapier’s field editor.
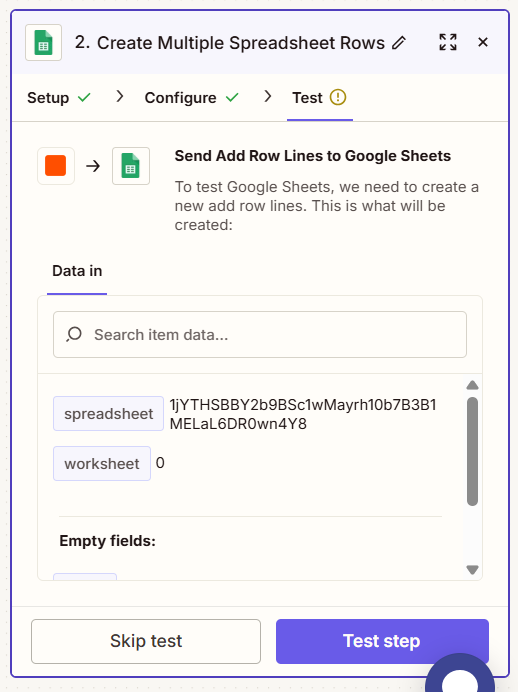
- Click Test Action to ensure everything works correctly.
Step 8: Turn On the Zap
- Review your Zap configuration.
- Give your Zap a clear name (e.g., “KeaBuilder → Google Sheets Lead Sync”).
- Toggle the Zap ON.
Your automation is now live.