How to Import a Webpage in KeaBuilder
KeaBuilder makes it simple to reuse and migrate webpages from one website to another without needing to recreate designs from scratch. By using the Transfer Token system, you can securely share and import a page into another project or account within just a few clicks.
This is especially useful if you:
- Manage multiple websites with similar layouts.
- Want to quickly reuse a landing page, sales page, or contact form.
- Collaborate with team members or clients who are using separate KeaBuilder accounts.
Below is the step-by-step guide to importing a webpage in KeaBuilder:
Step 1: Log in to KeaBuilder
- Visit KeaBuilder and log in using your credentials.
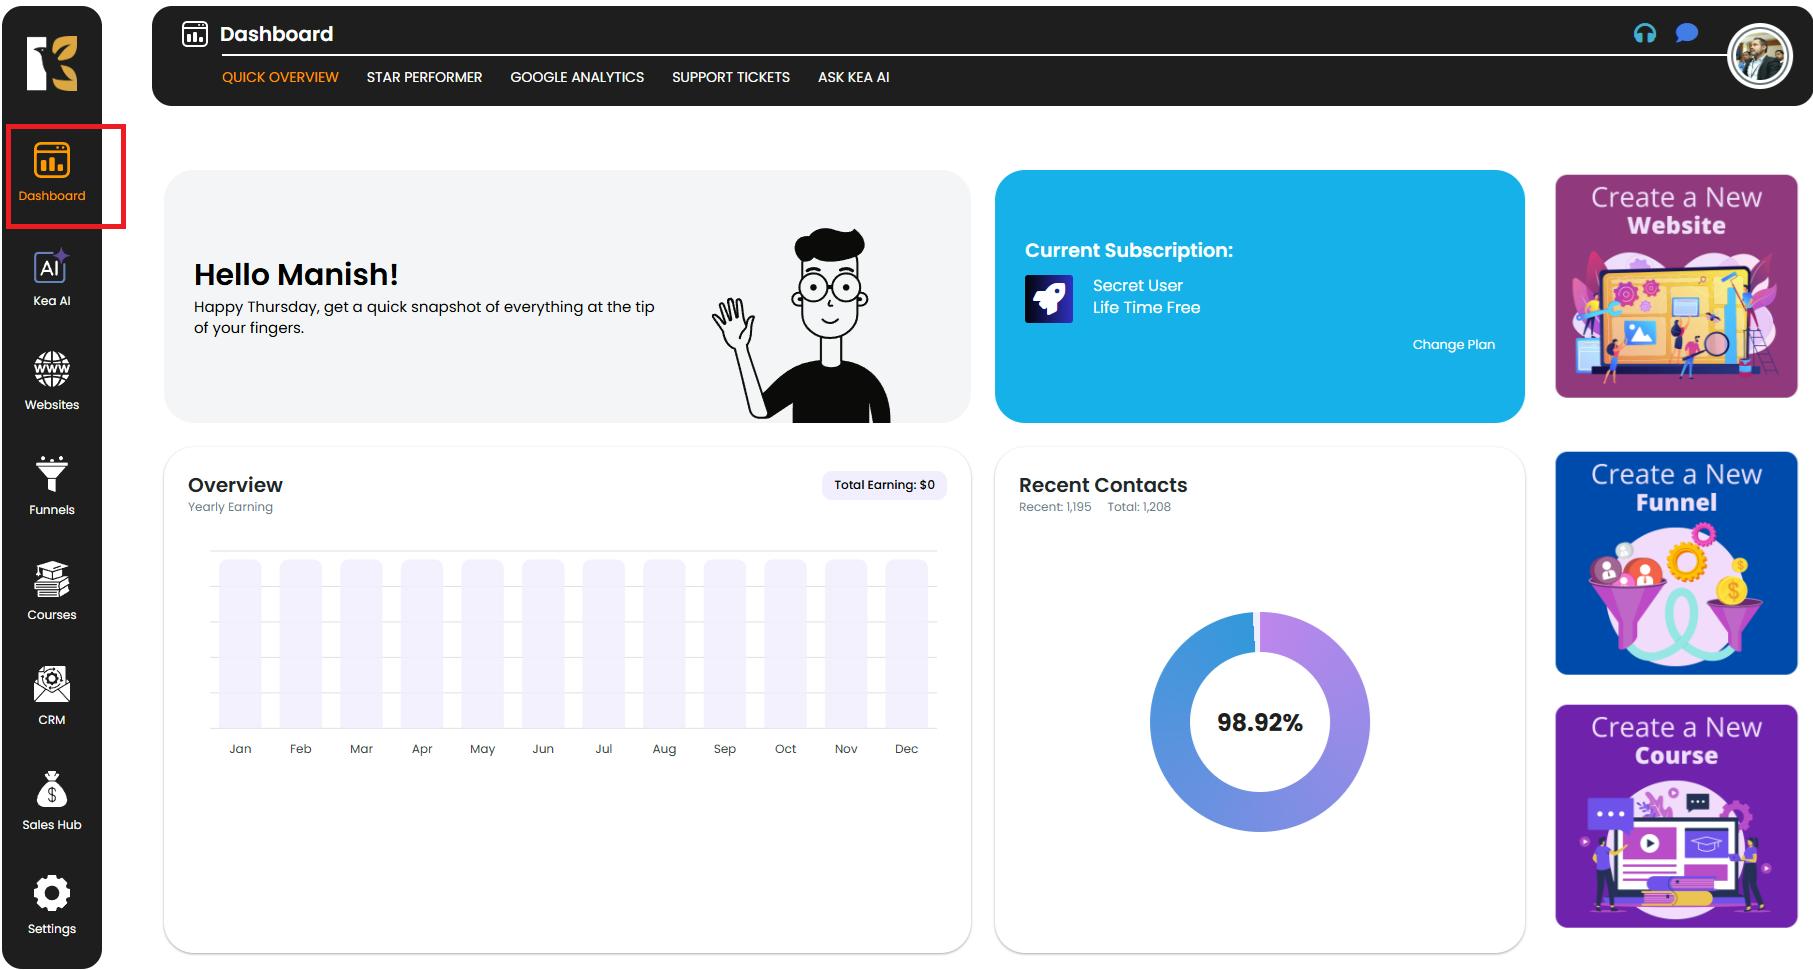
- After logging in, you will land on the Main Dashboard where you can access all modules, including Websites, Funnels, Sales Hub, Emails, and more.
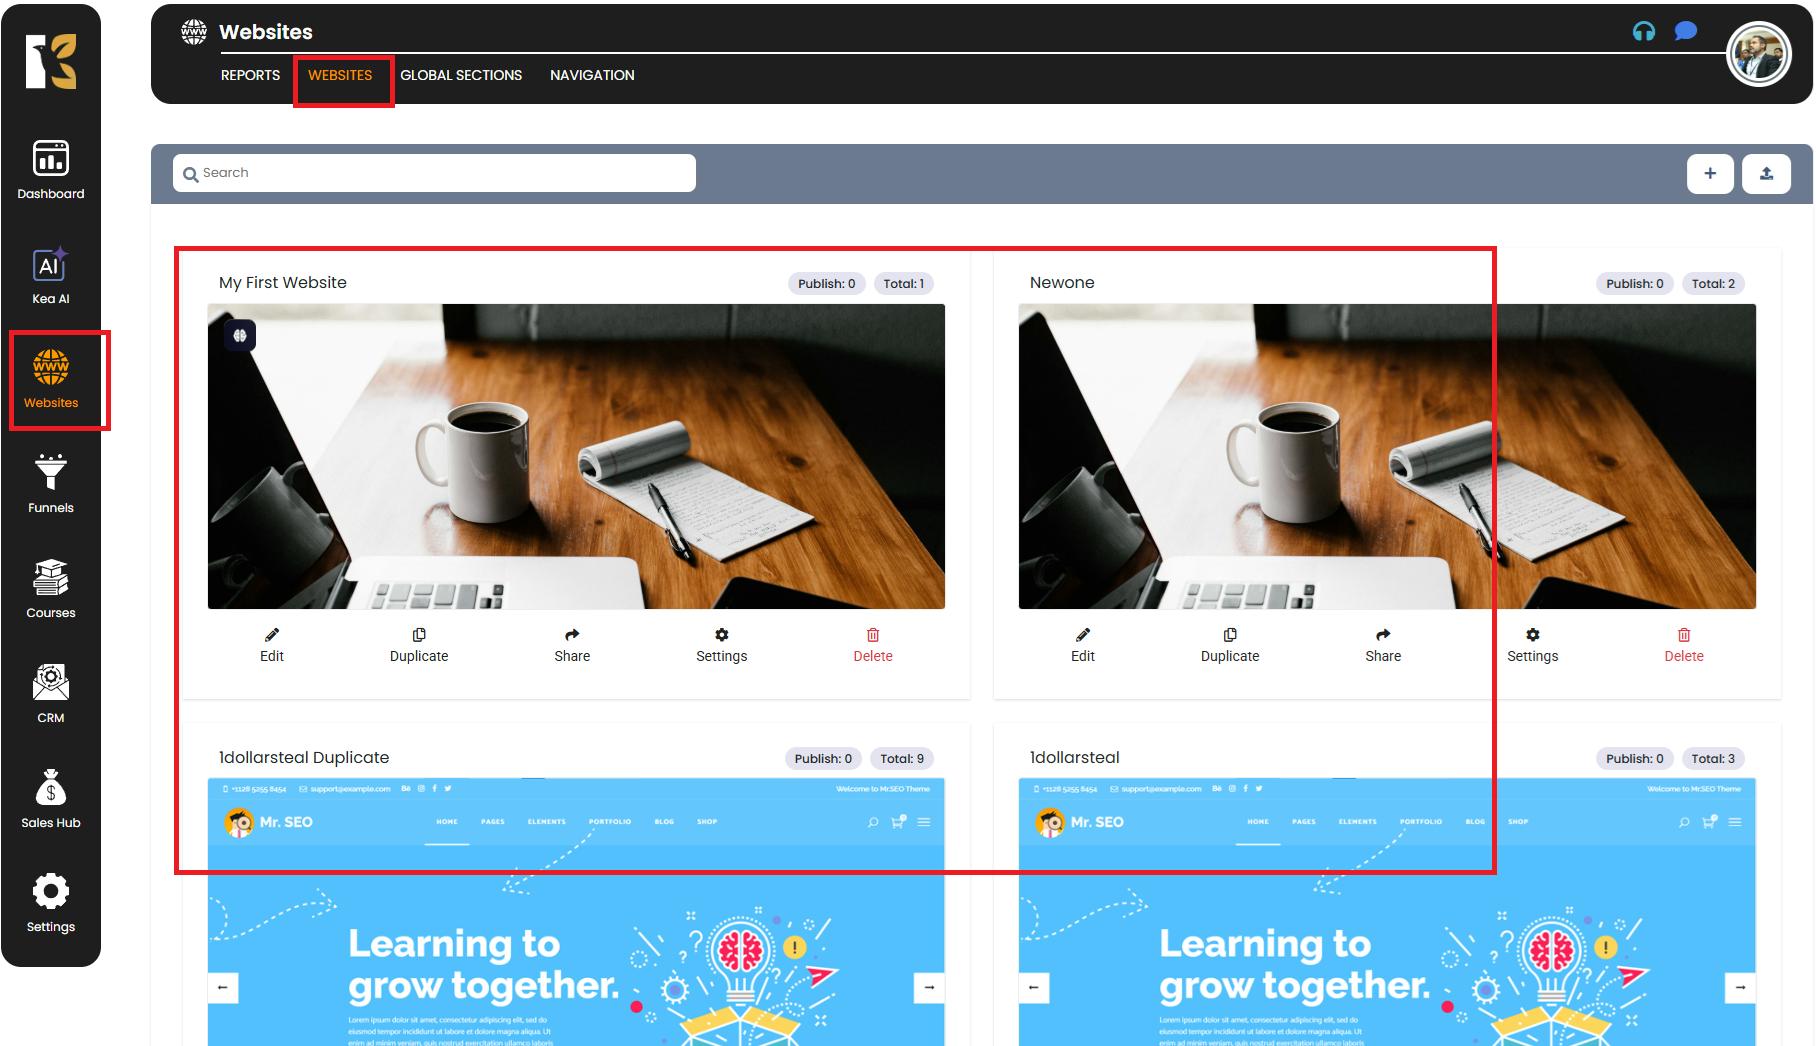
Step 2: Navigate to Websites
- From the vertical menu bar on the left, scroll down and click on Websites.
- You will be redirected to the Website Management Section, where you can view all the websites you have created so far.
- If no websites are created, this section will appear blank with an option to create a new one.
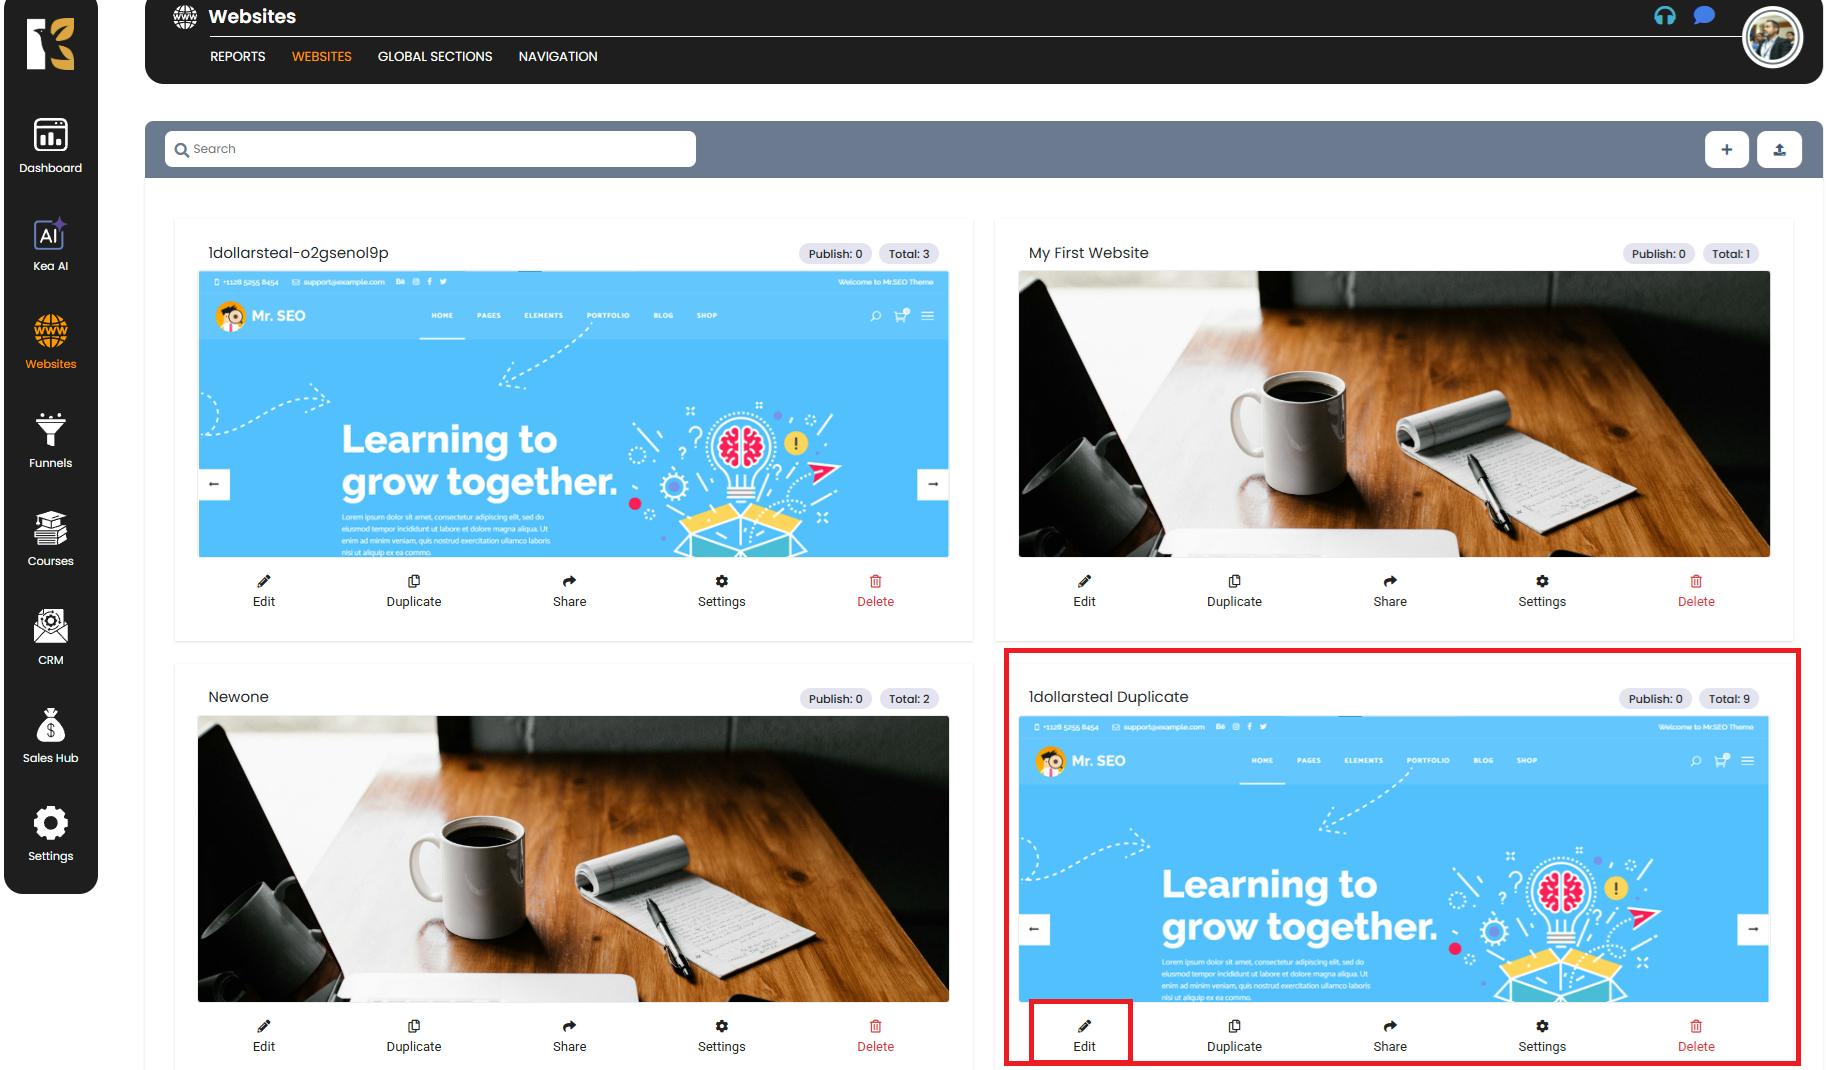
Step 3: Locate the Source Website and Page
- From the website list, choose the website that contains the webpage you want to import.
- Click Edit to open the selected website’s dashboard.
- Inside the dashboard, you’ll see a list of all pages that belong to this website.
- Identify the specific page you want to import into another website.
Step 4: Generate the Transfer Token
- Next to the chosen page, click the “Share” button.
- A popup window will appear displaying a Transfer Token (a unique code used for secure transfer).
- Click on Copy to copy the token to your clipboard.
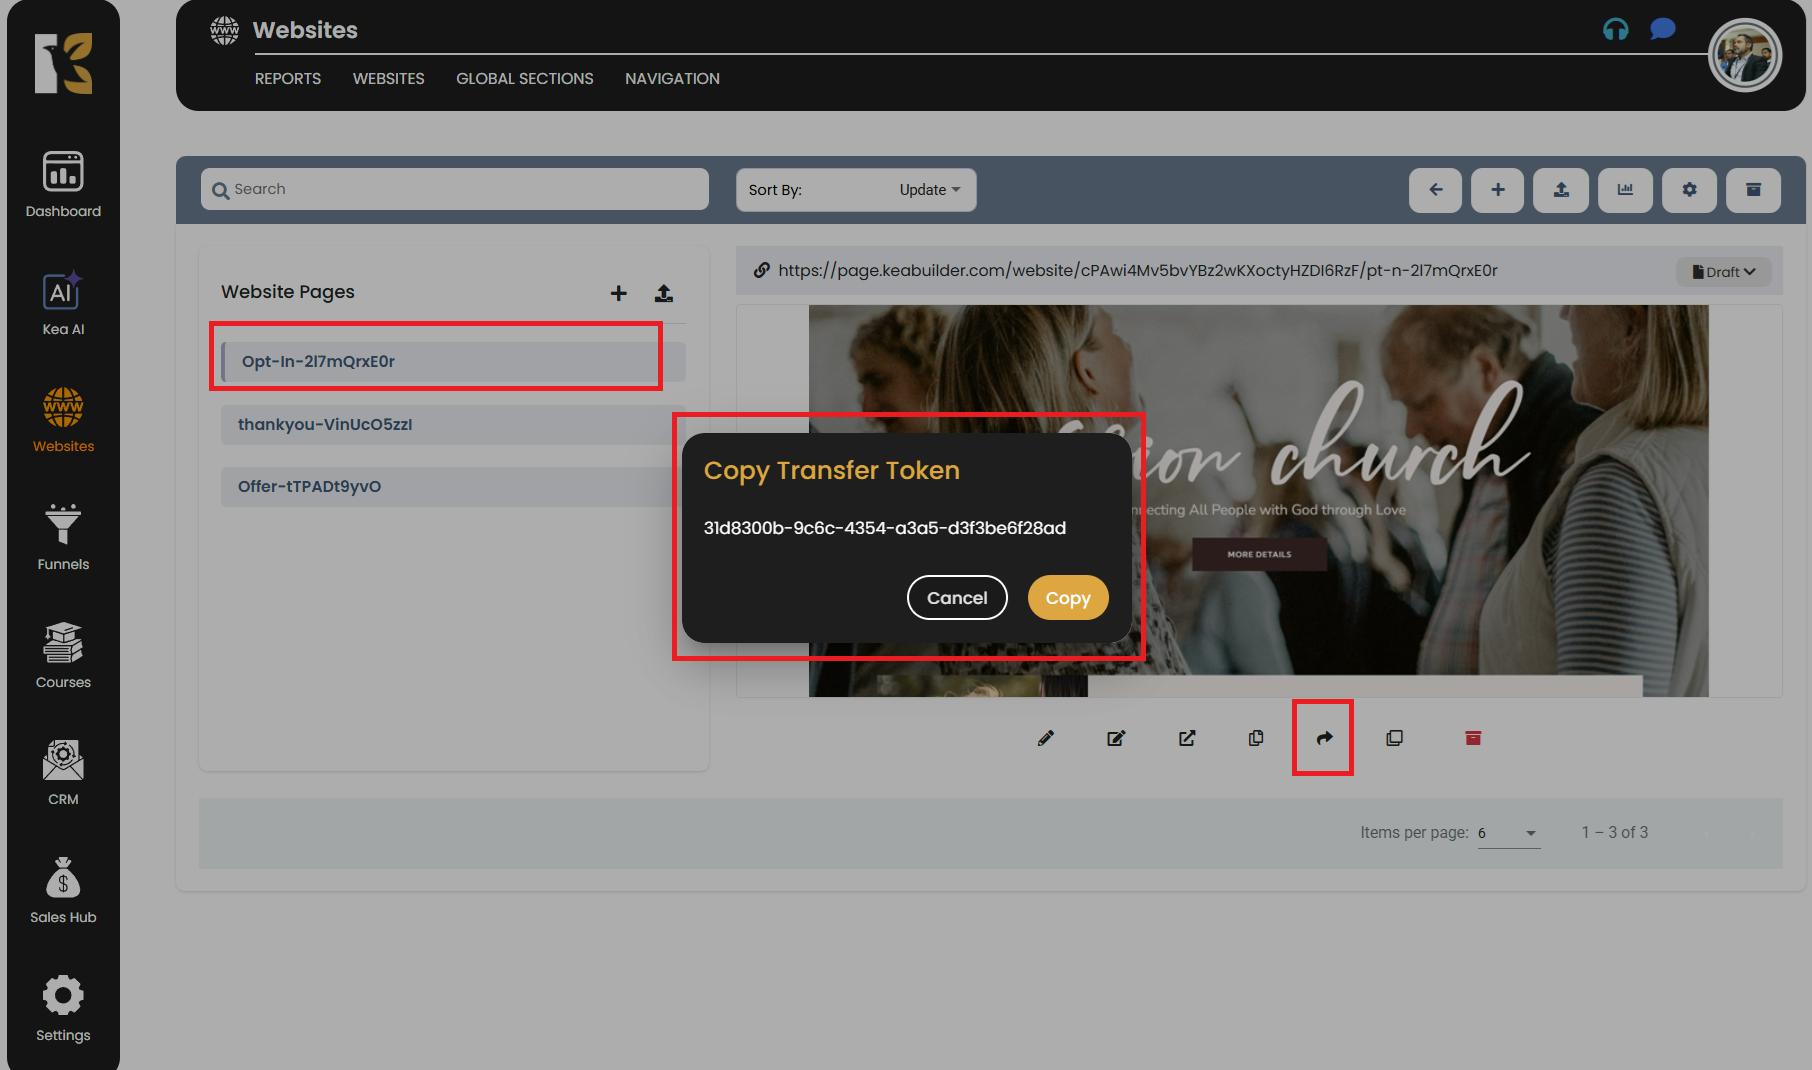
⚡ Important:
- This token is unique to the selected webpage.
- Without the Transfer Token, the page cannot be imported.
- Make sure to keep the token private and do not share it with unauthorized users.
Step 5: Open the Destination Website
- Login to the different account where you want to Import the page.
- Select the website where you want to import the webpage.
- Click Edit to access its dashboard.
- This is your destination website dashboard, where the imported page will be added.

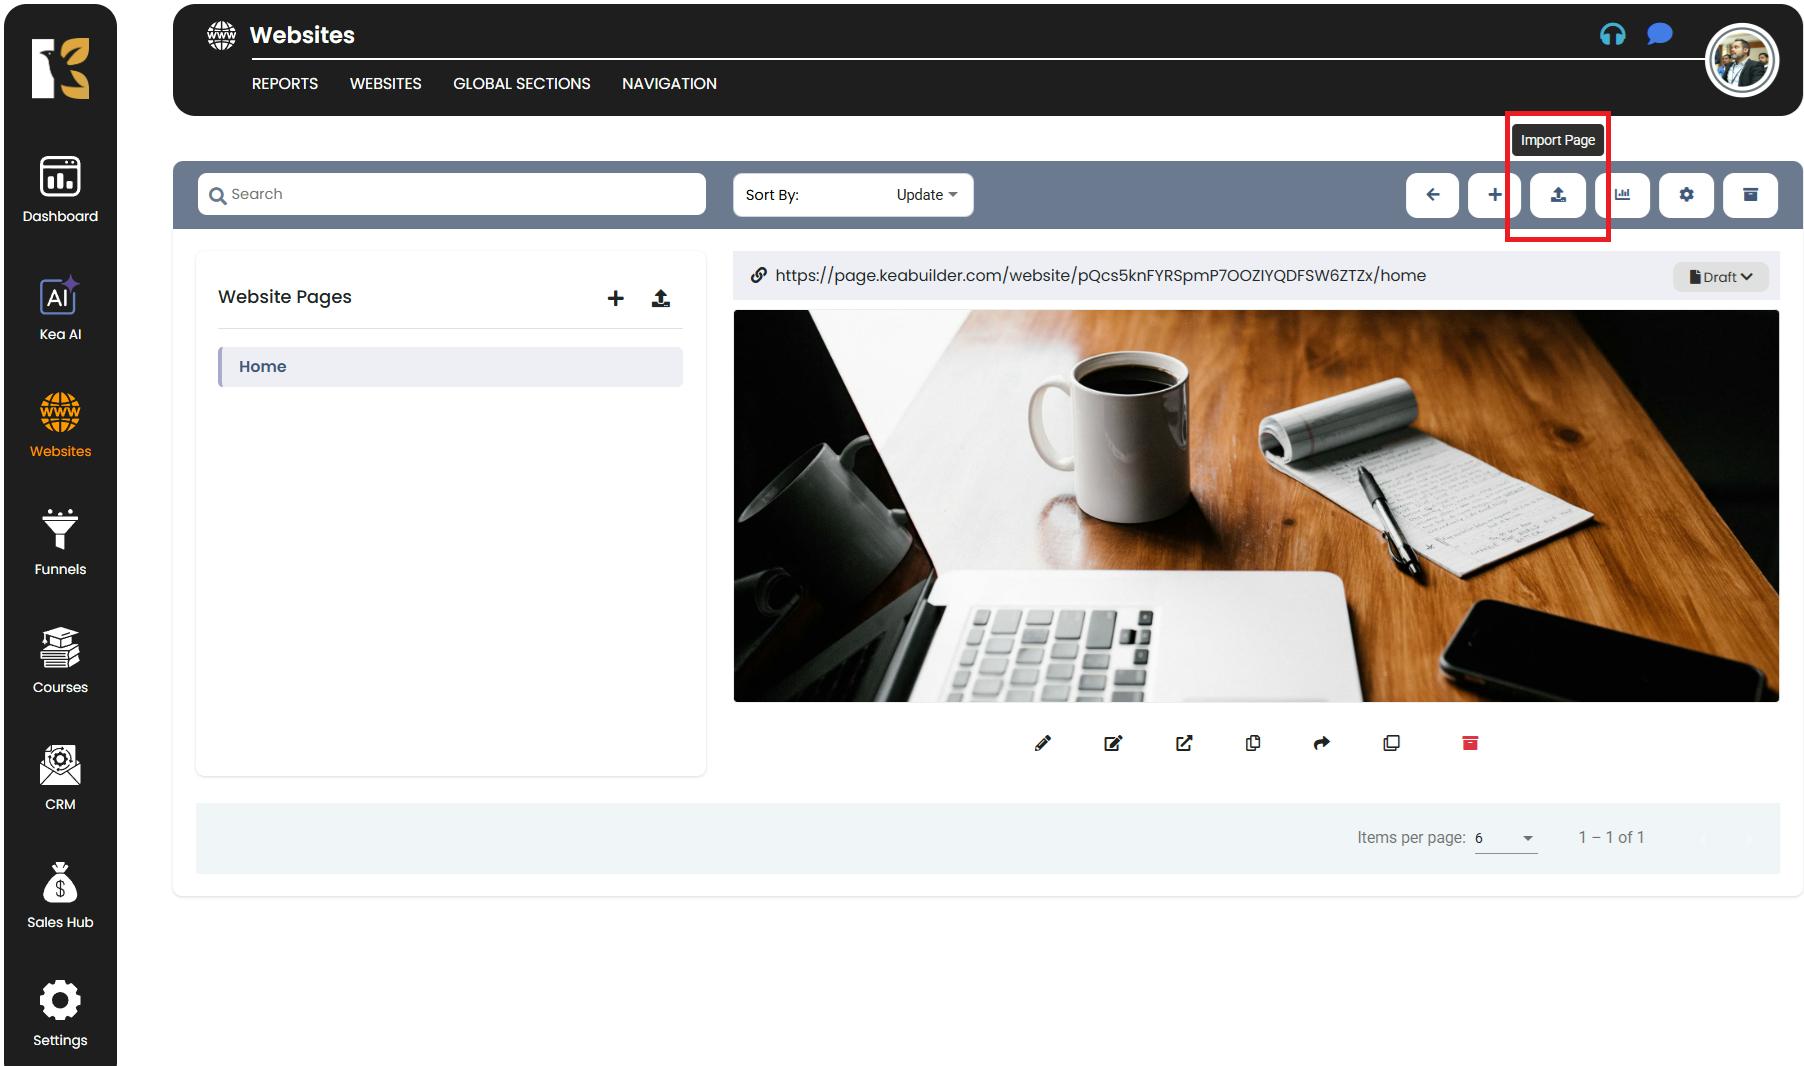
Step 6: Import the Webpage
- On the destination website dashboard, look at the horizontal menu bar at the top.
- On the extreme right, you’ll see an “Up-Arrow” icon labeled Import Page.
- Click on Import Page.
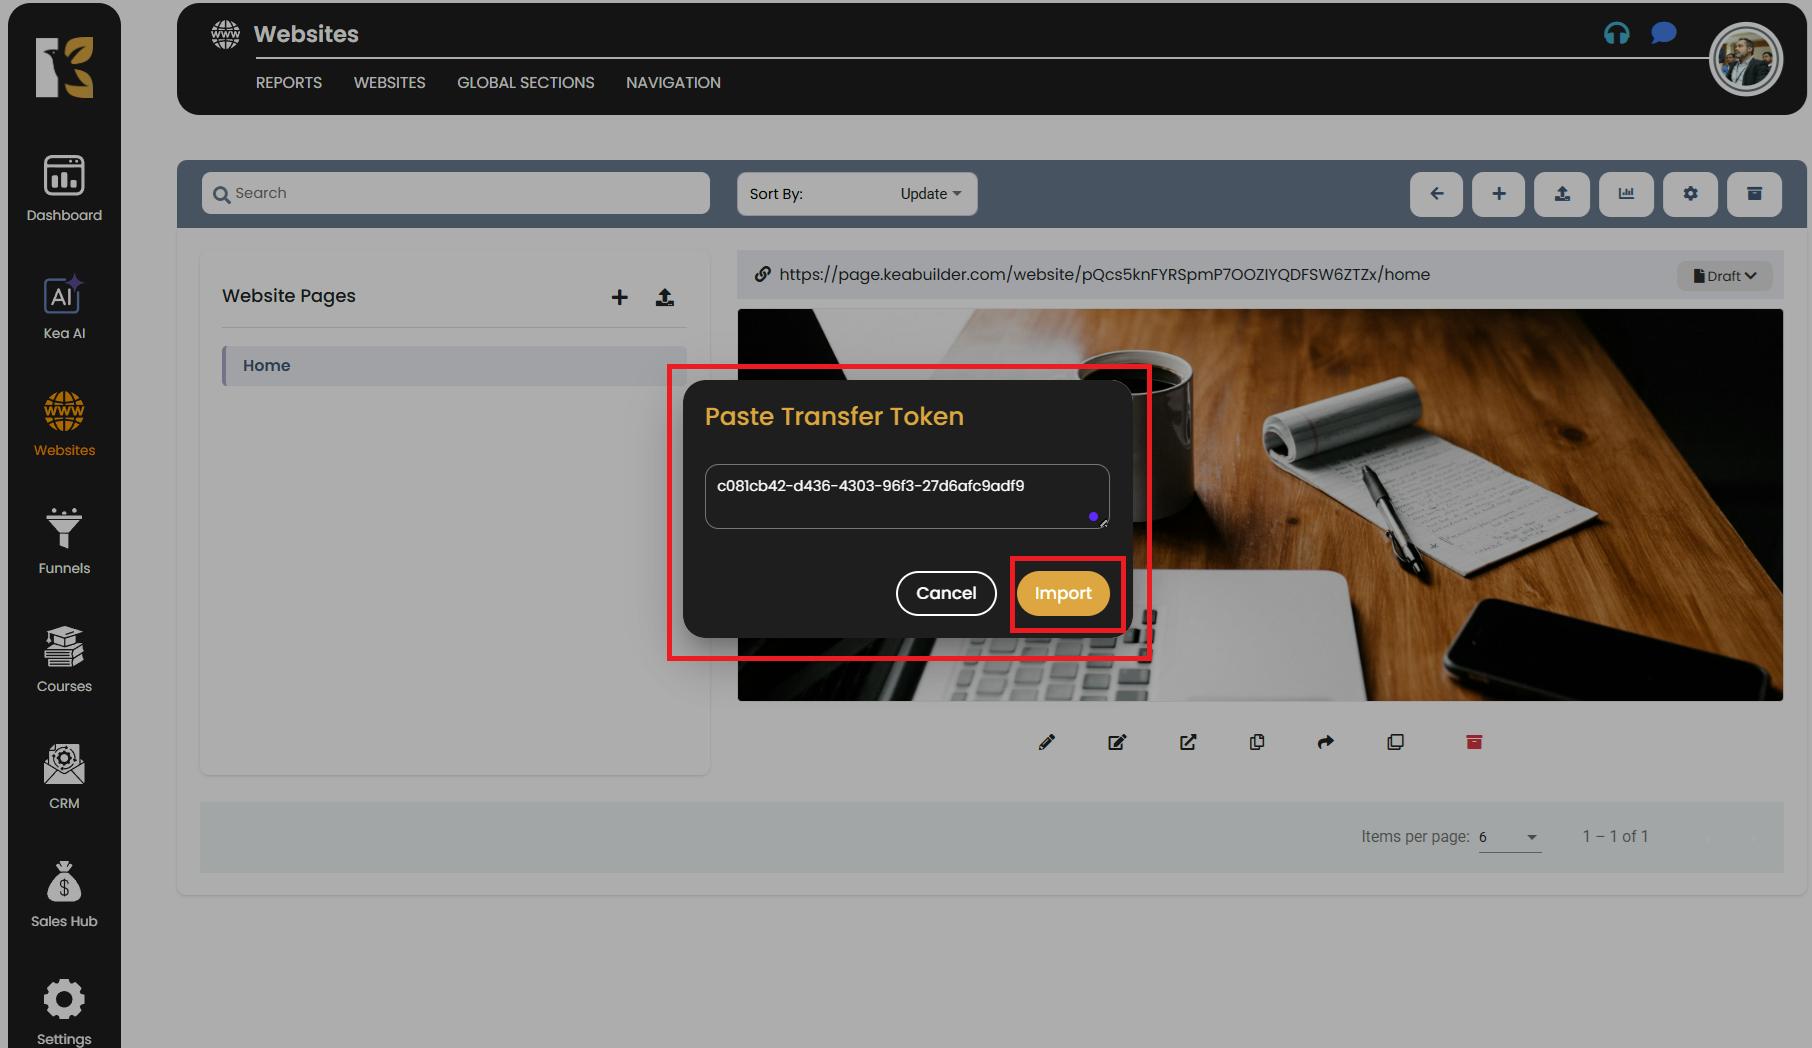
- A popup window will open, prompting you to paste the Transfer Token.
- Paste the token you copied earlier and click Import.
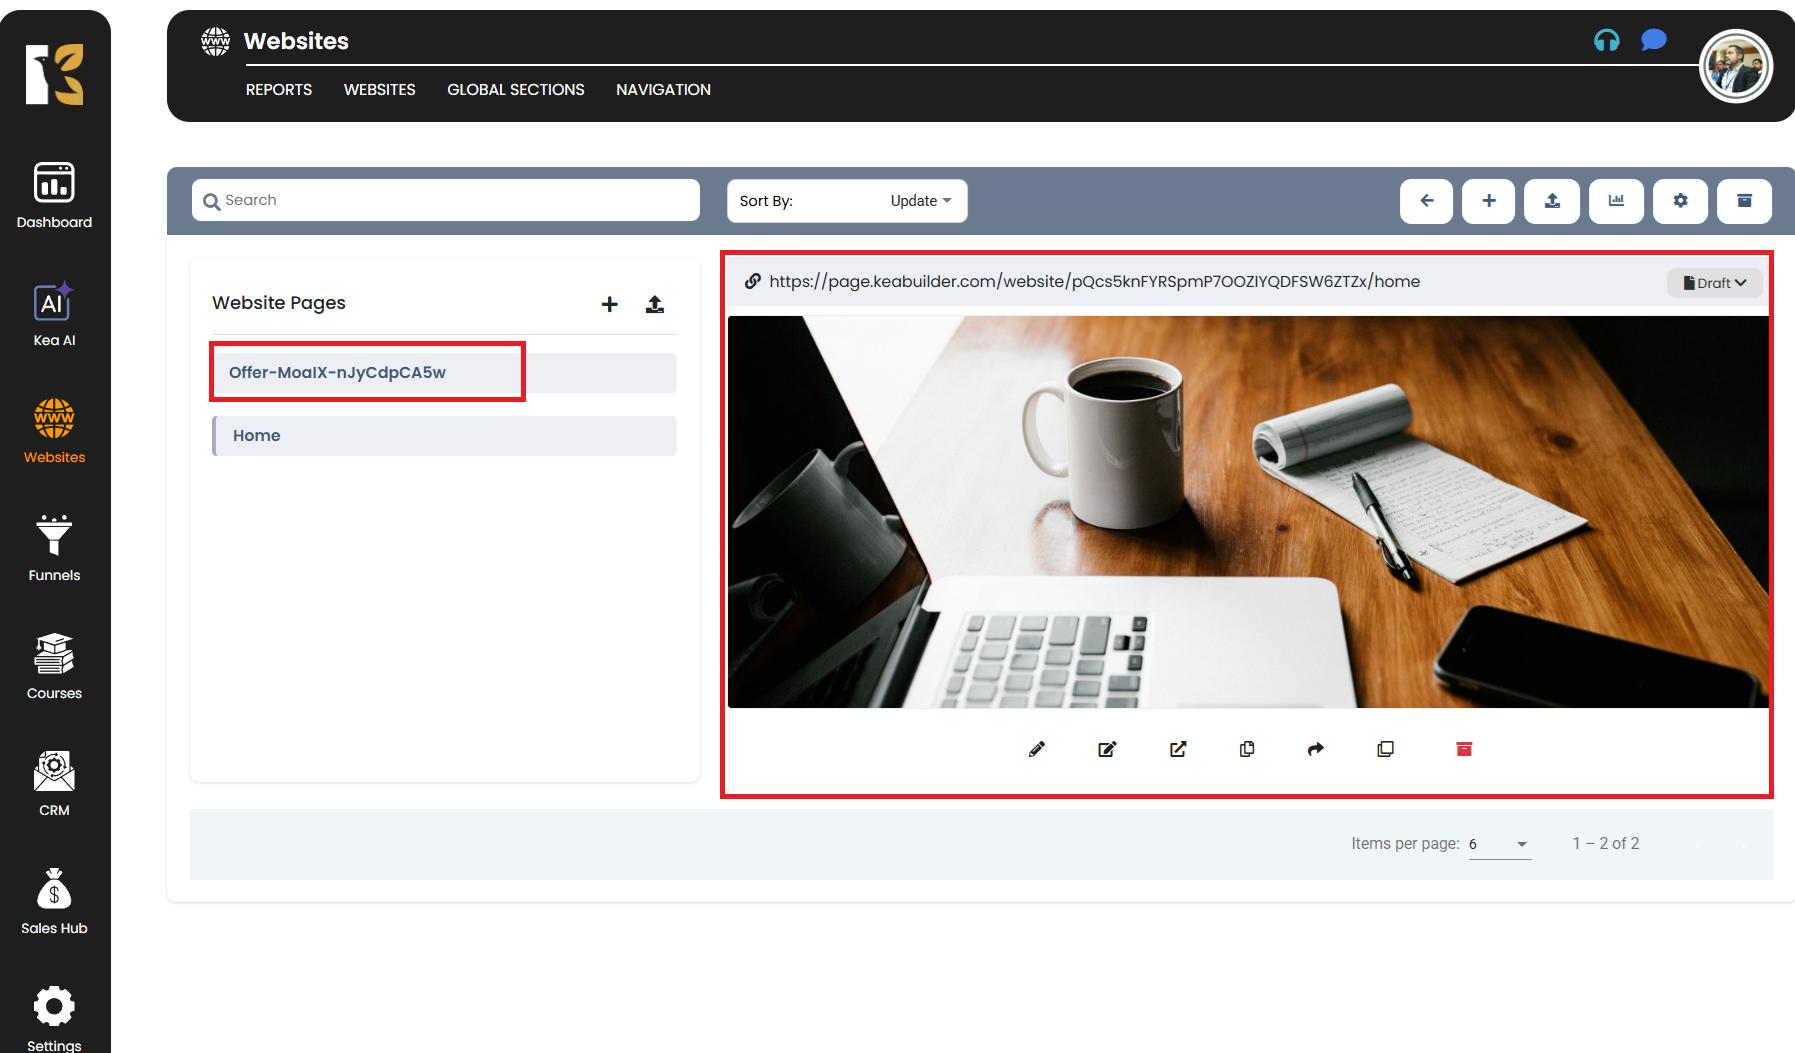
Step 7: Confirm the Imported Page
- Once the process is complete, the selected webpage will be successfully imported into your destination website.
- The new page will now appear in the page list of that website.
- Open and preview the page to confirm:
- The design structure (sections, rows, elements).
- The content (text, images, forms, buttons, etc.).
- The styling and formatting.
✅ Key Benefits of Importing Pages in KeaBuilder
- Time-saving: No need to rebuild the same page multiple times.
- Consistency: Maintain brand consistency across multiple websites.
- Flexibility: Share pages across different accounts for teamwork or client handovers.
- Security: Transfer Token ensures only authorized imports.
💡 Pro Tips
- Always double-check the imported page for formatting or design adjustments after importing.
- If you want to preserve a backup of the page, use the Duplicate option before moving it.
- For client projects, this feature is perfect to share a completed page template without giving full access to the source website.