How to Create a Field in CRM
Creating custom fields in your CRM allows you to collect, organize, and manage specific information related to your contacts, leads, or customers. Fields give you the flexibility to capture personalized data that suits your business requirements and enhances segmentation, targeting, and automation. Follow the step-by-step guide below to create a field seamlessly:
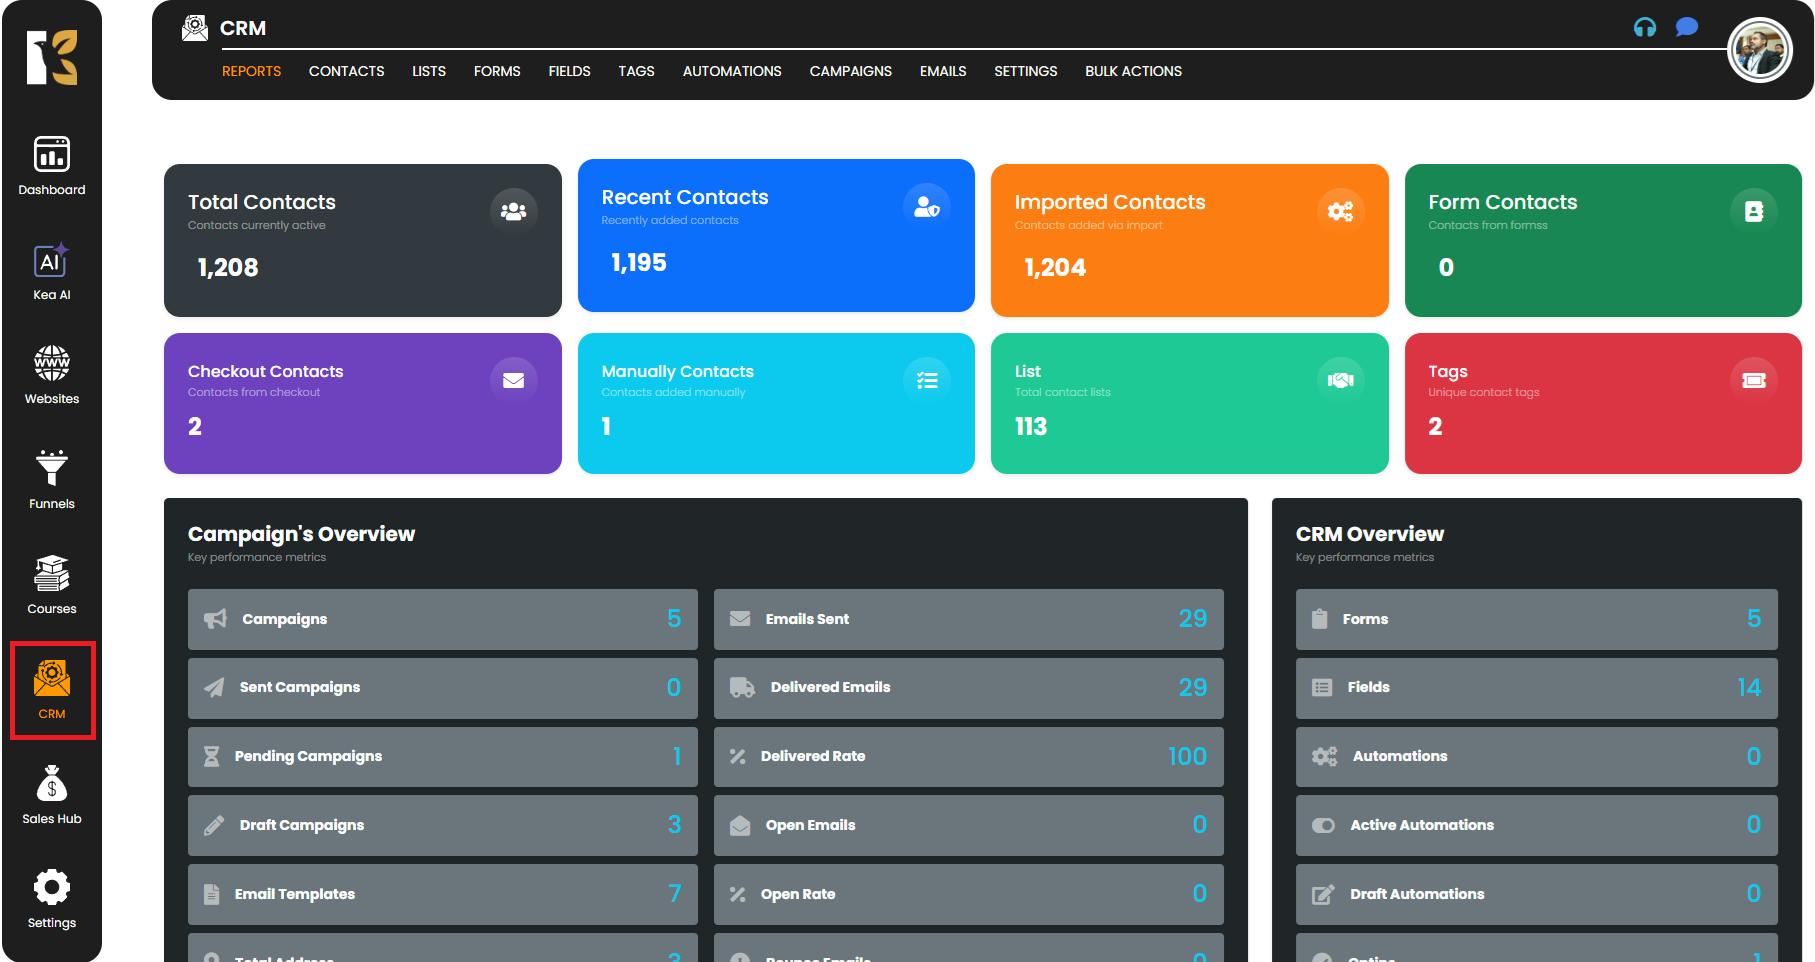
Step 1: Open the Fields Module
- From the CRM Panel, locate the side navigation menu.
- Click on Fields to open the module.
- This will direct you to the Fields dashboard, where you can view, create, and manage all the custom fields configured in your CRM.
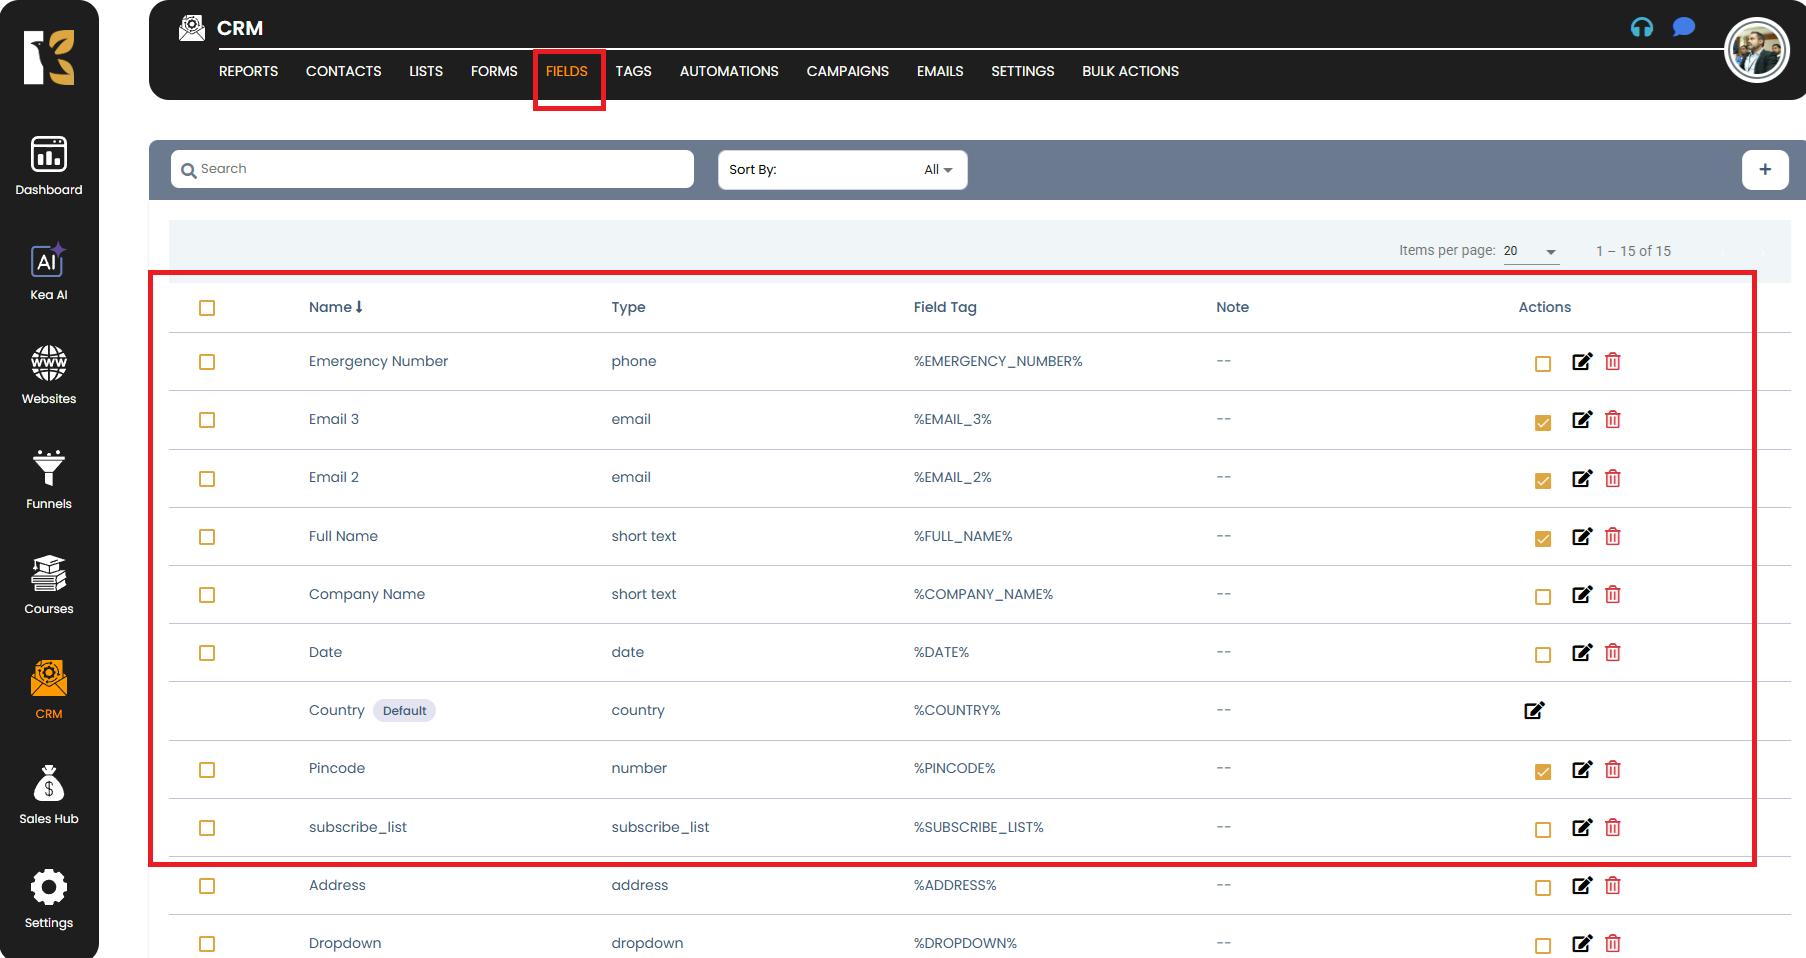
Step 2: Navigate to the Fields Section
- At the top horizontal menu, click on the Fields tab.
- Here, you will find a complete overview of existing fields, including their names, types, and usage.
- This section provides you with full control over adding new fields or modifying current ones.
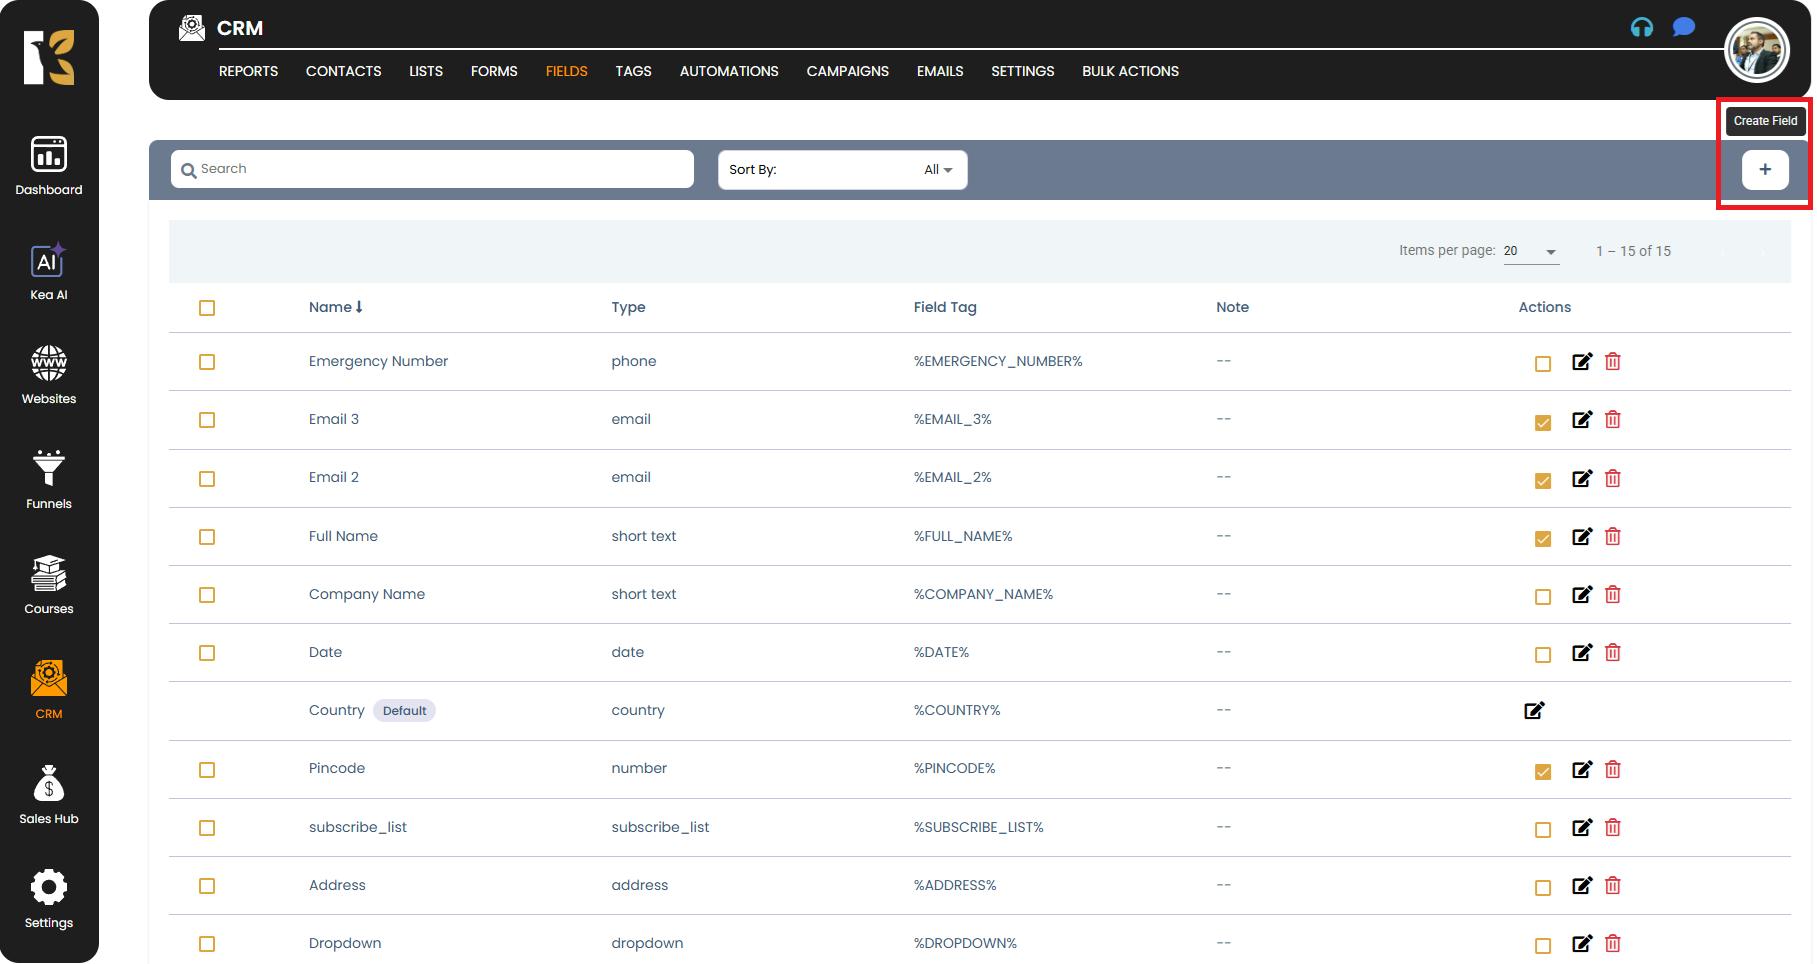
Step 3: Click on “Create a Field”
- Below the horizontal menu, locate the “+” (Create a Field) button.
- Click on this option to initiate the process of creating a new custom field.
- A popup window will appear, guiding you through the next steps.
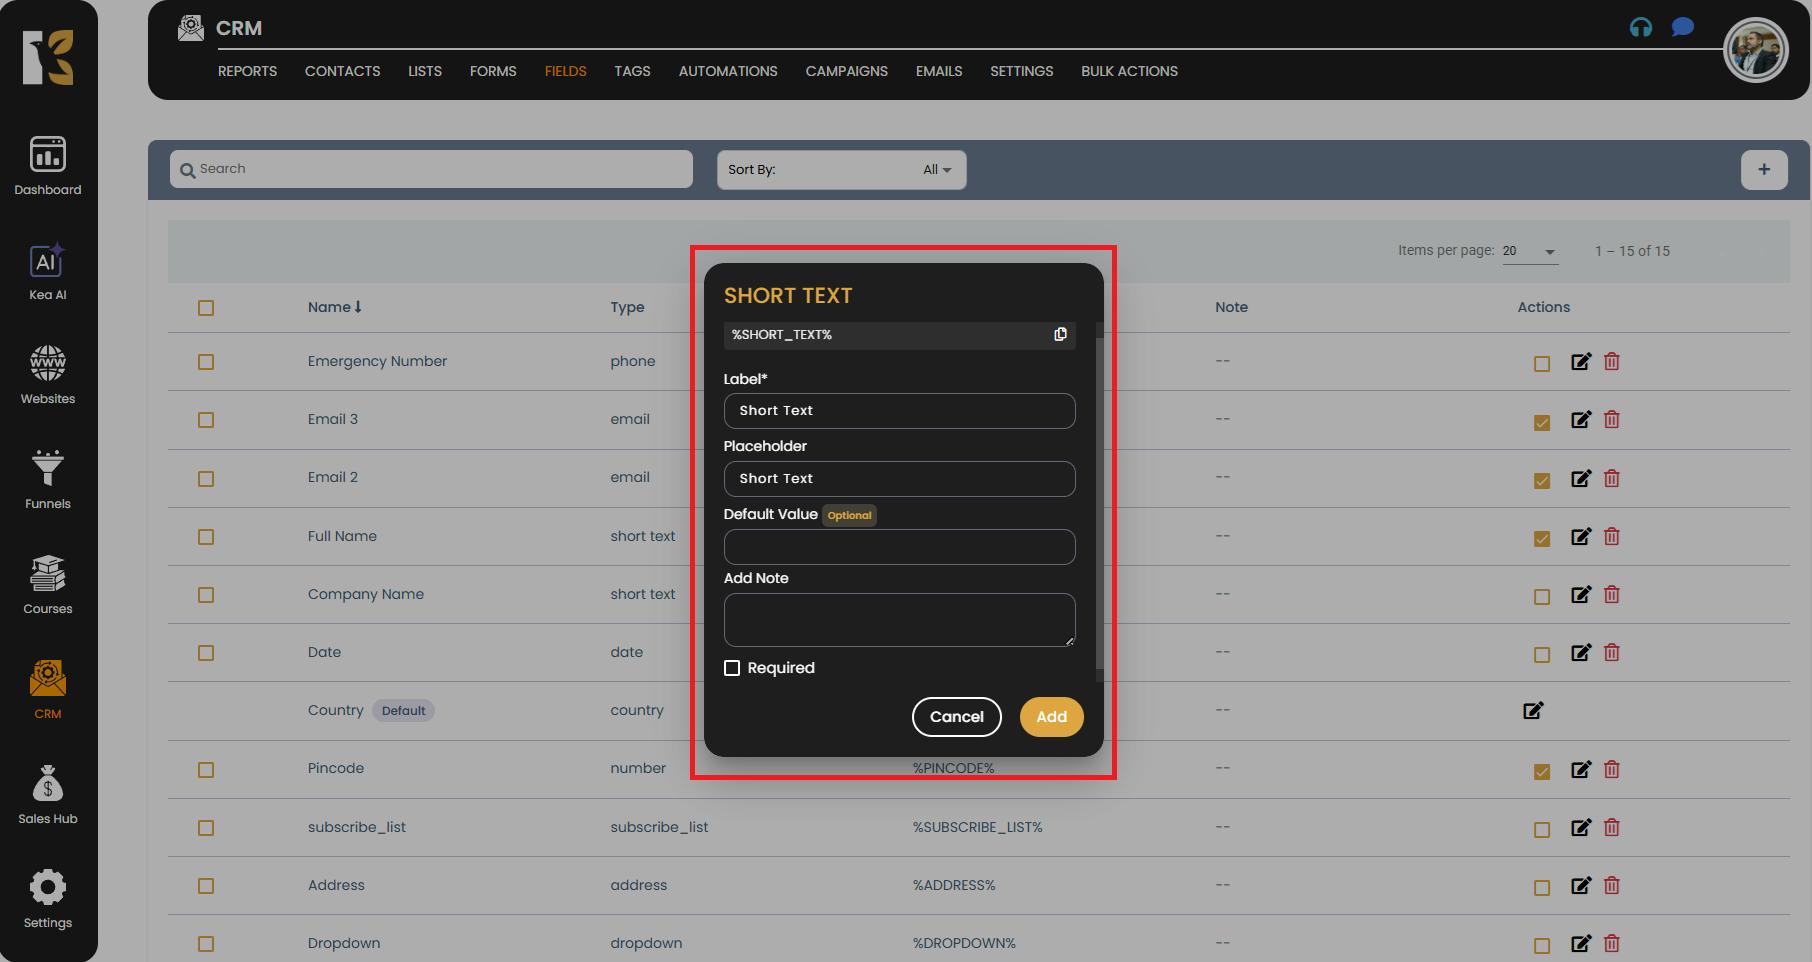
Step 4: Choose the Field Type
Inside the popup, you will see various field type options to choose from based on the kind of data you want to capture.
- Some of the available options include:
- Email – For storing email addresses.
- Phone – For capturing contact numbers.
- Short Text – For brief text inputs such as names or tags.
- Long Text – For detailed information or descriptions.
- Multiple Choice – To allow users to select multiple answers.
- Single Choice – To restrict selection to one option.
- Dropdown – For providing a list of pre-defined options.
- Number – For numeric values such as age, quantity, or pricing.
- Date & Time – To capture specific dates, times, or both.
- Select the field type that best suits your requirements.

Step 5: Customize the Field Details
- After selecting a field type, you’ll move to the customization panel.
- Here, you can set up the following configurations:
- Field Name: The label that will be displayed for this field.
- Field Type: Confirms the type of data this field will capture.
- Field Tag: Assign a unique tag or identifier for backend referencing.
- Tag Note (Optional): Add additional notes or descriptions for internal clarity.
- Make sure to configure these details thoughtfully to ensure accurate data collection.
Step 6: Save the Field
- Once you’ve finalized the configurations, click on the Save button.
- Your newly created field will now be added to the Fields Dashboard.
- From here, you can:
- Use this field in forms, campaigns, or contact profiles.
- Edit it later if required.
- Monitor how it’s being used within your CRM workflows.

Pro Tips
- Choose Meaningful Names: Use clear and descriptive field names so that your team can easily understand their purpose.
- Plan Your Fields Strategically: Avoid creating too many unnecessary fields to keep data organized and clean.
- Test Before Use: After creating a new field, try adding sample data to confirm everything works as expected.