How to Create a Membership in KeaBuilder
KeaBuilder makes it easy to create and manage Membership Areas where you can organize your courses, deliver exclusive content, and manage members from one central dashboard. This feature is perfect for building online communities, subscription models, or premium content hubs
Step-by-Step Guide to Creating a Membership
- Login to Your KeaBuilder Account
- Go to www.keabuilder.com and click Login.

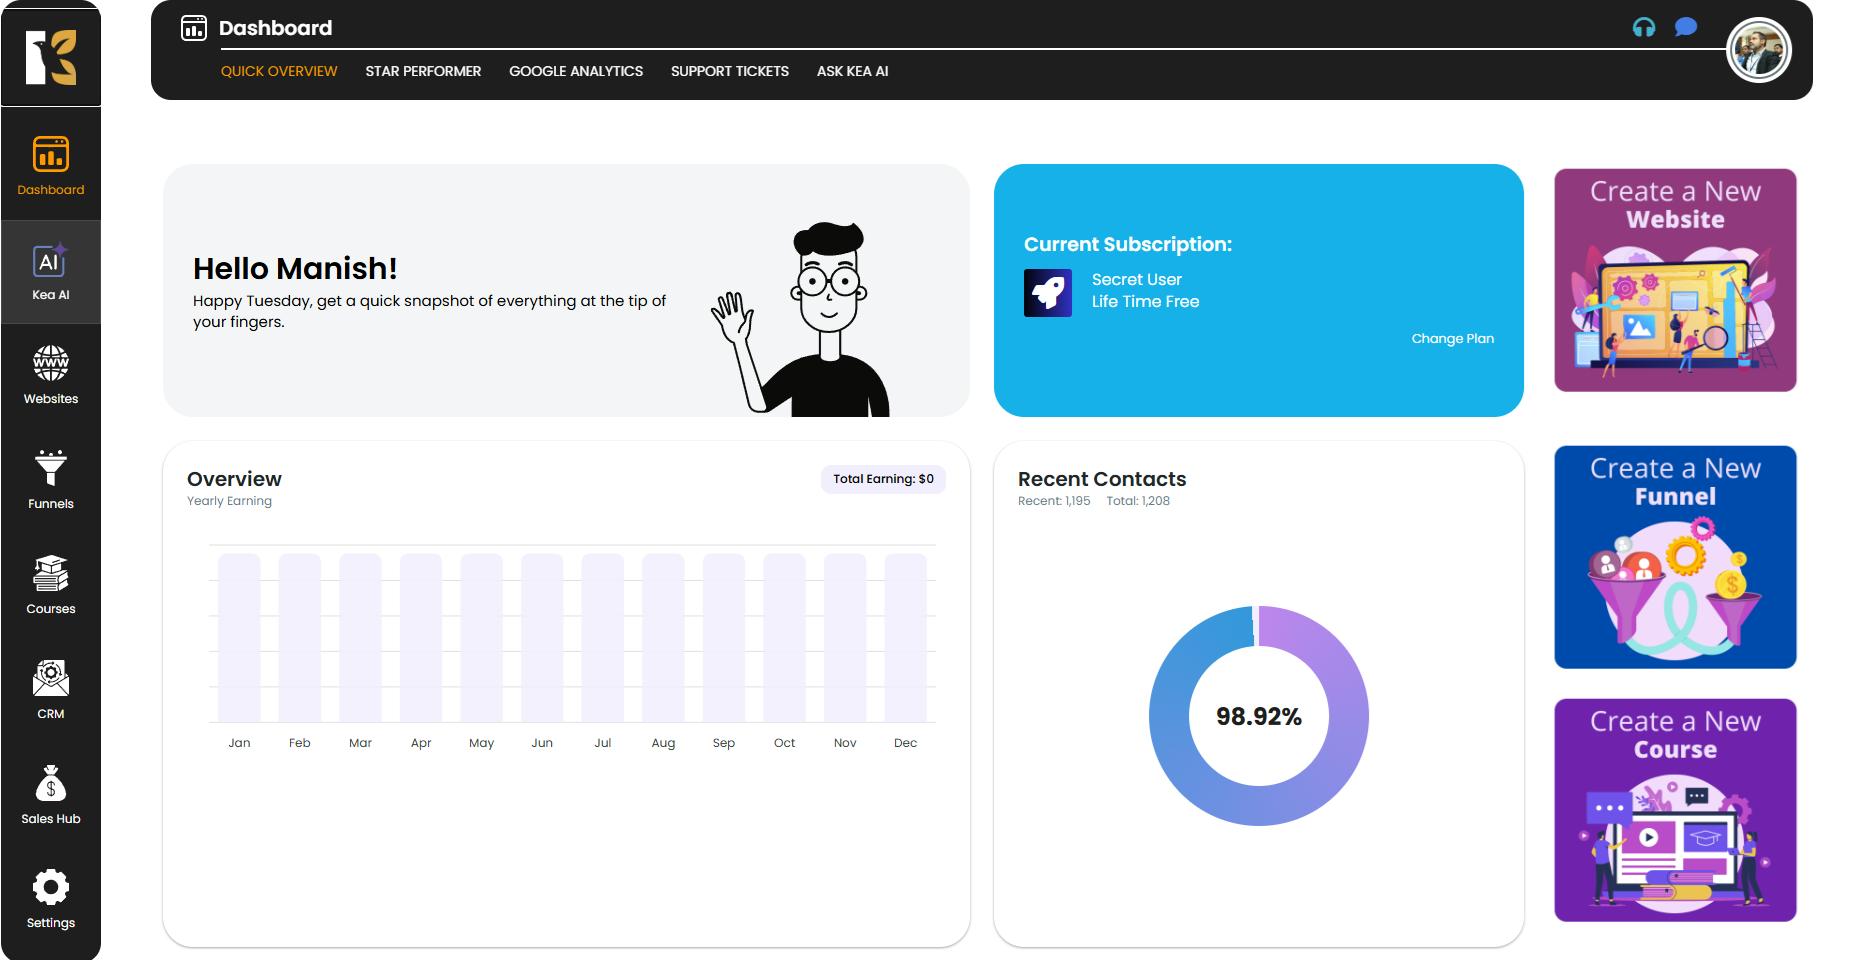
- Enter your credentials to access the Main Dashboard.
- Access the Memberships Section
- From the Vertical Menu on the left-hand side, scroll down to Courses and click on it.
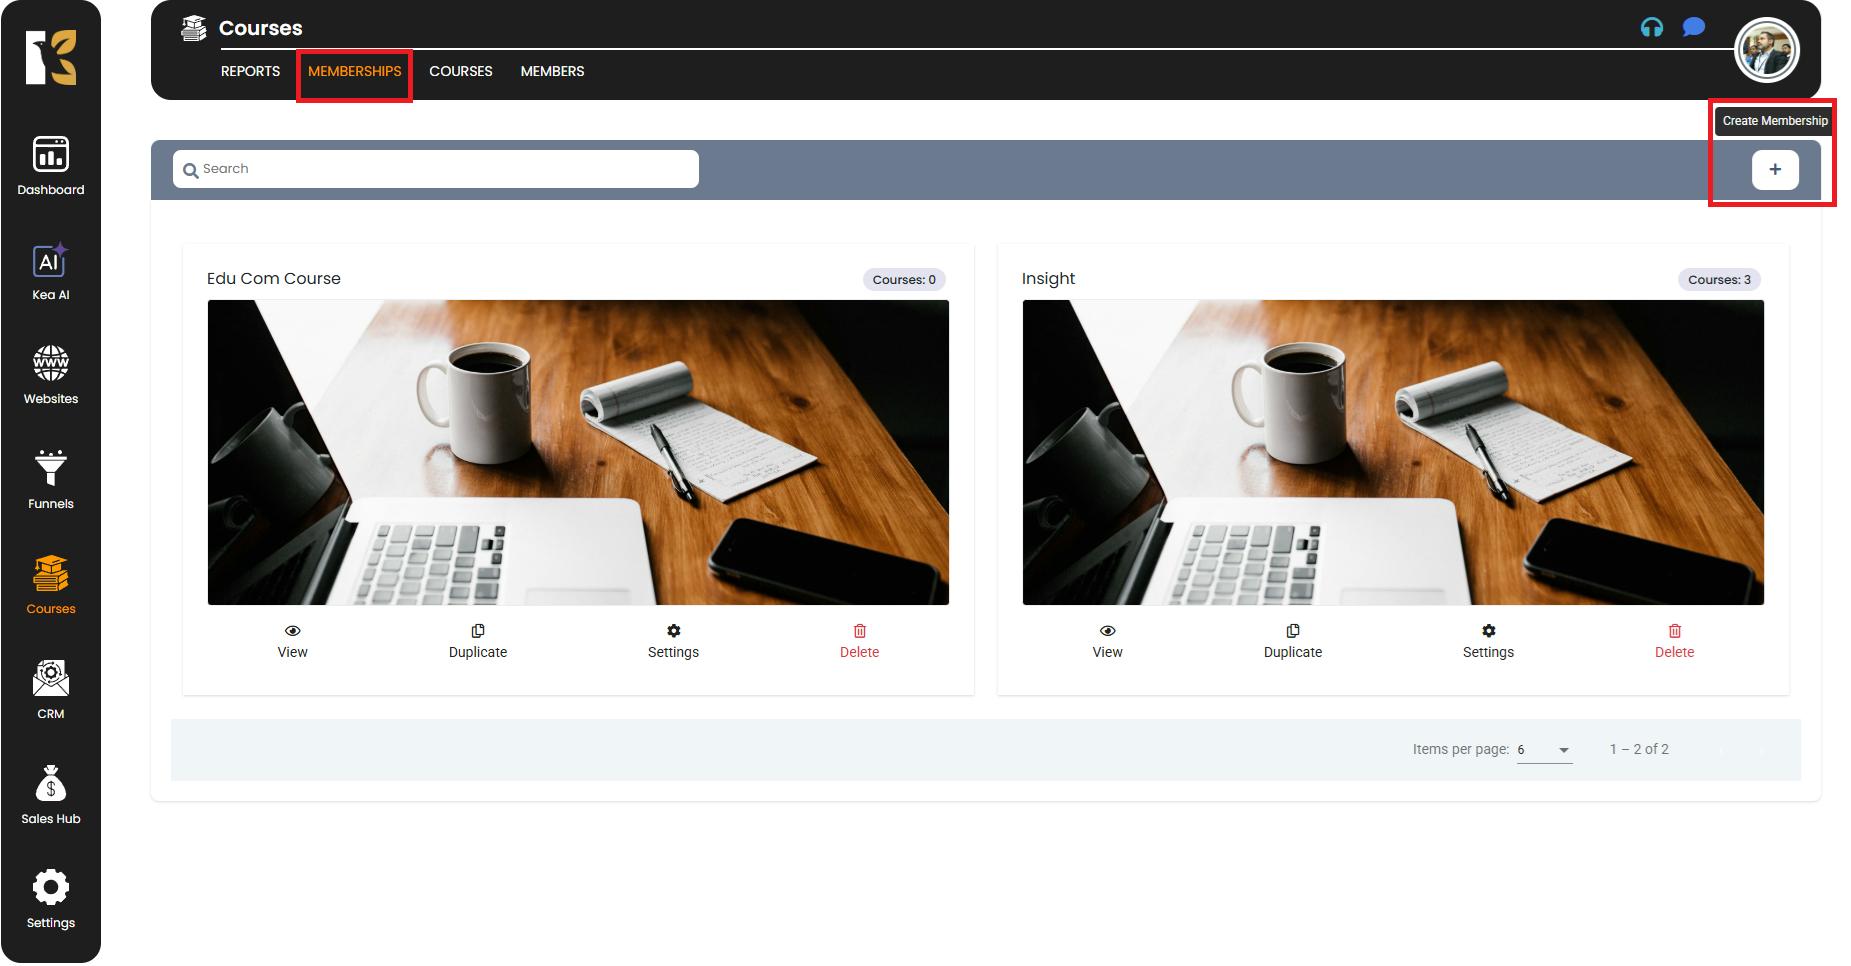
- You’ll be redirected to the Memberships Section of KeaBuilder, where all your existing memberships are displayed.

- Create a New Membership
- Underneath the horizontal menu, click the “+” icon to create a new membership.
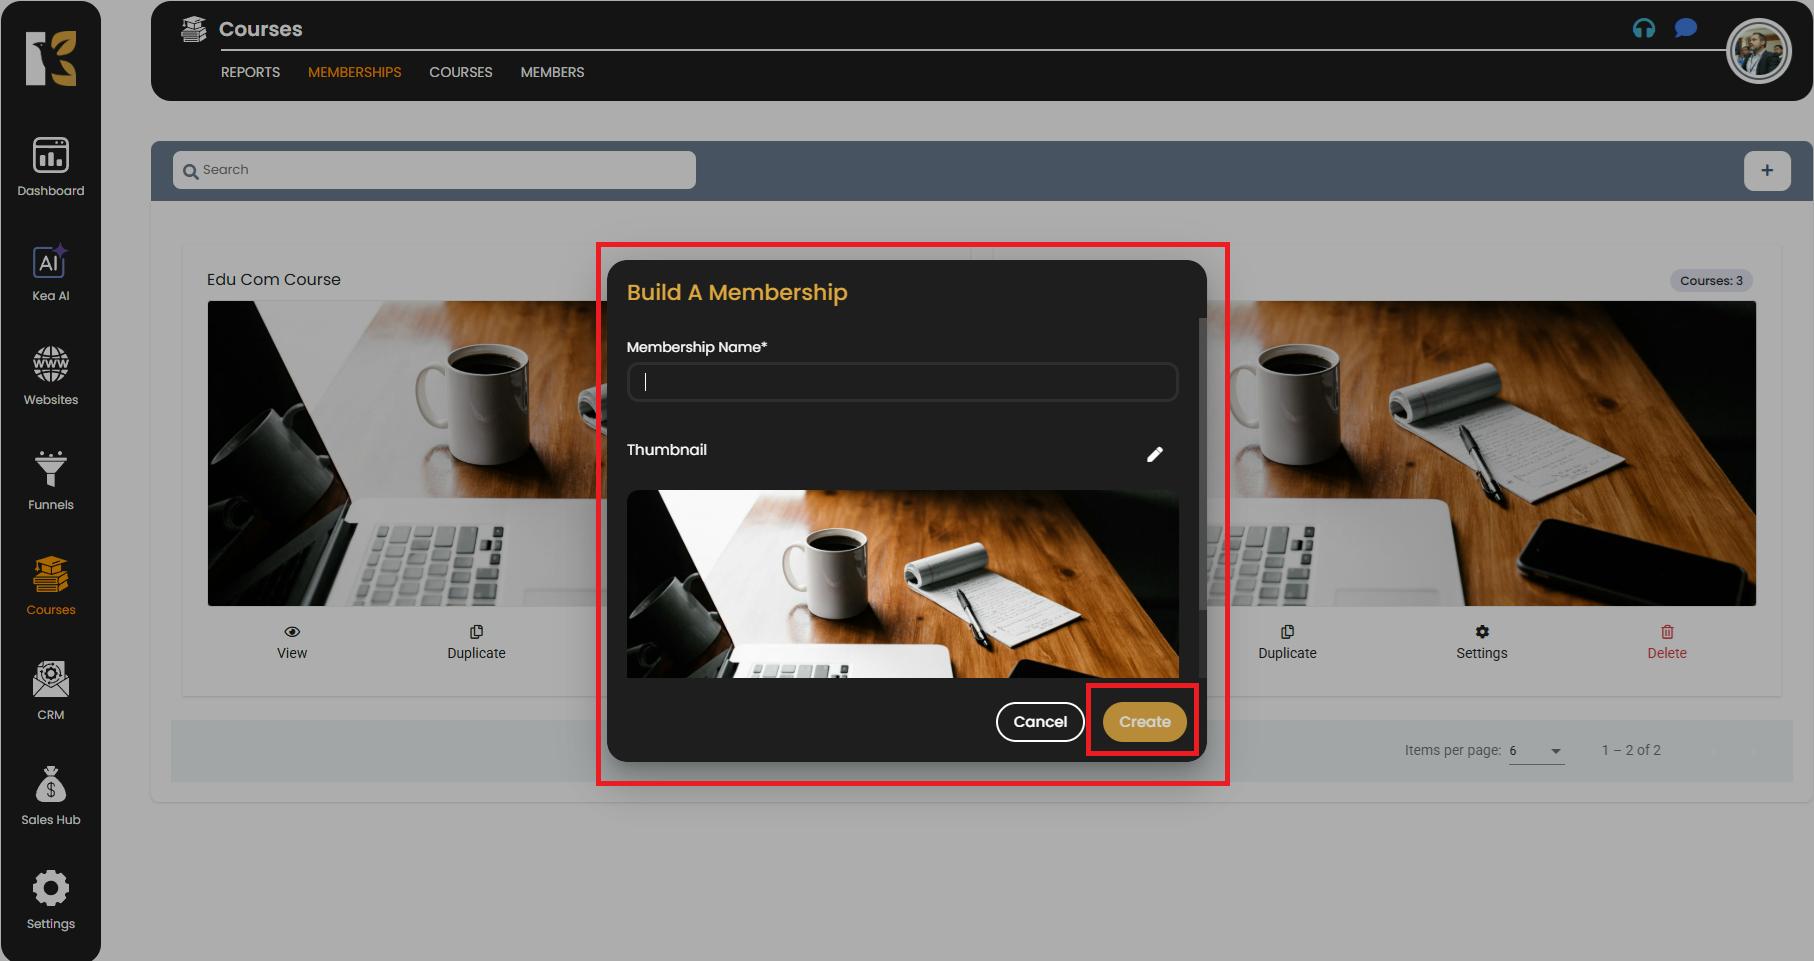
- A pop-up form will appear asking for:
- Membership Name
- Membership Thumbnail (Image)
- Fill in the details and click Create.
- A new membership will now appear in your membership list.
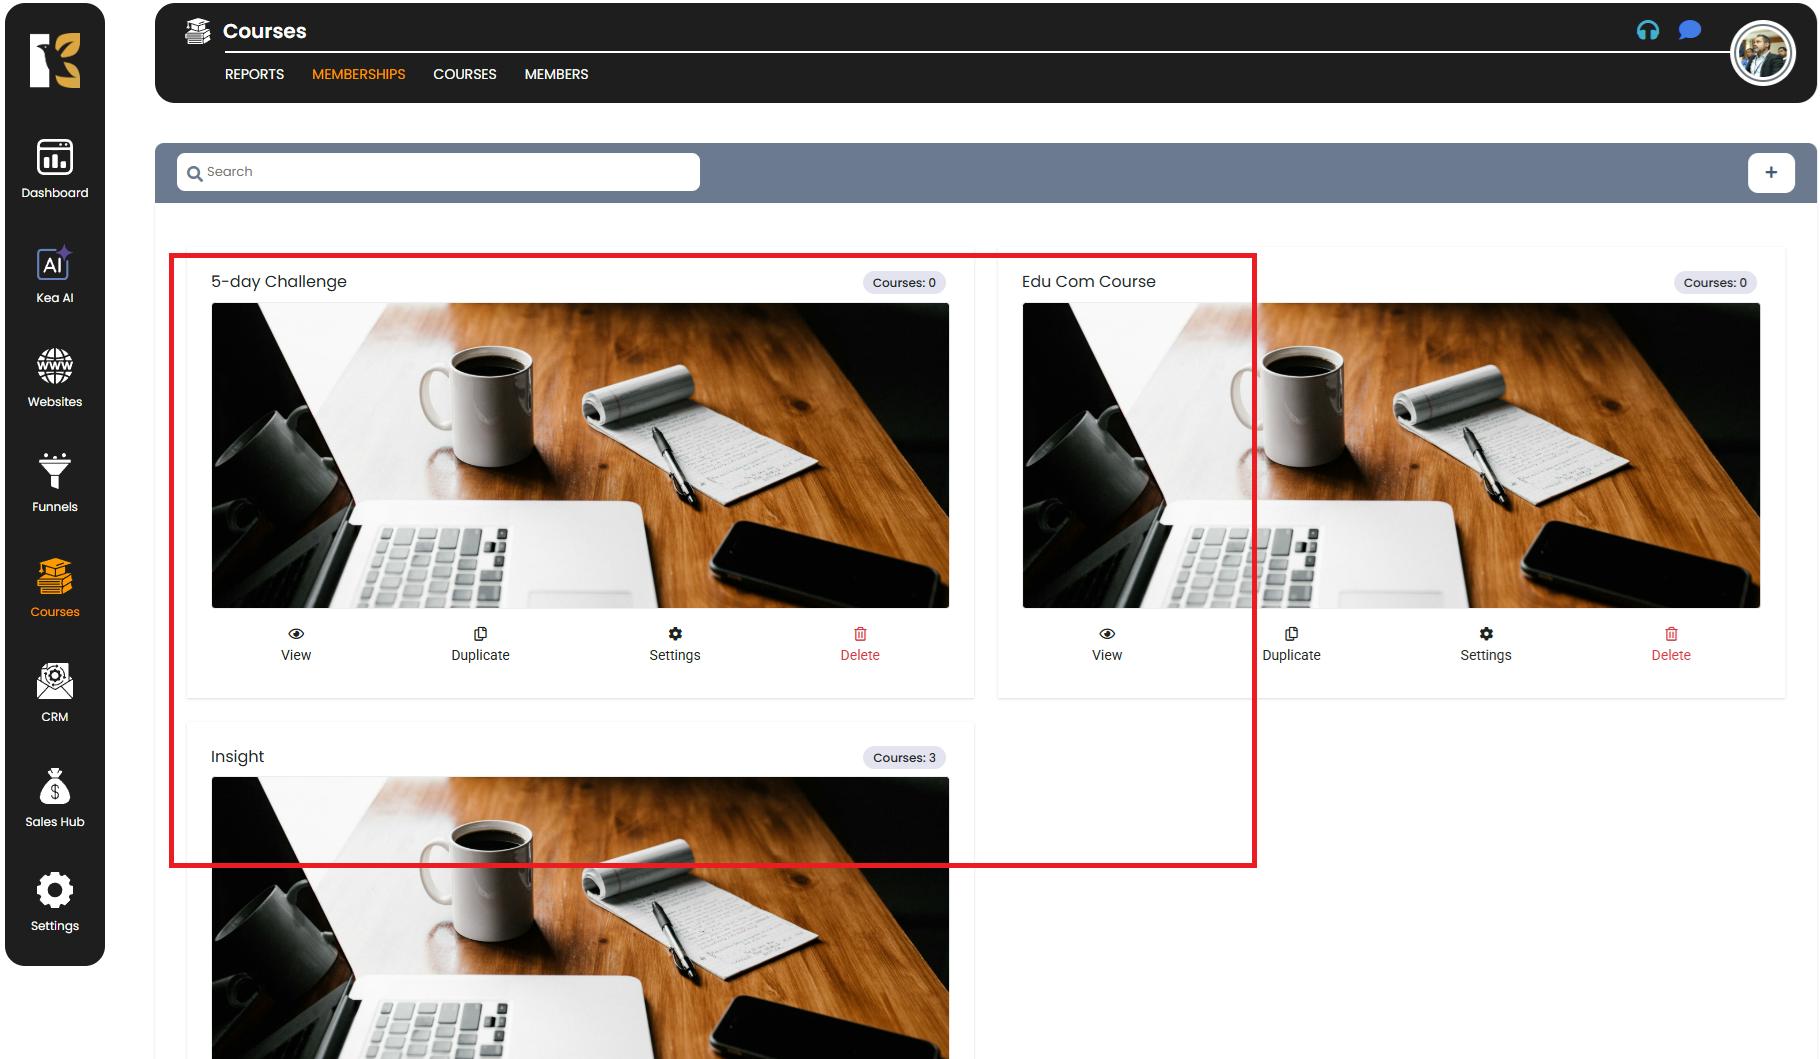
- Open the Membership Area
- Click on the View button of the newly created membership.
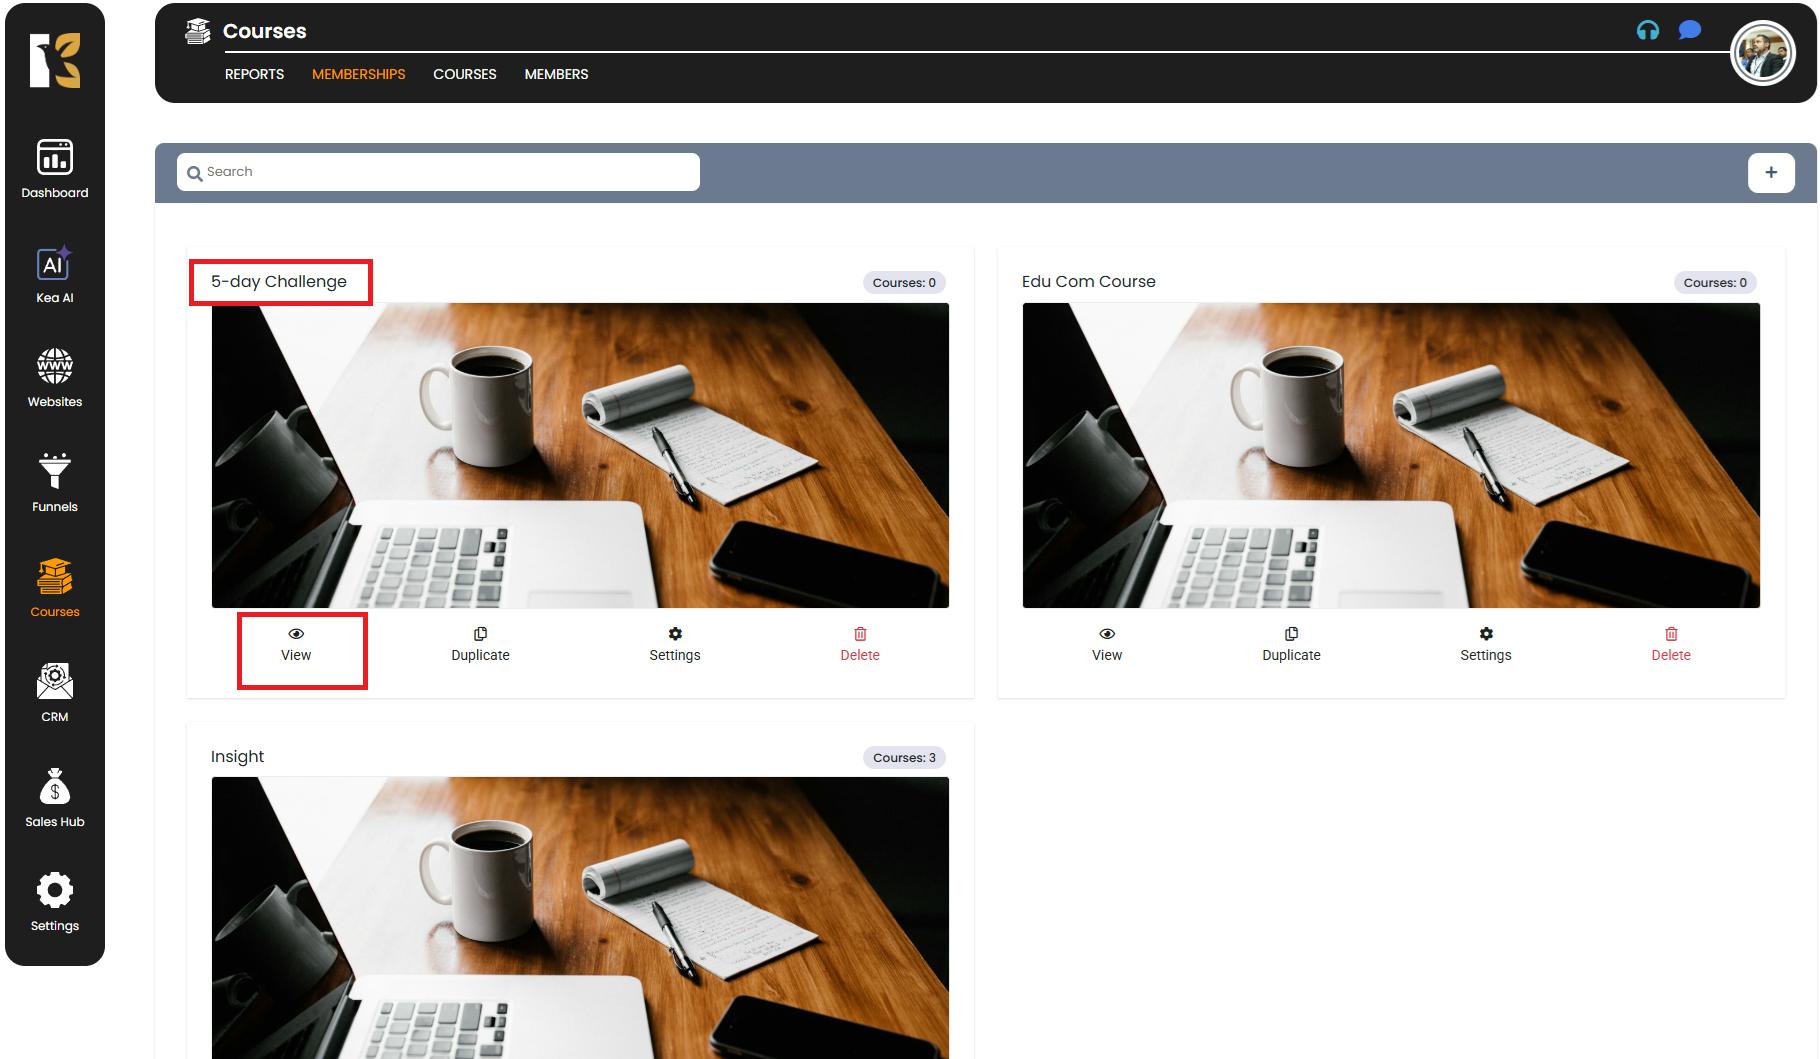
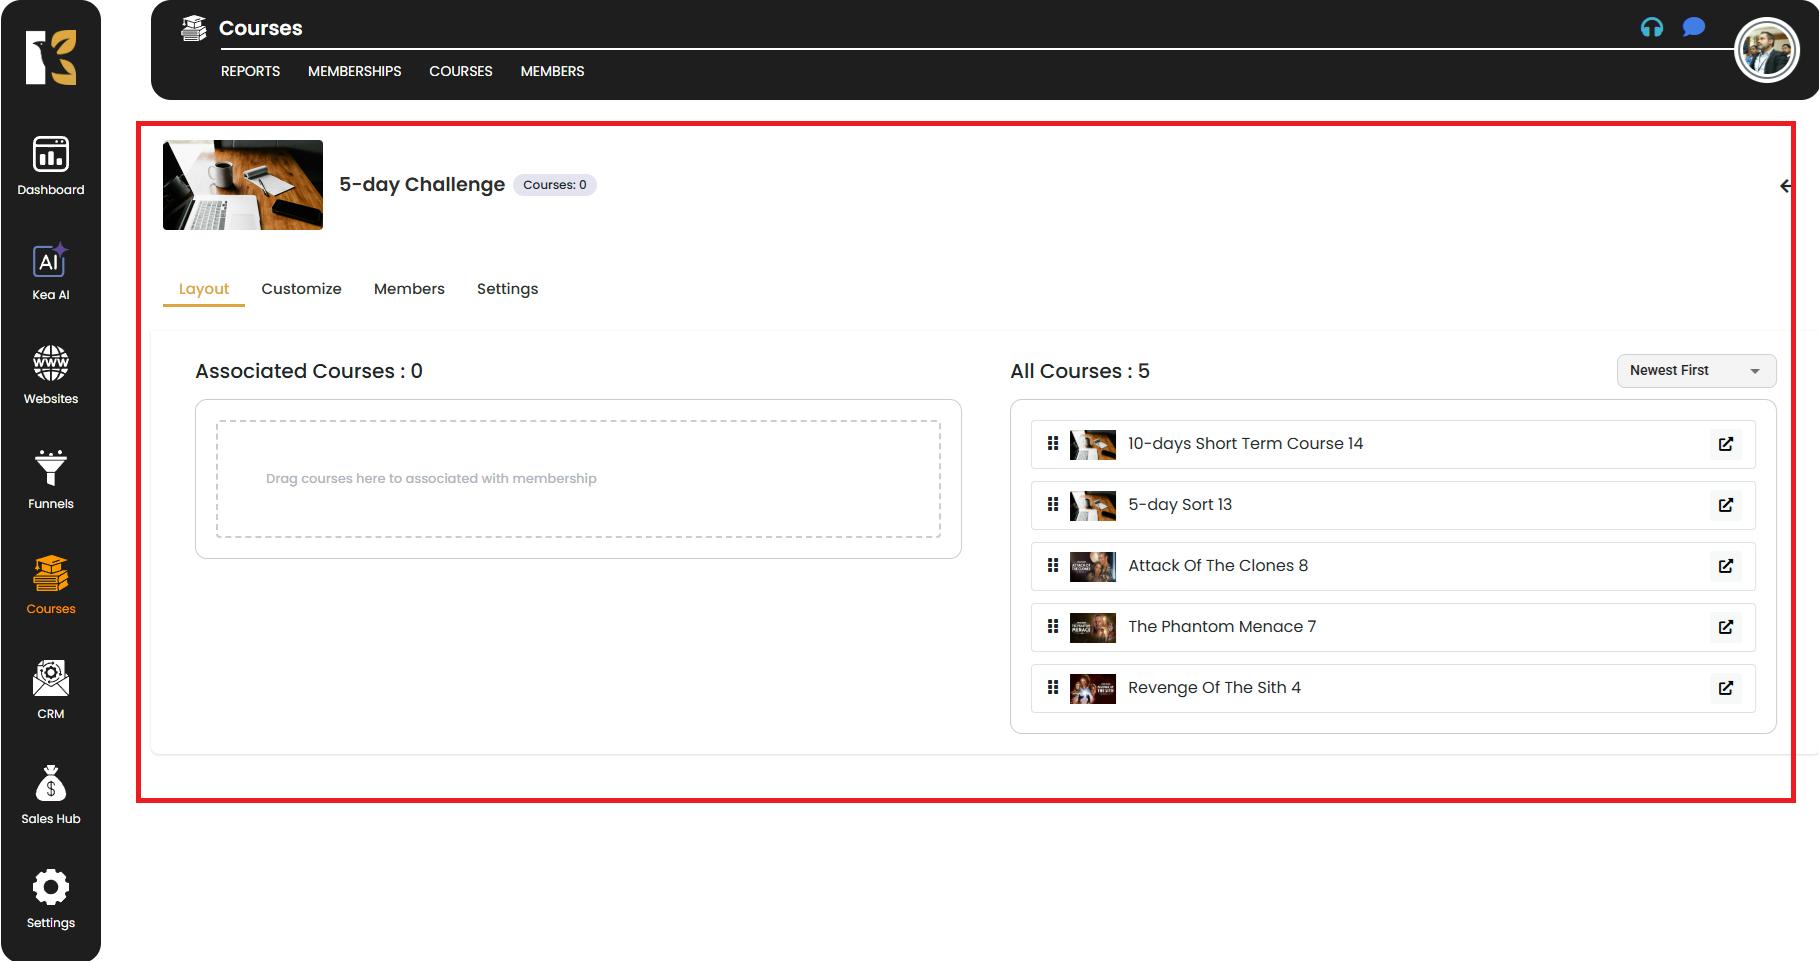
- This will take you to the inside of the Membership Area, where you can start adding content and configuring settings.
- Click on the View button of the newly created membership.
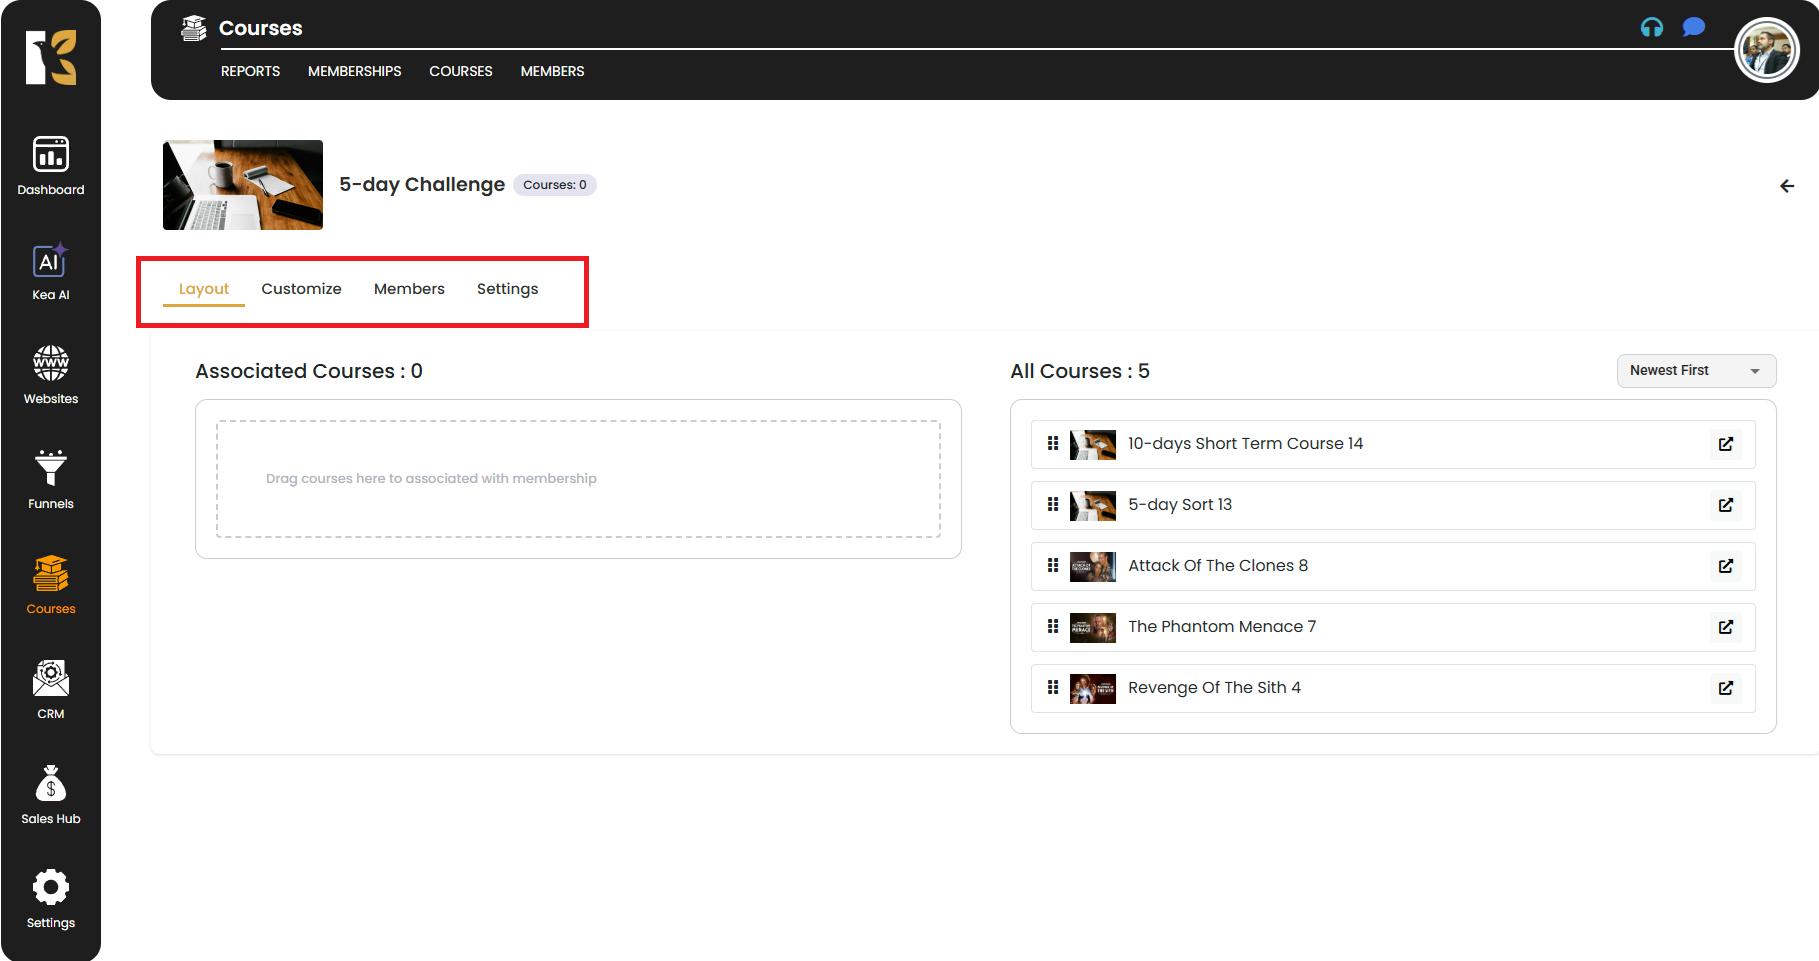
- Understand the Four Main Sections
Inside your Membership Area, you’ll see four tabs:
- Layout (Content & Courses)
- Customize (Pages & Branding)
- Members (Manage Members)
- Settings (General Settings)
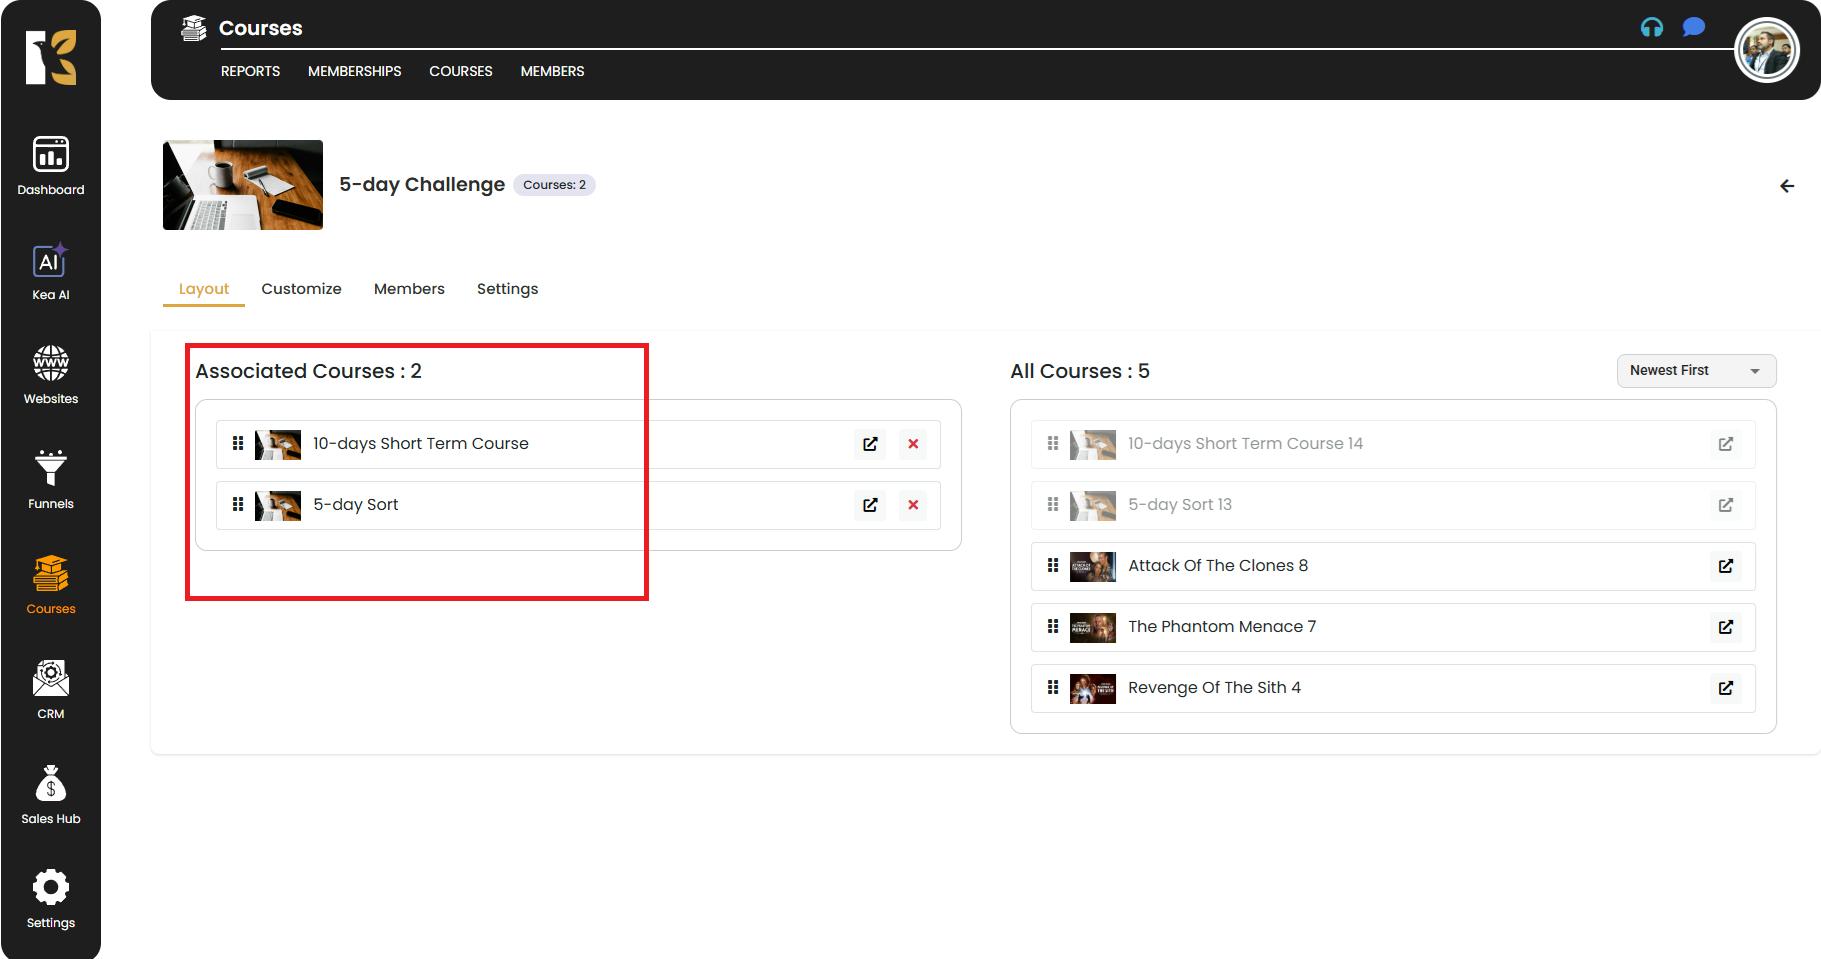
Layout Tab – Adding Content
- By default, you’ll land on the Layout Tab.
- On the right-hand panel, you’ll see a list of courses you’ve created in the Courses Section.
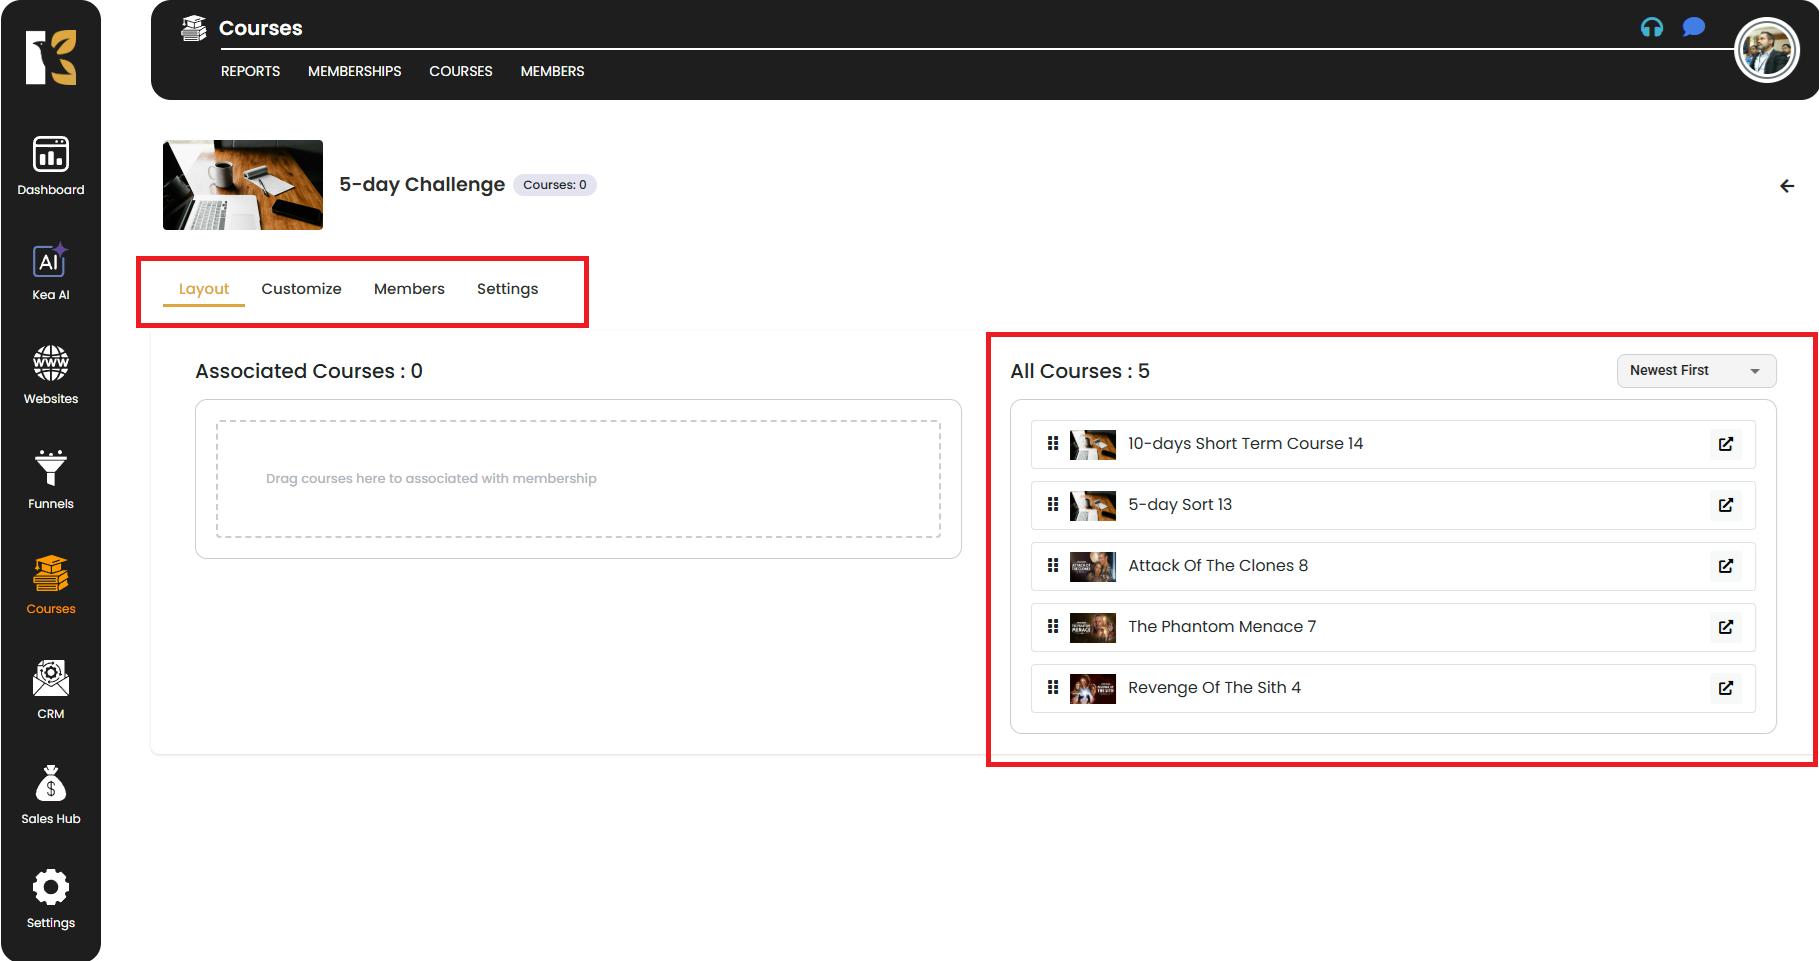
- Simply drag and drop the courses you want into your Membership Area.
- If no courses appear on the panel, go to the Courses Section from the Top Horizontal Menu and create your courses first by following the “How to Create Courses” steps.
Customize Tab – Personalize Your Membership Pages
- KeaBuilder provides built-in pages for your membership:
- Login Page
- Library Page
- Profile Page
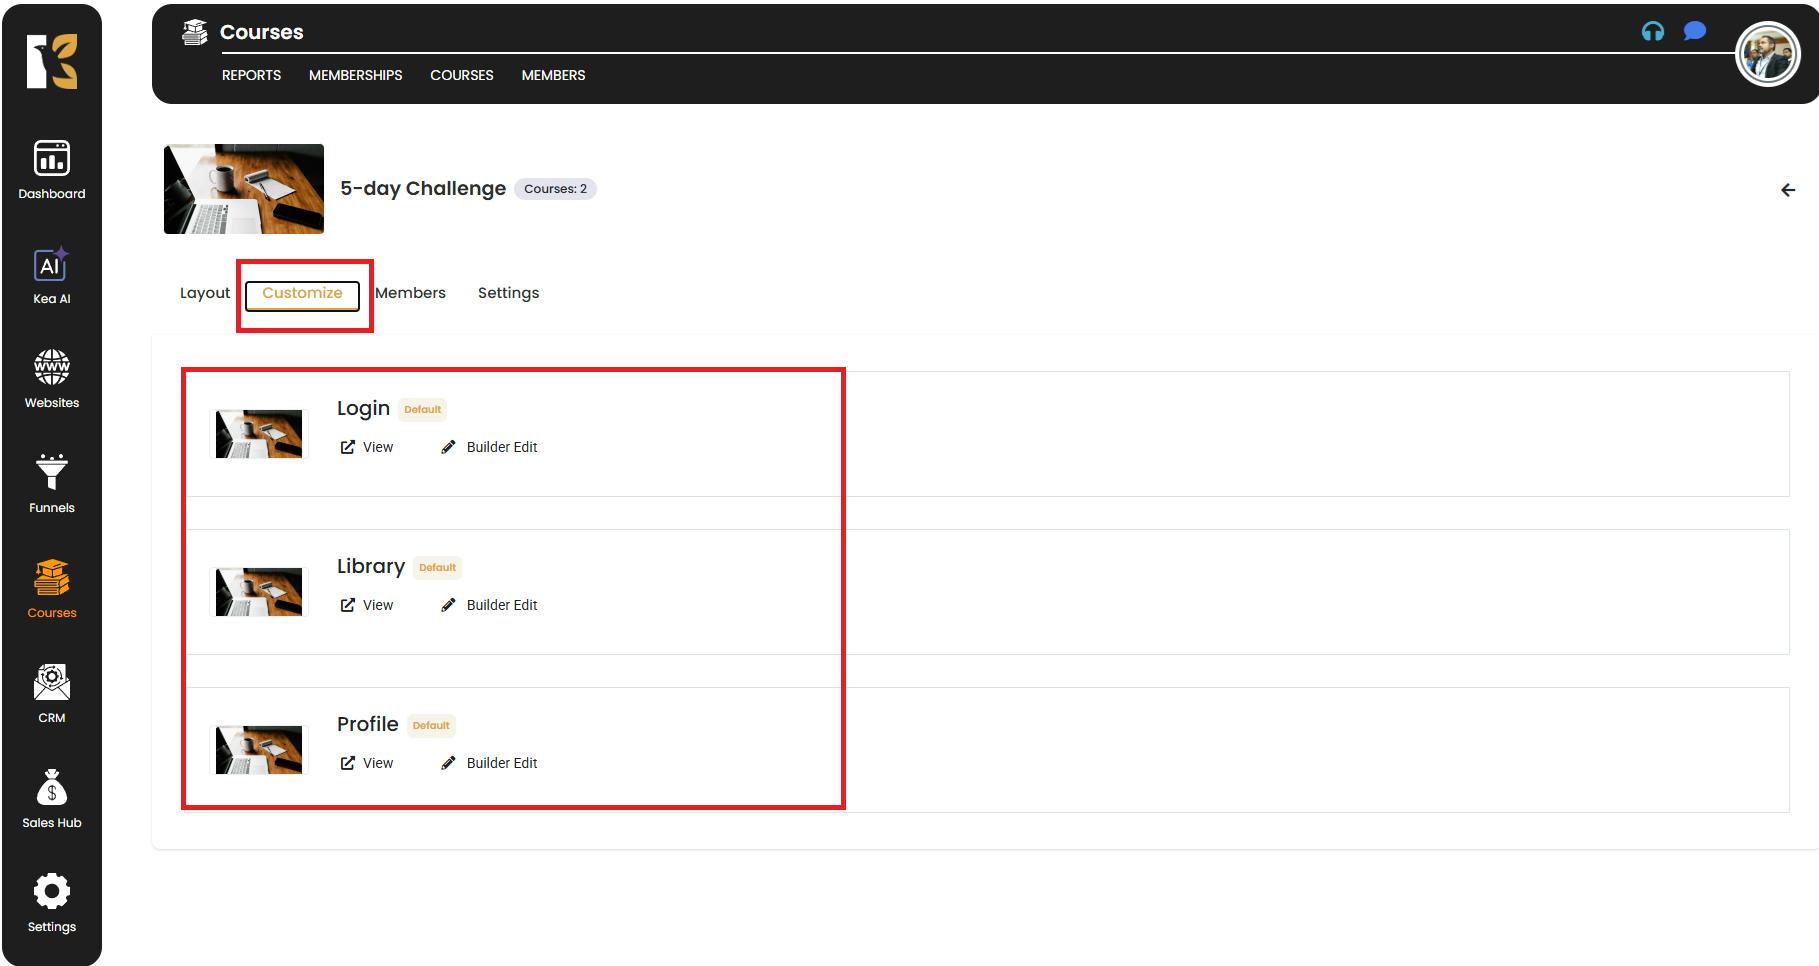
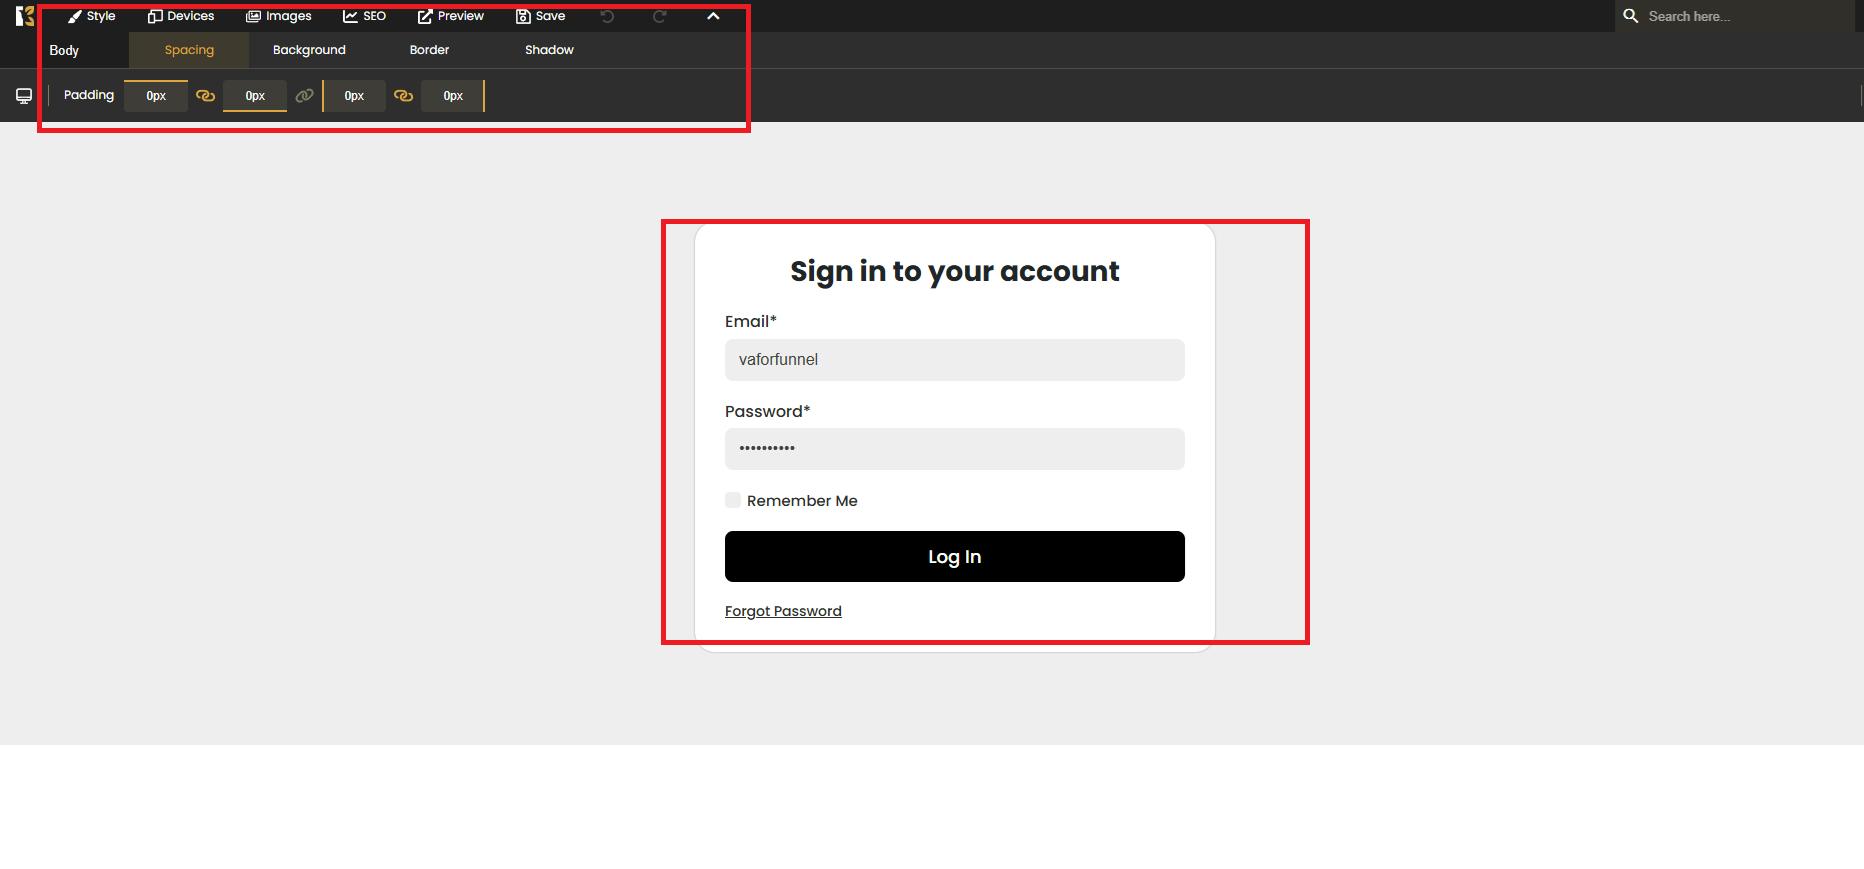
- Click on the Builder Edit (pencil icon) next to each page to open the KeaBuilder Editor.
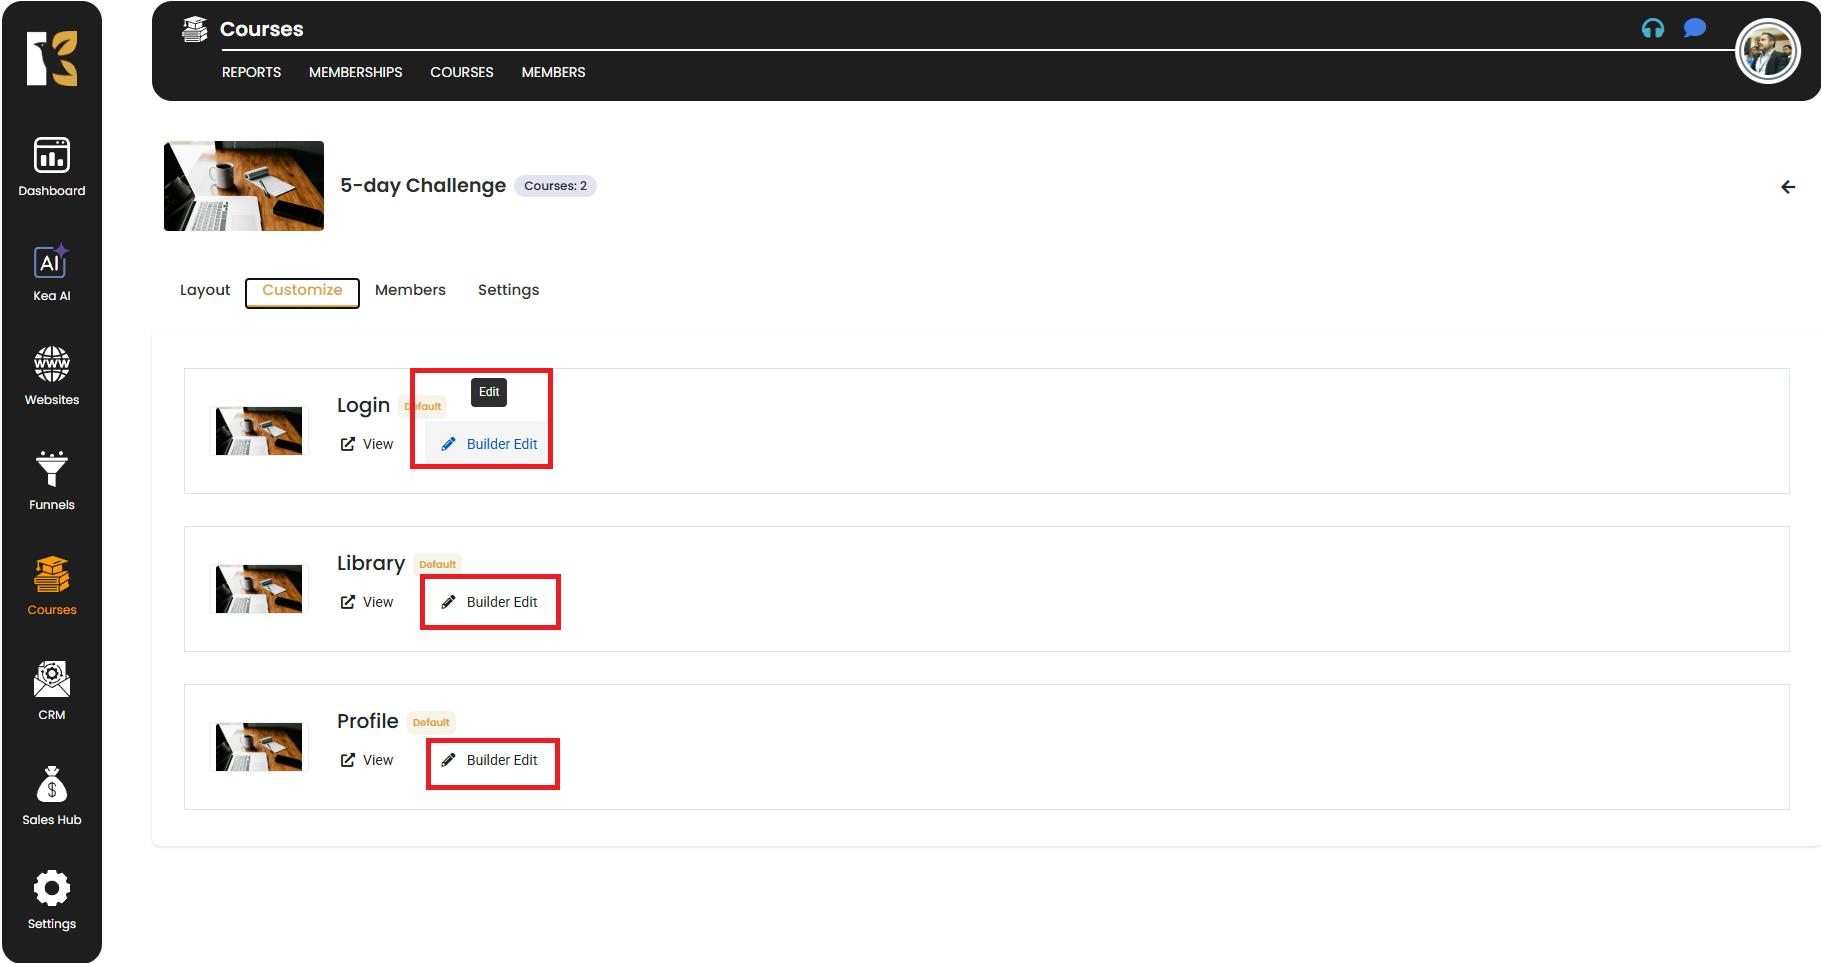
- Here you can redesign and customize these pages with your branding, images, text, and layouts to create a seamless experience for your members.
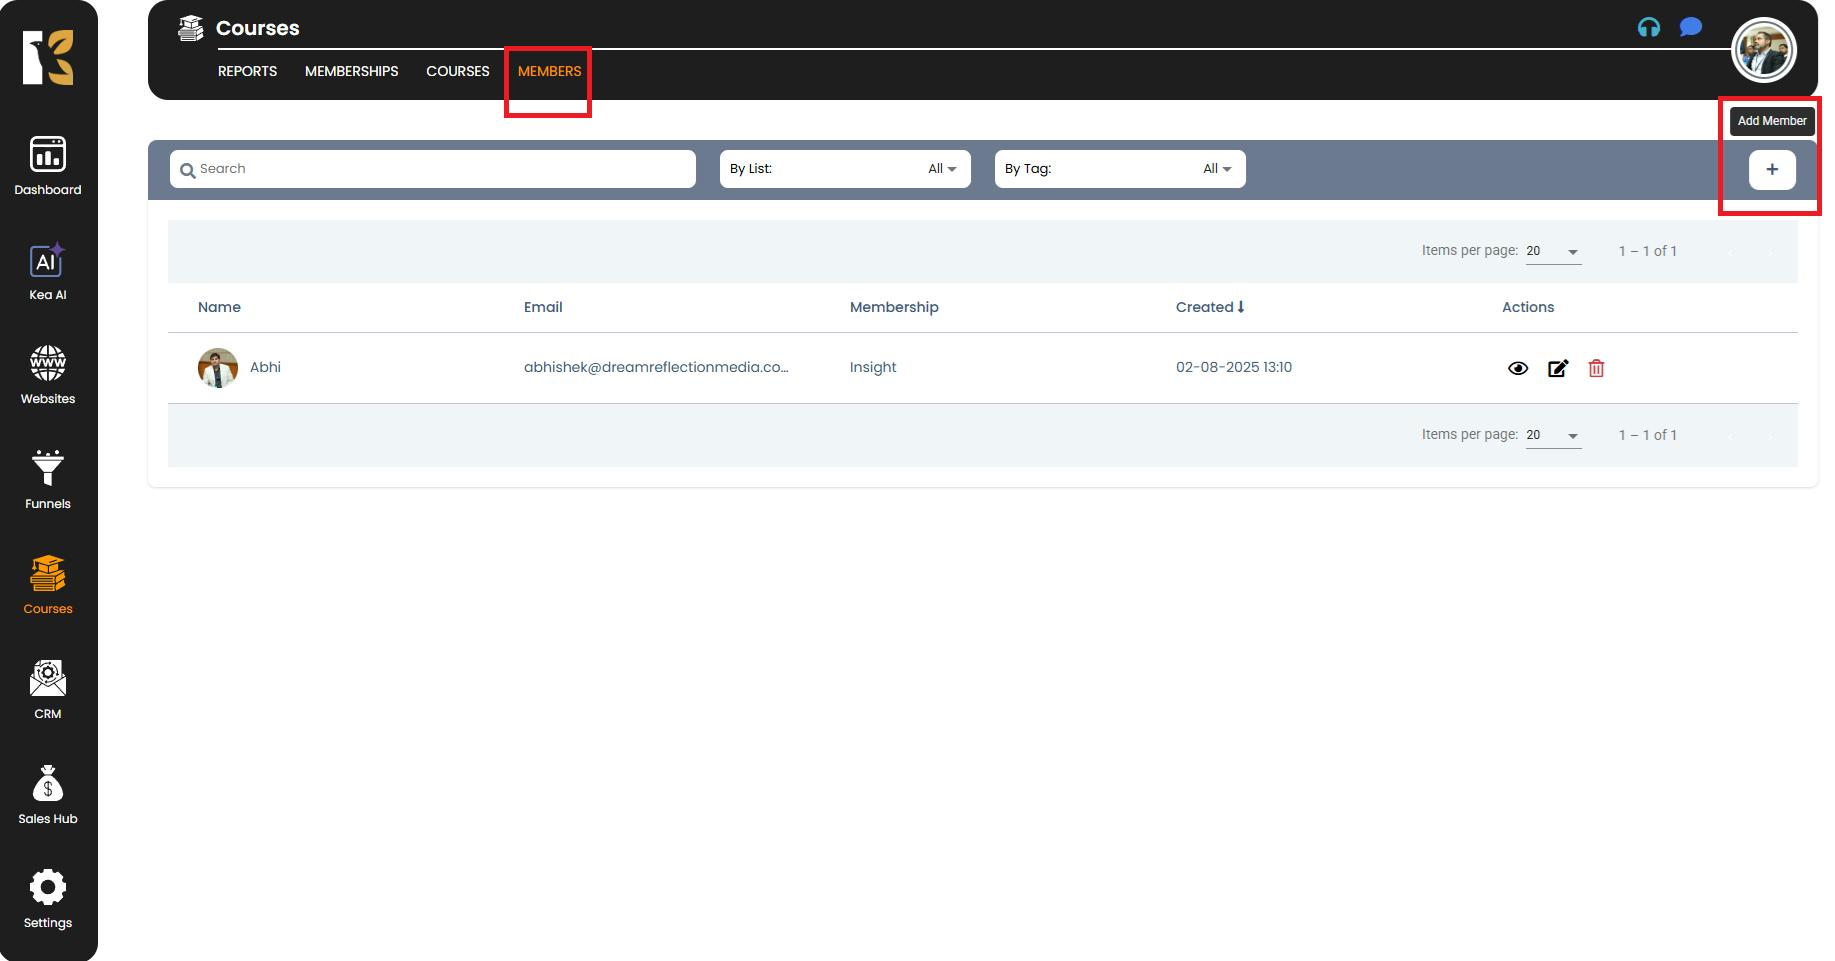
Members Tab – Add and Manage Members
- Click the “+” icon to add a new member.
- Fill in the required details in the form:
- First Name & Last Name
- Email Address
- Subscribe to Membership Products (assign products if applicable)
- Phone Number
- Subscribe to List (optional)
- Add Tags (optional – for segmenting your members)
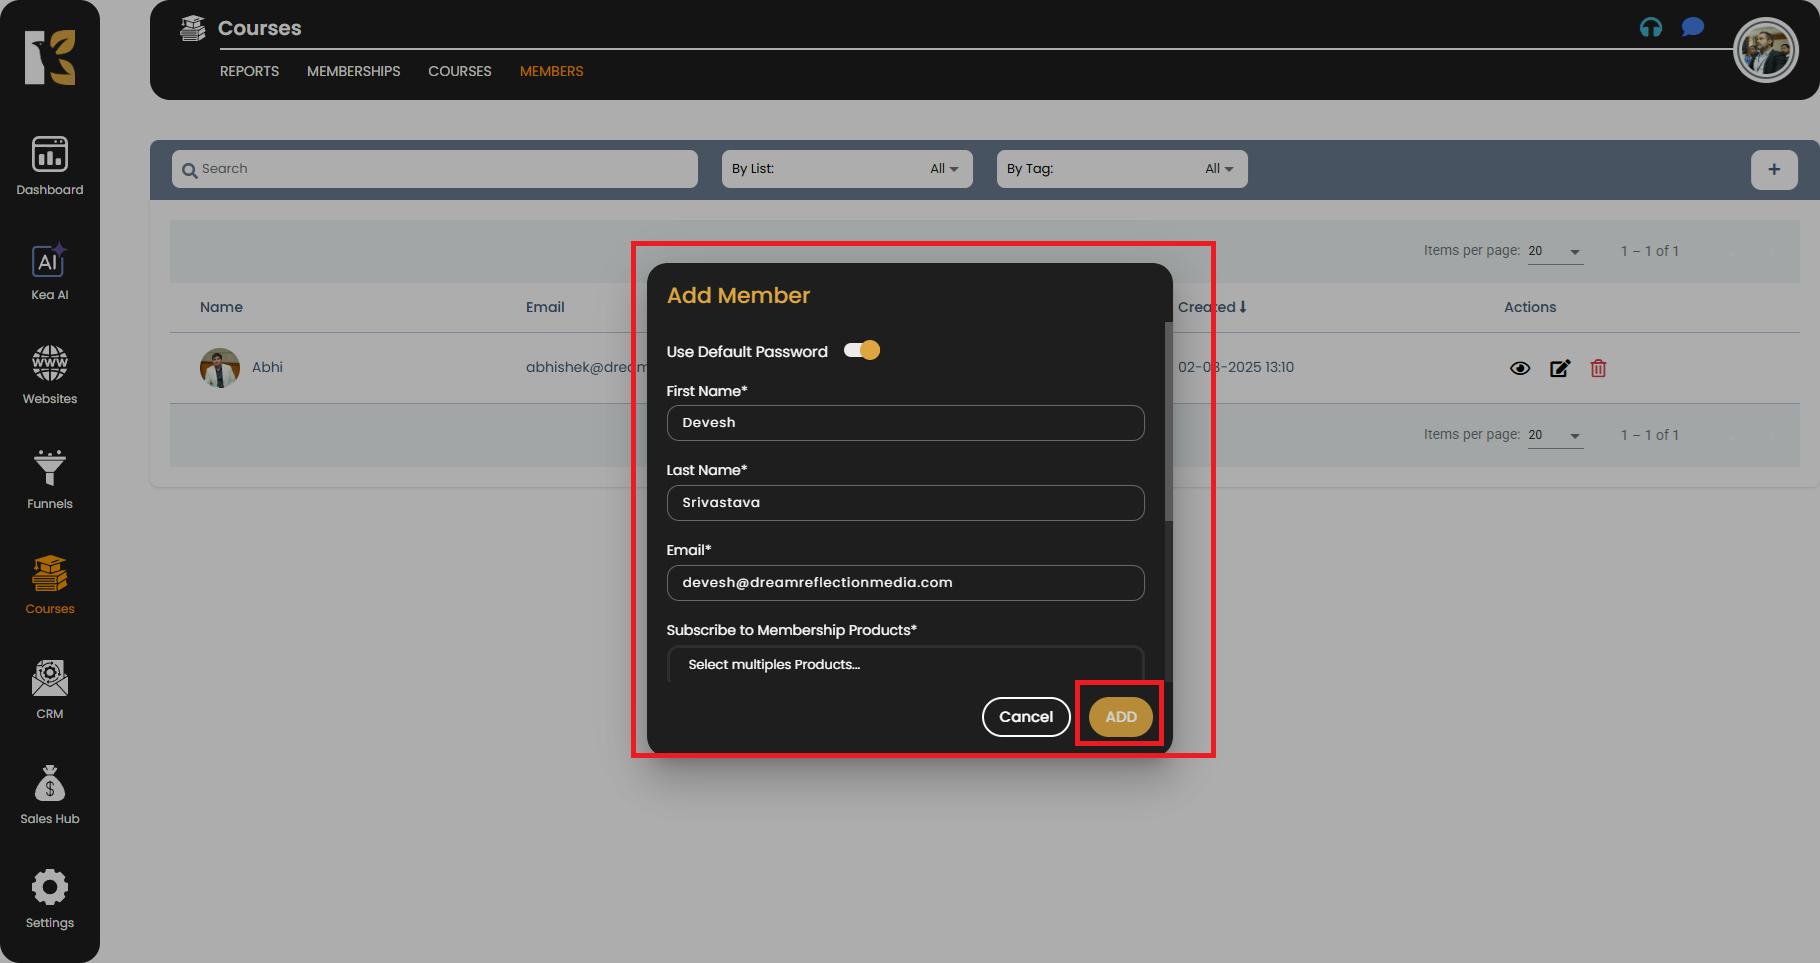
- Click Add to save.
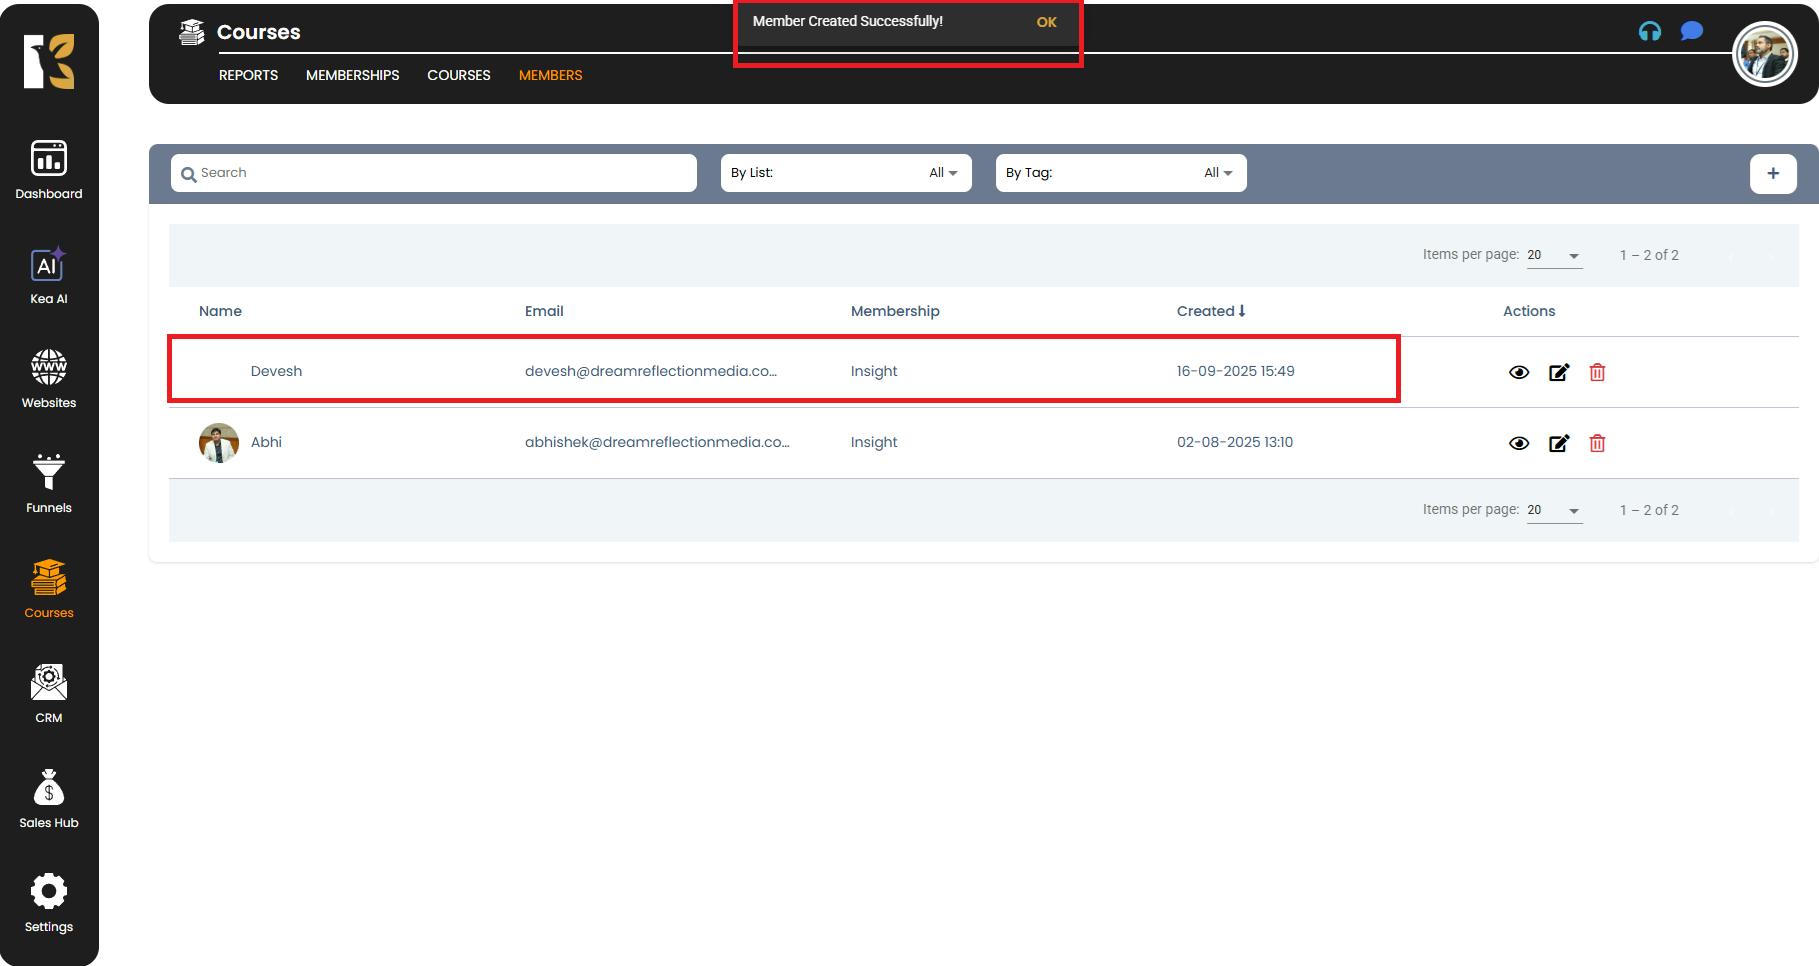
- The new member will now appear in the Members List, and you can manage their access easily.
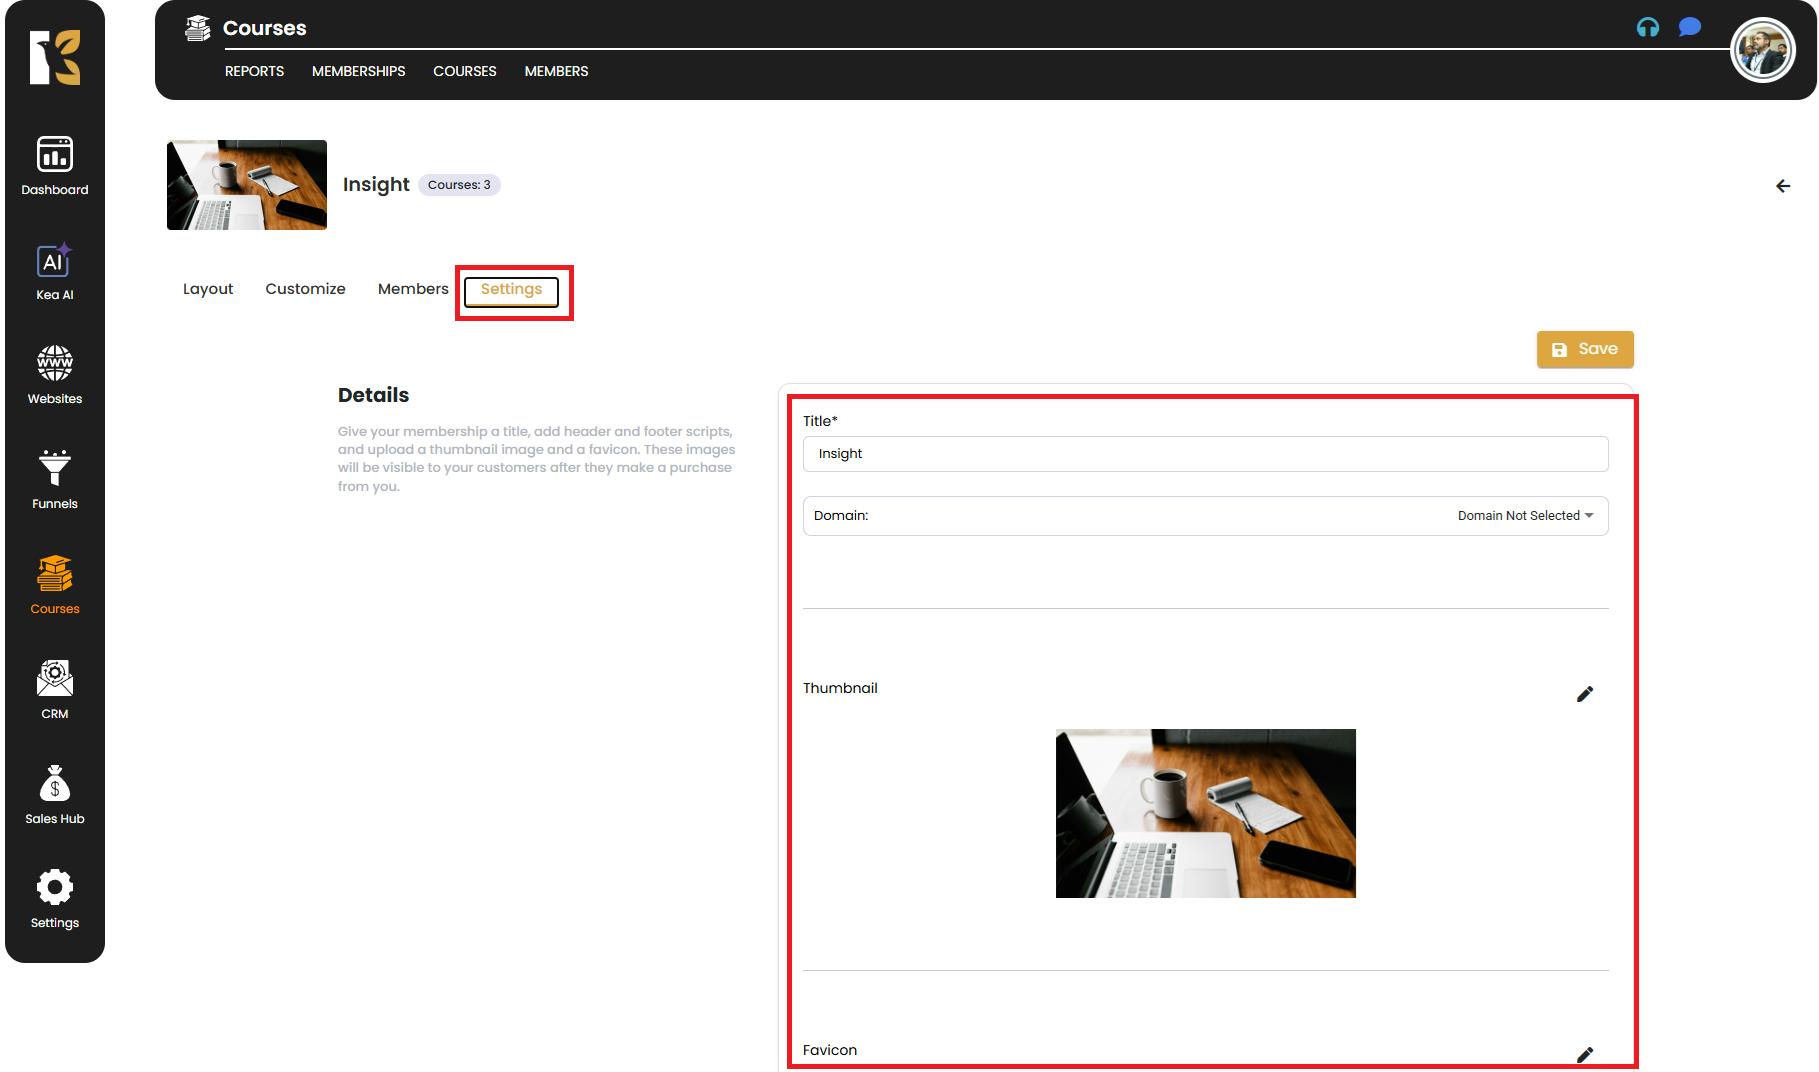
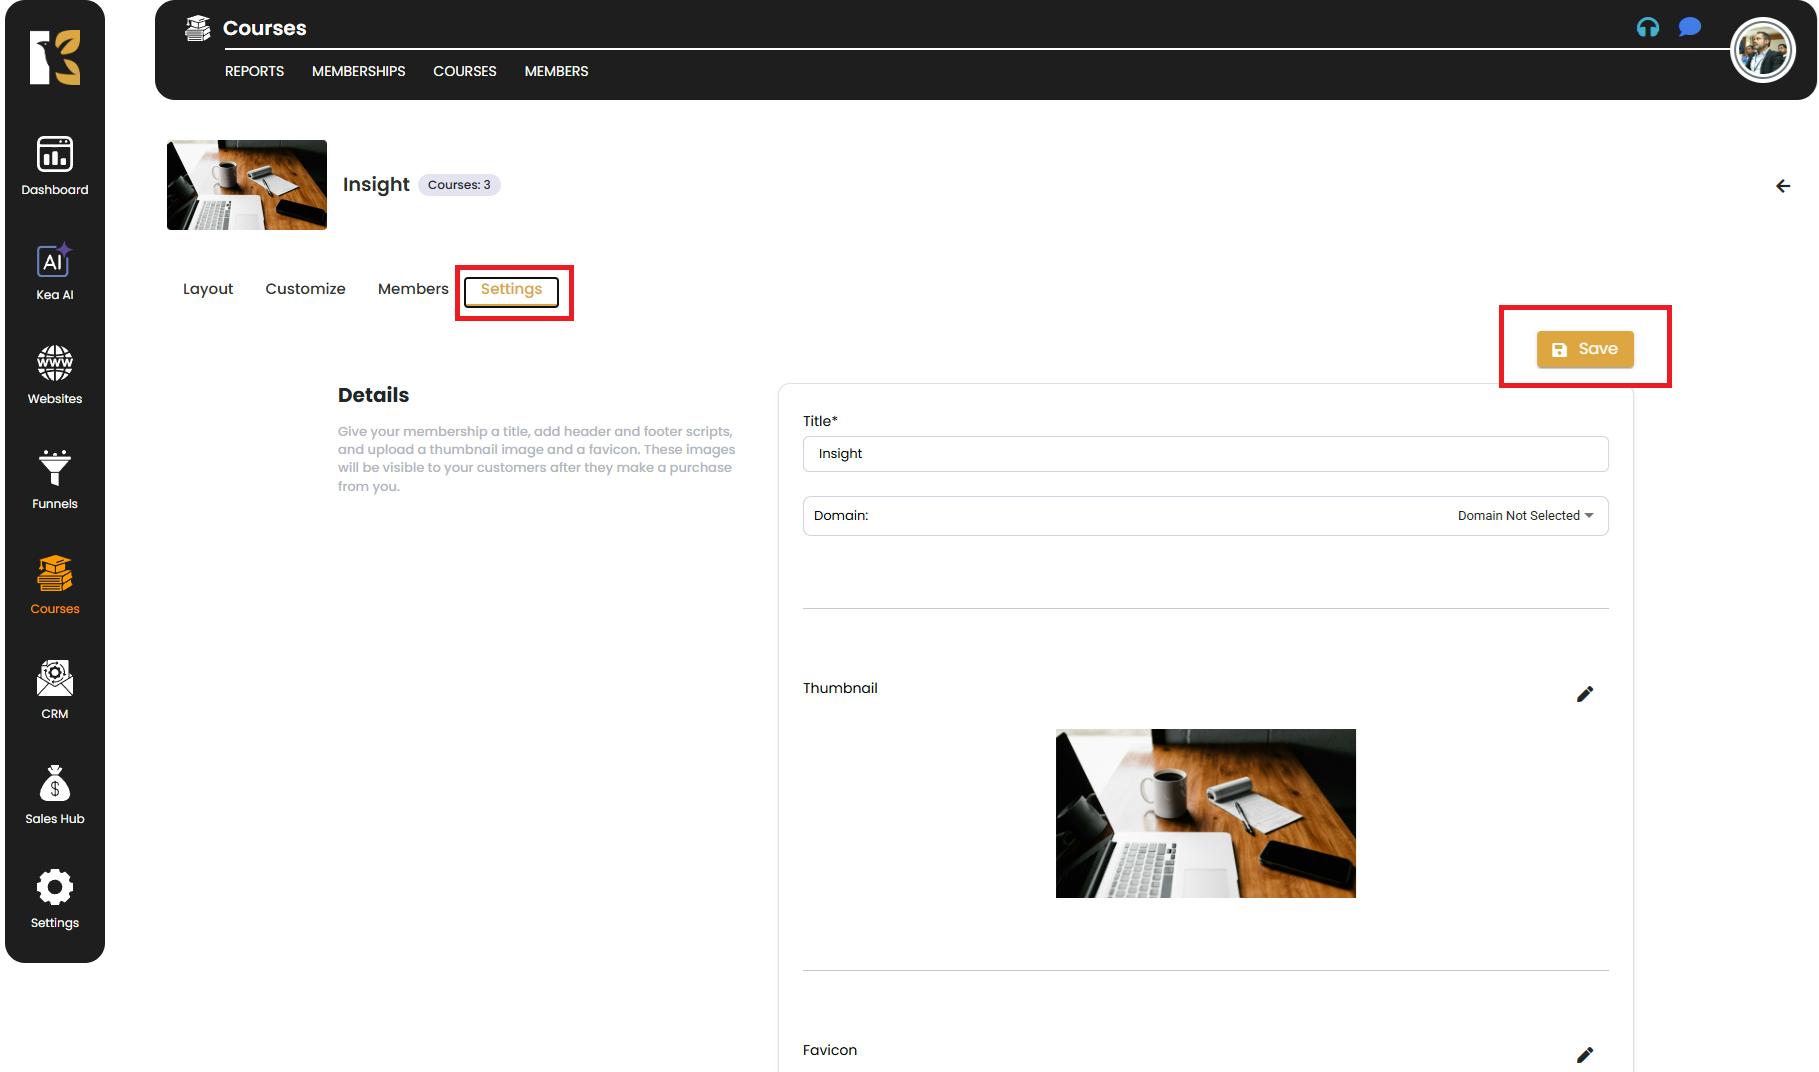
Settings Tab – Configure Your Membership
- In the Settings Tab, you can:
- Change the Membership Title Name
- Select the Domain where the membership will be hosted
- Thumbnail
- Favicon
- Header & Footer Tracking Code
- Adjust other membership preferences as needed.
Save and Review
- Once you’ve set everything up, click Save to store your changes.
- Return to the Membership Dashboard to view all the memberships you’ve created and manage them in one place.
Pro Tips for Creating Memberships in KeaBuilder
- 📚 Organize Your Courses – Plan your courses first to easily drag and drop them into your membership.
- 🎨 Brand Your Pages – Customize the login, library, and profile pages to match your website and branding.
- 🧑🤝🧑 Segment Members – Use tags and lists to segment your members for marketing or personalized content delivery.
- 🌐 Domain Integration – Assign a clear domain or subdomain to your membership for a professional experience.
✅ By following these steps, you can quickly set up a Membership Area in KeaBuilder that delivers premium content, manages members seamlessly, and elevates your online business.