How to Add an Icon to an Email
Icons play a valuable role in enhancing email readability by drawing attention, breaking up content, and visually communicating ideas. When used strategically, they improve user experience and engagement. This step-by-step guide shows you how to easily add icons to your email in the CRM builder.
🔧 Steps to Add an Icon to Your Email
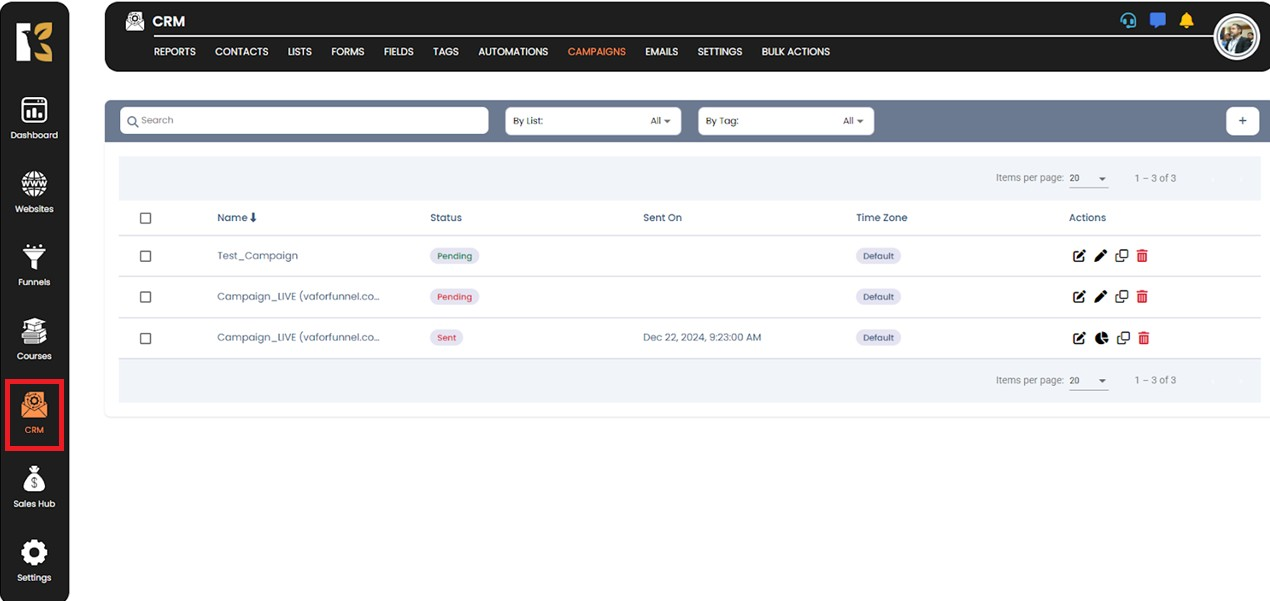
✅ Step 1: Open the CRM
Navigate to the side menu and click on the CRM option.
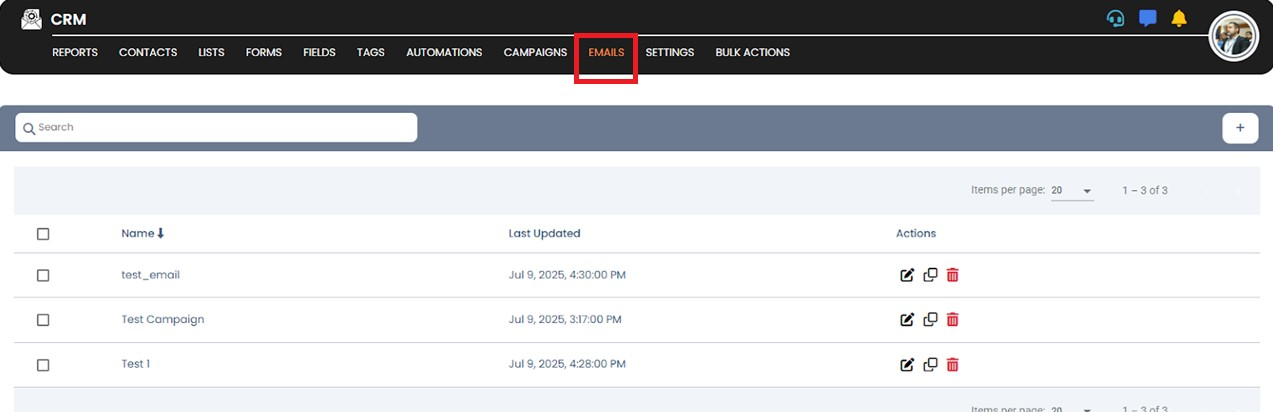
✅ Step 2: Go to the Emails Section
Click on the Emails button to access your email dashboard.
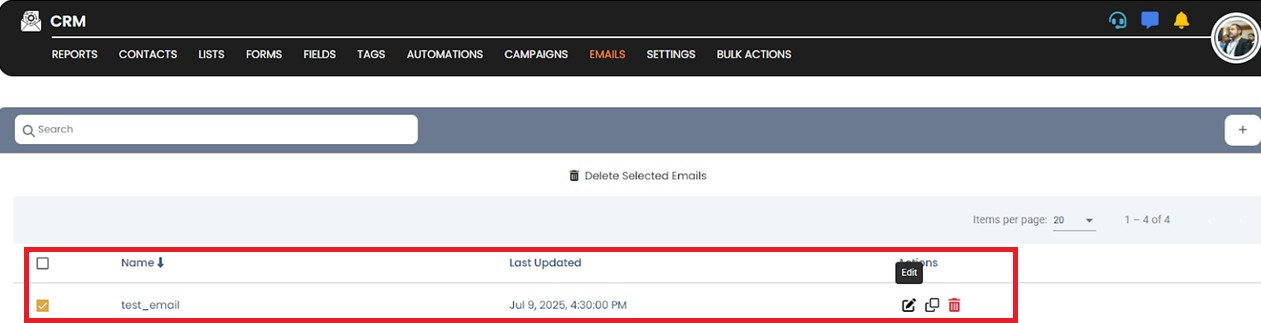
✅ Step 3: Select the Email You Wish to Edit
Locate the desired email and click the Edit button.
✅ Step 4: Access the Email Builder
You’ll be redirected to the email editing interface.
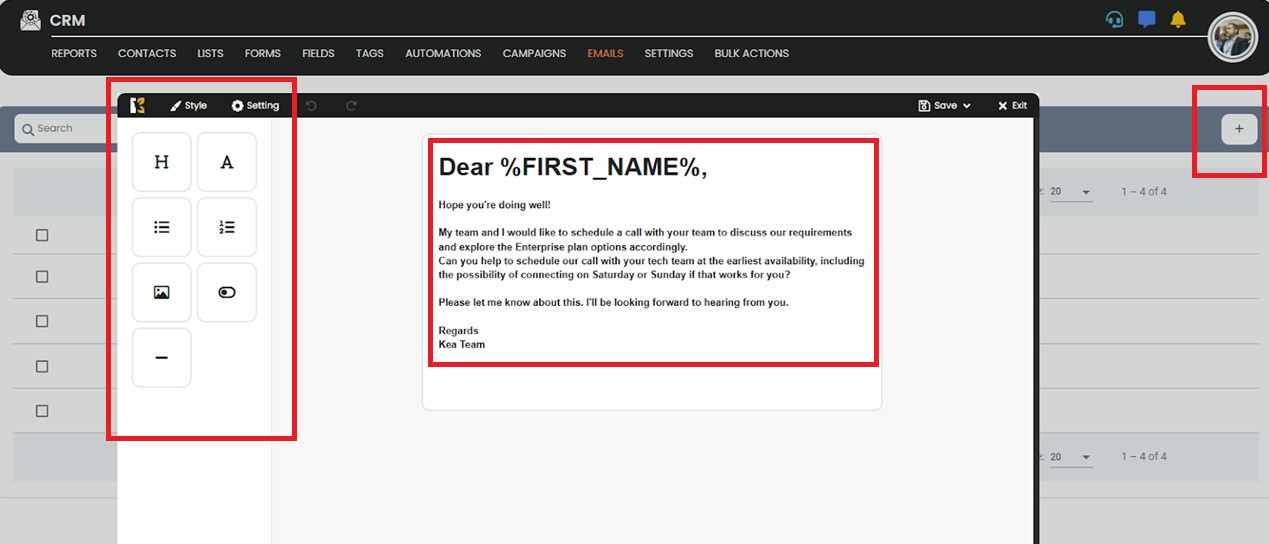
✅ Step 5: Open the Elements Panel
From the top horizontal menu in the builder, click on Style.
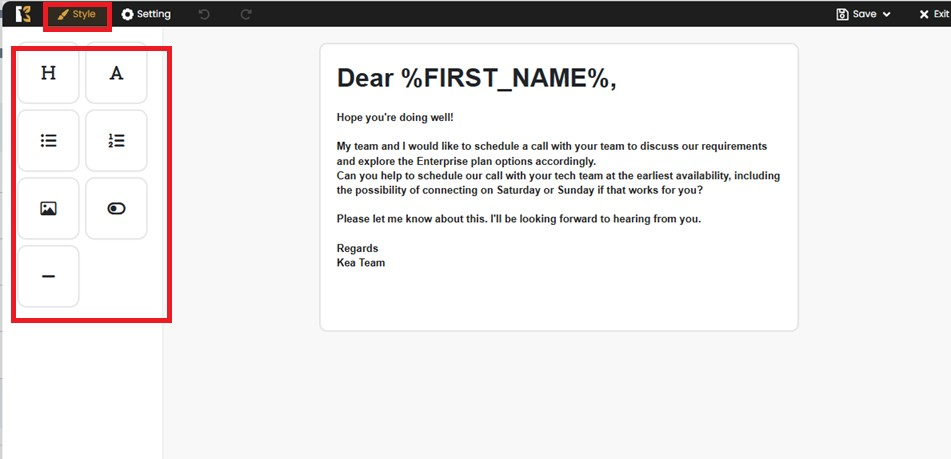
✅ Step 6: Choose the Icon Element
Click on the Icon option among the available elements.
✅ Step 7: Browse and Select an Icon
Choose from the available icon options provided in the builder.
✅ Step 8: Drag and Drop the Icon
Drag the selected icon to your desired location within the email layout.
✅ Step 9: Customize the Icon
Once placed, you can reposition, resize, or style the icon as needed.
💡 Tips for Using Icons Effectively:
- Keep icons simple and relevant to the content.
- Use them sparingly to avoid clutter.
- Ensure they are aligned well with surrounding text or buttons.
- Test across devices to ensure visibility and compatibility.