How to Add a Menu Bar to Your Website in KeaBuilder
A Menu Bar is one of the most essential parts of any website. It allows visitors to easily navigate across your site’s pages such as Home, About, Services, Contact, or any custom sections you create.
In KeaBuilder, adding a fully functional and customizable menu bar is a straightforward process. Just follow the steps below to create a navigation menu for your website.
🪄 Step-by-Step Guide to Add a Menu Bar
- ✅ Step 1: Go to the Elements Section
Open the page editor where you want to place the menu bar.
From the top menu bar, click on “Elements” to view all available page components.
- ✅ Step 2: Select the Menu Bar Element
Click on the “Menu Bar” button from the list of available elements.
The menu bar section will now be ready for configuration.
- ✅ Step 3: Start Building the Menu
Click on the “+” (plus) button to start creating your menu structure.
This opens up the menu configuration window.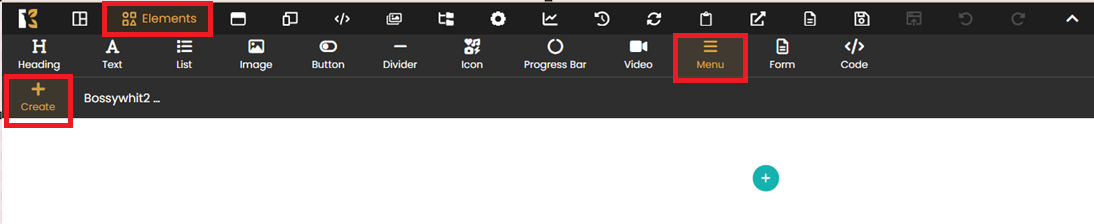
- ✅ Step 4: Create a New Menu
In the top-right corner, click the “Create New” button.
You’ll be prompted to start setting up your first menu.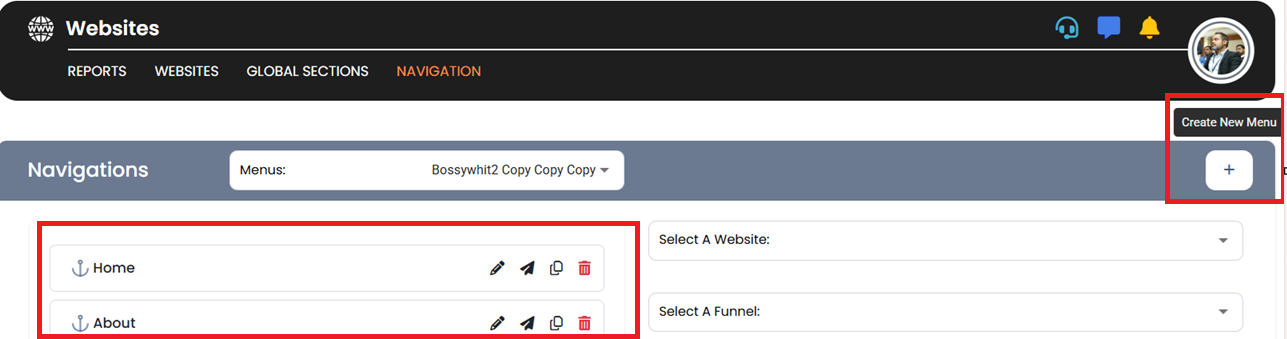
- ✅ Step 5: Name Your Menu
Give your menu a clear and descriptive name (e.g., “Main Navigation” or “Top Menu”).
This helps you manage and identify your menus later if you create multiple ones.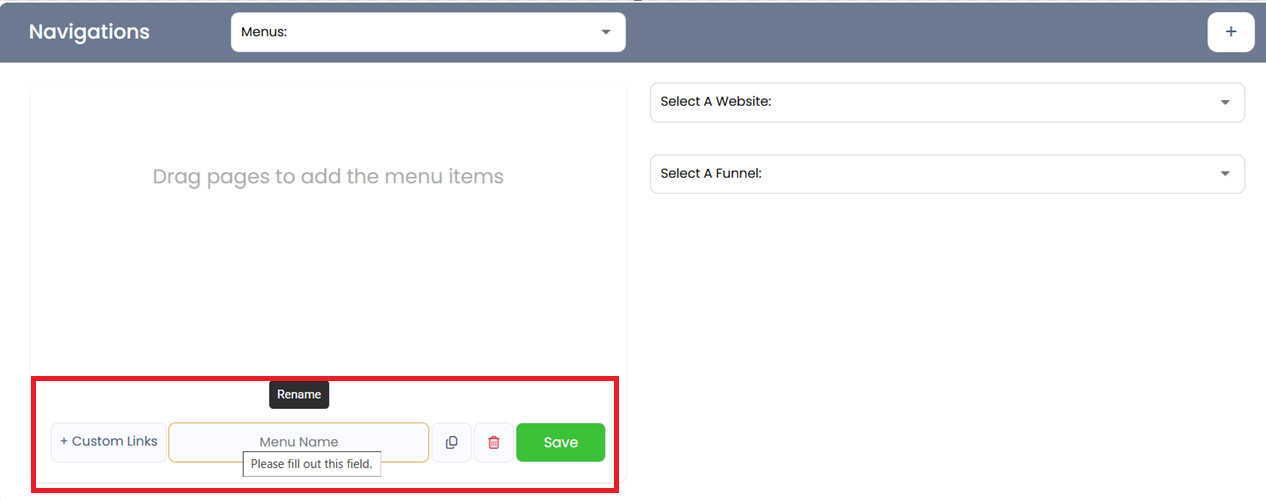
- ✅ Step 6: Add Page Links to the Menu
Drag and drop the page links (from your existing site pages) into the menu bar section.
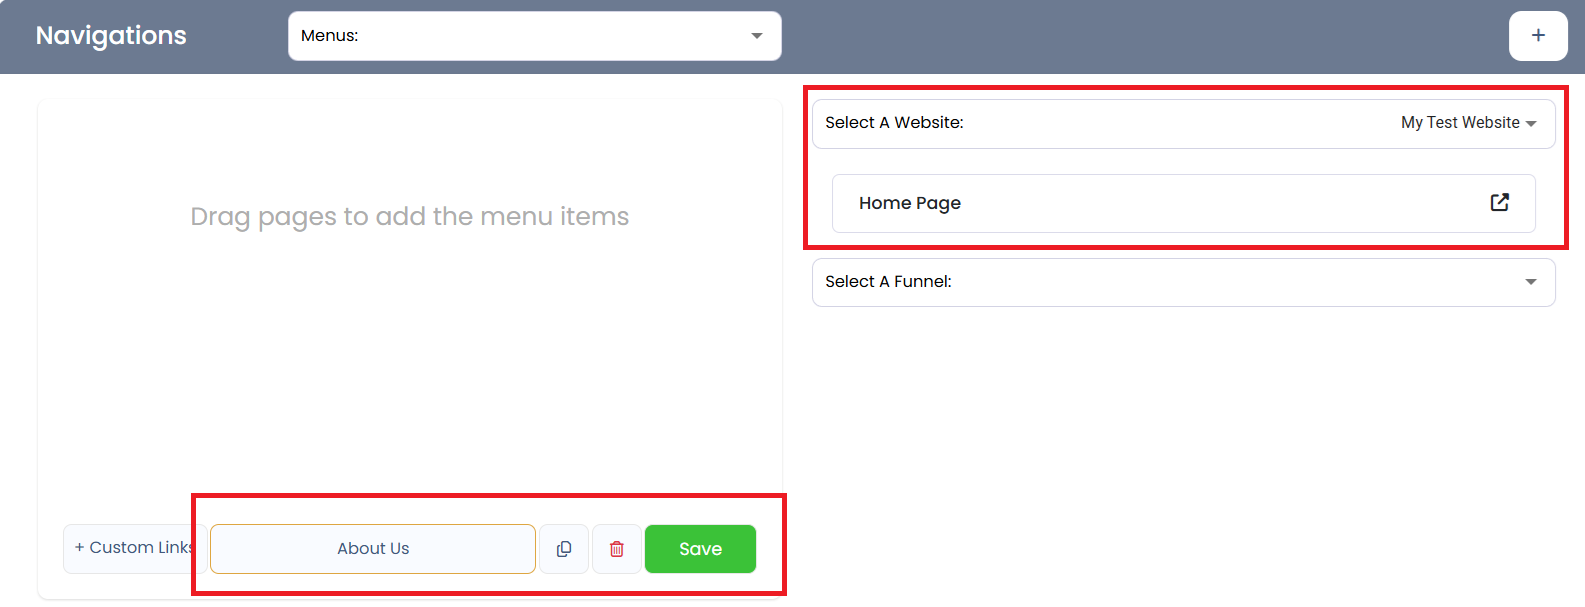
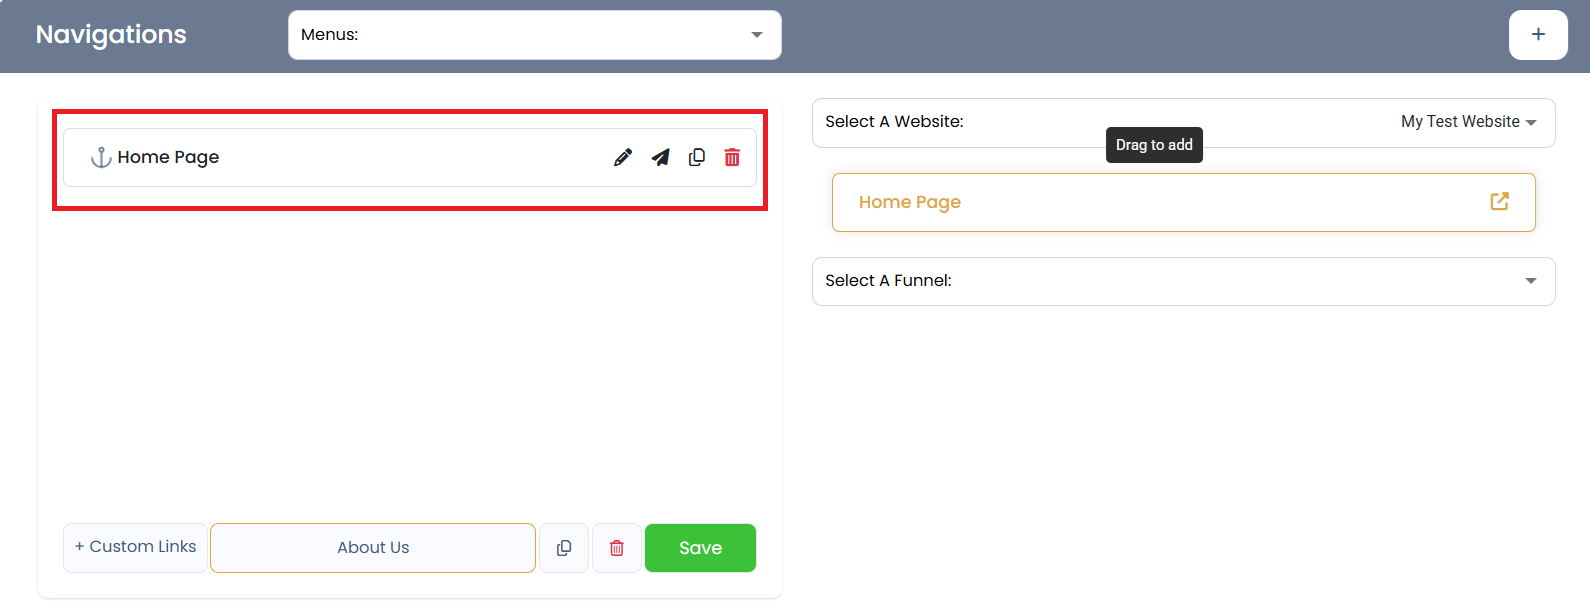 You can rearrange them as needed to reflect the navigation order you want.
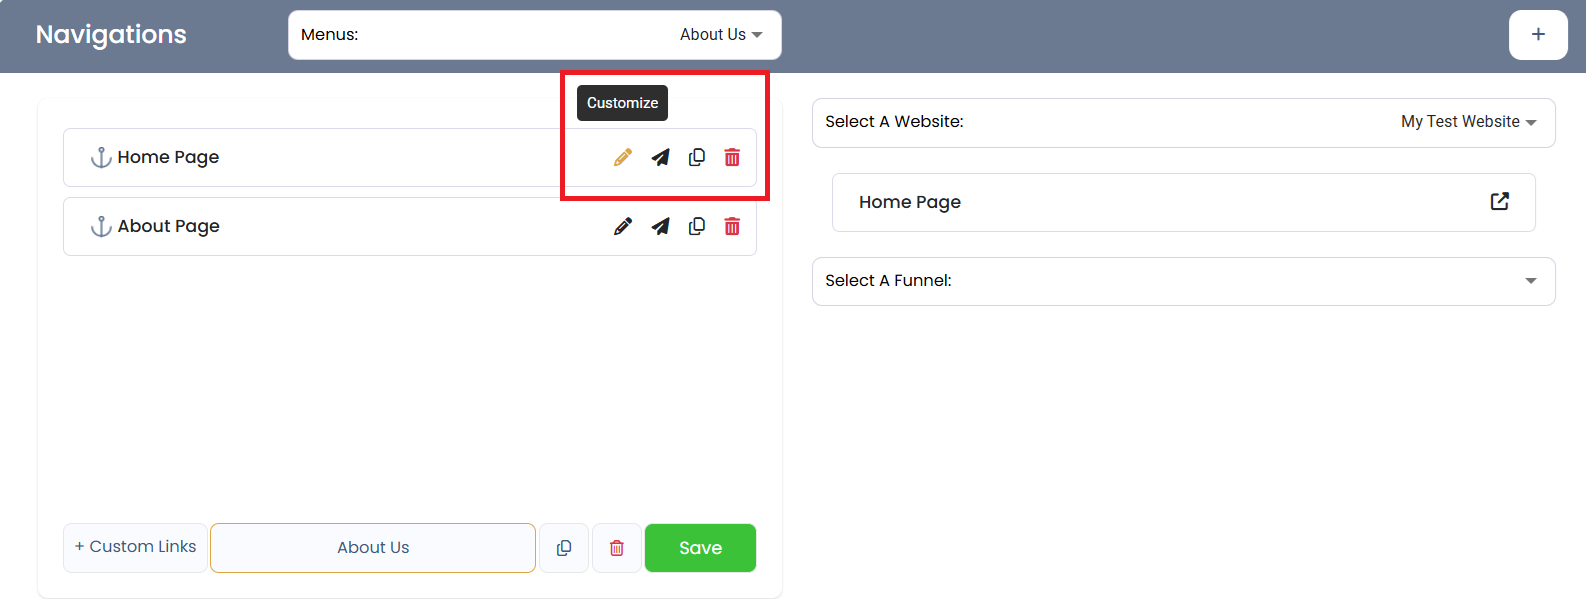
 - ✅ Step 7: Customize the Menu
Click on the “Customize” button to personalize your menu bar’s appearance and behavior.
. You can:
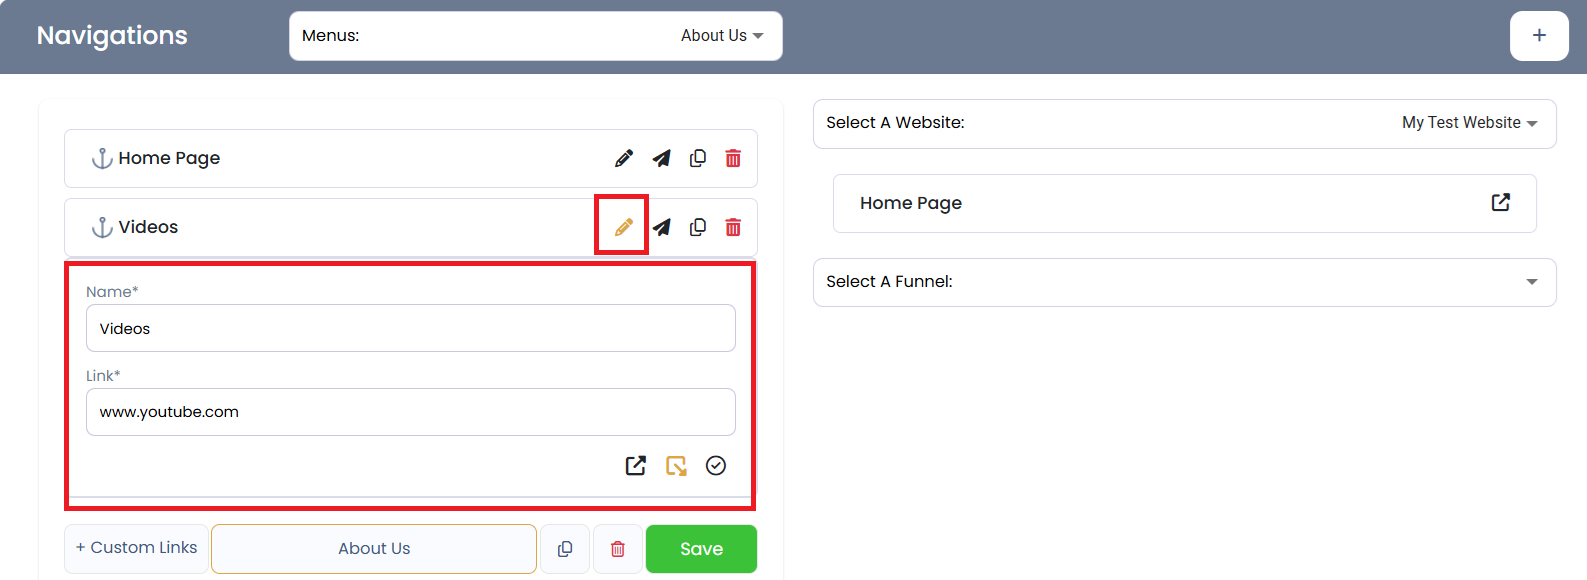
 - Rename each menu item
- Assign or change links to different pages or external URLs
- Adjust style settings (fonts, spacing, alignment, etc.)
- ✅ Step 8: Finalize and Save
Once your menu is set up and styled, click “Done” to save the changes.
Your new menu bar is now live on the builder page.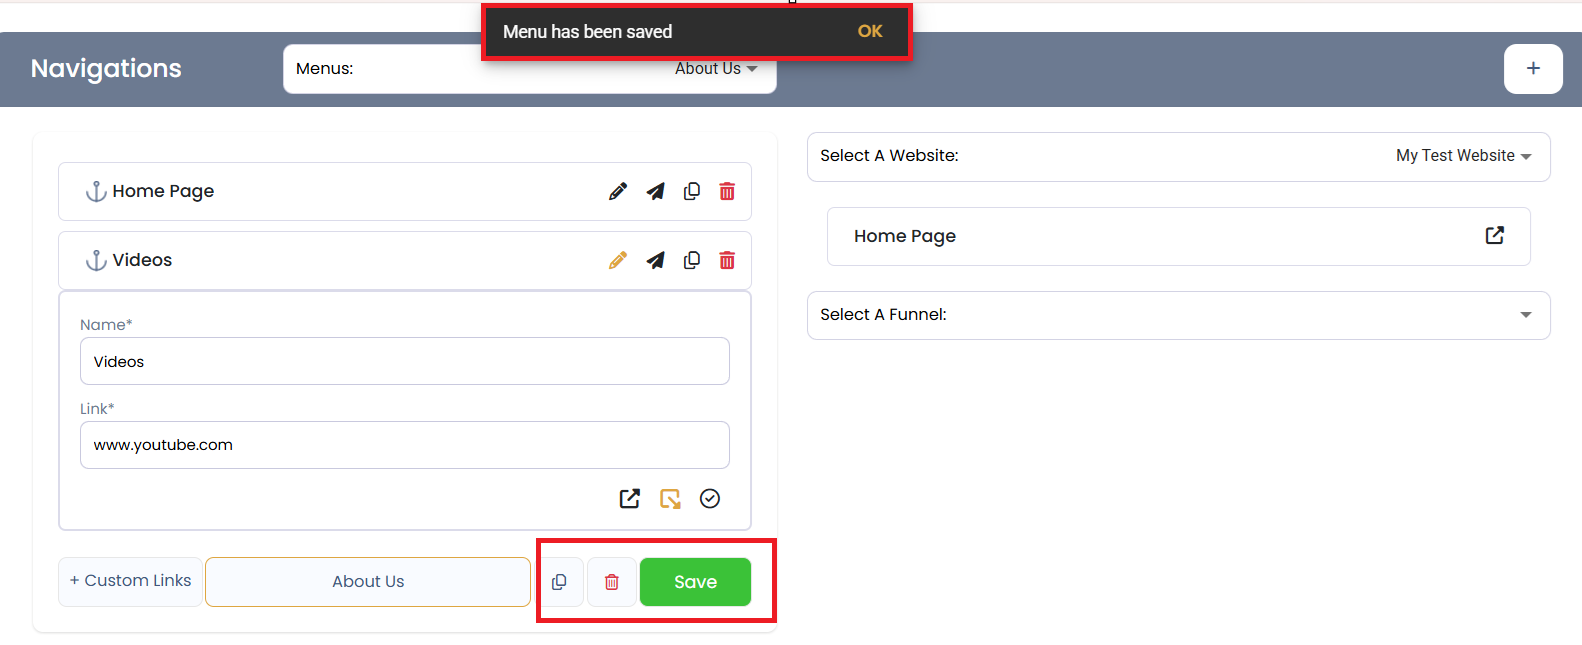
- ➕ Adding Multiple Menu Items?
Repeat Steps 6 to 8 for each additional item you want to add.
Simply drag, customize, and save.
✨ Pro Tips:
- Use clear, short names for menu items (e.g., “Contact” instead of “Get in Touch With Us”).
- Keep the number of items between 4–7 for best user experience.
- Link each menu item to the correct published page or anchor section.
With these steps, you can create a fully functional and visually appealing menu bar that improves navigation and enhances the usability of your website built with KeaBuilder.