How to Manage the Border of Each Element Within the Webpage
Adding a border to an element within a webpage gives an enhanced look to each. It figures out the key impacts of each of the elements and highlights the overall look of the page. It also impacts the other elements to make it more extravagant.
When adding borders, remember to consider how they might impact the layout, especially if you're working within a tight design. Since borders add to the total width and height of an element (unless you use box-sizing: border-box), they might affect the positioning and alignment of adjacent elements.
✅ Steps to Manage Element Borders in Kea Builder
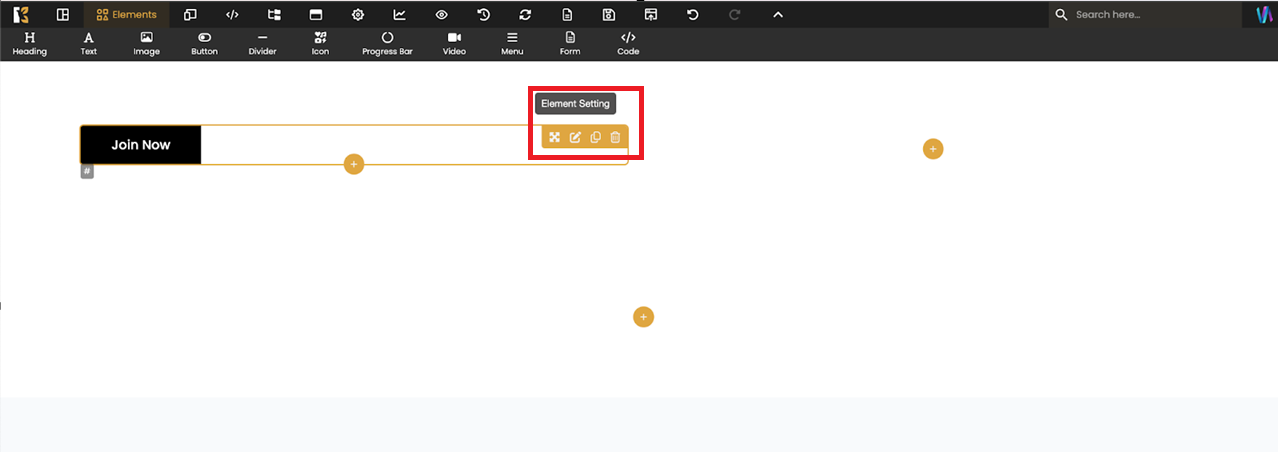
- Step 1: Click on the Element Setting icon from the top right corner of each element.
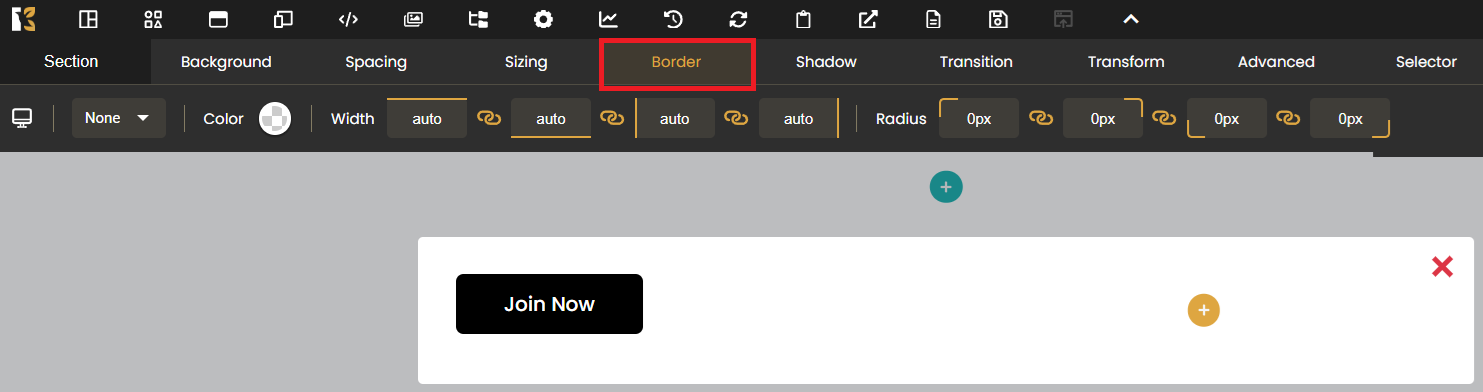
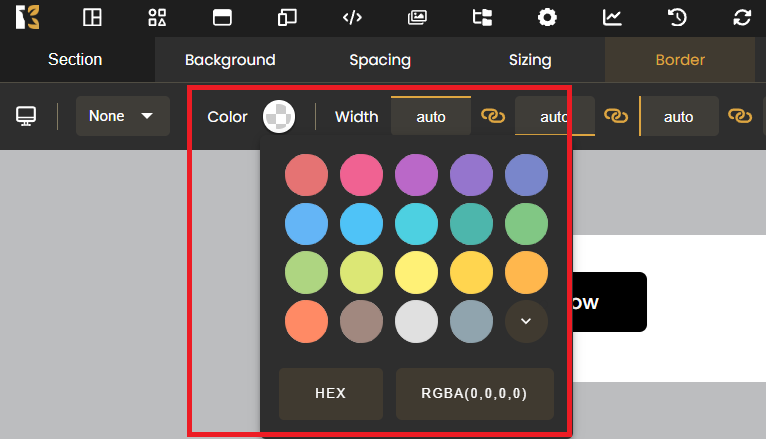
- Step 2: Go to the Border option from the horizontal slider menu.
- Step 3: Manage the Border Width as per your requirement.
- Step 4: Choose the appropriate Border Style from the dropdown menu.
(e.g., Solid, Dashed, Dotted, Double)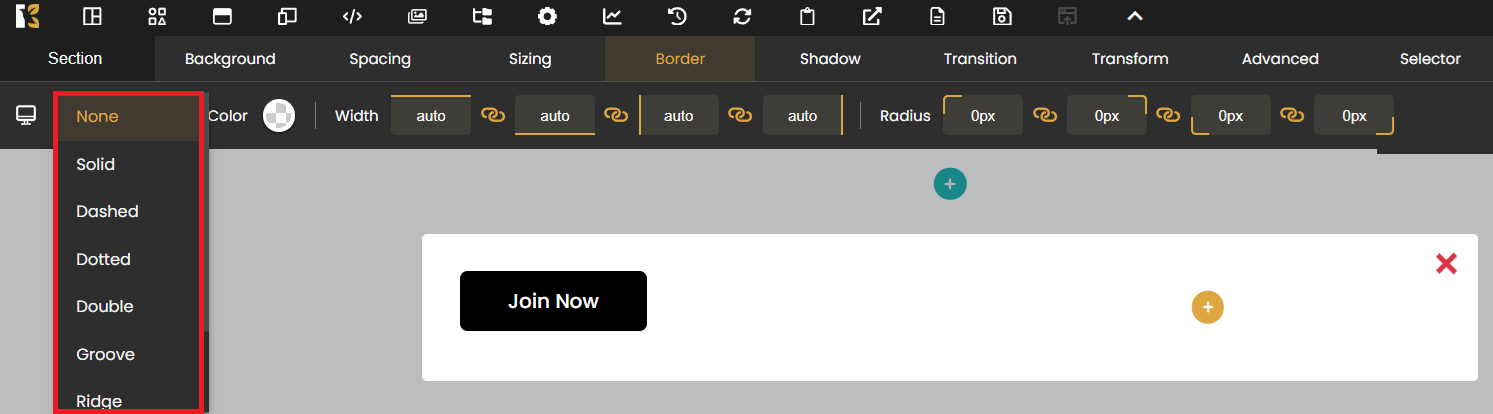
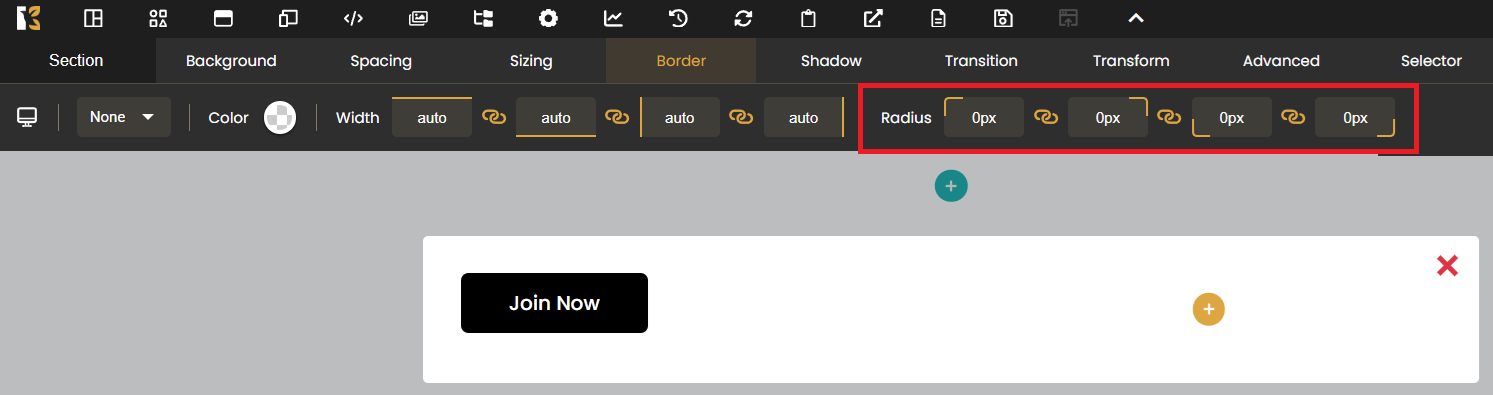
- Step 5: Set the Border Radius to control corner roundness. Add the appropriate size.
- Step 6: Choose the desired Border Color using the color picker.
You can follow the same steps for managing the border for each and every element in your webpage.