How to Create or Add a Webpage in KeaBuilder
In KeaBuilder, you can easily create brand-new webpages to build out your website. Whether you want to start from scratch with a blank canvas or choose from a library of ready-made templates, the platform gives you flexibility to design pages that match your brand and goals.
Here’s a detailed step-by-step guide to creating and adding a webpage in KeaBuilder:
Step 1: Log in to KeaBuilder
- Open KeaBuilder and log in with your registered credentials.
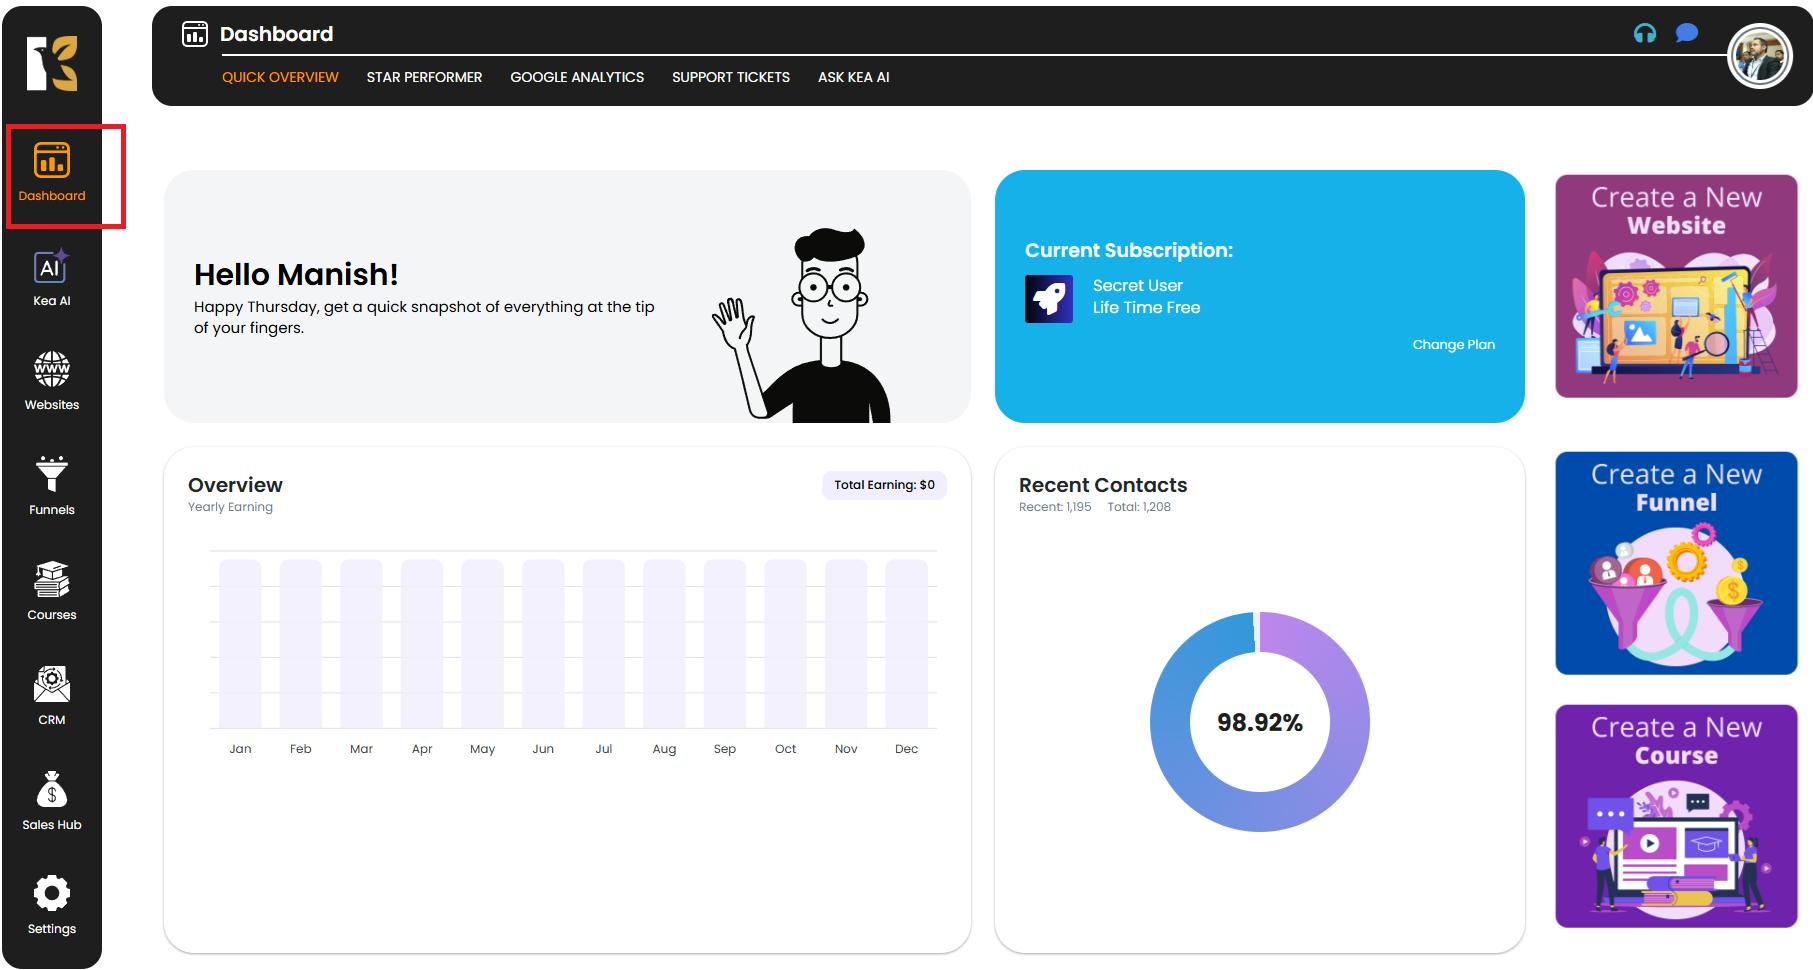
- After logging in, you will land on the Main Dashboard, which provides access to all the modules such as Websites, Funnels, Sales Hub, Automations, and more.
 alt="KeaDocs"
 Step 2: Navigate to the Website Section
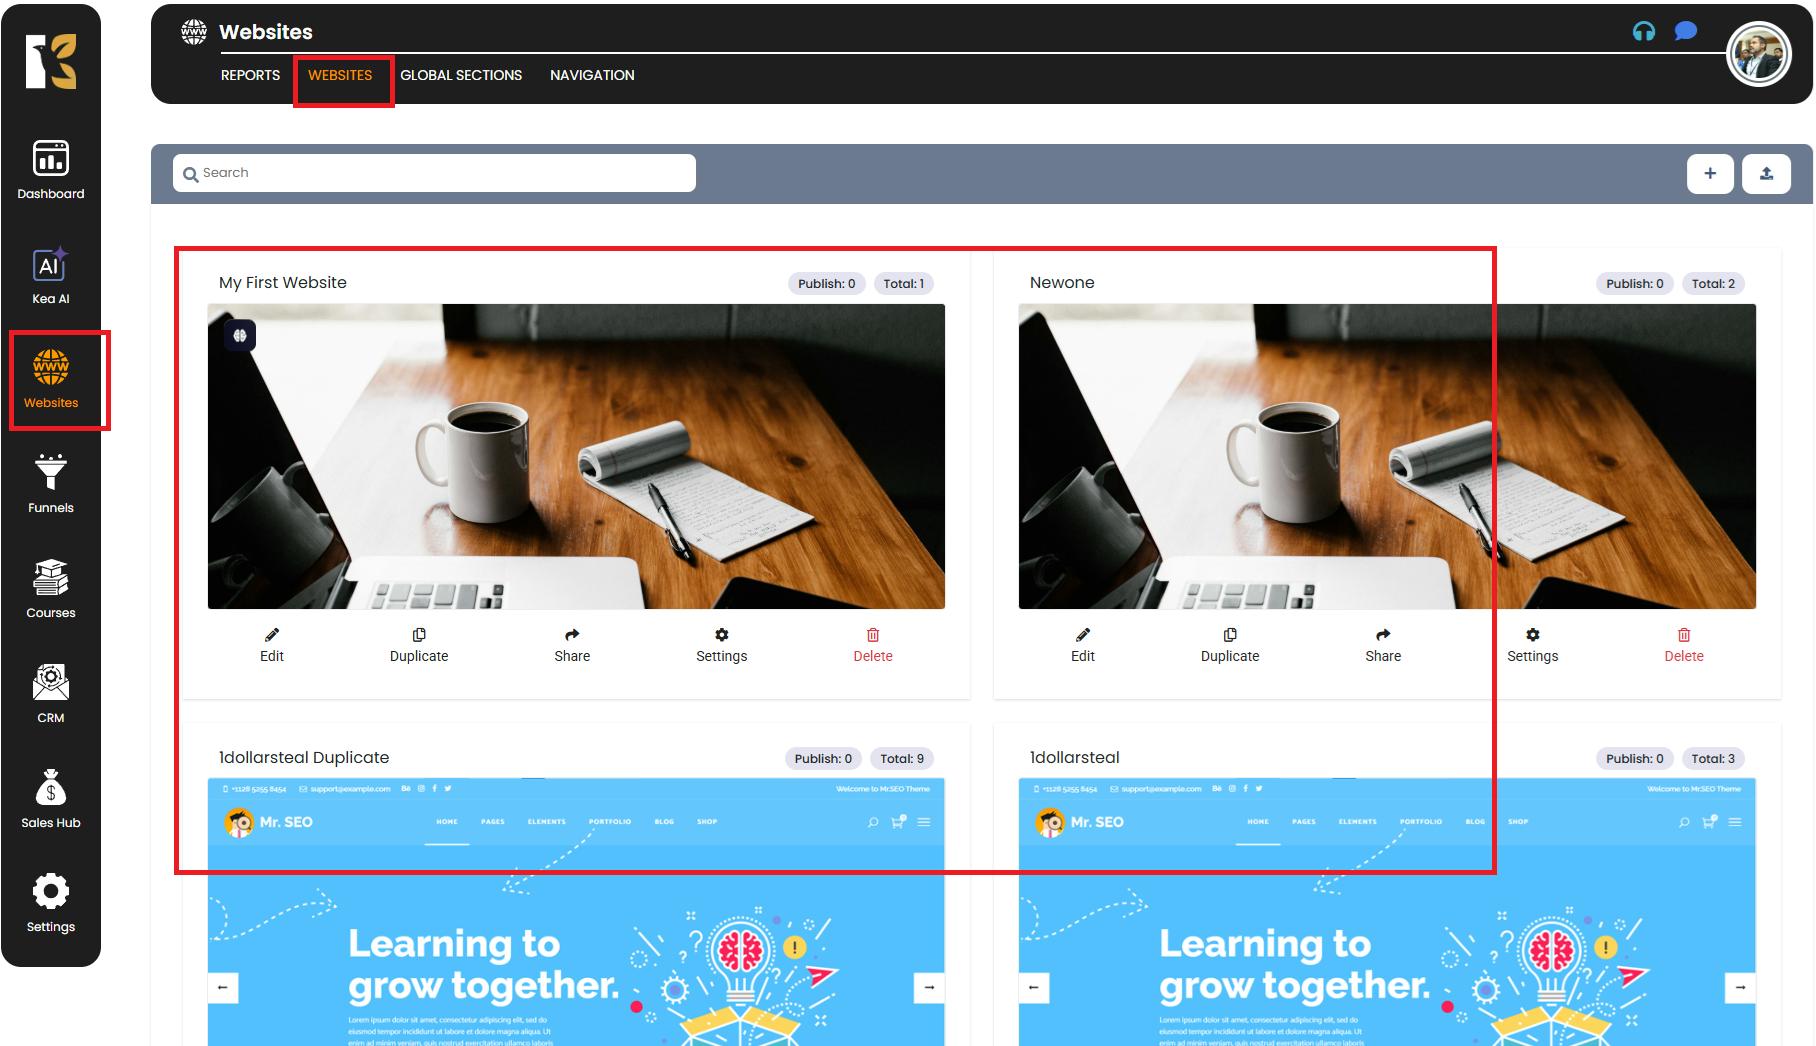
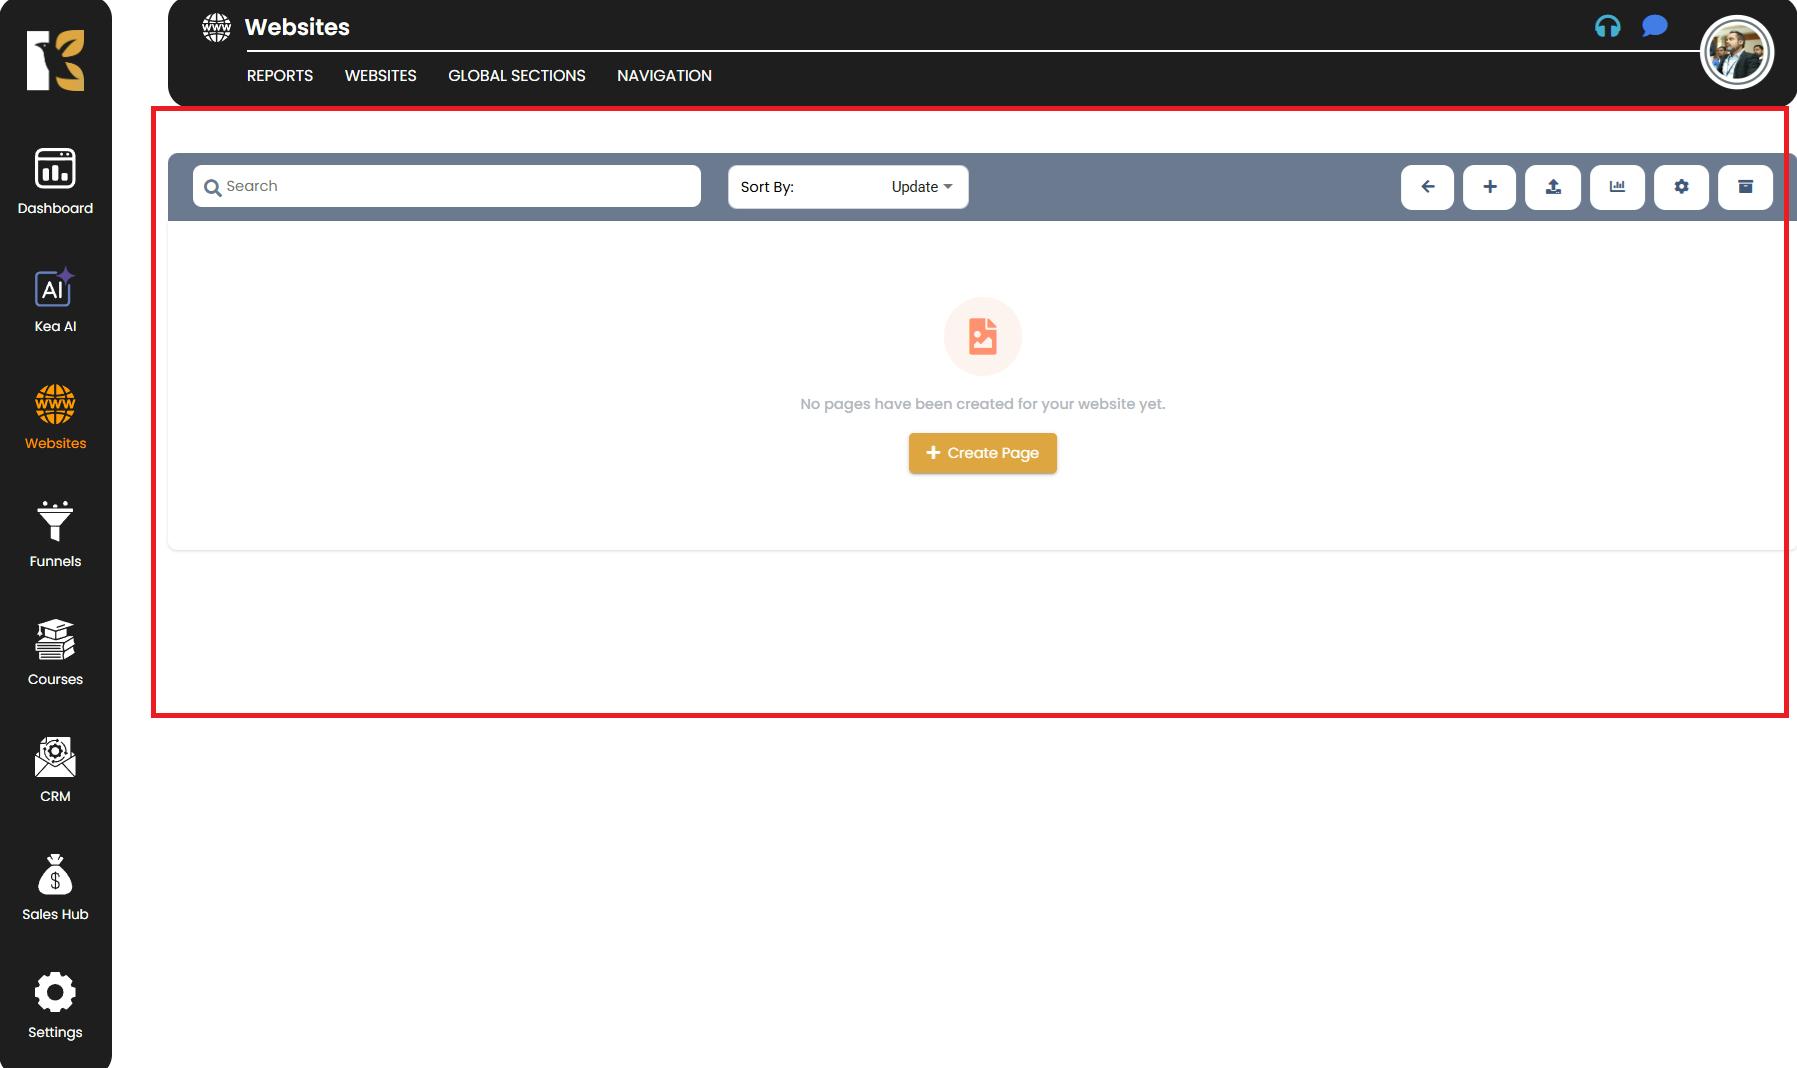
- From the vertical menu bar on the left-hand side, scroll down and click on Websites.
- This will take you to the Website Management Section, where all your websites are listed.
- If you haven’t created any websites yet, this area will appear blank.
Step 3: Create or Select a Website
- If you are starting fresh:
- Click on the “Create Website” button (Up-Arrow icon on the extreme right).

- A popup will open asking for the following details:
- Website Name
- Website Thumbnail (optional)
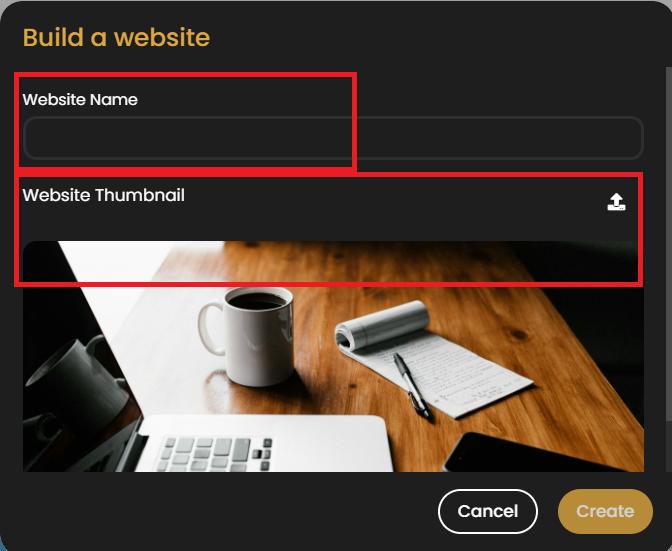
- Enter the required details and click Create.
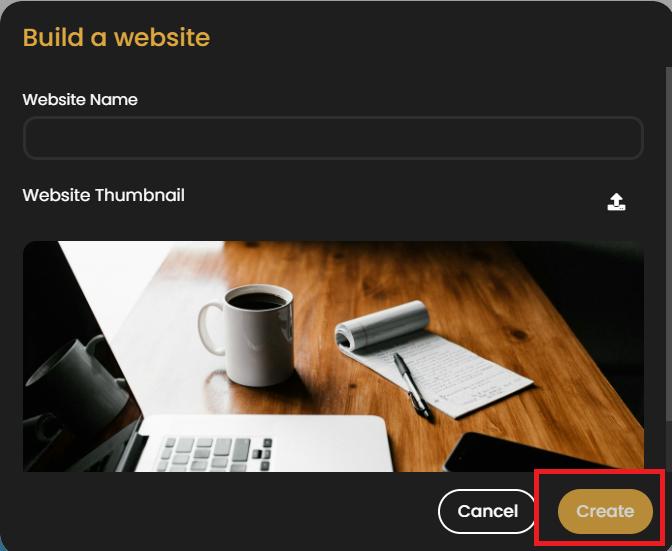
- You will then be redirected to your new individual website dashboard.
- Click on the “Create Website” button (Up-Arrow icon on the extreme right).
- If you already have a website created:
- Locate the desired website in the list.
- Click the Edit (pencil icon) button.
- This will open the website dashboard for that site.
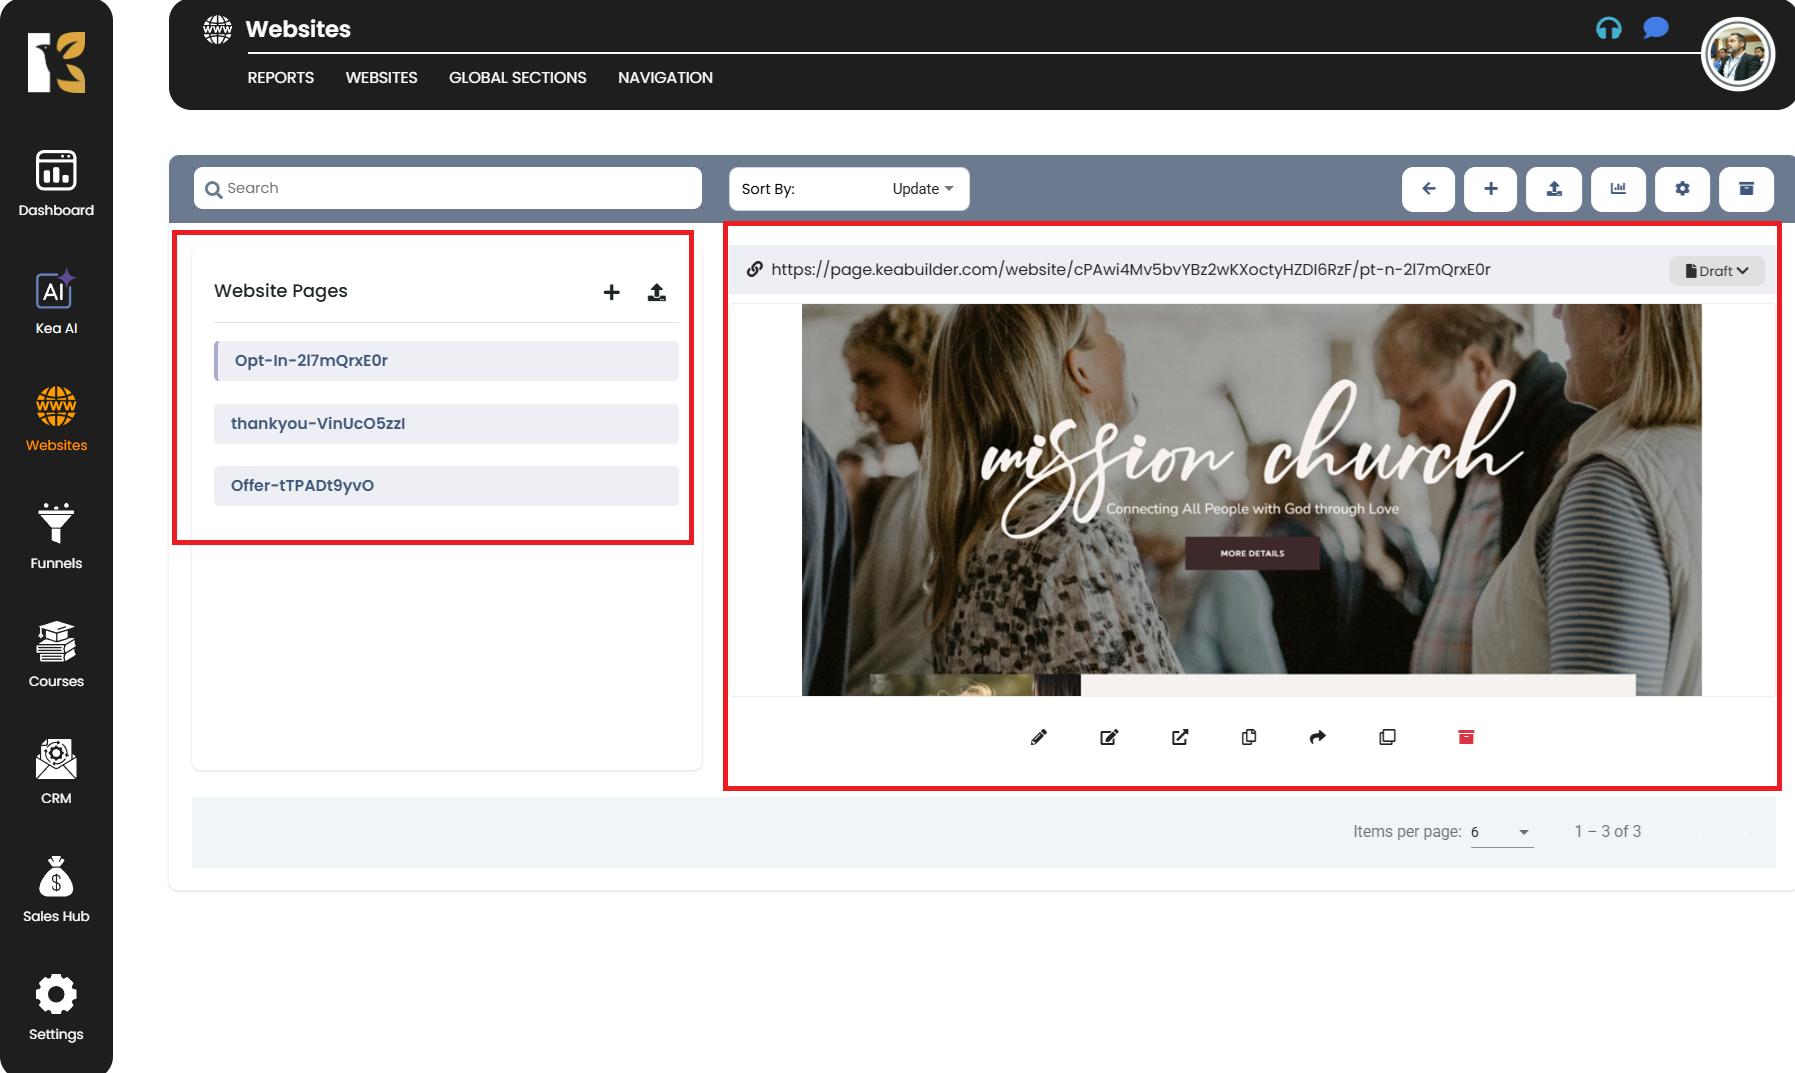
Step 4: Create a New Page
- On the website dashboard, you will see either a blank area (if no pages exist) or a list of pages (if you’ve already created some).
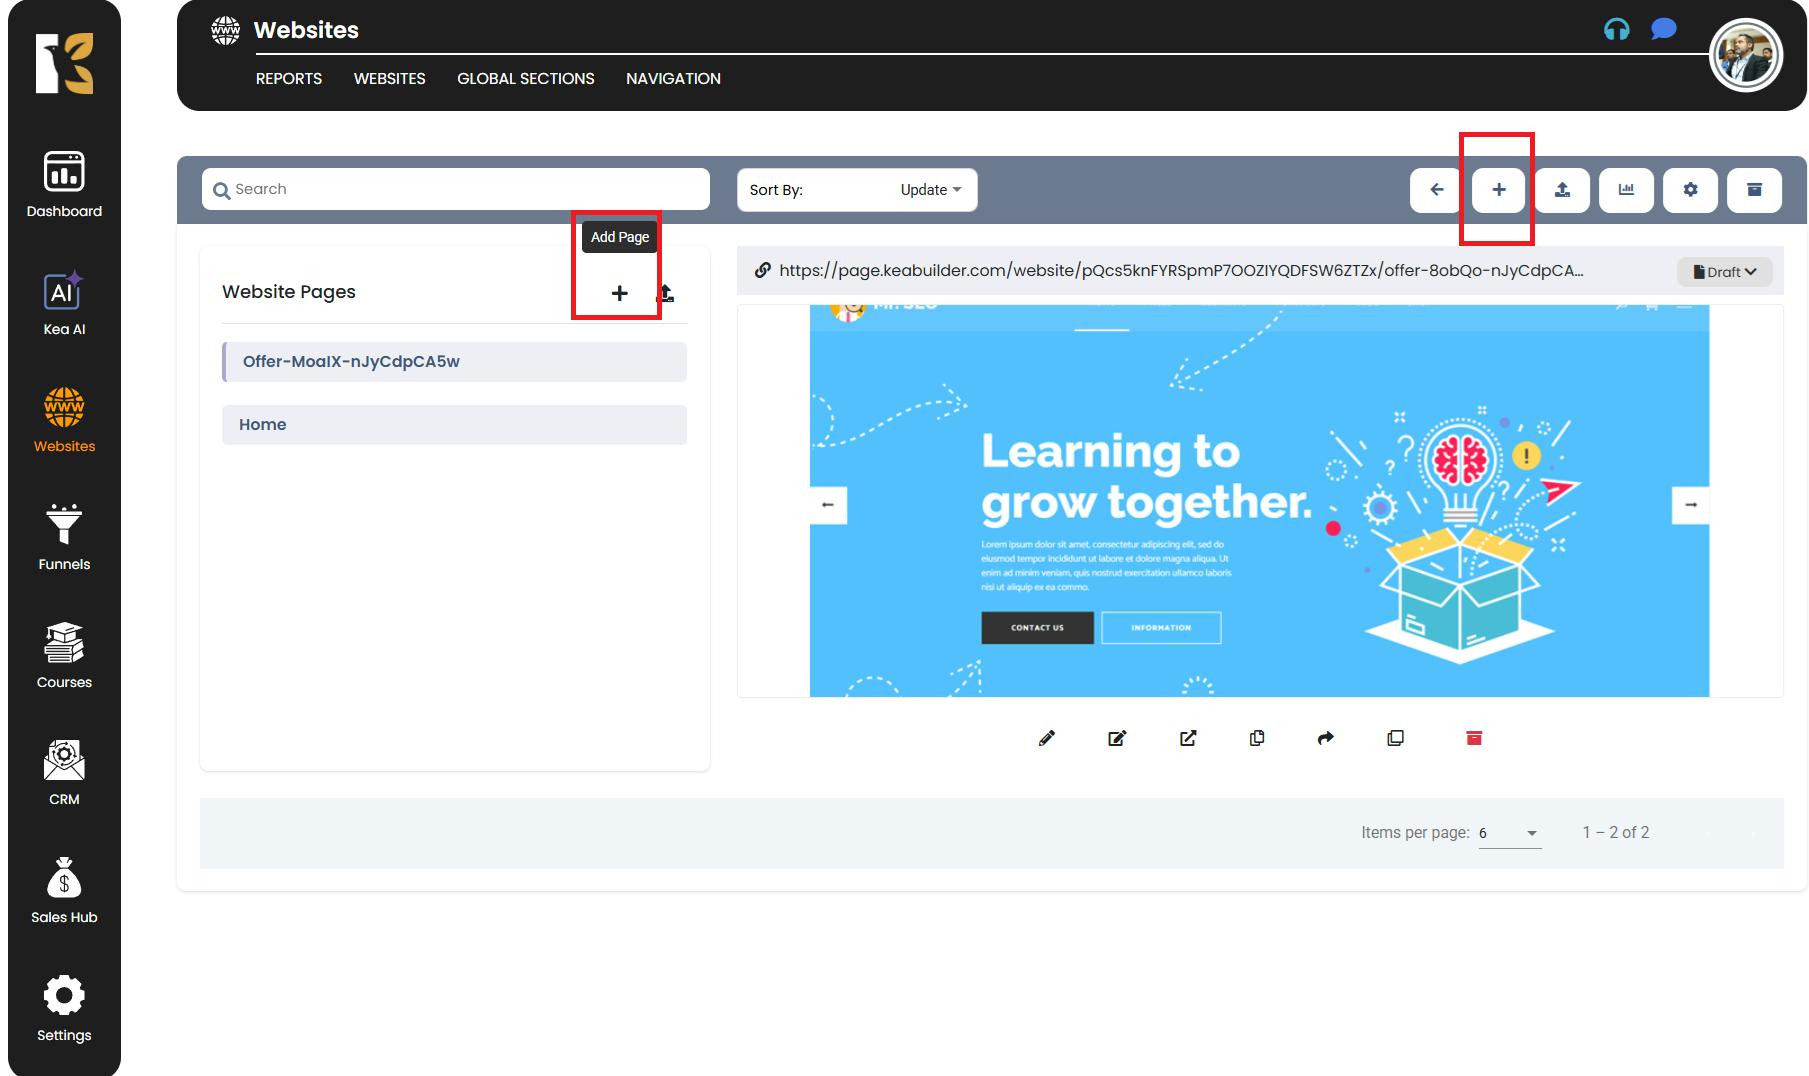
- To create a new page, click on the “+” (Add Page) button, which you’ll find:
- At the extreme right of the screen, OR
- At the center of the section next to Website Pages.
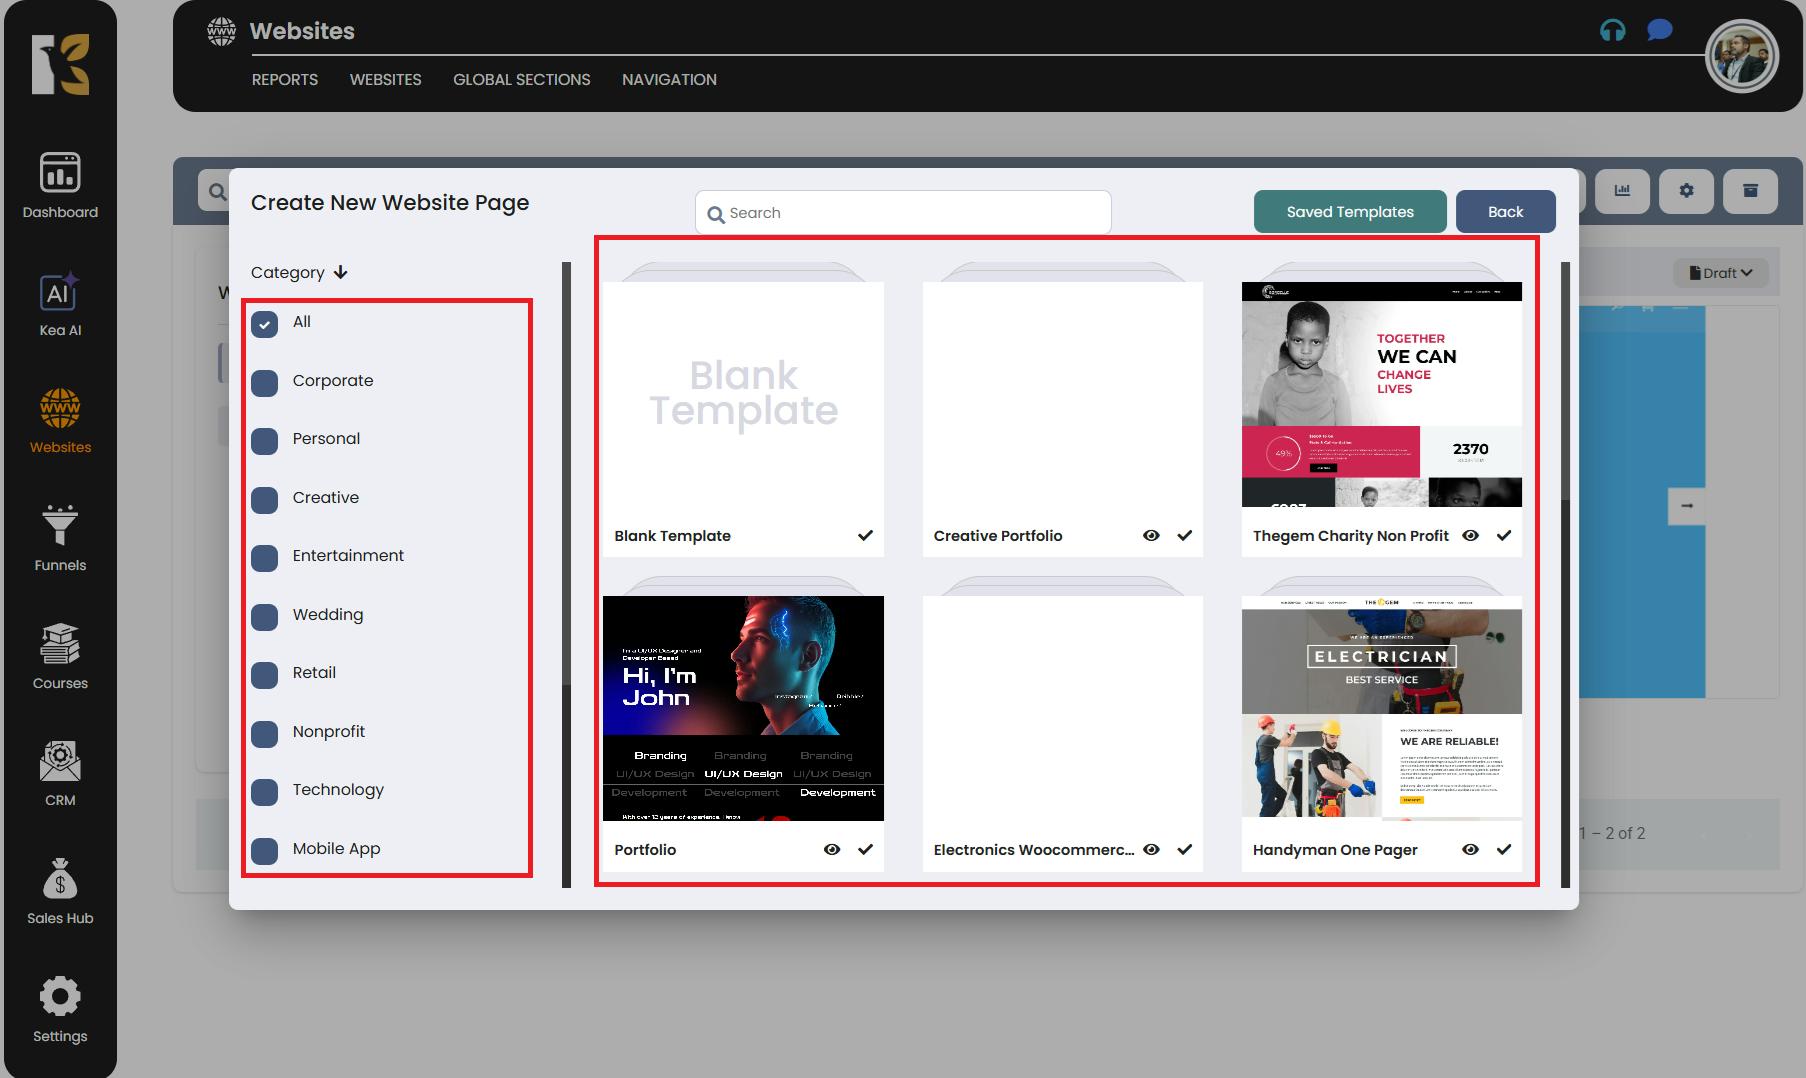
Step 5: Choose a Template or Start Blank
- A popup window will appear, giving you two options:
- Select from Inbuilt Templates – Browse through KeaBuilder’s pre-designed templates. These are categorized by industry and use-case (e.g., landing pages, homepages, about pages, contact pages).
- Choose a Blank Template – Start with a completely empty page if you want full customization.
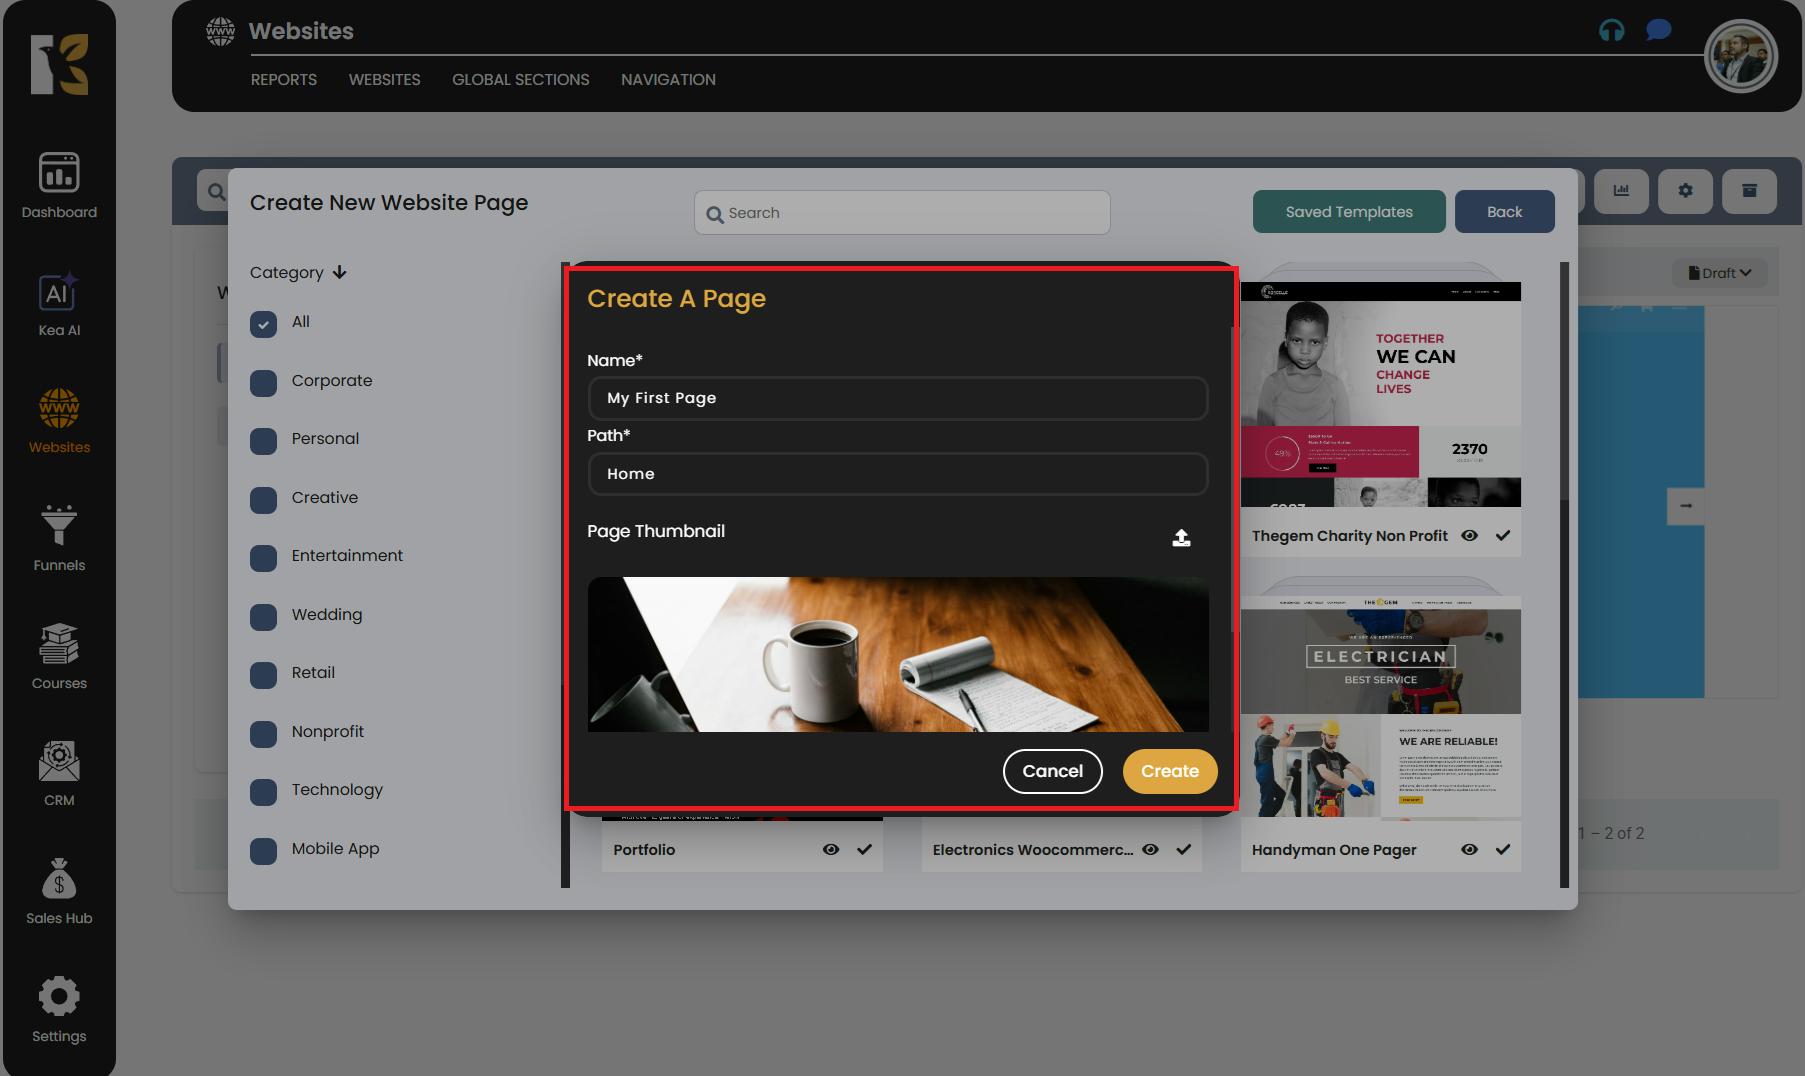
Step 6: Enter Page Details
- Once you choose a template (or blank page), another popup will open asking for basic information:
- Page Name – The title of your webpage (e.g., “Home”, “Contact Us”).
- Path – The URL path for the page (e.g., “/contact” will make the page accessible at yourdomain.com/contact).
- Page Thumbnail – An optional image representing the page in your dashboard.
- Enter the required details and click Create.
Step 7: Start Designing Your Page
- After clicking Create, you’ll be redirected to the Website Builder.

- Here you can:
- Design from scratch – Add sections, rows, and elements like text, images, buttons, forms, and more.
- Customize a template – If you selected an inbuilt template, edit the text, images, colors, and layout to match your brand.
Step 8: Save and Preview Your Page
- Once you’re happy with your design or edits, click the Save button at the top to save your changes.
- Use the Preview option to see how your page will look live before publishing it.
✅ You’ve Successfully Added a Webpage!
Your new page is now part of your website. You can repeat this process to build as many pages as needed — such as a homepage, about page, services page, or landing pages for campaigns.
💡 Pro Tips:
- Templates Save Time: If you’re new to web design, start with a template and customize it instead of beginning from scratch.
- Use Clear Page Names & Paths: This improves SEO and makes your site easy to navigate.
- Preview Often: Use the preview option frequently while designing to check how your page looks across desktop, tablet, and mobile.