How to Add a Header to Your Website
The header is one of the most vital parts of your website—it’s the first thing visitors see and usually contains your logo, navigation menu, contact details, and key links. With Kea Builder, adding and customizing a header is quick and intuitive.
✅ Steps to Add a Header in Kea Builder
- 🟢 Step 1: Navigate to Layouts
Click on the “Layouts” tab from the top or side menu of your dashboard.
- 🔳 Step 2: Select ‘Header’
Choose “Header” from the available layout options.
- ➕ Step 3: Click ‘Create’
Click the “Create” button to begin designing a new header.
- 🧩 Step 4: Create Header / Add Global Header
On the new page that appears, click “Create Header” or choose “Add Global Header” if you want it applied across all pages.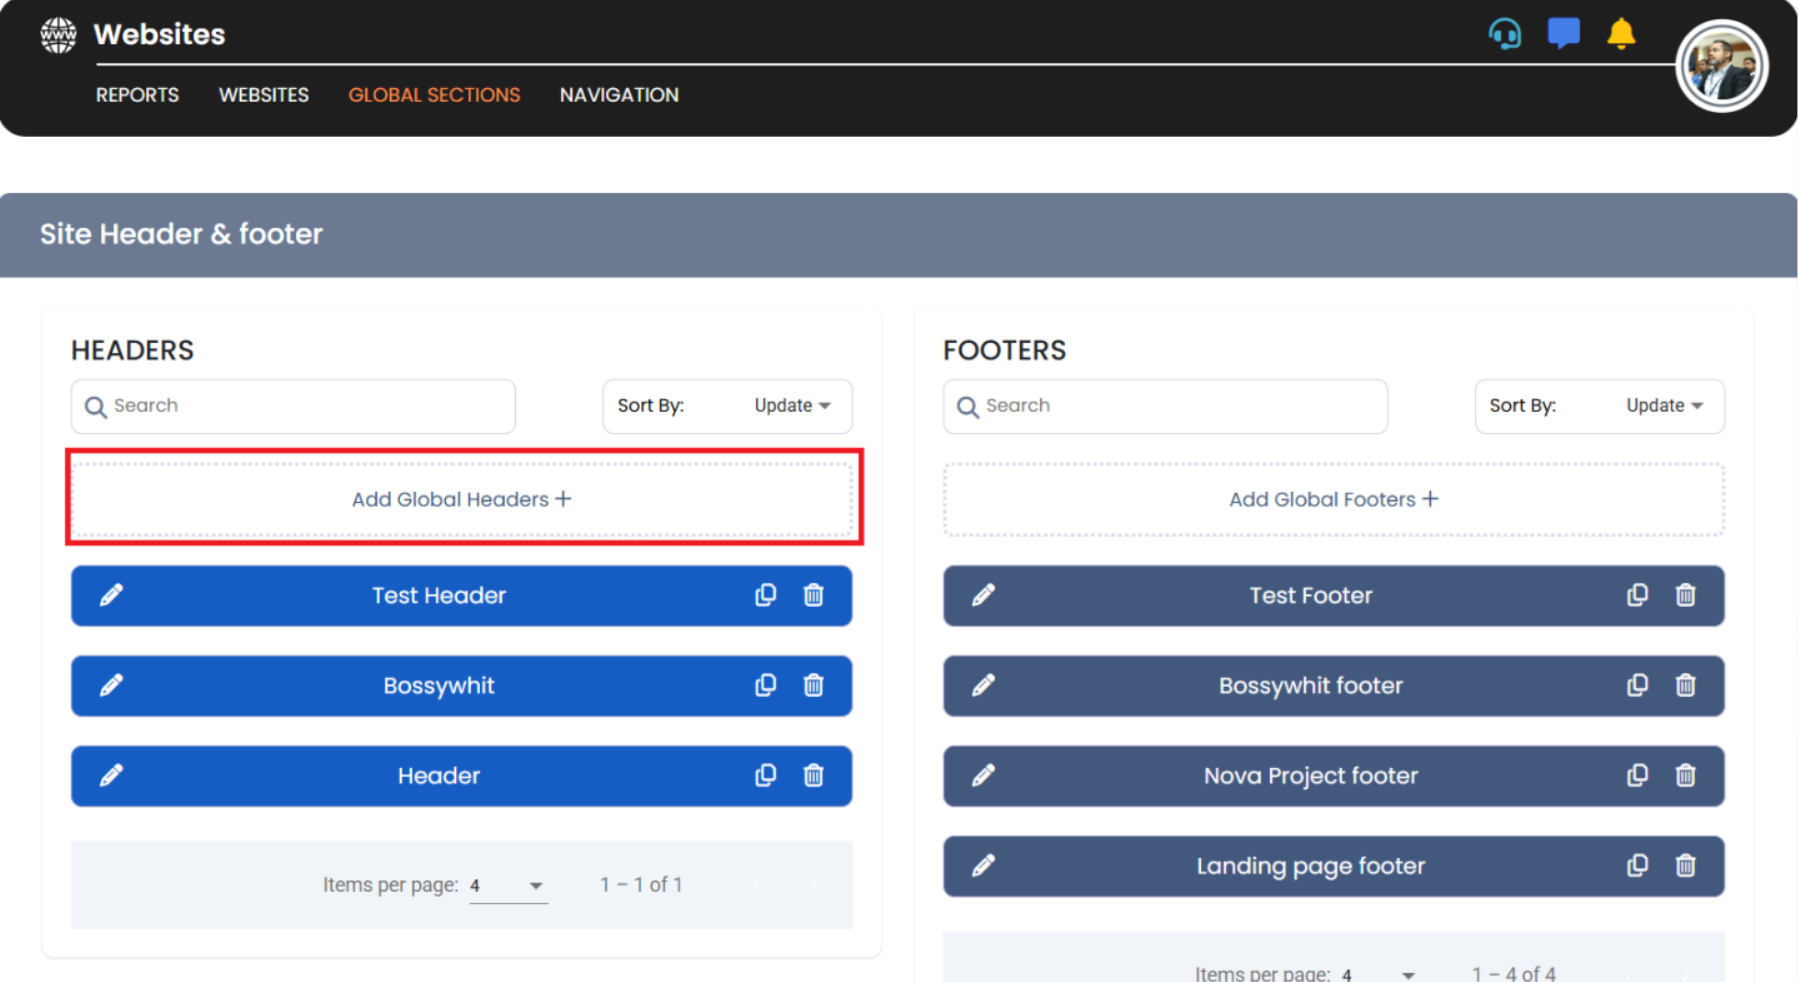
- 📝 Step 5: Name Your Header
Give your header a clear and descriptive name so you can identify it easily later.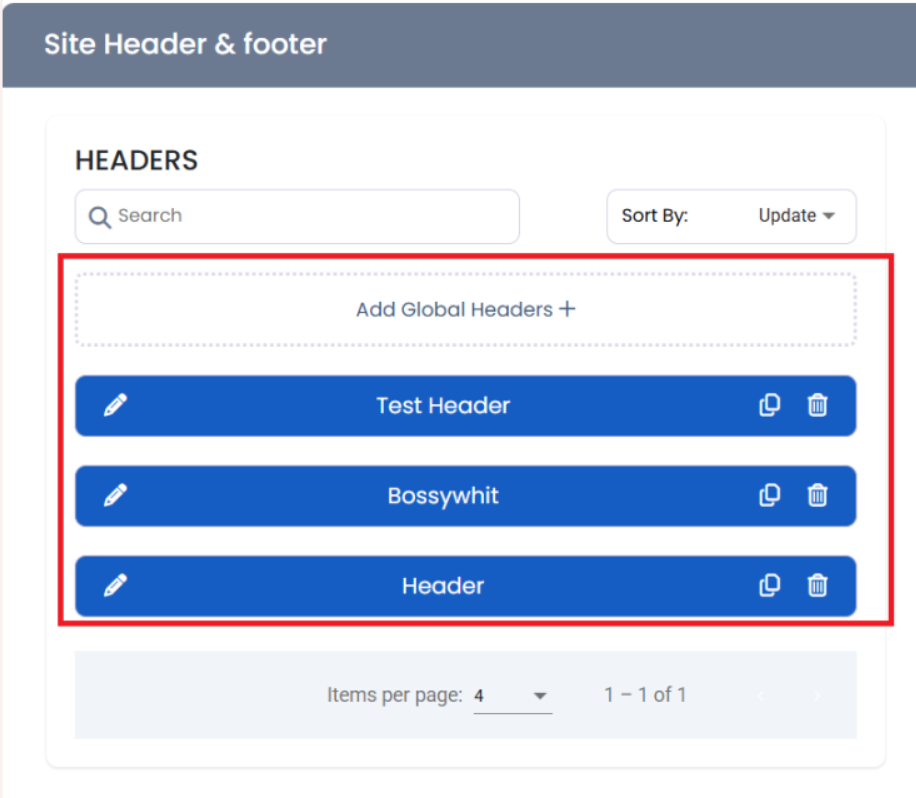
- ✏️ Customize Your Header
Once your header is created, you can:- Add elements like logos, menus, buttons, search bars, or contact icons.
- Adjust spacing, alignment, and background colors to match your brand.
- Preview responsiveness across devices to ensure it looks perfect everywhere.
💡 Final Tip:
Headers enhance usability and give your site a polished, professional feel. Whether you're creating a simple navigation bar or a full-featured top section, Kea Builder makes it effortless.