How to Sort Your Fields in CRM
When you have numerous custom fields created in KeaBuilder CRM, finding and organizing them manually can become time-consuming. To make field management easier, the platform provides an intuitive sorting feature that allows you to arrange your fields based on name, type, tags, or notes.
This guide will walk you through the step-by-step process of sorting your fields effectively.
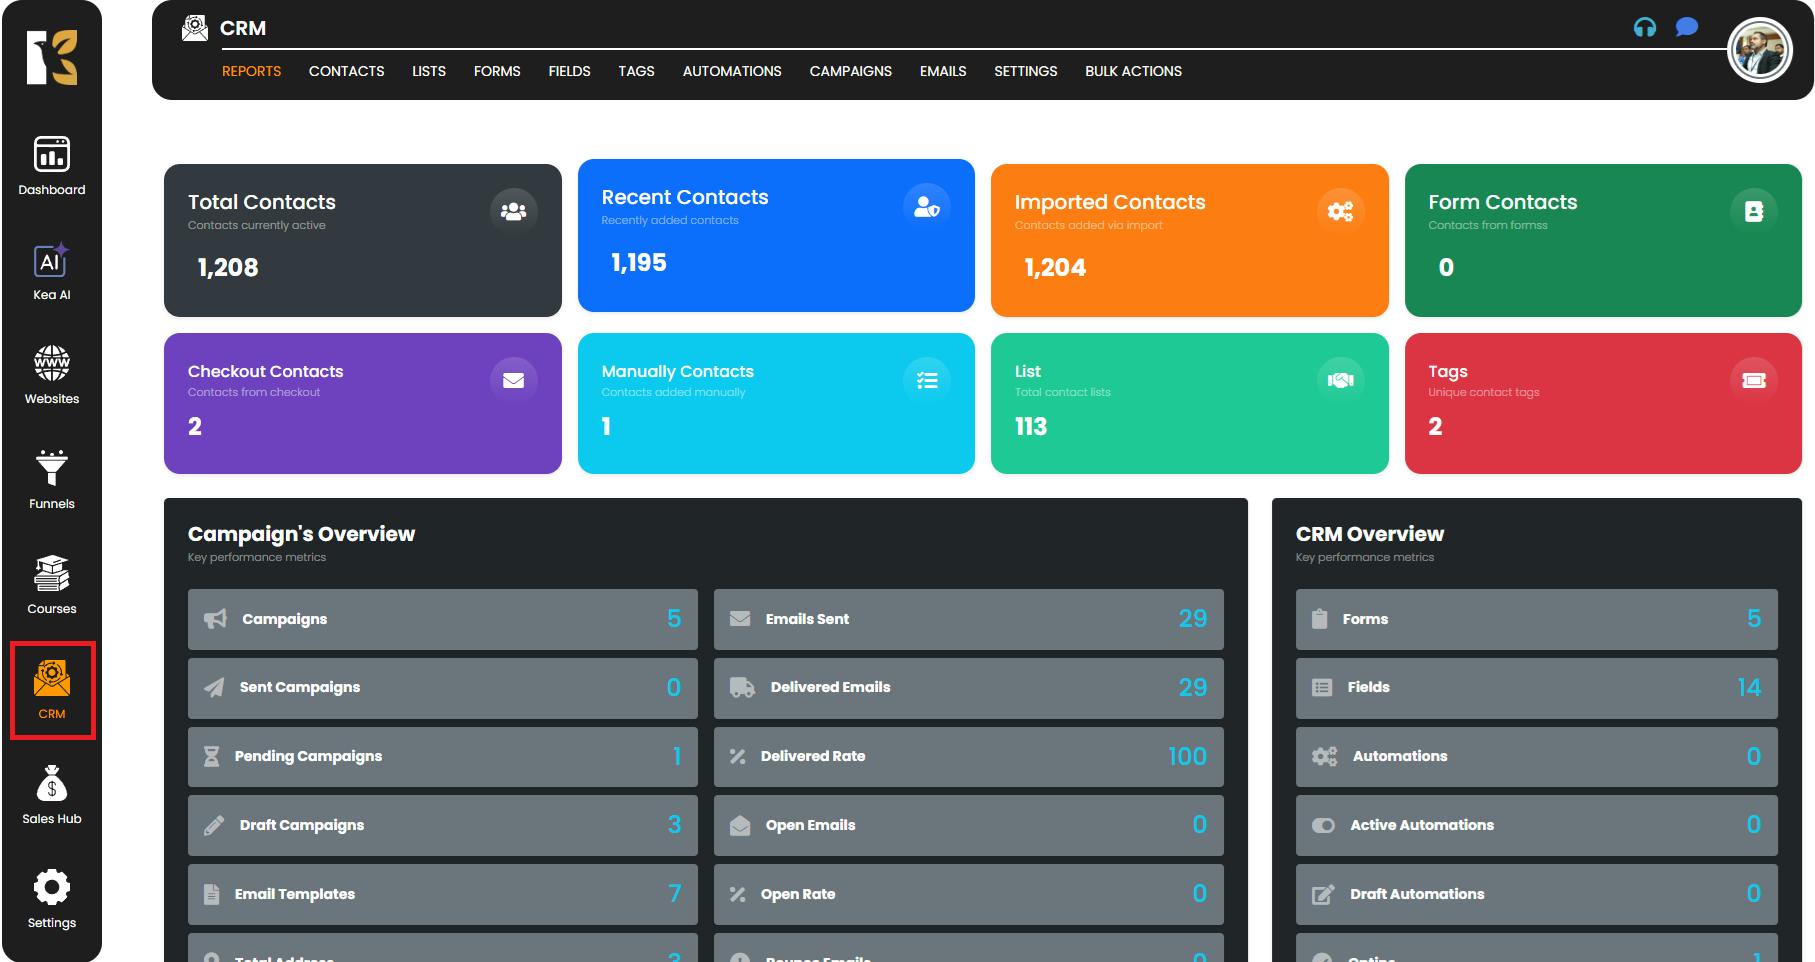
Step 1: Open the Fields Module
- From your CRM Dashboard, locate the left-side navigation panel.
- Click on Fields to open the Fields Dashboard.
- Here, you can view all the custom fields you’ve created for contacts, forms, and automations.
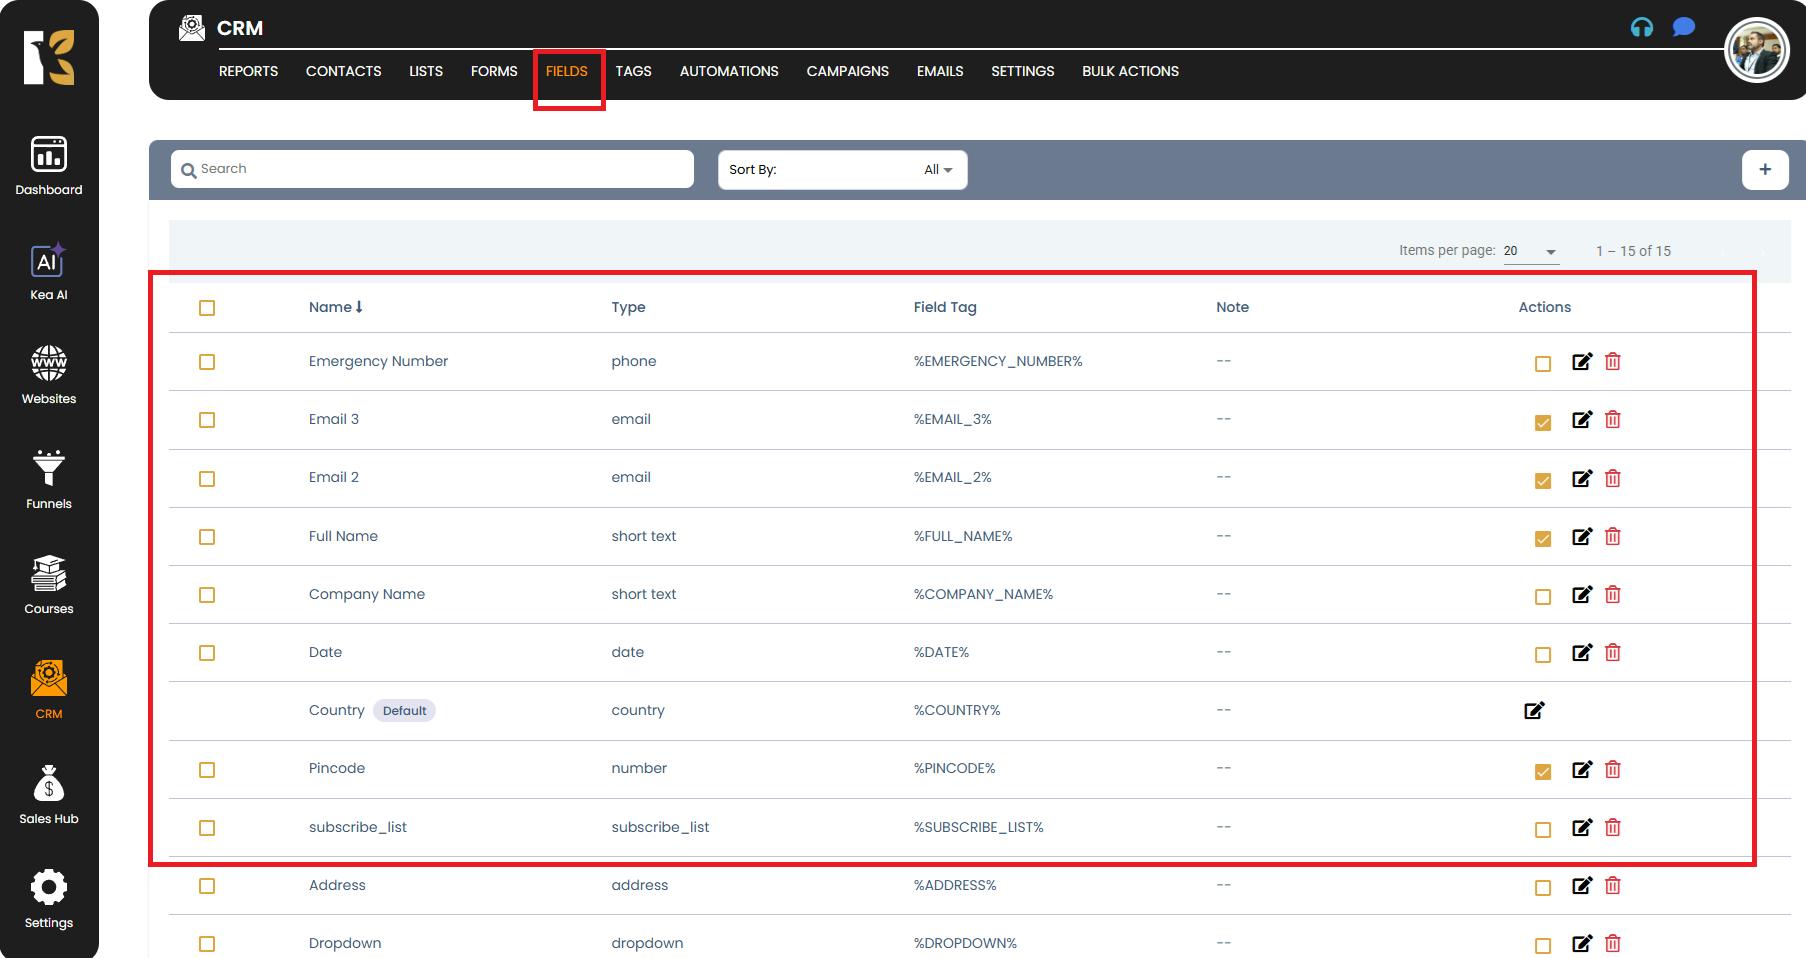
Step 2: Navigate to the Fields Section
- Once inside the Fields Dashboard, ensure that you are on the Fields tab from the top horizontal menu.
- This dashboard displays a comprehensive list of all your fields, including:
- Field Name
- Field Type (e.g., Text, Dropdown, Email, etc.)
- Field Tag
- Notes
- Actions Menu (for editing or deleting fields)
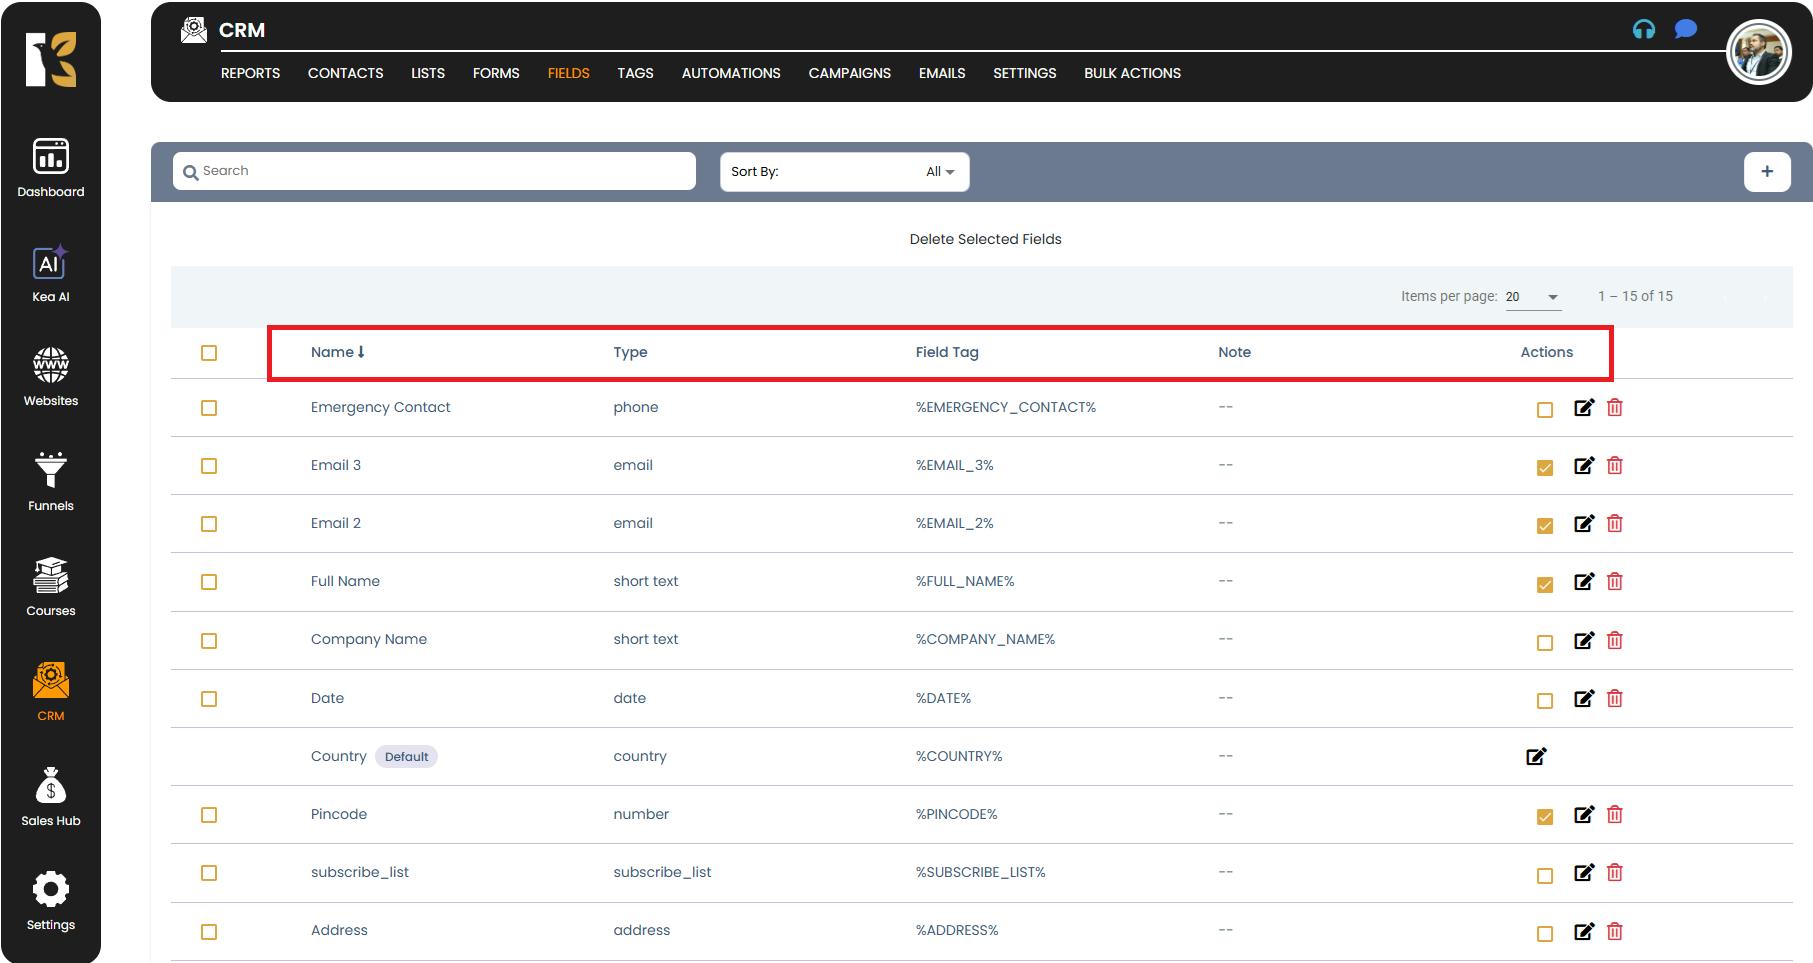
Step 3: Locate the Sorting Sub-Menu
- Just below the horizontal menu bar, you will find a sorting sub-menu.
- This menu contains the following sorting options:
- Name → Sort fields alphabetically.
- Type → Arrange fields by their type (e.g., all text fields together, dropdowns together, etc.).
- Field Tag → Sort by the tags you’ve assigned to specific fields.
- Note → Organize fields based on any notes you’ve attached.
- Actions → Useful when managing fields for quick edits or deletions.
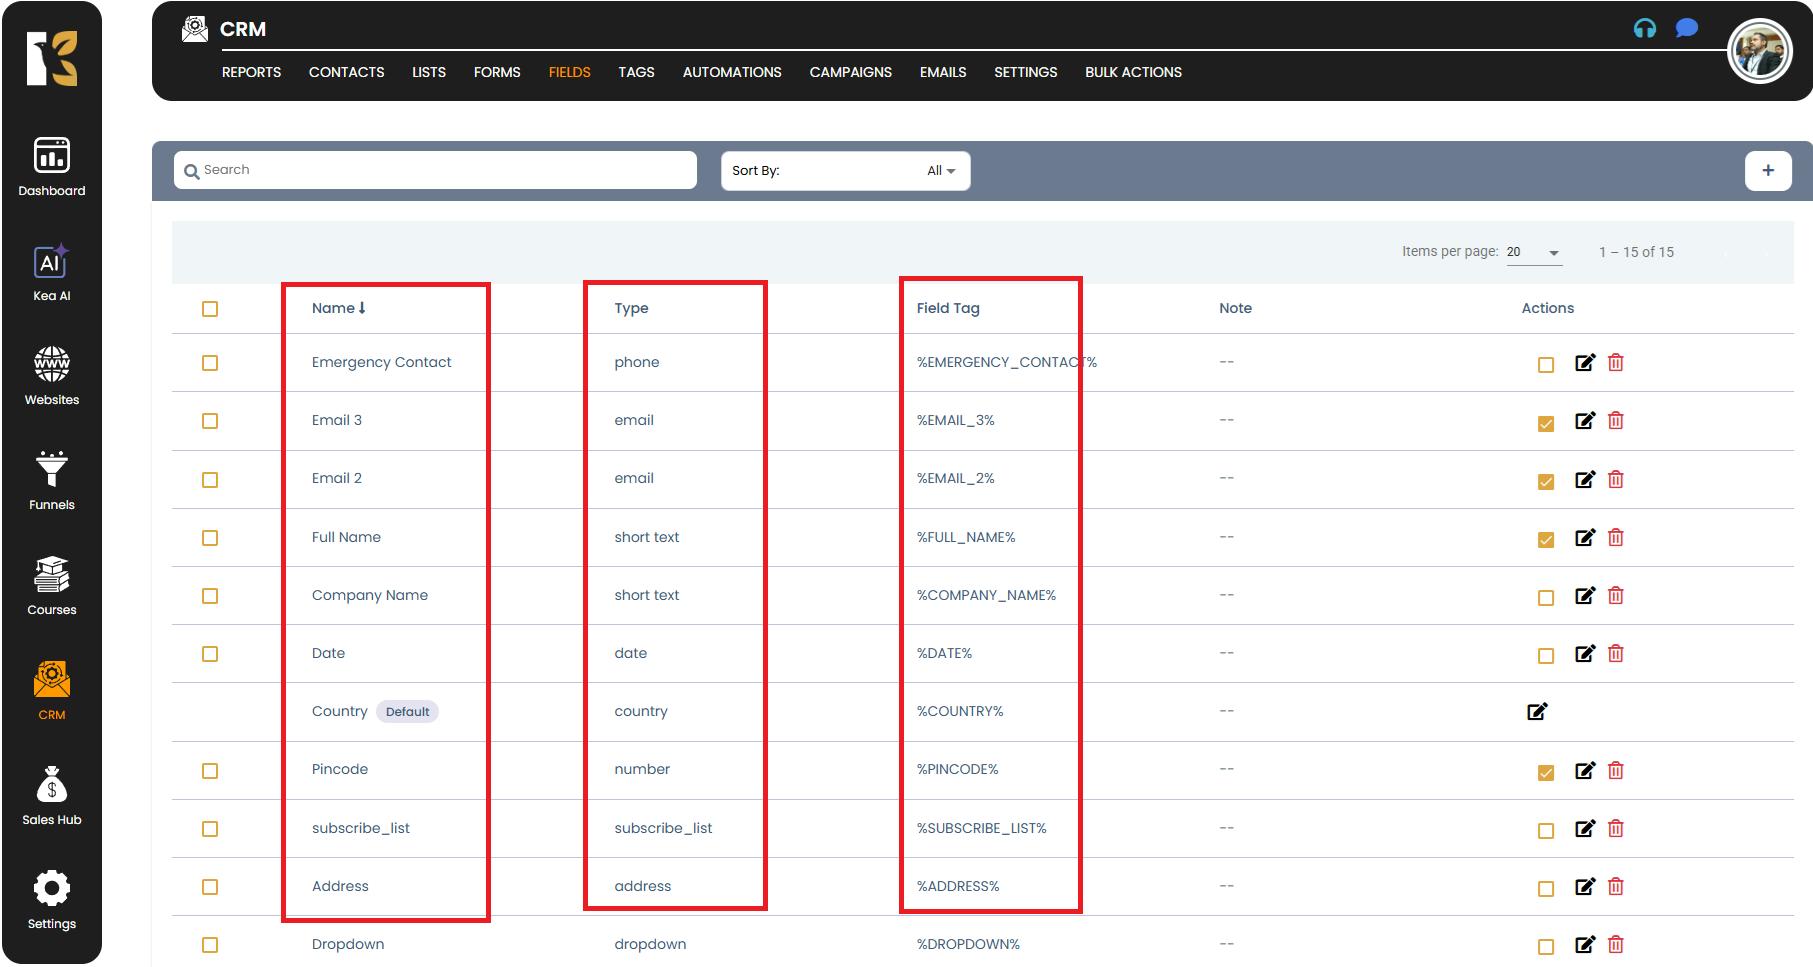
Step 4: Sort Your Fields
- Click on the column header you want to sort by:
- By Name → Sort alphabetically in A–Z order. Click again to reverse it (Z–A).
- By Type → Group fields together based on their field type.
- By Field Tag → Arrange fields based on their assigned tags for quicker navigation.
- By Notes → Sort fields depending on any custom notes attached to them.
- Sorting is instant, and the list will automatically update based on your selection.
Step 5: Switch Between Sorting Orders
- Each column supports two sorting orders:
- Ascending (A → Z / Small → Large / Earliest → Latest)
- Descending (Z → A / Large → Small / Latest → Earliest)
- To toggle between these, simply click the same column header again.
Step 6: Verify and Manage Fields After Sorting
After sorting, you can:
- Quickly locate fields for editing or deleting.
- Compare related fields more easily.
- Identify missing tags or notes for better organization.
- Prepare cleaner data structures for forms, automations, and reporting.
Pro Tips for Efficient Field Management
- Use consistent field names → Sorting alphabetically works best when names are descriptive and structured.
- Leverage tags effectively → Assign meaningful tags to make sorting by tags more useful.
- Group fields logically → For example, keep lead-related fields together and campaign-specific fields grouped separately.
- Combine sorting with searching → Use the search bar alongside sorting for quicker navigation when working with a large number of fields.
Summary
The sorting feature in KeaBuilder CRM helps you manage your custom fields faster and more efficiently. By allowing you to organize fields based on name, type, tags, or notes, it ensures a cleaner dashboard and makes locating the right field effortless — especially when handling large-scale CRM data.