How to Edit a Checkout Form in Sales Hub
Checkout forms are essential for capturing customer information and processing payments seamlessly. Over time, you may need to edit an existing checkout form to update customer fields, adjust pricing details, modify the design, or change logic and settings.
Here’s a step-by-step guide on how to effectively edit a checkout form within the Sales Hub.
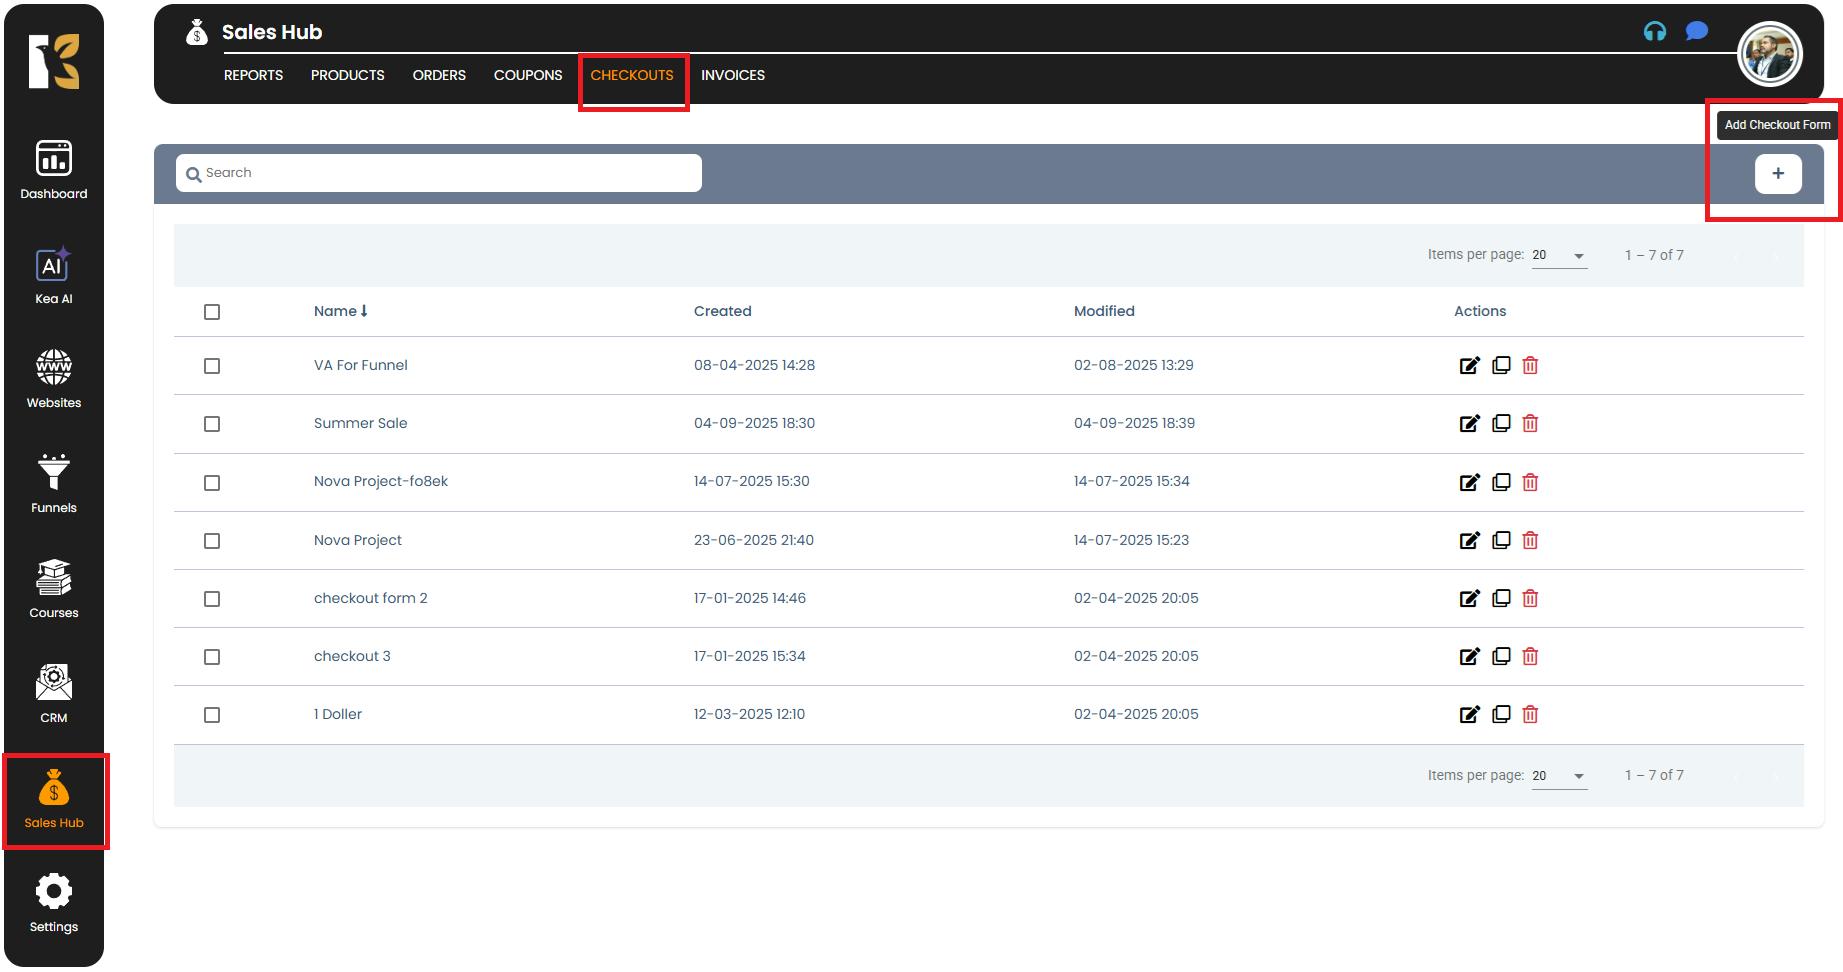
Step 1: Access the Checkouts Section
- From your main dashboard, go to the Sales Hub.
- In the left-hand navigation panel, click on Checkouts.
- This will open the Checkouts Dashboard, where you can view and manage all your existing checkout forms.
Step 2: Locate the Checkout Form
- On the Checkouts Dashboard, you’ll see a list of all your previously created checkout forms.
- Browse through the list to find the specific form you want to edit.
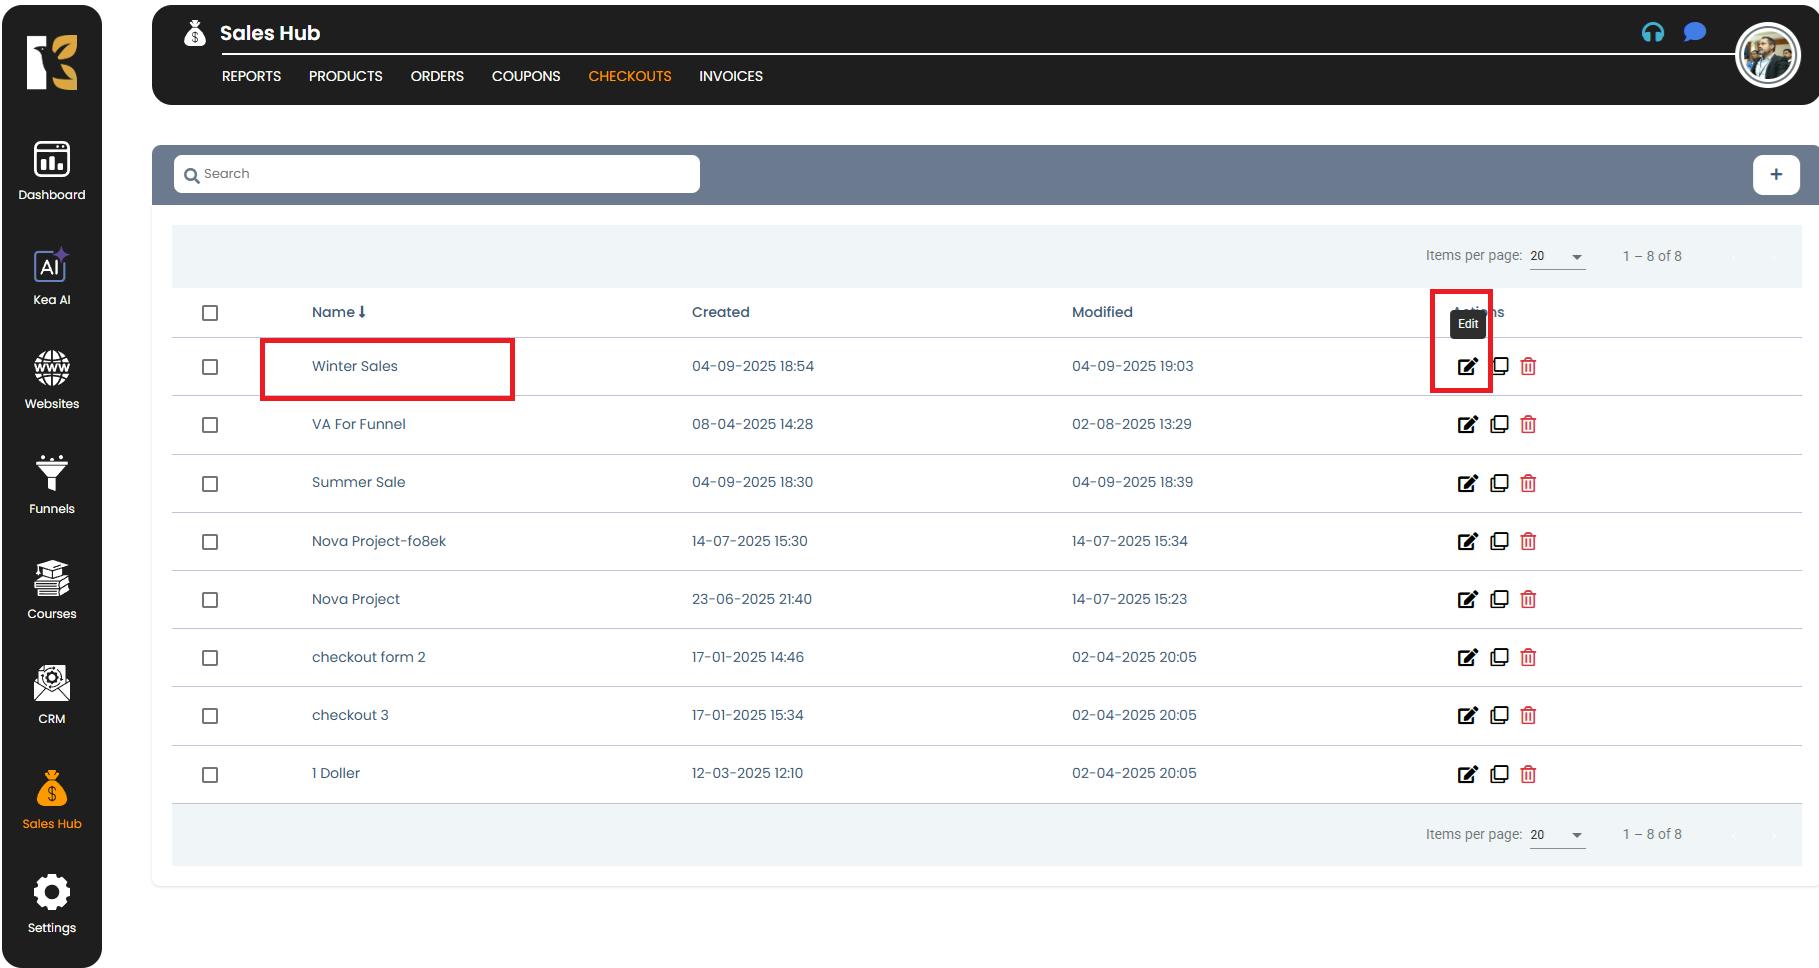
- On the extreme right side of the desired form’s row, click on the Edit icon (represented by a pencil symbol).
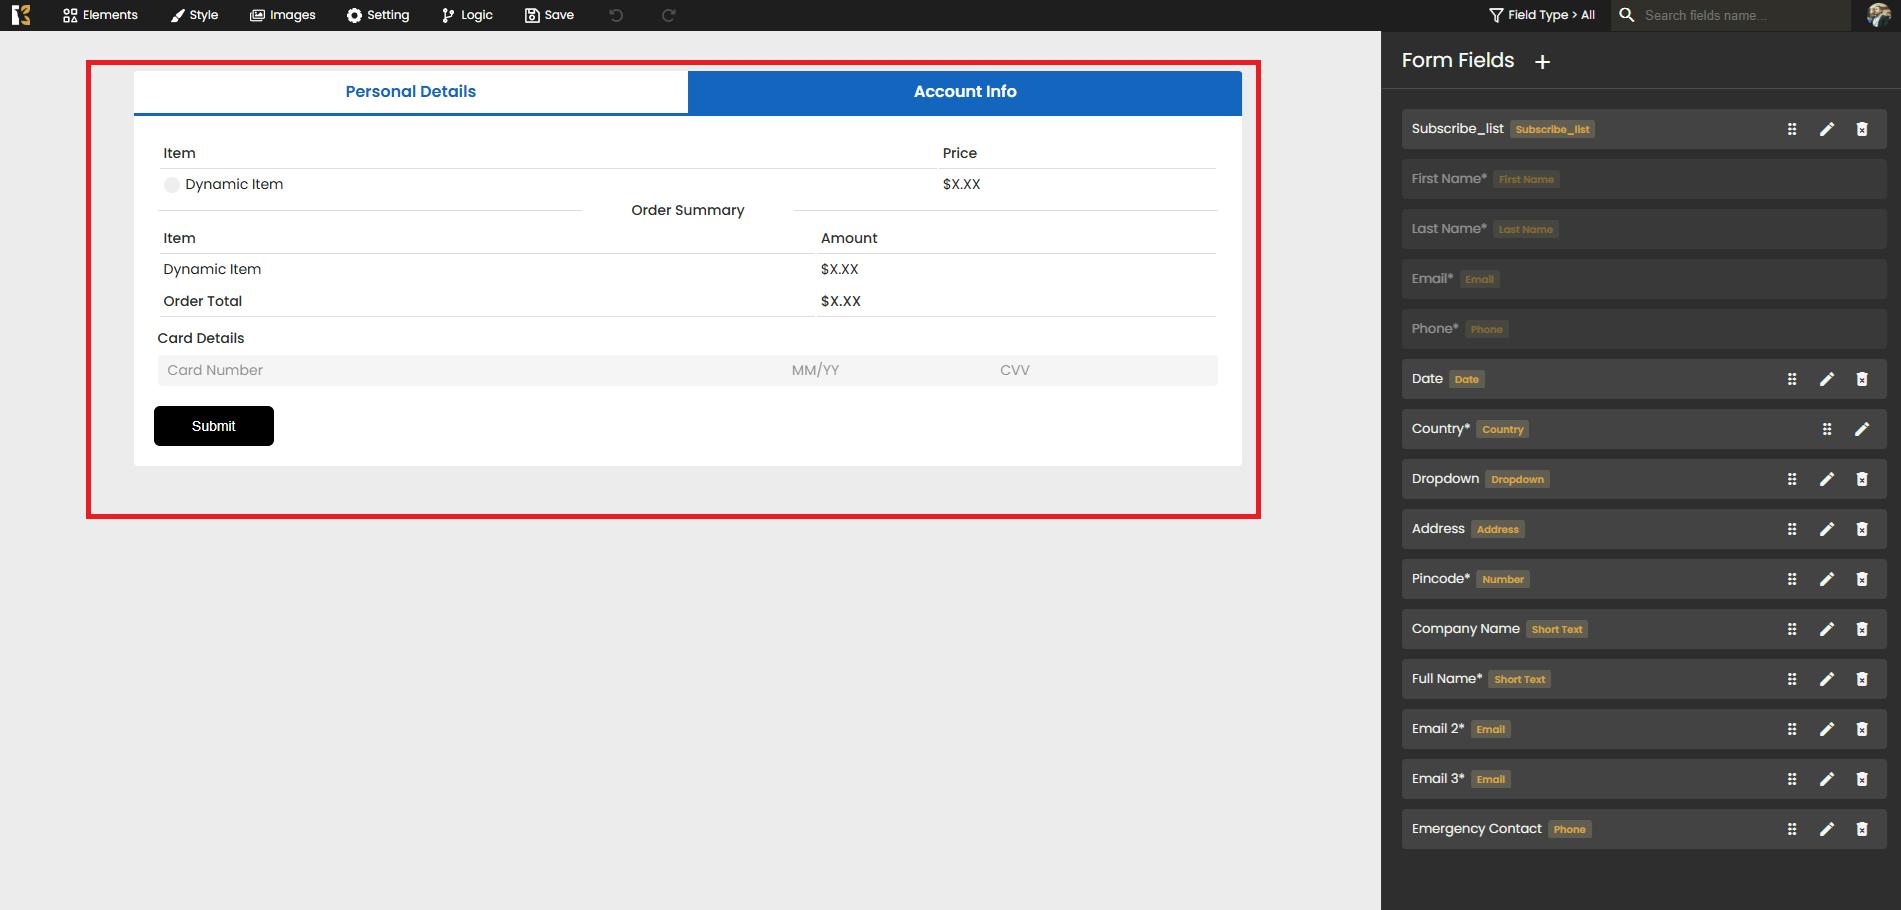
Step 3: Open the Checkout Details Page
After clicking the Edit icon, you’ll be redirected to the Checkout Details Page. This page allows you to make comprehensive edits across various sections of the form, including:
A. Personal Details
- You can modify customer information fields to collect exactly what you need:
- First Name & Last Name
- Email Address
- Contact Number
- Country / Region
- Company Name
- Address & Zip Code (if required)
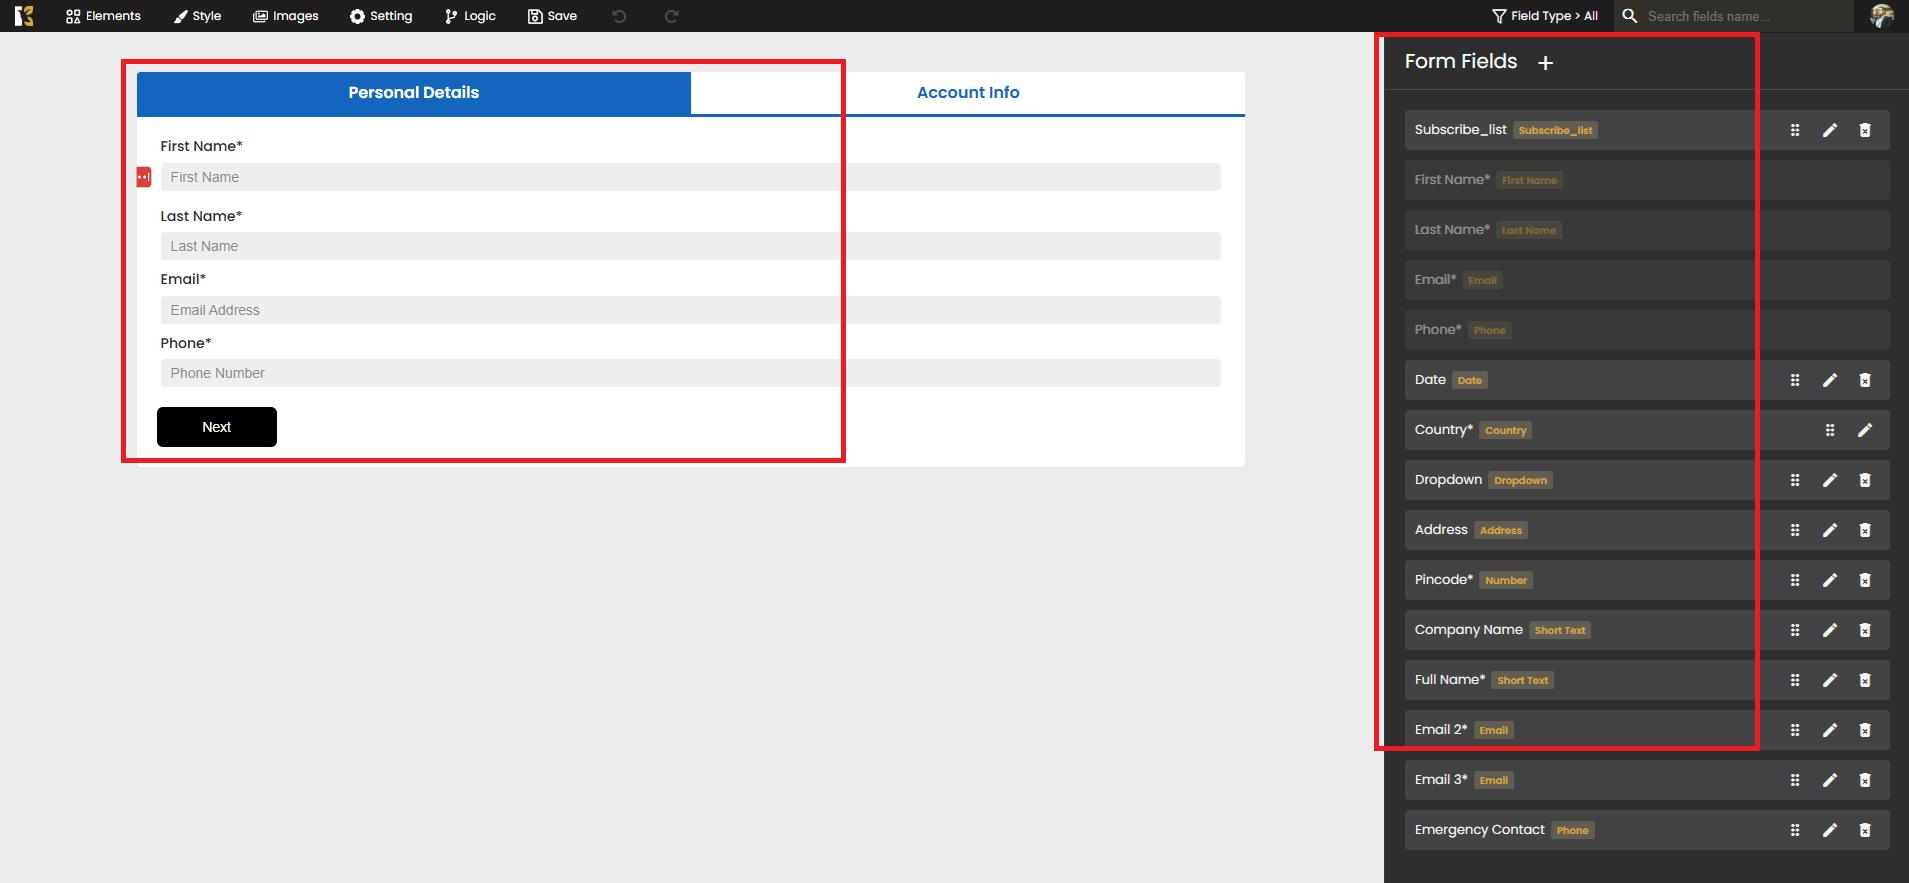
Tip: Only request essential fields to ensure a smooth and fast checkout process.
B. Account Information
- Edit important details related to the order and payment summary:
- Item Information → Update product names or descriptions linked to the checkout form.
- Pricing Details → Adjust product price, discounts, or tax inclusions if applicable.
- Order Summary → Edit item breakdowns for better clarity.
- Total Amount → Update the final payable value after applying discounts or offers.
- Payment Method & Card Details → Modify or configure accepted payment options.
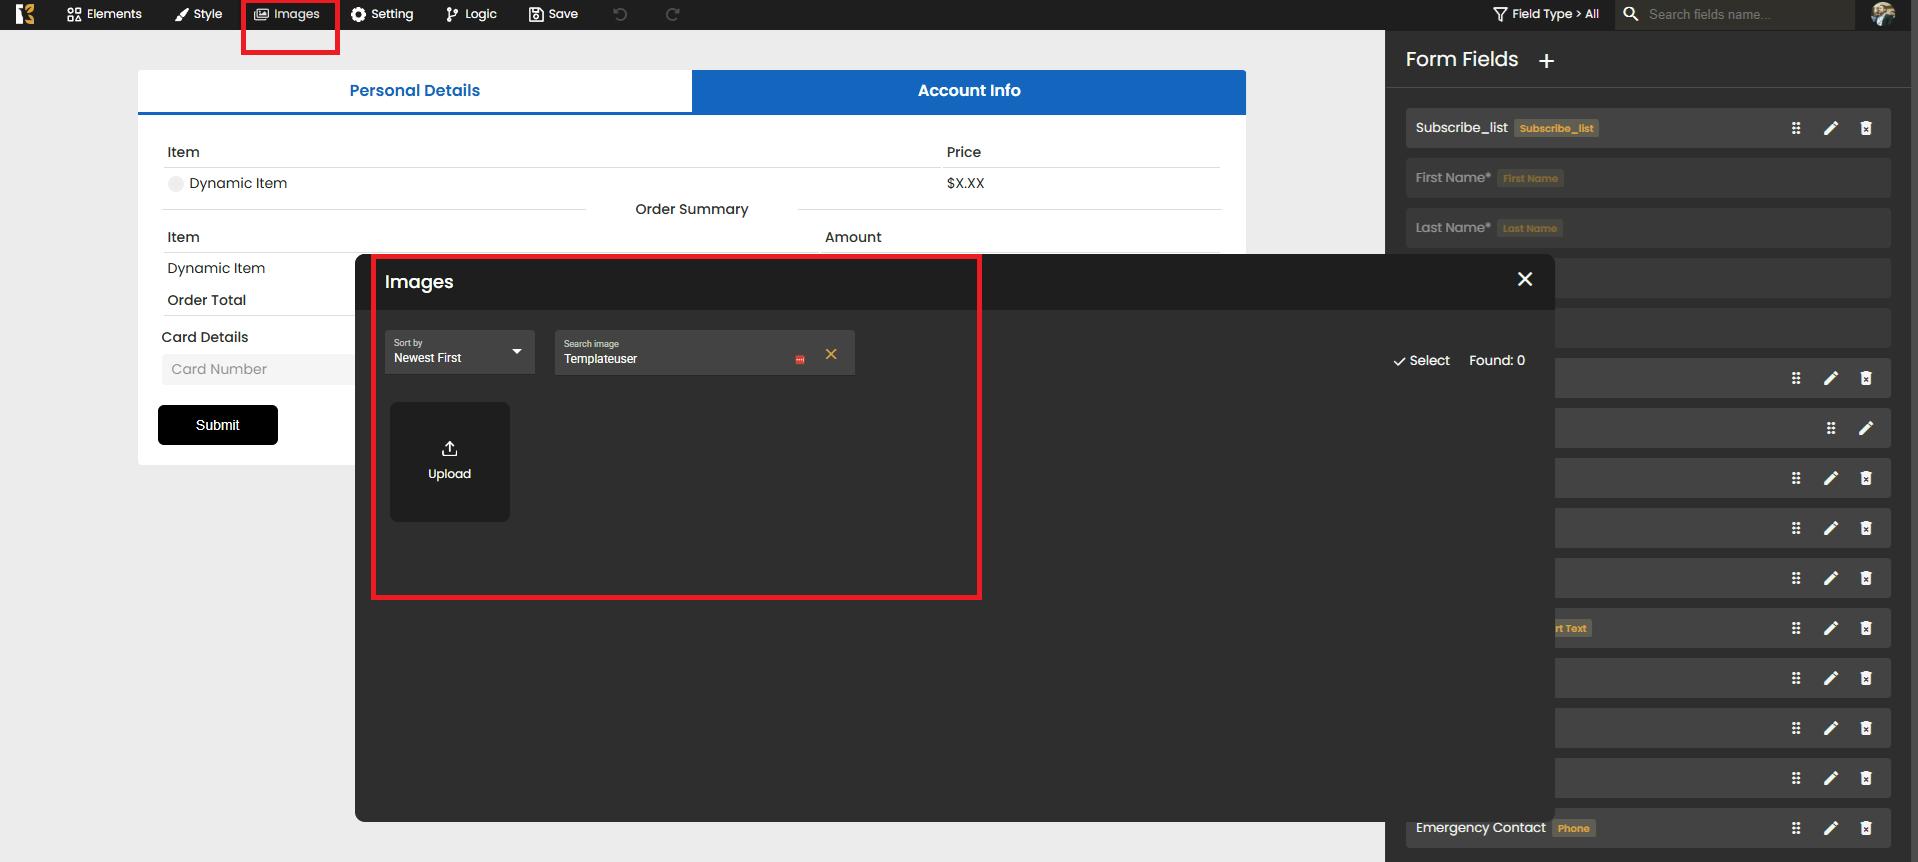
C. Design & Layout
- Enhance the look and feel of your checkout form:
- Change colors, fonts, and backgrounds to match your branding.
- Add or remove images, logos, and banners for a more professional appearance.
- Adjust spacing, field alignment, and button placements for a user-friendly experience.


D. Advanced Settings & Logic
- If your form uses conditional logic, you can update or add new rules:
- Show or hide fields based on specific user inputs.
- Set up smart checkout flows for different product types or customer segments.
- Configure additional form behavior, like auto-applying discounts or tagging leads.

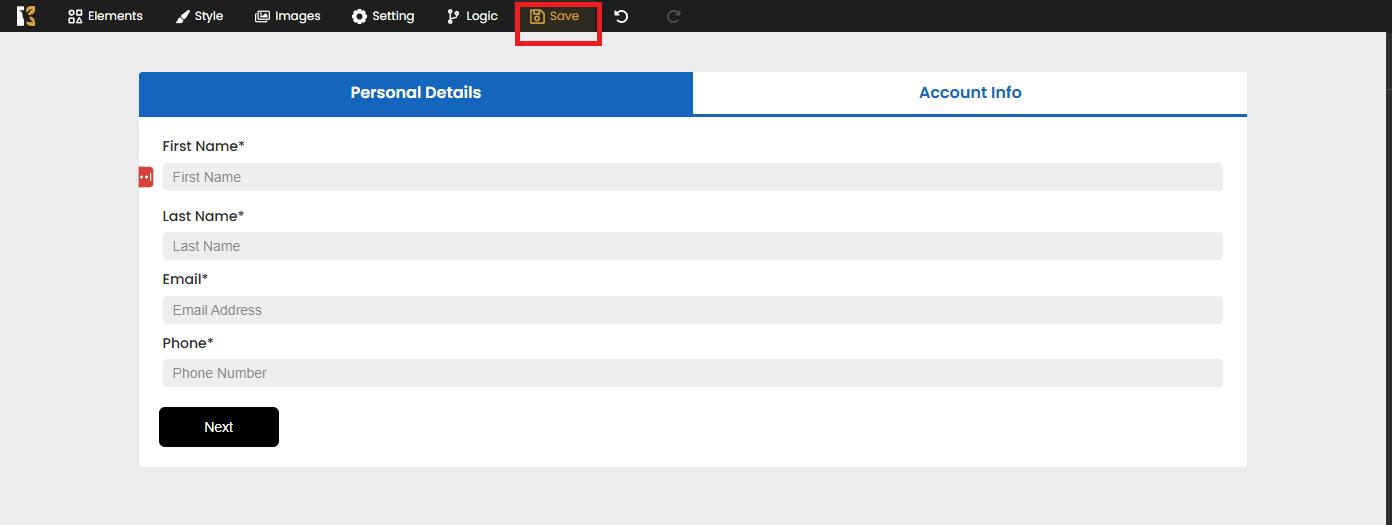
Step 4: Save Your Changes
- After completing all edits, click the Save button at the top-right corner of the page.
- The system will update the checkout form instantly, and all new changes will reflect on your Checkouts Dashboard.
Pro Tips
- Keep it simple → Avoid adding too many unnecessary fields to minimize cart abandonment.
- Maintain consistency → Use branding elements like logos, colors, and typography for a professional appearance.
- Always test before publishing → Ensures a smooth checkout experience for your customers.
Conclusion
Editing an existing checkout form in the Sales Hub is quick, intuitive, and fully customizable. From updating personal details and pricing to enhancing design and applying logic, you have full control to create a seamless checkout experience for your customers.