How to Create Your Emails
Creating emails within your CRM allows you to design personalized, engaging messages for your audience. Follow this simple guide to create and customize your email using the built-in email builder.
👣 Step-by-Step Guide to Create an Email
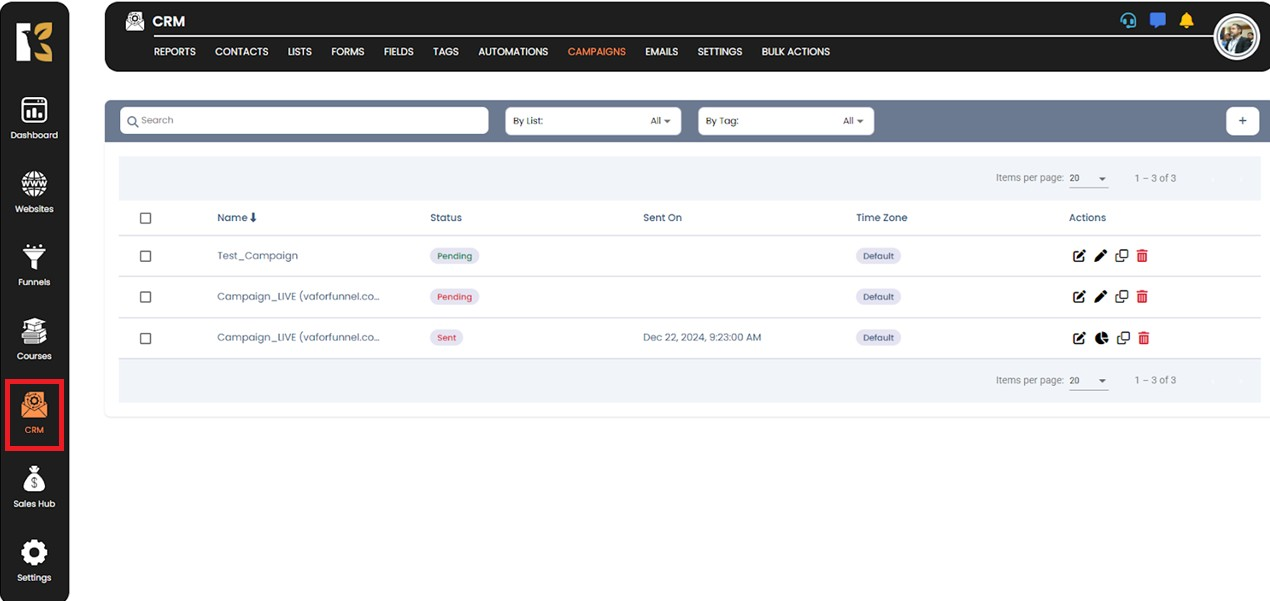
🔹 Step 1: Navigate to CRM
Go to the side menu and click on the CRM option.
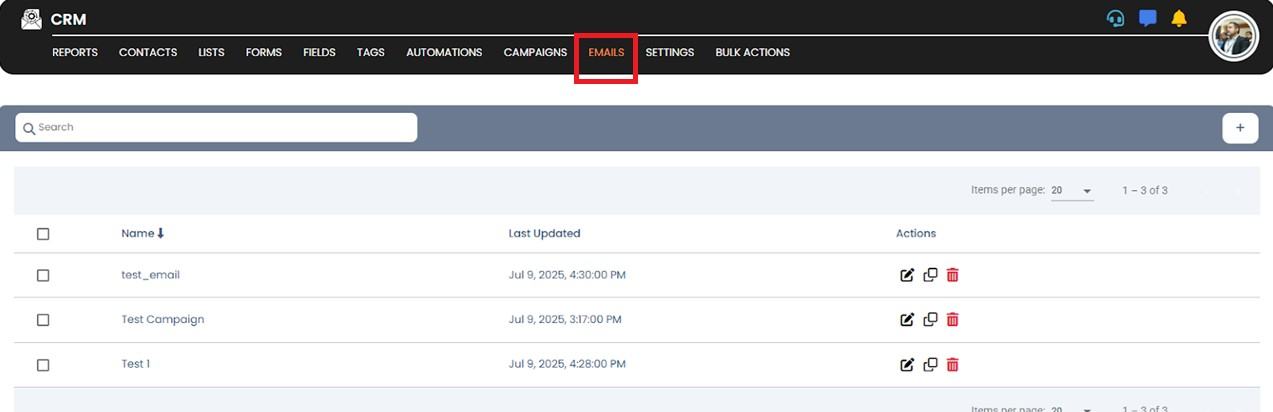
🔹 Step 2: Open the Emails Section
Click on the Emails button to access the email management panel.
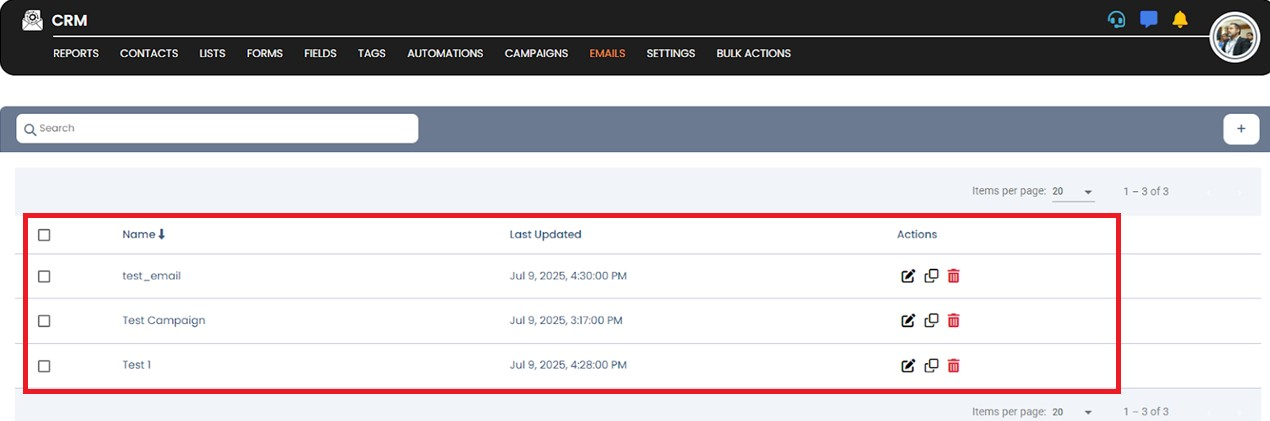
🔹 Step 3: Access the Email Panel
Once inside, the Emails panel will open up showing your existing email templates and campaigns.
🔹 Step 4: Click on ‘Create Email’
Click the Create Email button located at the top right corner.

🔹 Step 5: Enter Email Details
A pop-up will open wherein you need to enter the “Email Name” & “Subject”.
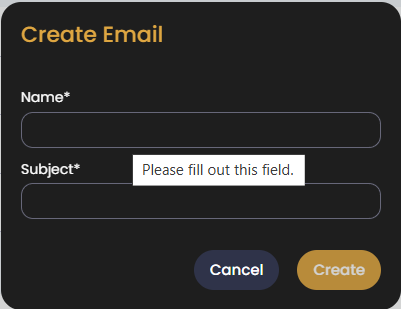
🔹 Step 6: Click ‘Create’
Once all details are filled, click the Create button.
🔹 Step 7: Enter the Email Builder
You’ll now be redirected to the Email Builder.
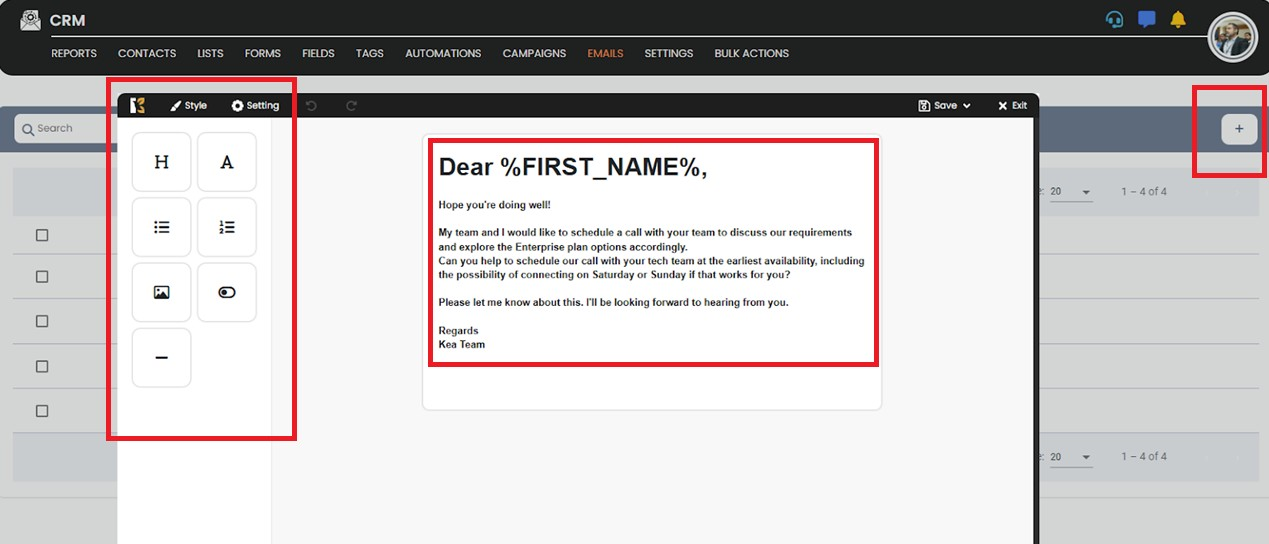
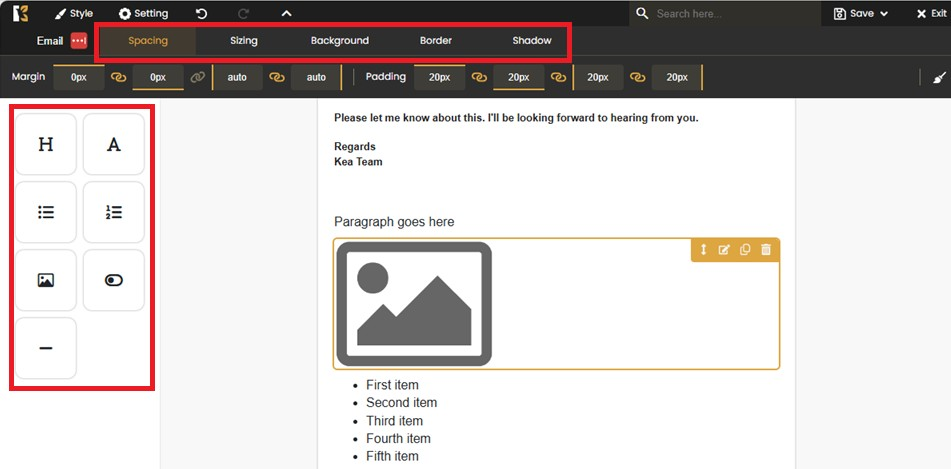
🔹 Step 8: Design Your Email
Use the drag-and-drop editor and other available tools to:
- Add text, images, buttons, and links
- Customize layout, colors, and styles
- Preview and edit for different devices
✅ Tip:
Always send yourself a test email before launching your campaign to ensure it looks and functions as intended.