How to Create a New Menu in KeaBuilder
Menus play a key role in helping visitors navigate your website or funnel smoothly. With KeaBuilder, you can create fully customized menus to organize your pages, direct users to important sections, and even add custom links for external resources.
Step-by-Step Guide to Creating a New Menu
- Login to Your KeaBuilder Account
- Open your browser and go to www.keabuilder.com.
- Click on the Login button.
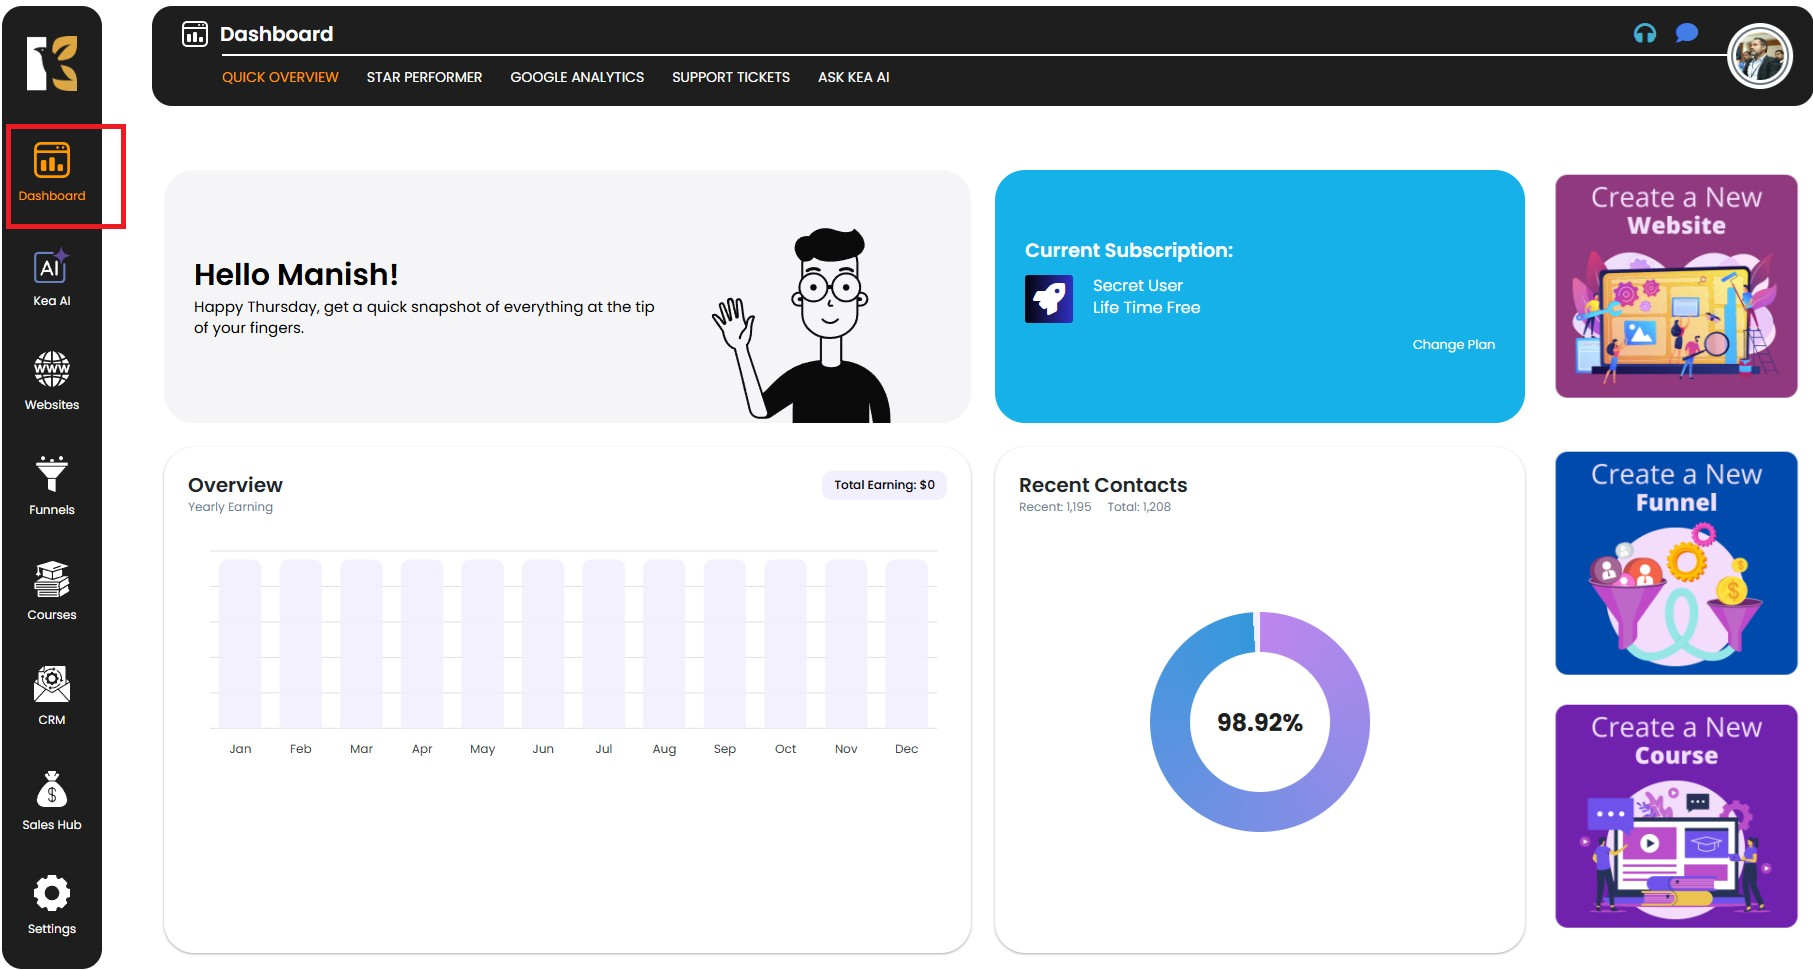
- Enter your Login ID & Password and you will be taken to your Main Dashboard.
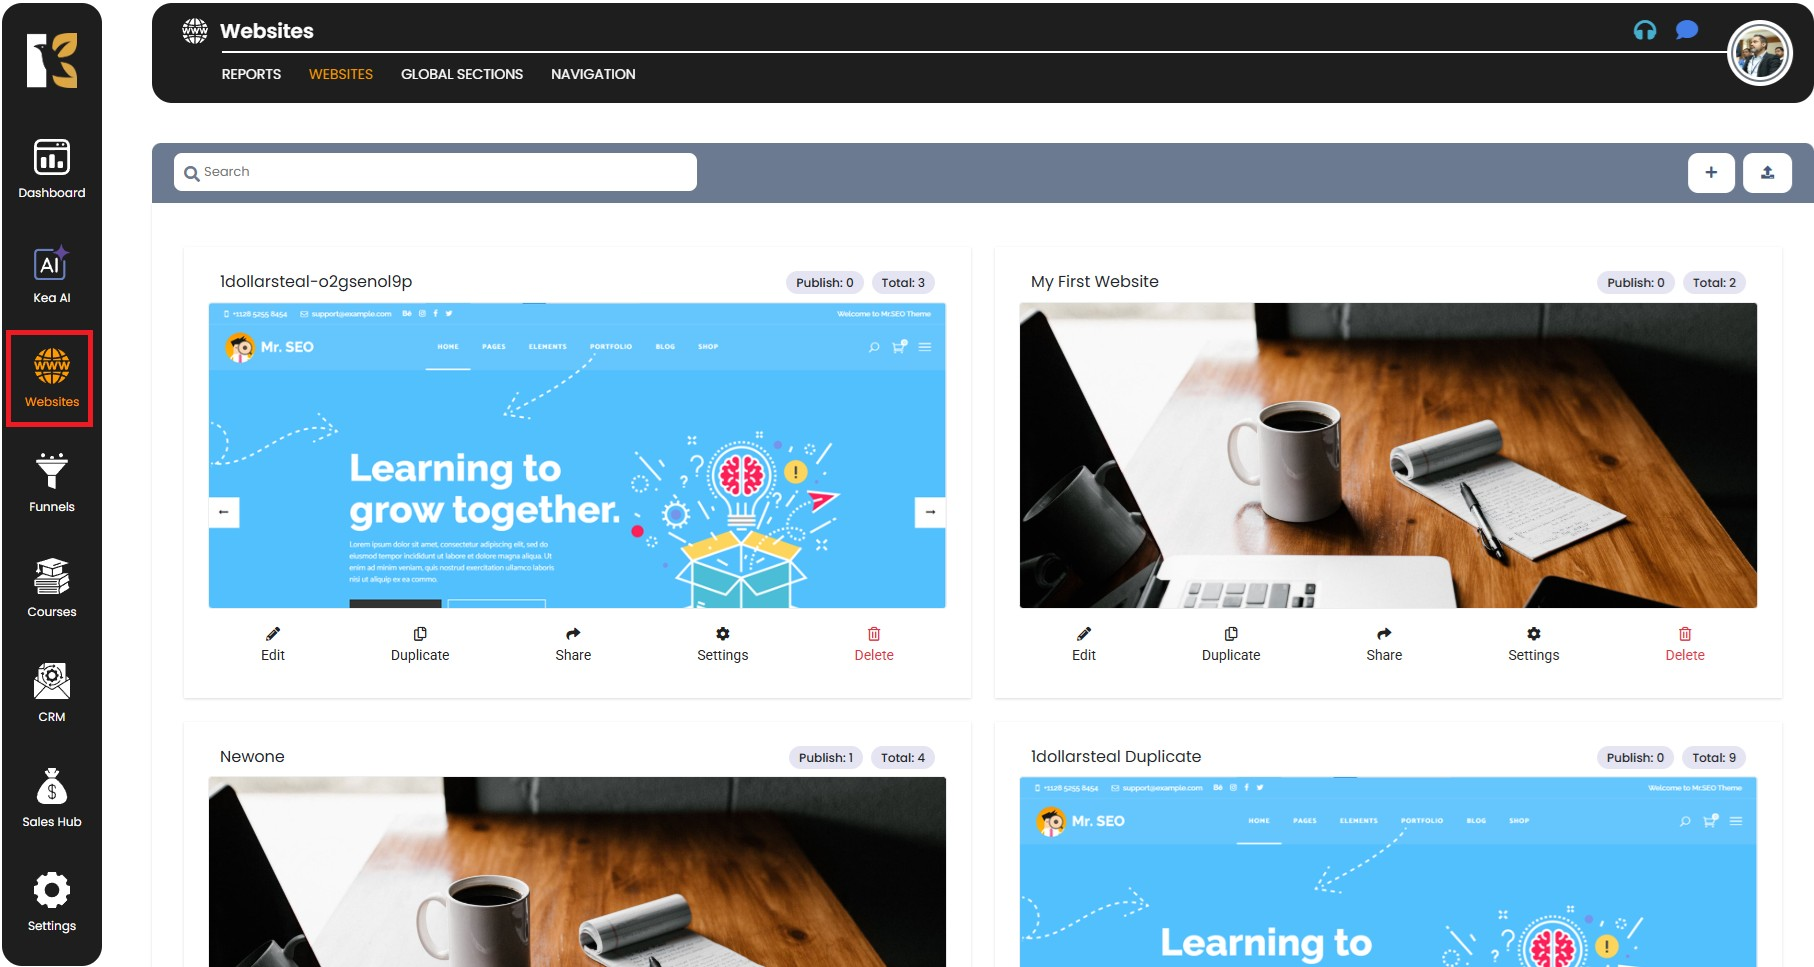
- Access the Website Section
- From the Vertical Menu on the left-hand side, scroll down and click on Websites.
- You will be redirected to the Website section, where you can view all the websites you have already created.
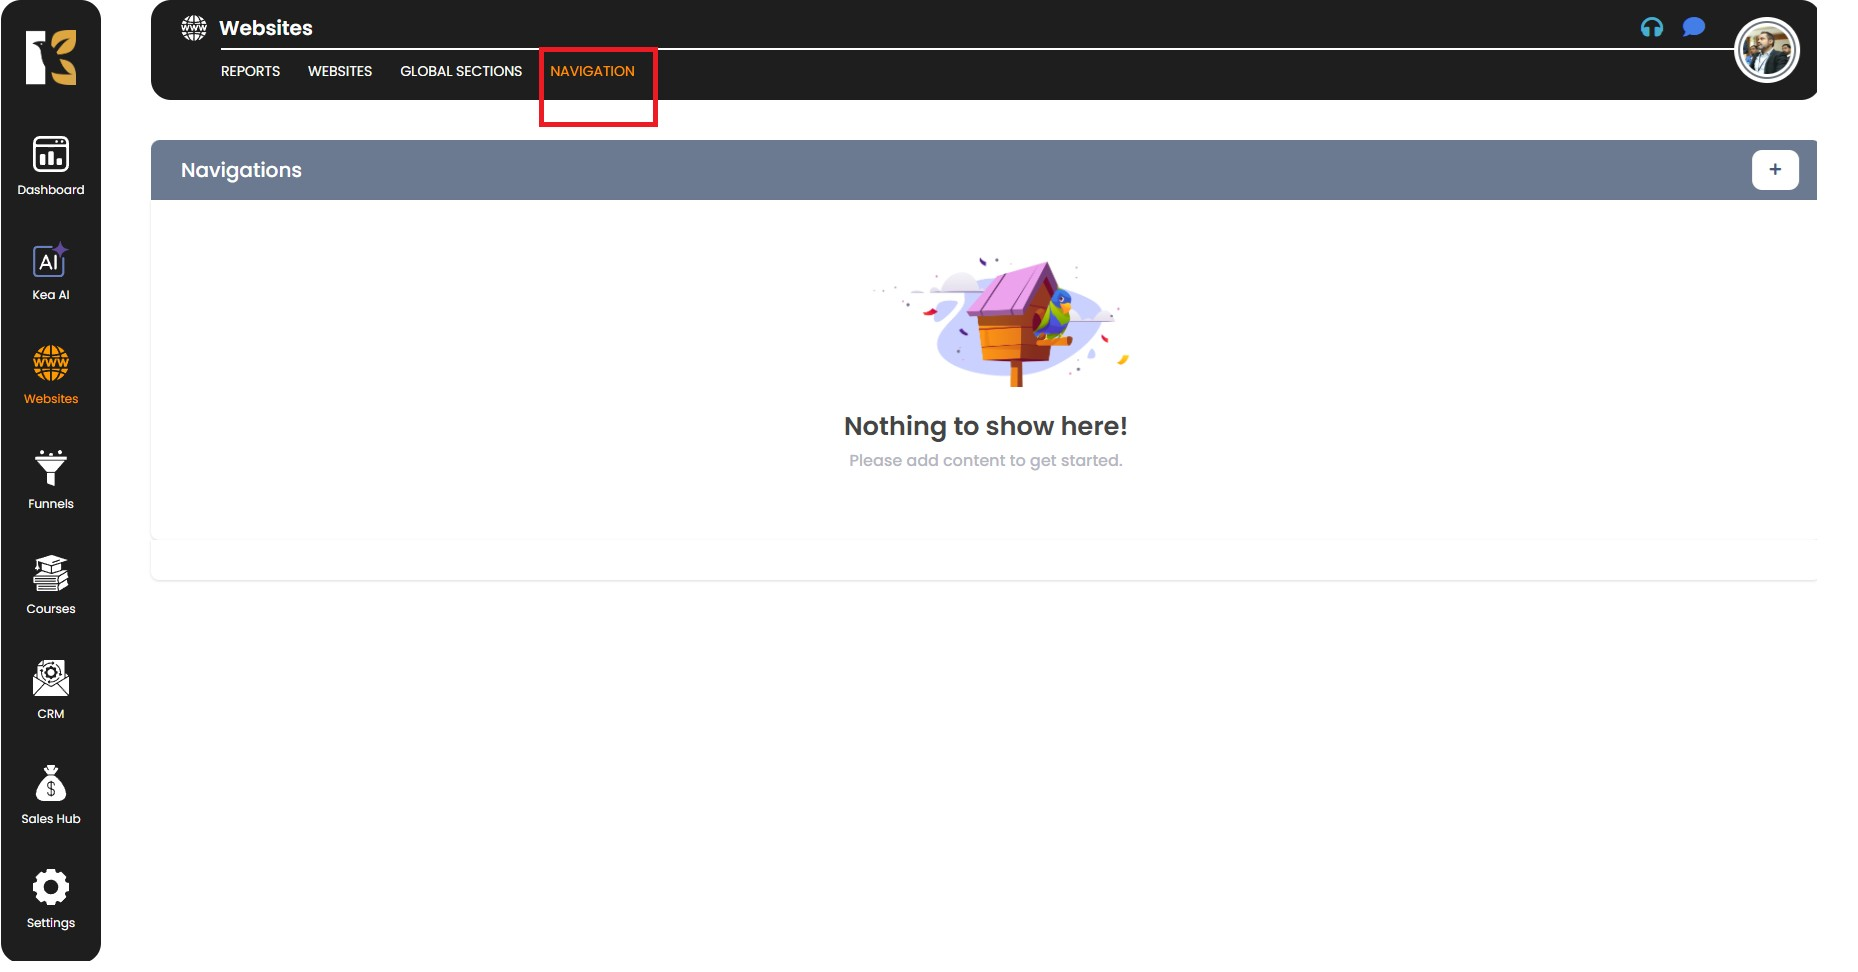
- Navigate to Menu Settings
- On the Horizontal Menu at the top, click on Navigation.
- This will redirect you to the Navigation Page where you can create and manage menus.

- Create a New Menu
- Below the horizontal menu, click on the “+” (Create New Menu) option.
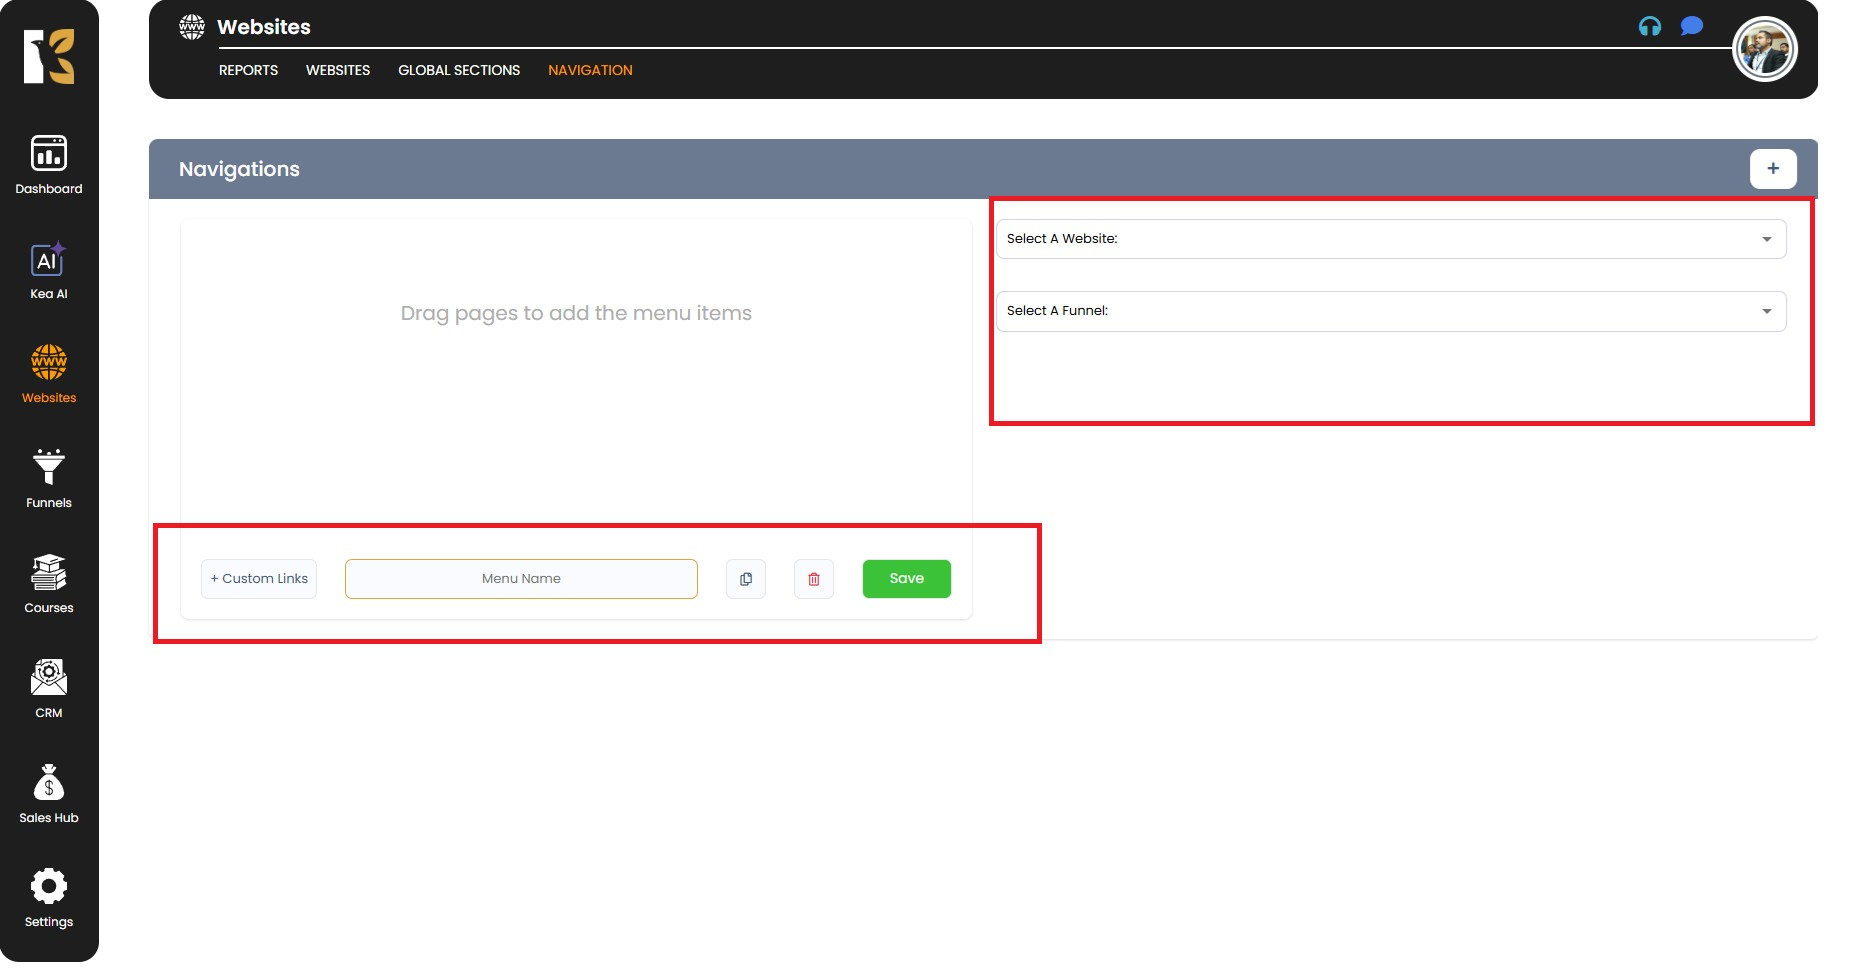
- A new setup panel will appear asking you to define whether the menu is for a Website or a Funnel.
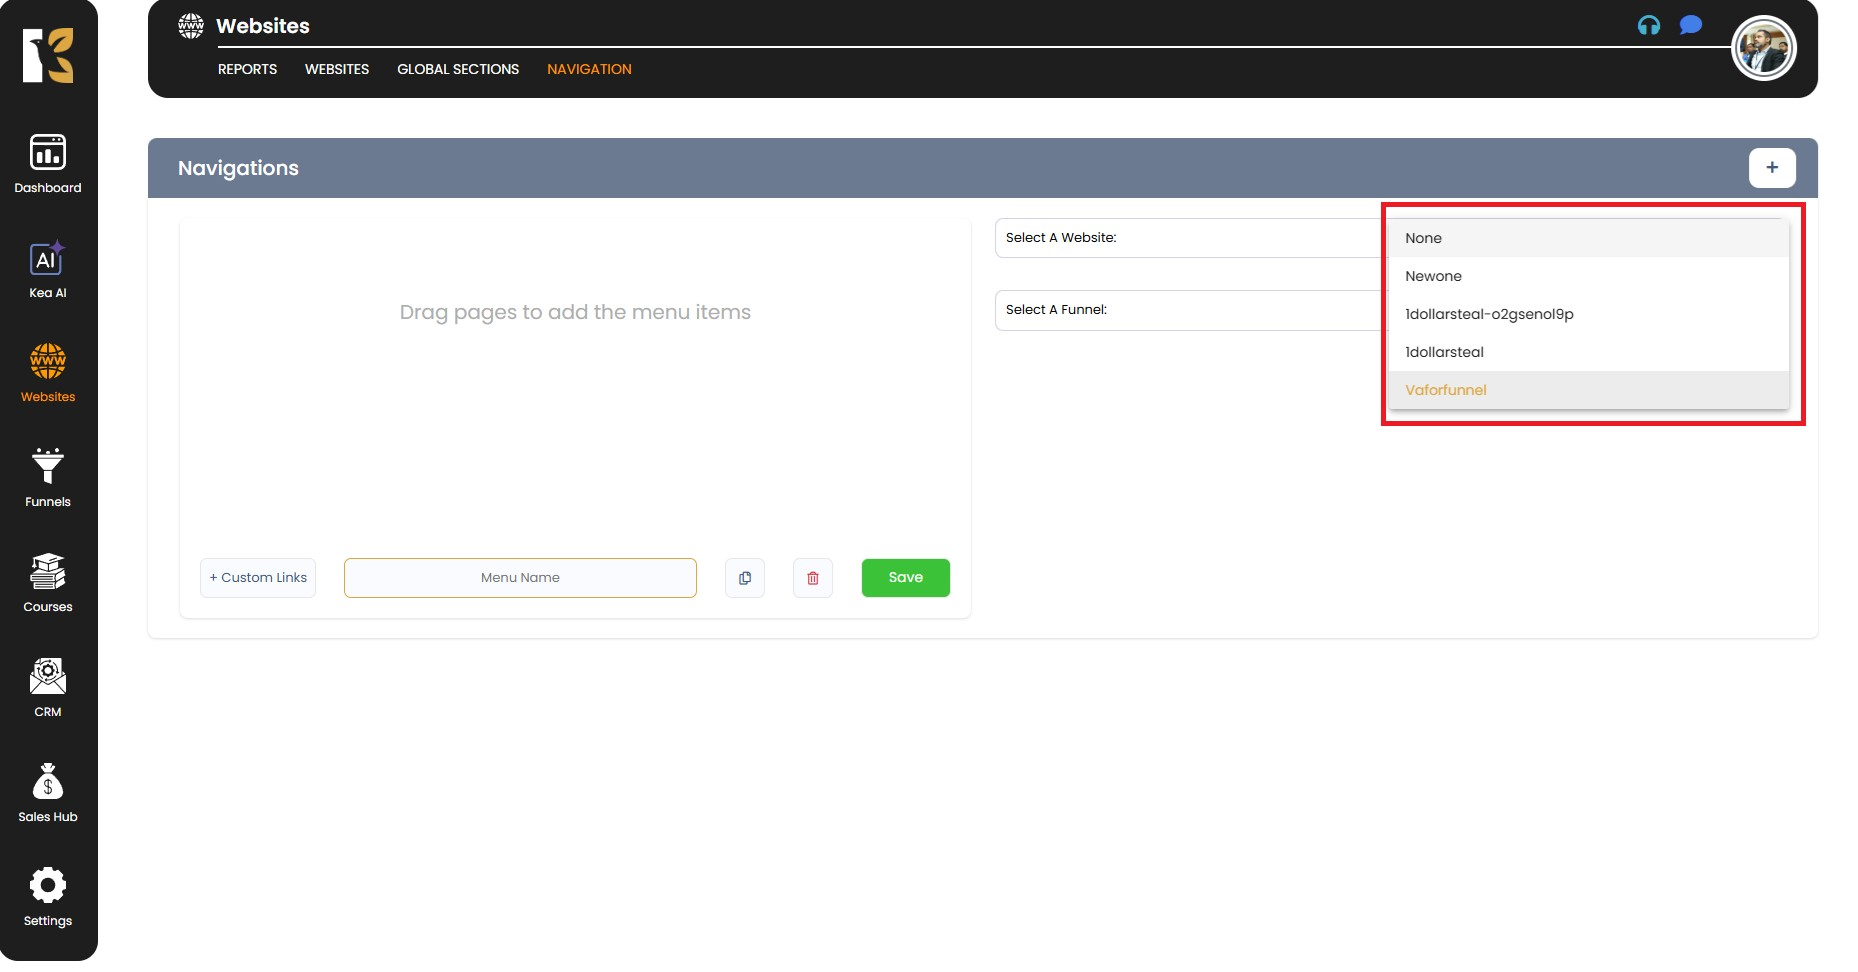
- Select Website or Funnel
- If you are creating a menu for a Website, choose it from the dropdown list of websites you have already created.
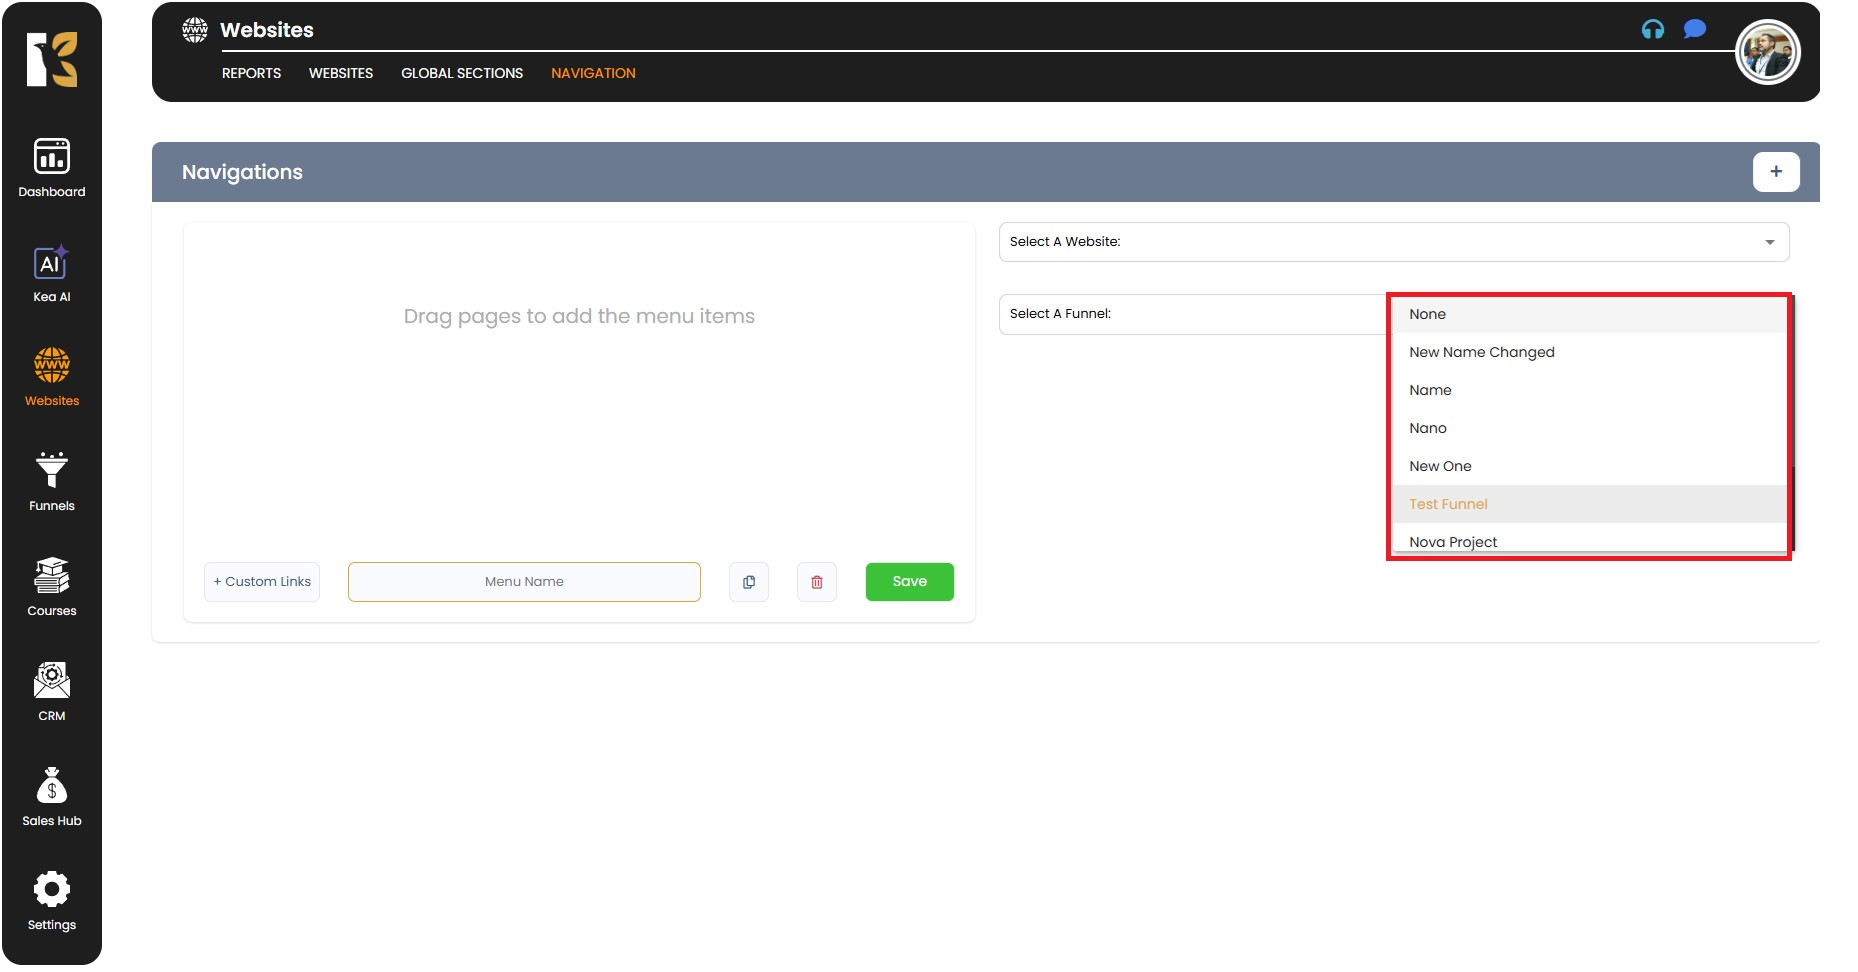
- If you are creating a menu for a Funnel, choose the relevant funnel instead.
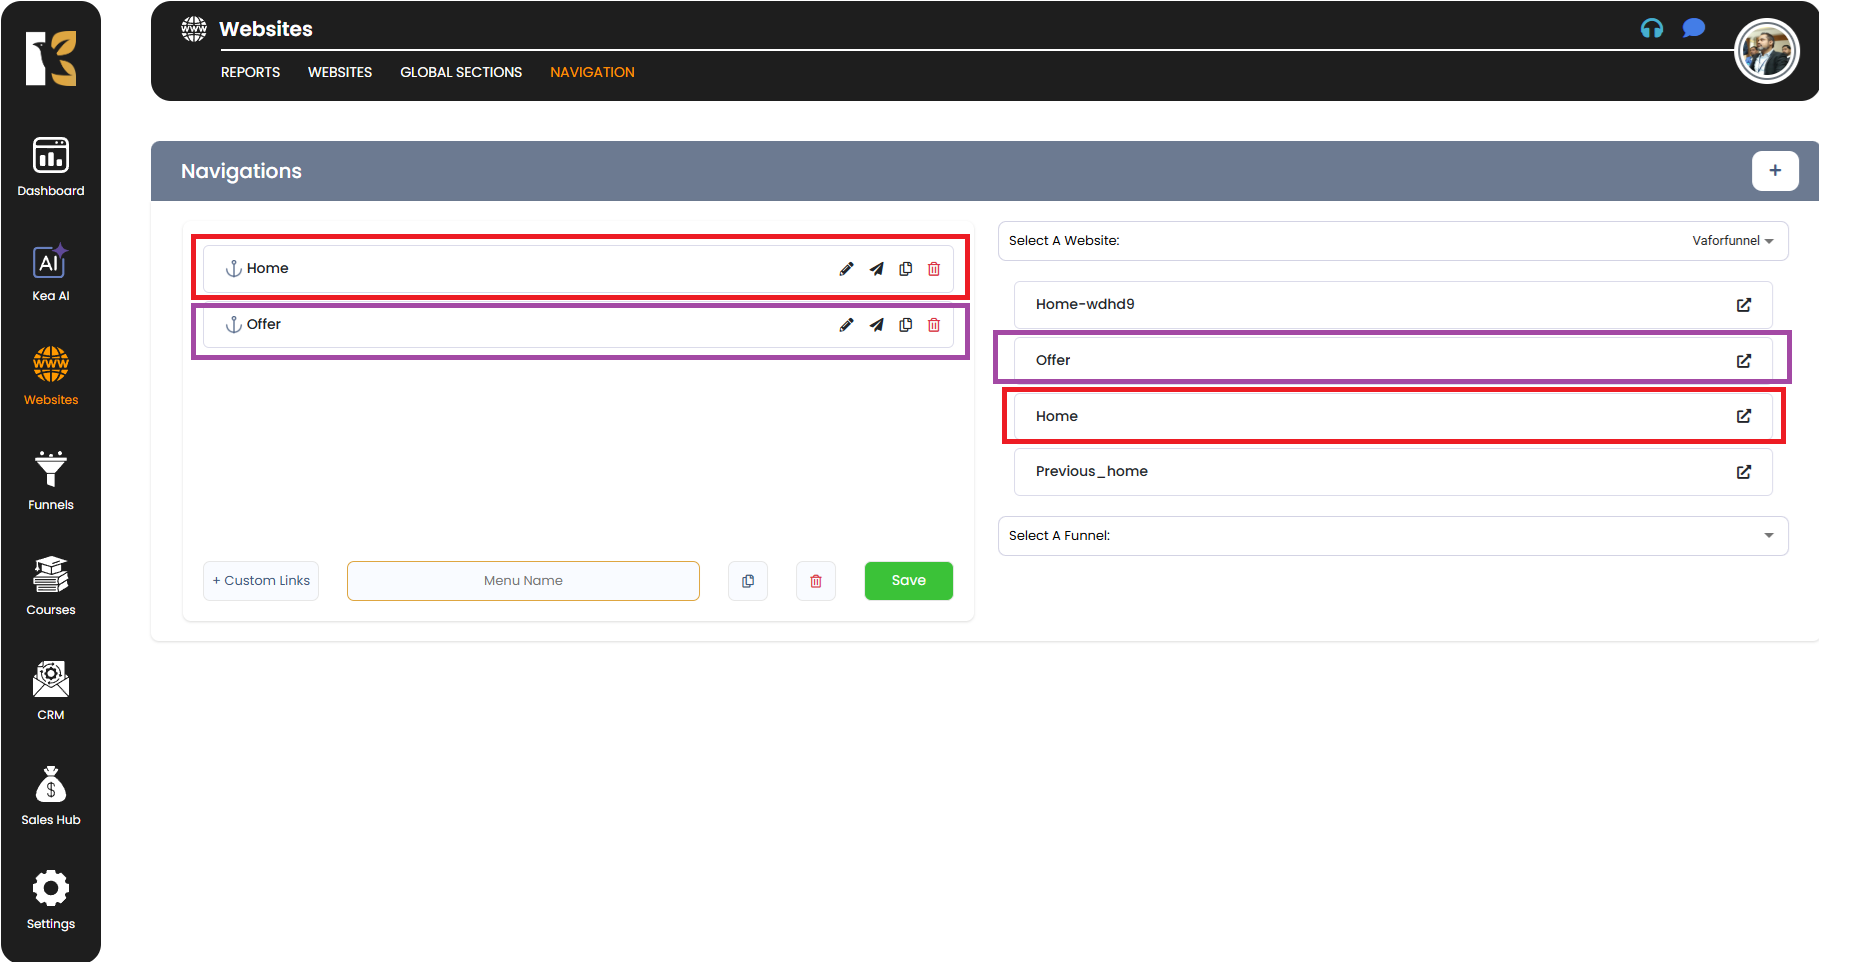
- Build Your Menu
- Once you’ve selected the website/funnel, you can start building your menu by dragging and dropping items from the available list.
- Common menu items include:
- Home
- About Us
- Services
- Contact
- Blog
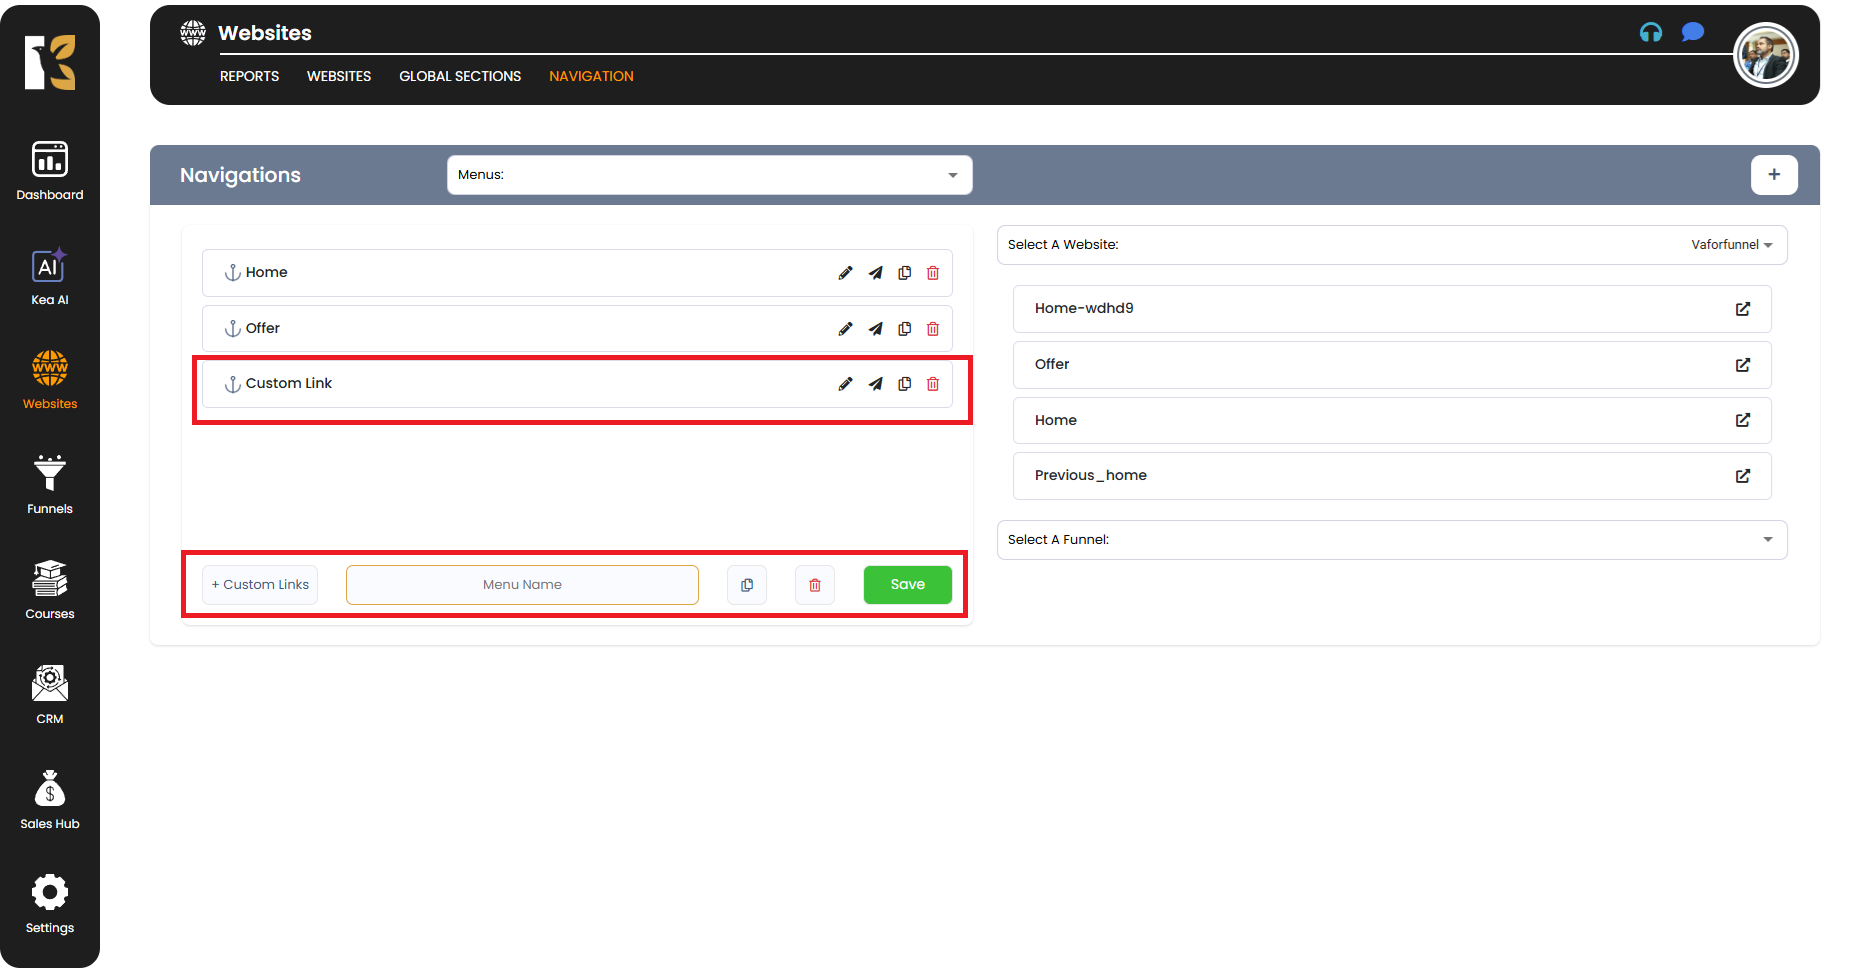
- Add Custom Menus or Links
- At the bottom, you will find the option to add a Custom Menu/Custom Link.
- Drag this option into your menu list and enter the custom URL or link text (for example, linking to an external site or a special landing page).
- Organize Menu Items
- You can rearrange the order of the menu items by dragging them up or down.
- This allows you to create a logical flow for your visitors (e.g., Home → About → Services → Contact).
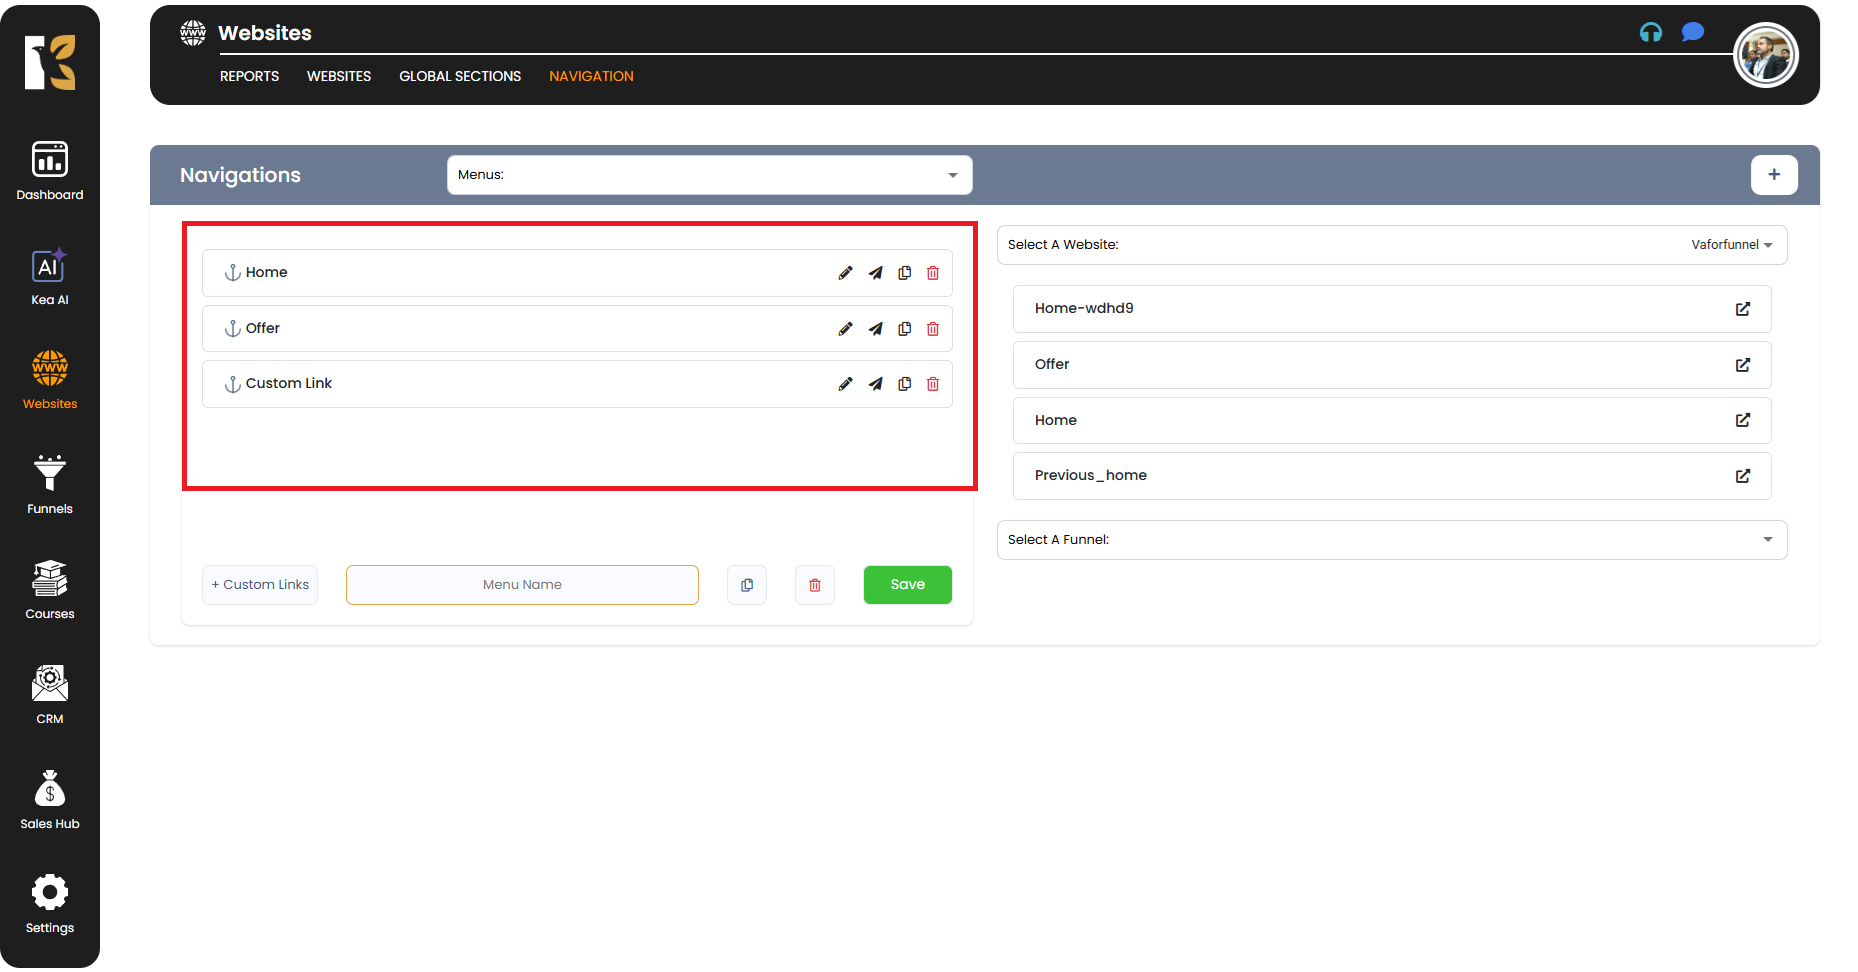
- Save Your Menu
- After adding and organizing all desired menu items, scroll down to the bottom.
- Enter a Menu Name (e.g., Main Menu or Top Navigation) so you can easily identify it later.
- Click on the Save Button to finalize and store your menu under the selected website or funnel.

Pro Tips
- 🔗 Internal vs External Links – Use standard menus for internal navigation and custom links to direct users to external pages (like social media, partner sites, or resource tools).
- 📱 Responsive Menus – All menus created in KeaBuilder are mobile-friendly, so your visitors will have a smooth experience across devices.
- 🎨 Styling Options – Once your menu is saved, you can customize its style, alignment, and appearance within the Website Builder.