How to Edit a Campaign
Editing an existing campaign in your CRM allows you to update its details, change email templates, modify settings, and ensure that your campaign performs exactly as you want before sending it out. Follow the steps below to seamlessly edit your campaign:
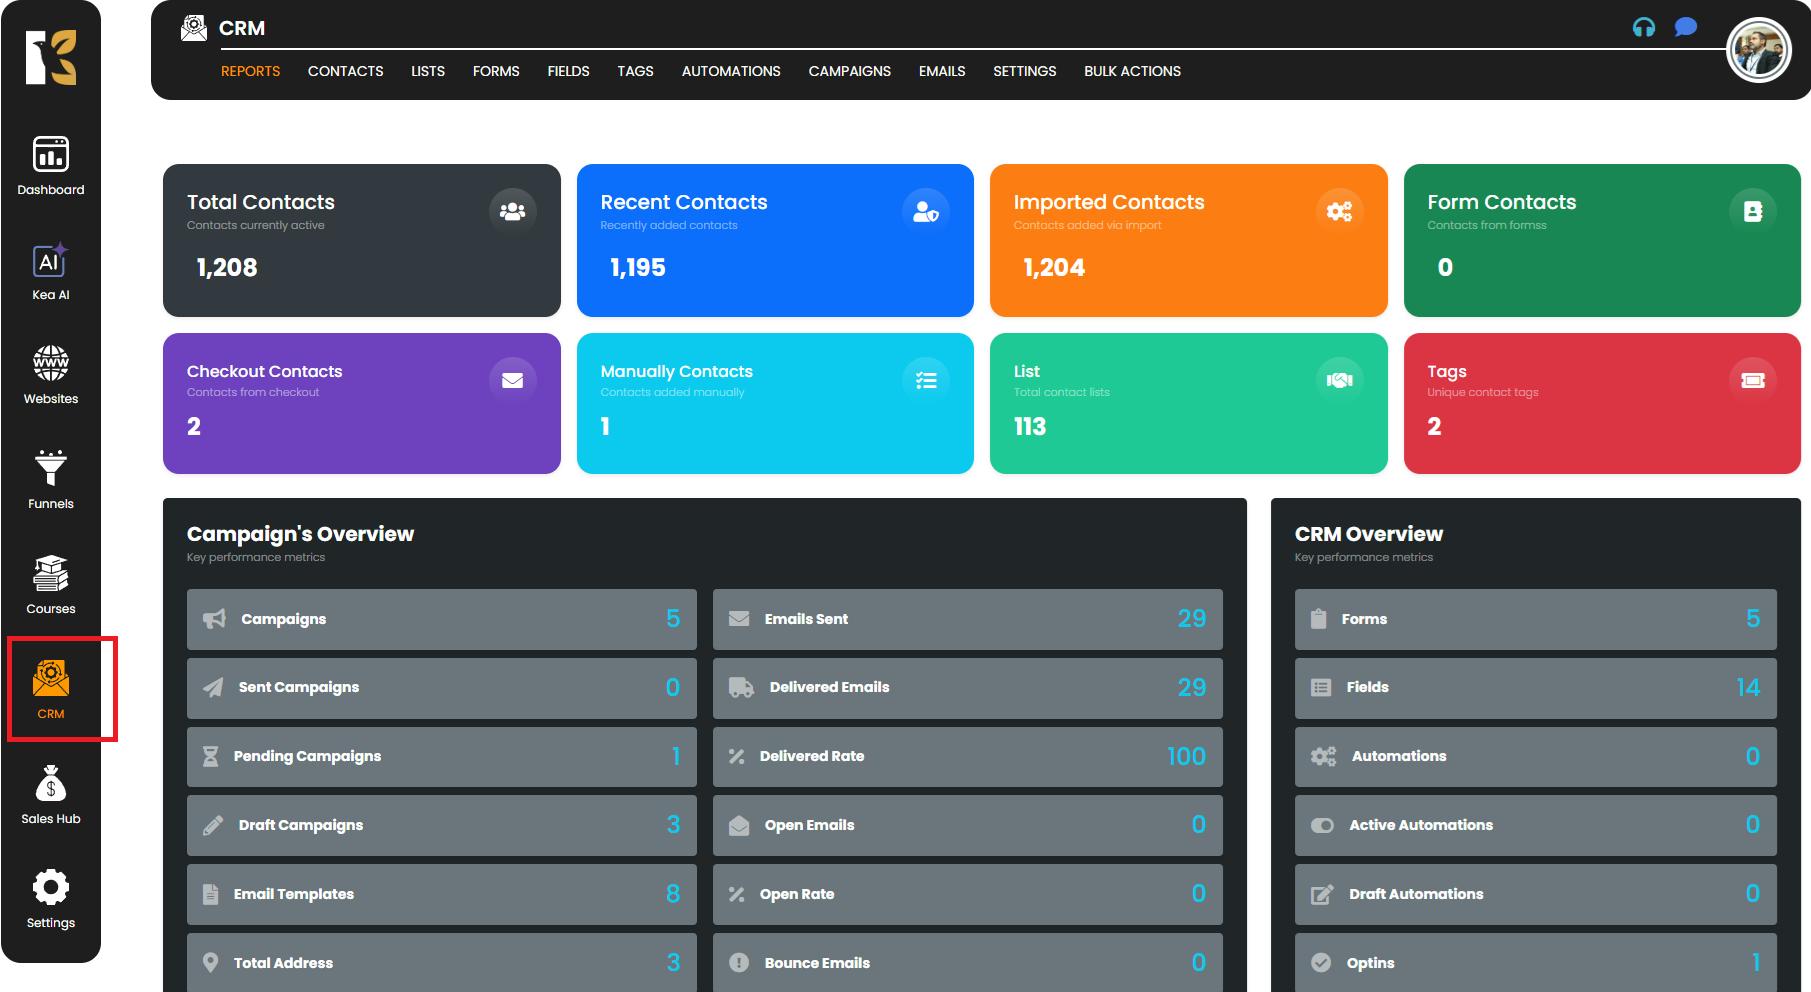
Step 1: Open the Campaign Module
- From your CRM Panel, navigate to the left-hand side menu.
- Click on the Campaign option to open the campaign management section.
Step 2: Access the Campaign Dashboard
- Once inside the Campaign module, click on the Campaign menu tab at the top.
- This will take you to the Campaign Dashboard, where you can view the complete list of your existing campaigns.
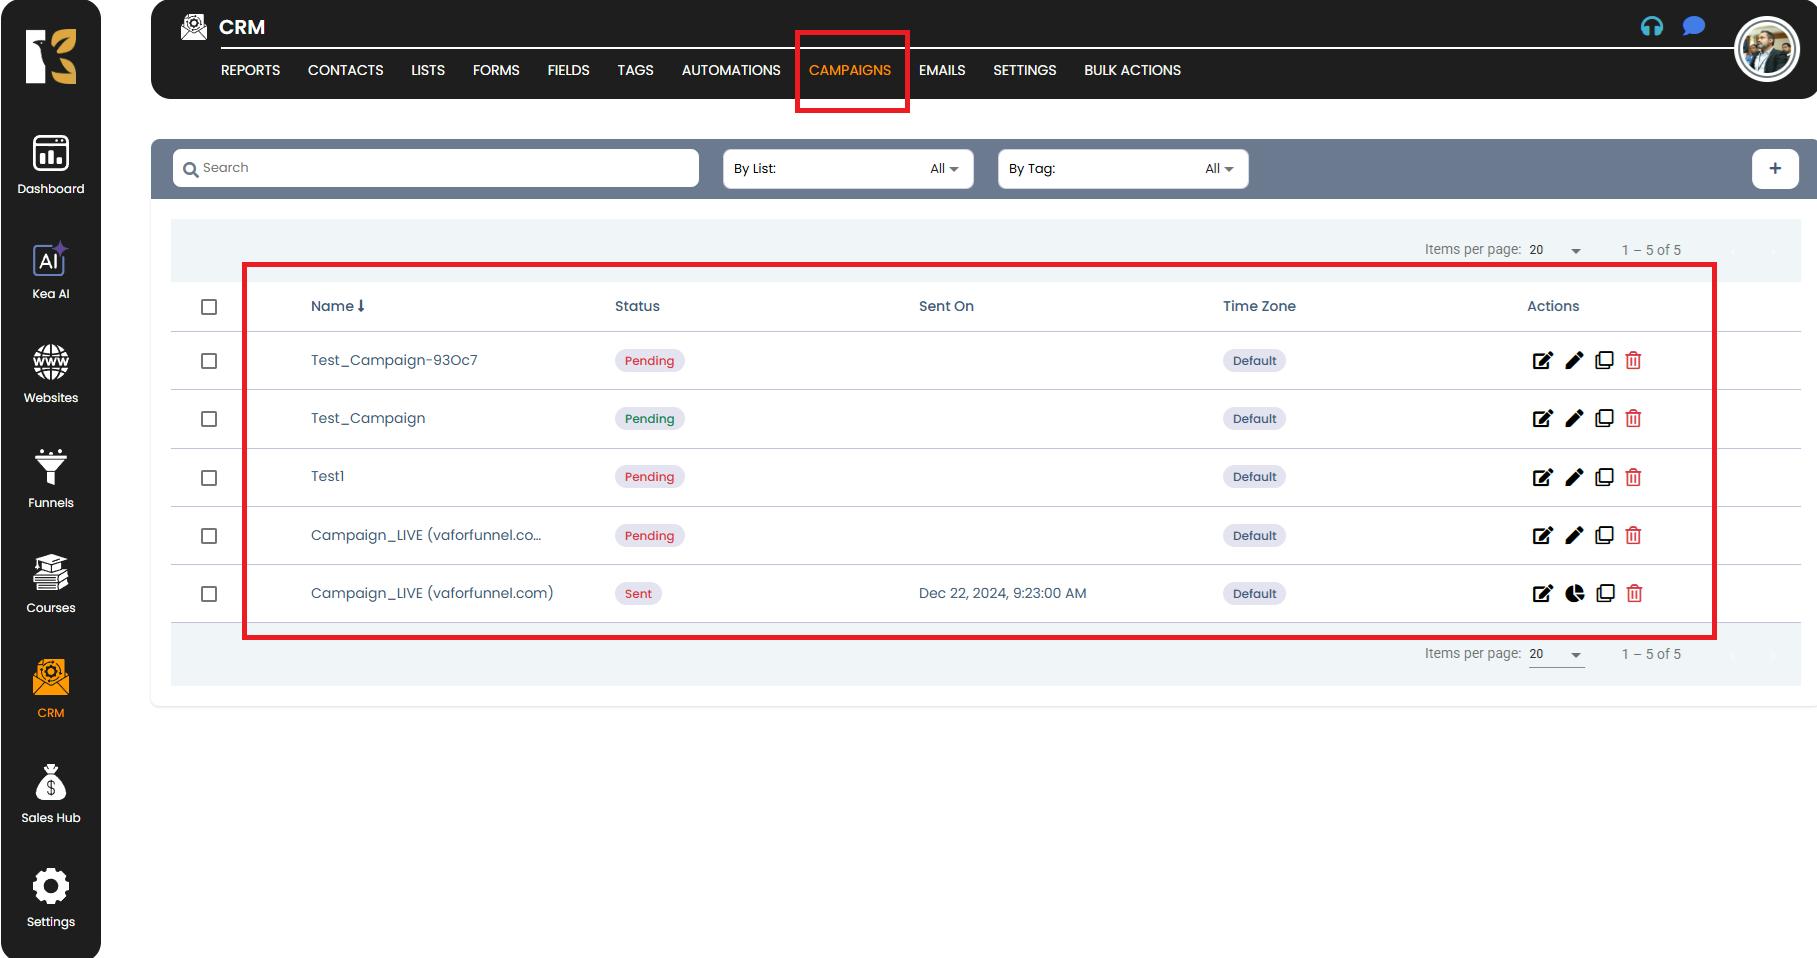
Step 3: Locate the Campaign You Want to Edit
- Browse through the list of campaigns displayed on the dashboard.
- Find the specific campaign you want to edit and move to the extreme right-hand side of that row.
- Click on the Edit icon (represented by a Pencil icon) to start editing.

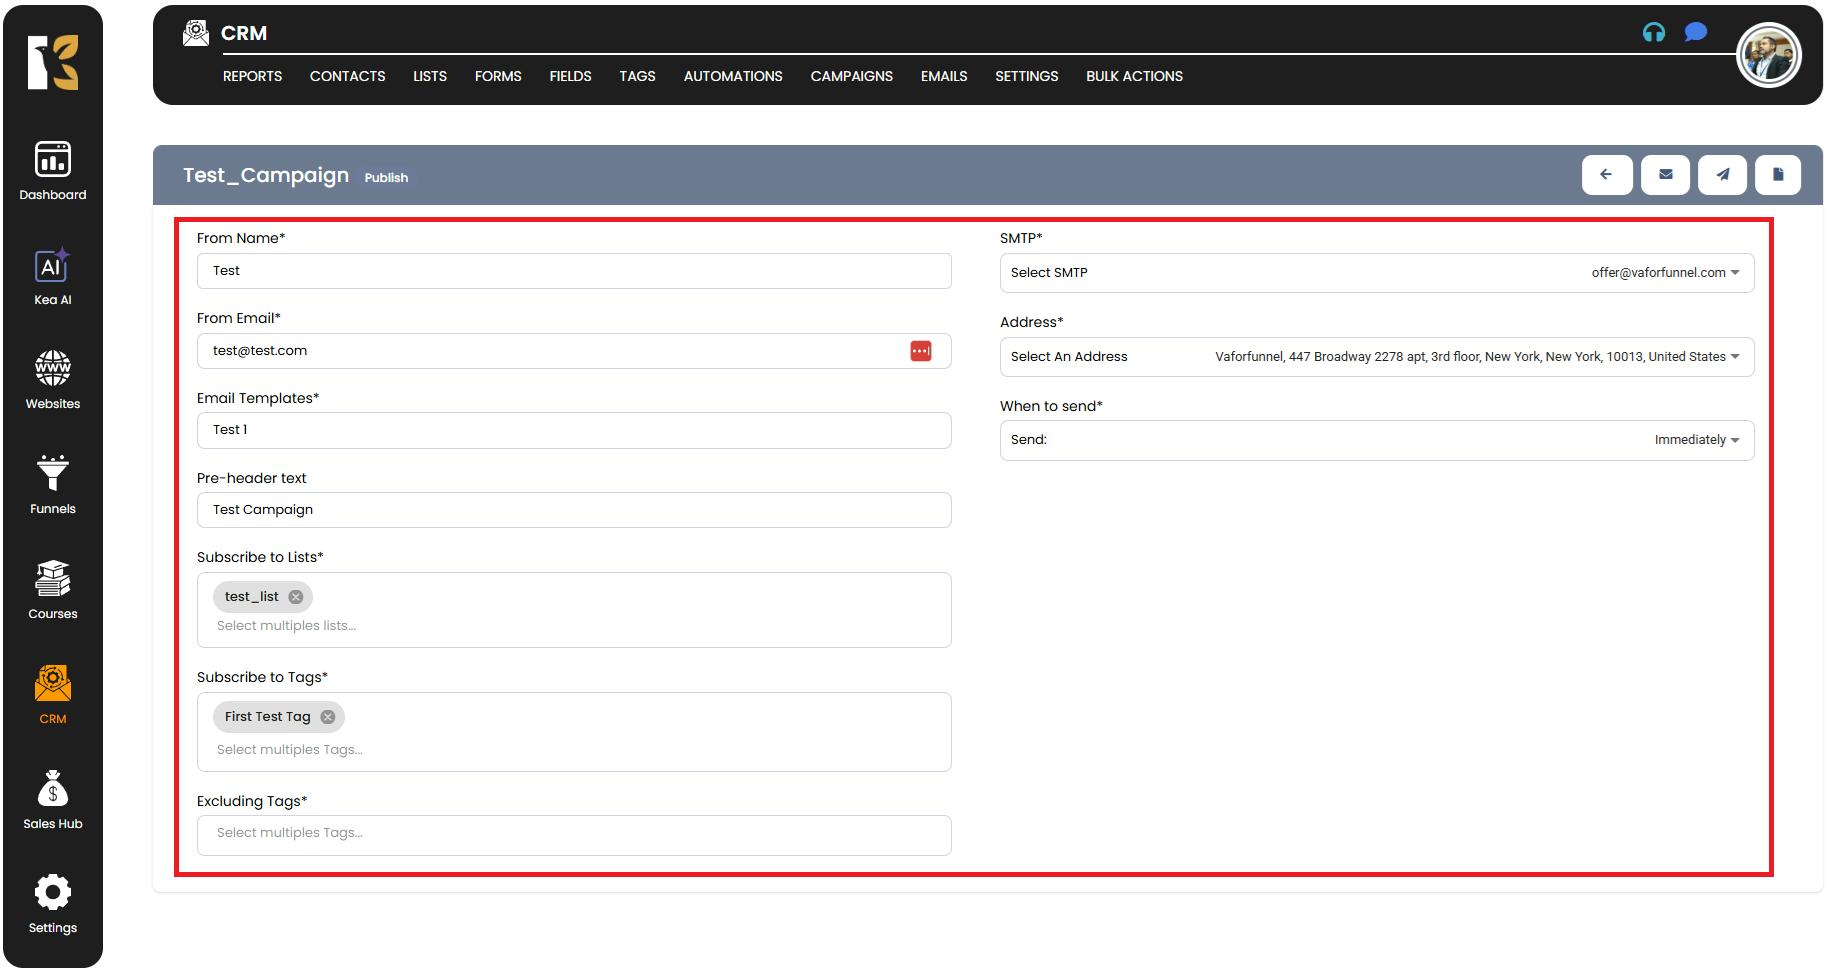
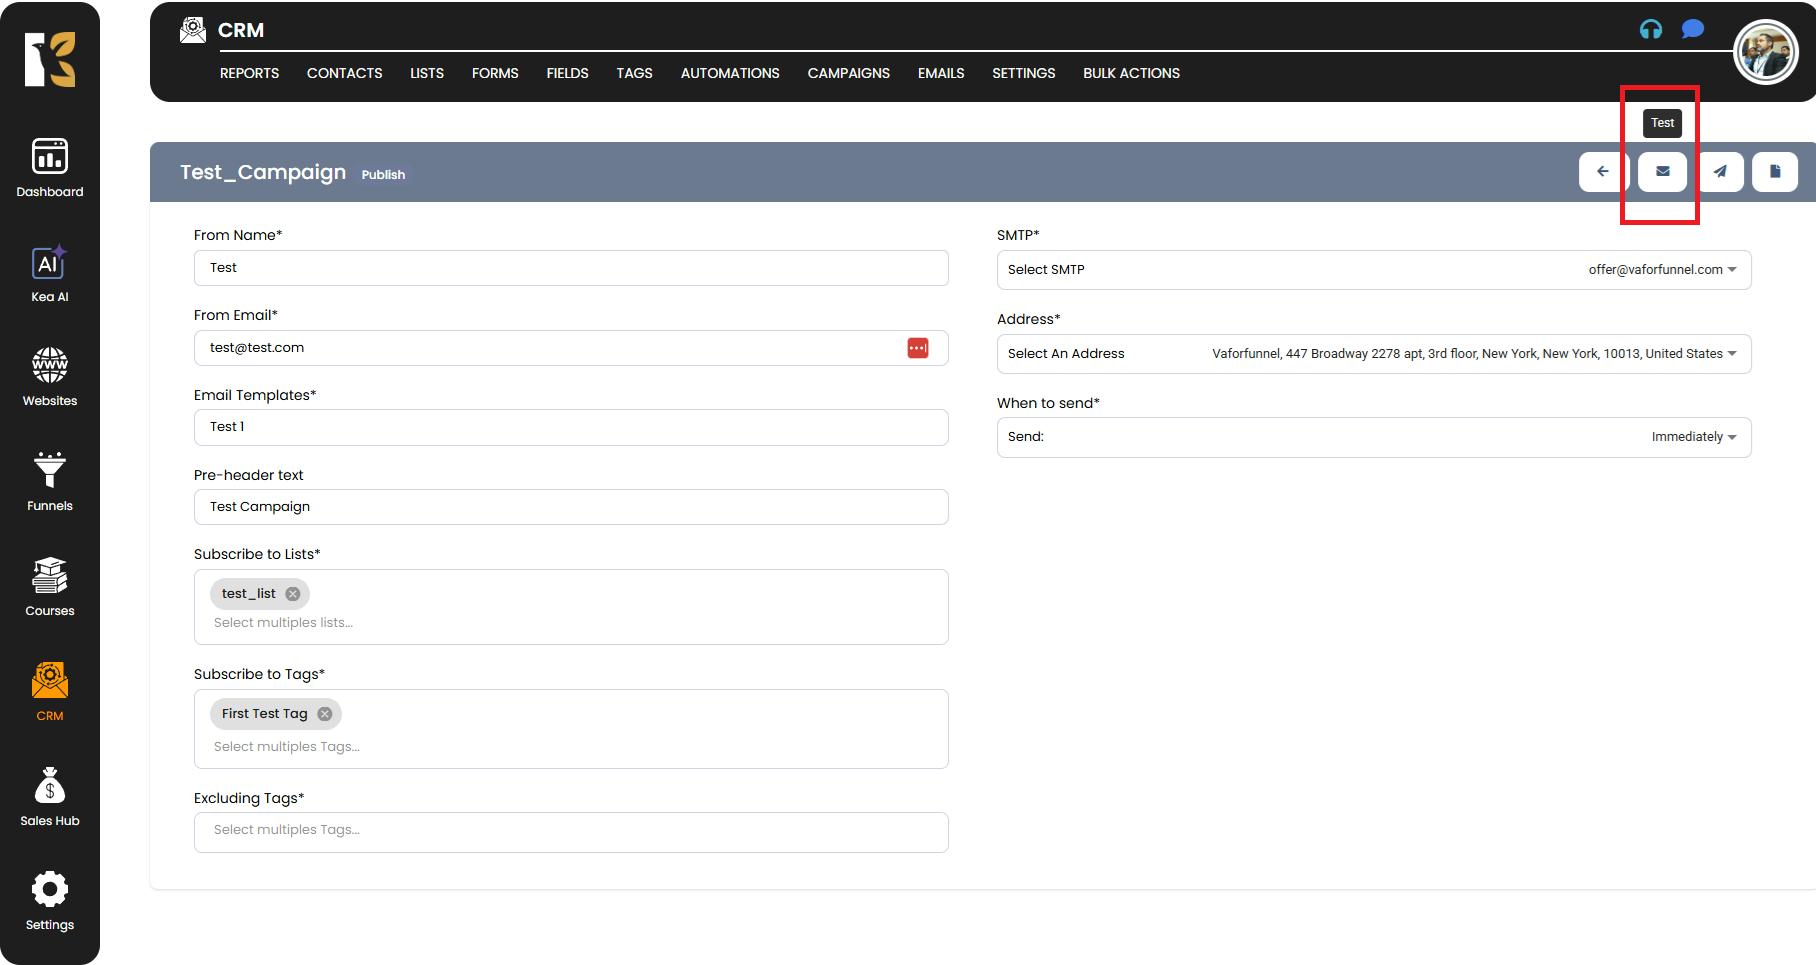
Step 4: Update the Campaign Details
After clicking the Edit icon, a new page will open showing the detailed configuration of your selected campaign. Here, you can modify various settings such as:
- From Name: Update the name displayed to recipients.
- From Email: Change the sender’s email address if required.
- Email Templates: Choose or update the email template used for this campaign.
- Pre-header Text: Edit the short preview text shown in inbox previews.
- Subscribers: Add or remove your subscribers by:
- Subscribe to List: Select the specific list of recipients.
- Subscribe to Tags: Add tags to target a specific audience.
- Exclude Tags: Remove unwanted segments from receiving this campaign.
- Select SMTP: Ensure the correct SMTP server is selected for sending the campaign.
- Address Information: Verify or update your company’s physical address if needed.
- Sending Options: Choose how and when to send your campaign:
- Immediately: Send right away.
- After Specific Timeframe: Schedule your campaign to go out at a later date or time.
- Recurring: Set up an automated recurring schedule.
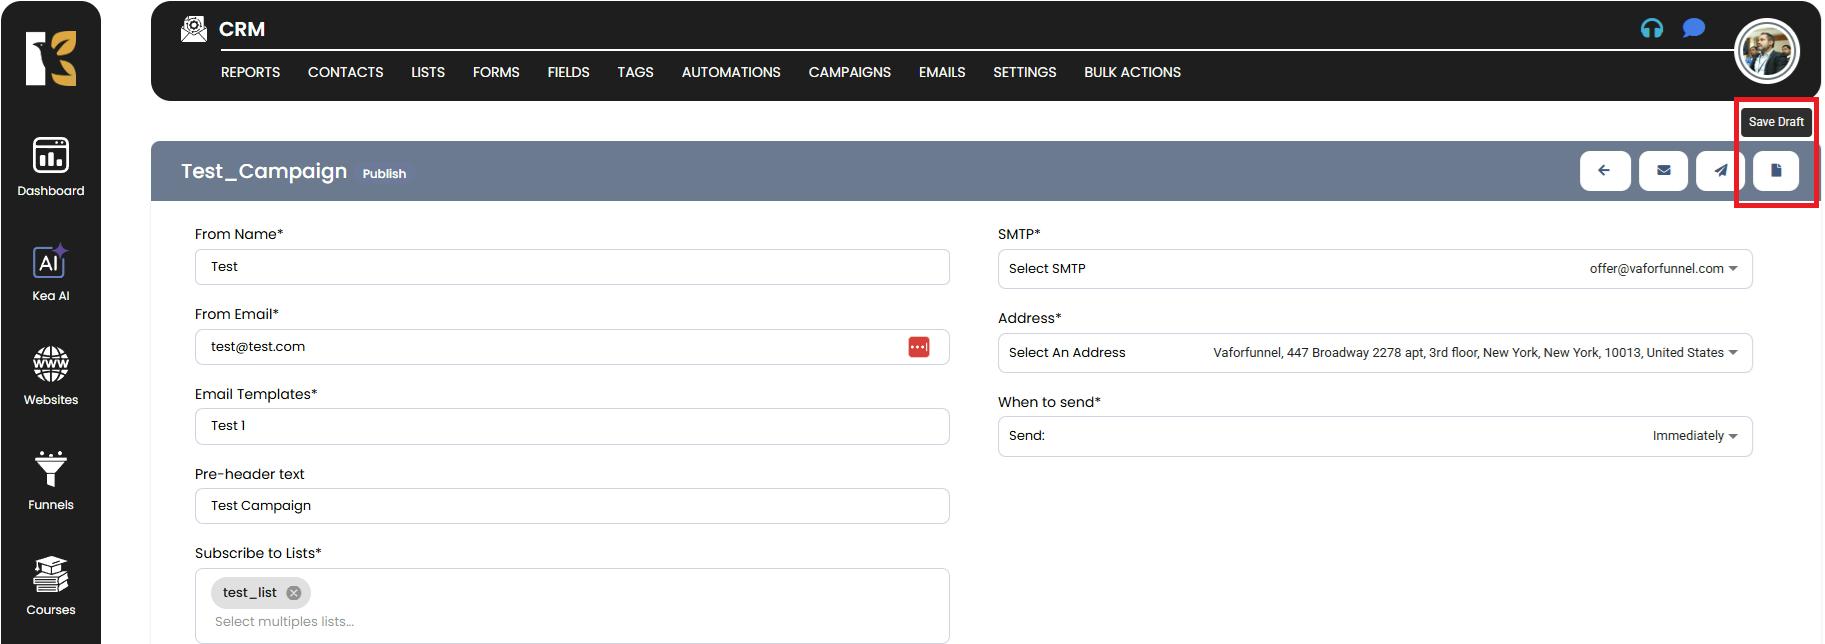
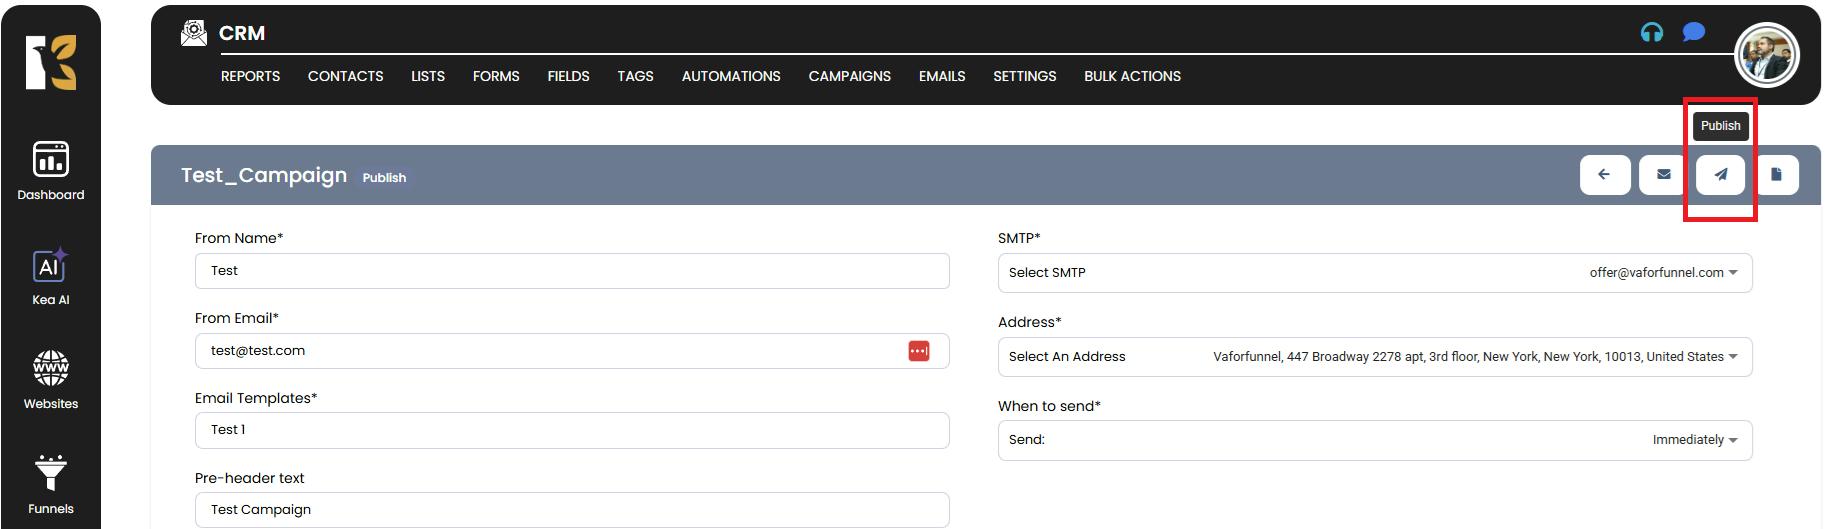
Step 5: Preview and Finalize
- Once you have made the necessary changes, you can send a test email to review how the email will look to your recipients.
- After reviewing, you have two options:
- Publish: Launch the updated campaign immediately or according to your selected schedule.
- Save as Draft: Save your edits without publishing so you can review or make further changes later.
Additional Tips
- Always double-check email templates and audience lists before finalizing the edits to avoid sending incorrect or incomplete information.
- Use the test email option to preview your email design and content before publishing.