How to Add an Image to an Email
Including images in your emails can boost engagement, improve readability, and help convey your message more effectively. However, it’s important to add images strategically and ensure they’re optimized for quick loading and compatibility.
This guide walks you through the steps to properly add an image to your email using the Email Builder.
👣 Step-by-Step Guide to Add an Image
🔹 Step 1: Open the CRM
Go to the side menu and click on the CRM option.

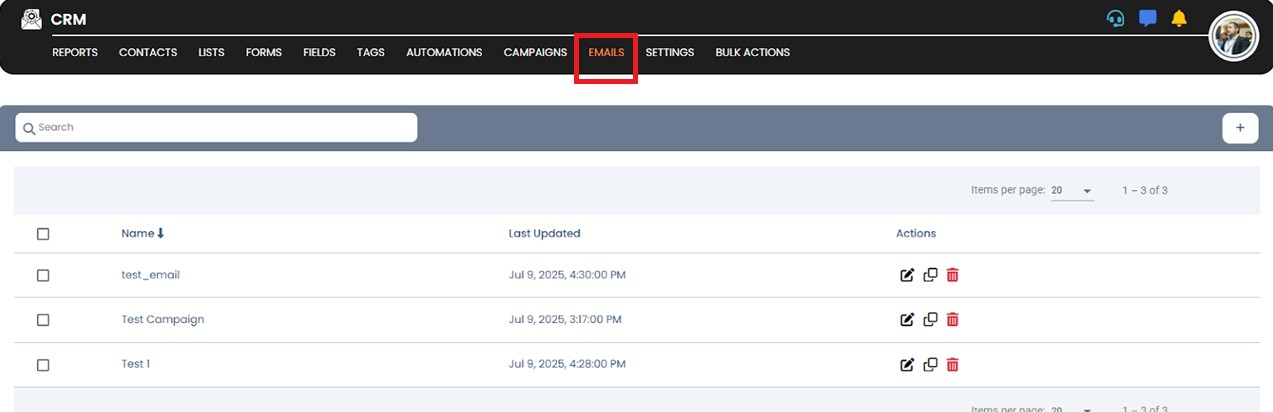
🔹 Step 2: Access the Emails Section
Click on the Emails button to open the email panel.
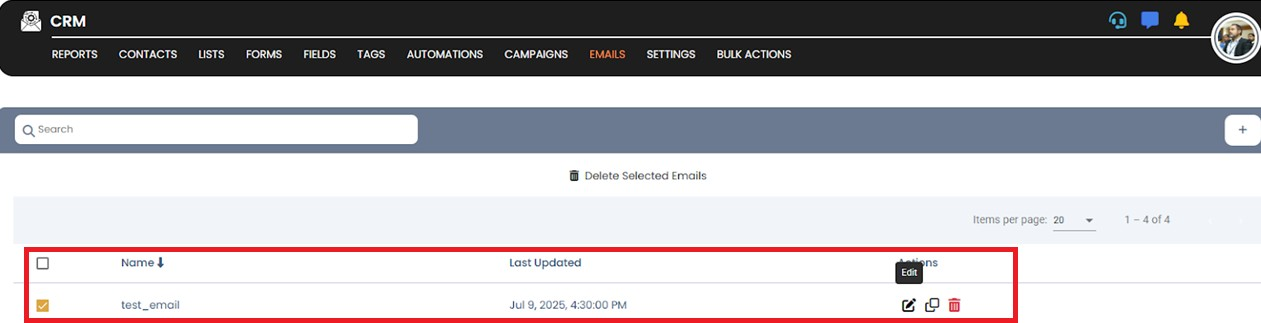
🔹 Step 3: Open the Email
Find the email you want to edit and click the Edit button.
🔹 Step 4: Go to the Email Builder
You’ll be redirected to the email builder where you can customize the content.
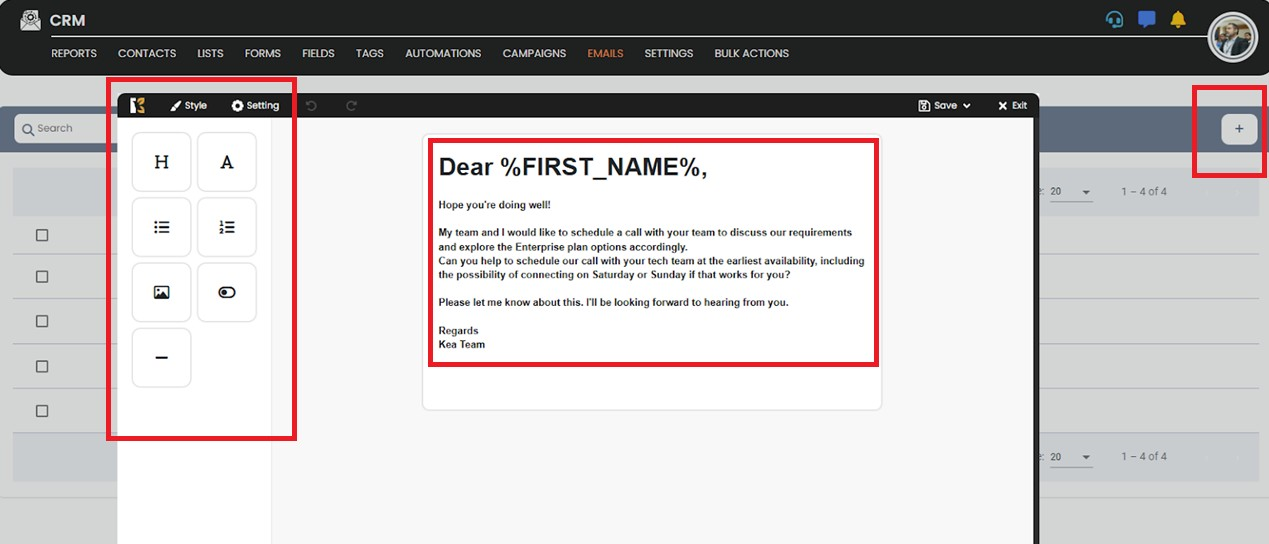
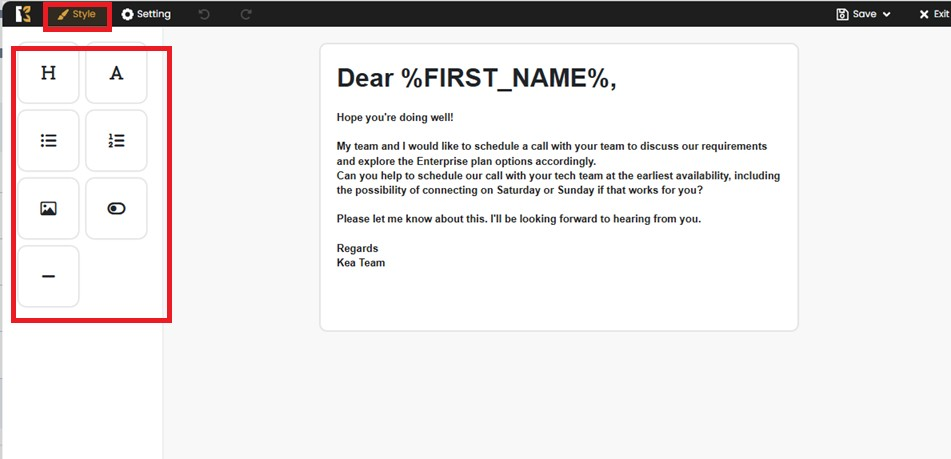
🔹 Step 5: Open the Elements Menu
Click on the Style tab in the top horizontal menu of the builder.
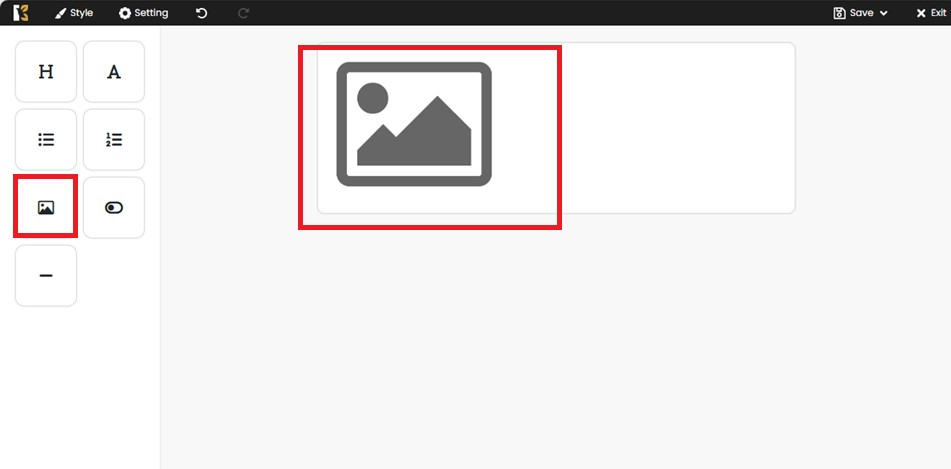
🔹 Step 6: Choose the Image Element
From the list of elements, click on the Image icon.
🔹 Step 7: Upload Your Image
Click on the image icon and go to edit.
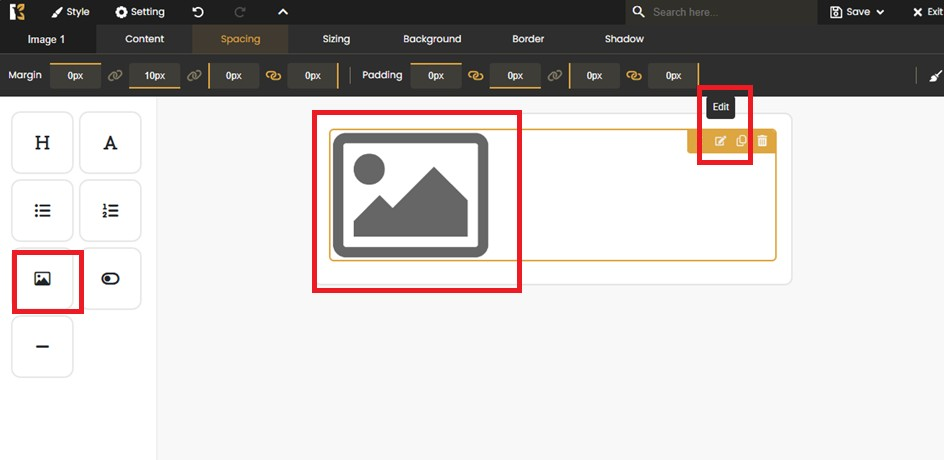
Multiple options will come up like Content, Spacing, String, Background, Border, Shadow, etc.
Click on Content, then there will be an option to click “Add+”.
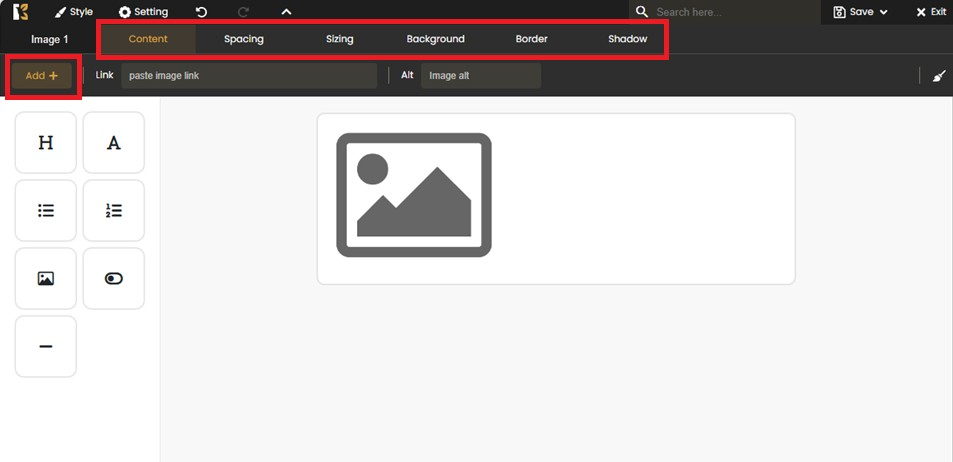
Click the Upload button to browse and select an image from your device.
📁 Your uploaded images will appear next to the upload icon for easy access.
🔹 Step 8: Add the Image to Your Email
Drag the selected image from the panel and drop it at your desired location in the email layout.

✅ Tip:
Ensure your image is:
- Under 1MB in size for fast loading
- Properly named for clarity (e.g.,
product-banner.jpg) - Aligned and sized appropriately for mobile responsiveness