How to Edit Your Funnel Name in Kea Builder
Changing your funnel name is quick and easy with Kea Builder. Whether you want to rename it for better organization or rebrand your funnel entirely, you can update the name in just a few steps. Follow this detailed guide to edit your funnel name effortlessly.
Steps to Edit Your Funnel Name
-
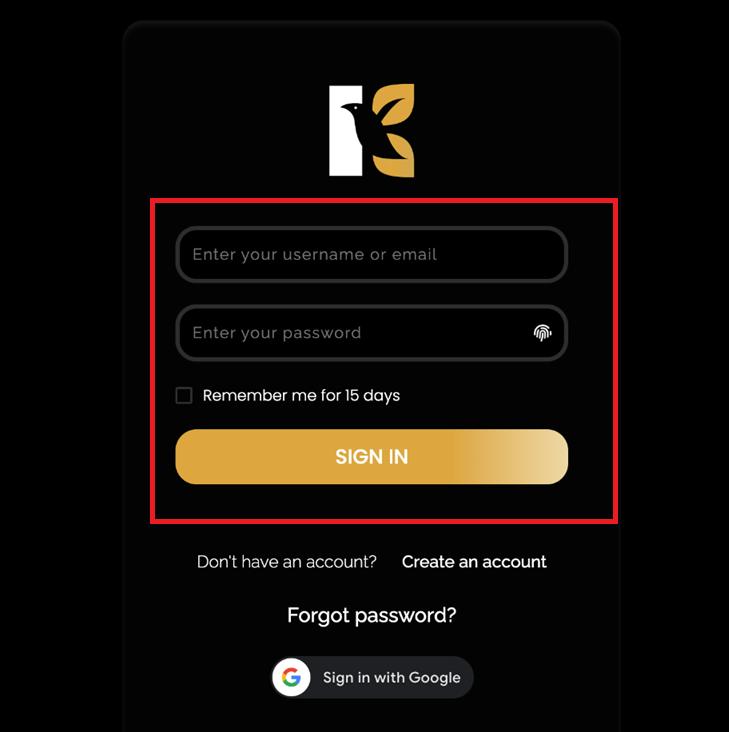
Step 1: Log in to Kea Builder
Go to KeaBuilder.com and log in with your credentials.
Once logged in, you will land on your Dashboard, where all your projects and funnels are managed.
-
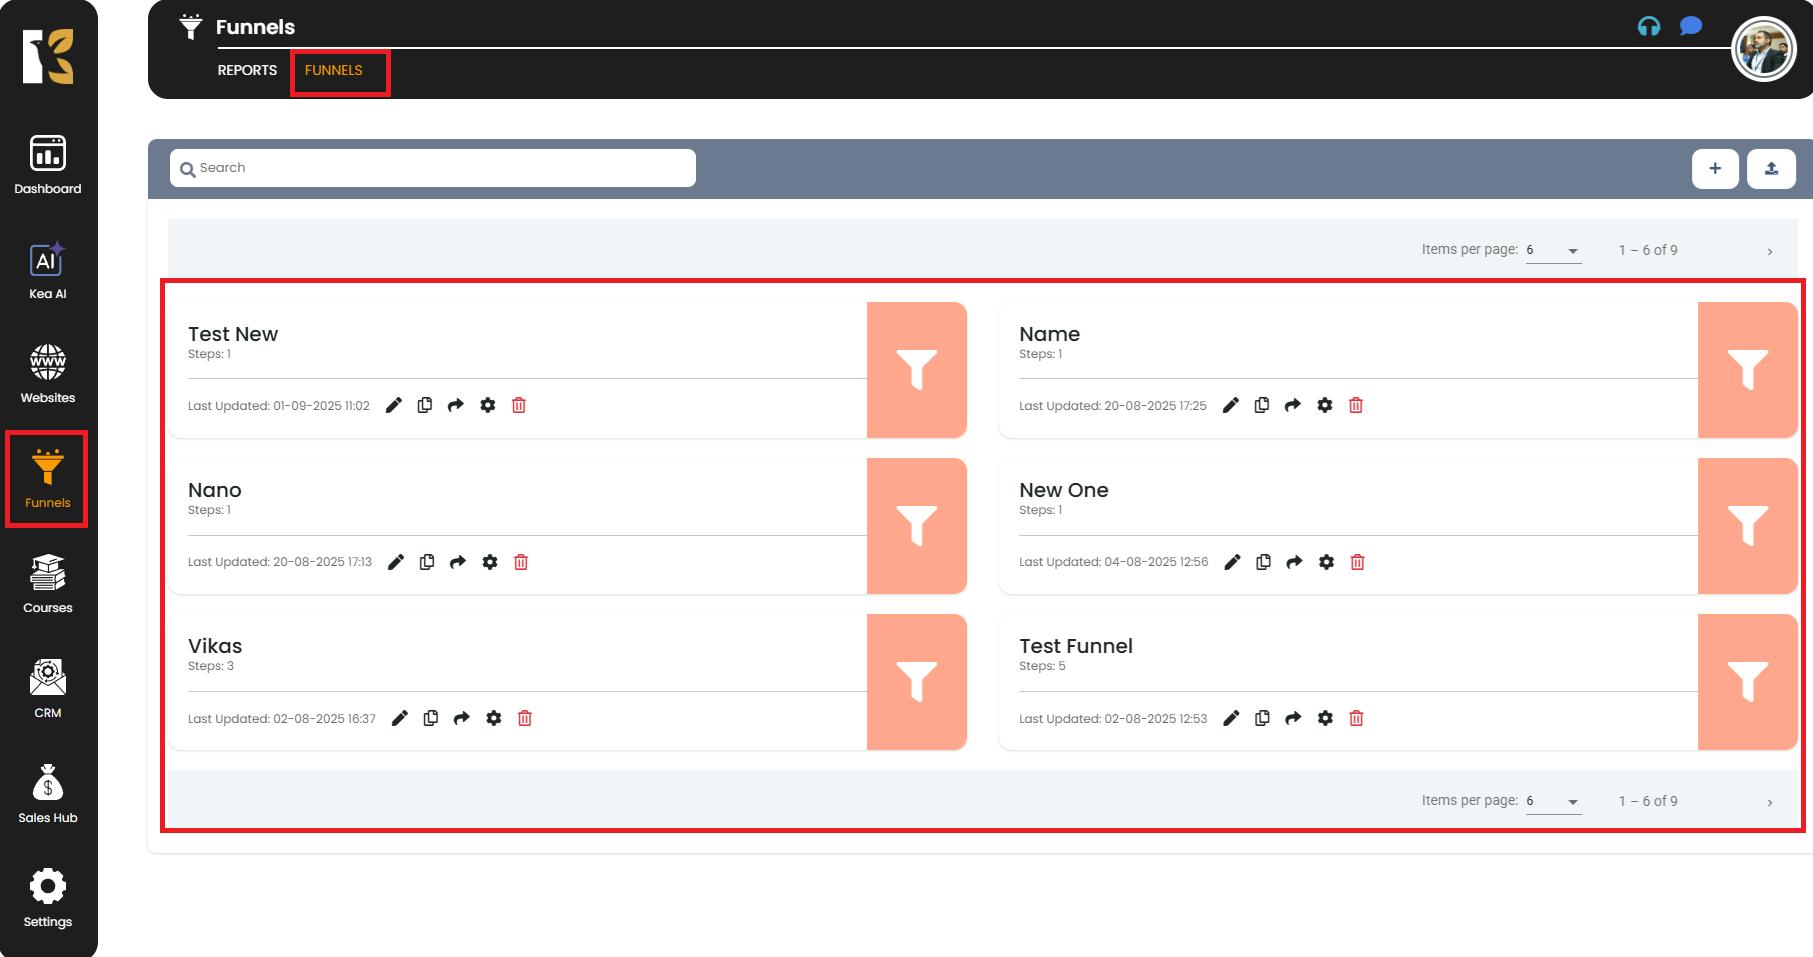
Step 2: Navigate to Funnels
On the left-hand sidebar menu of your Dashboard, locate and click the “Funnels” option.
This will open a list displaying all the funnels you have designed within Kea Builder.
-
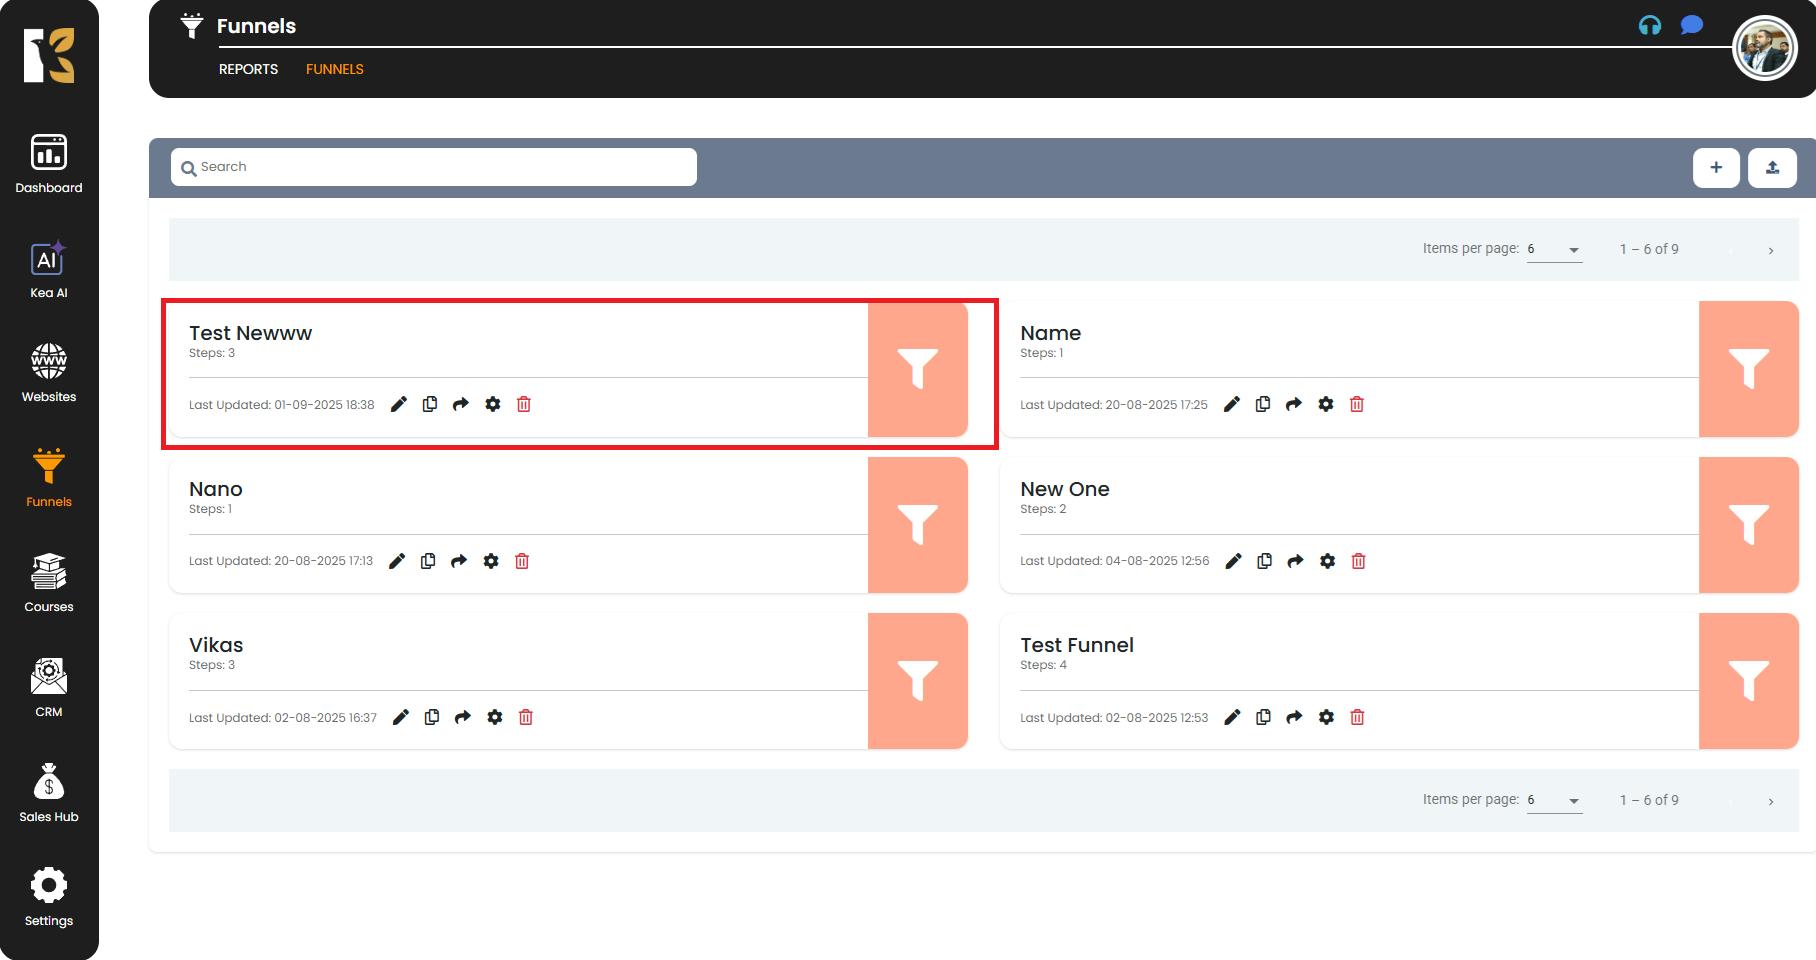
Step 3: Select the Funnel You Want to Edit
From the list of funnels, choose the funnel whose name you want to change.
Simply click on the funnel name to proceed.
-
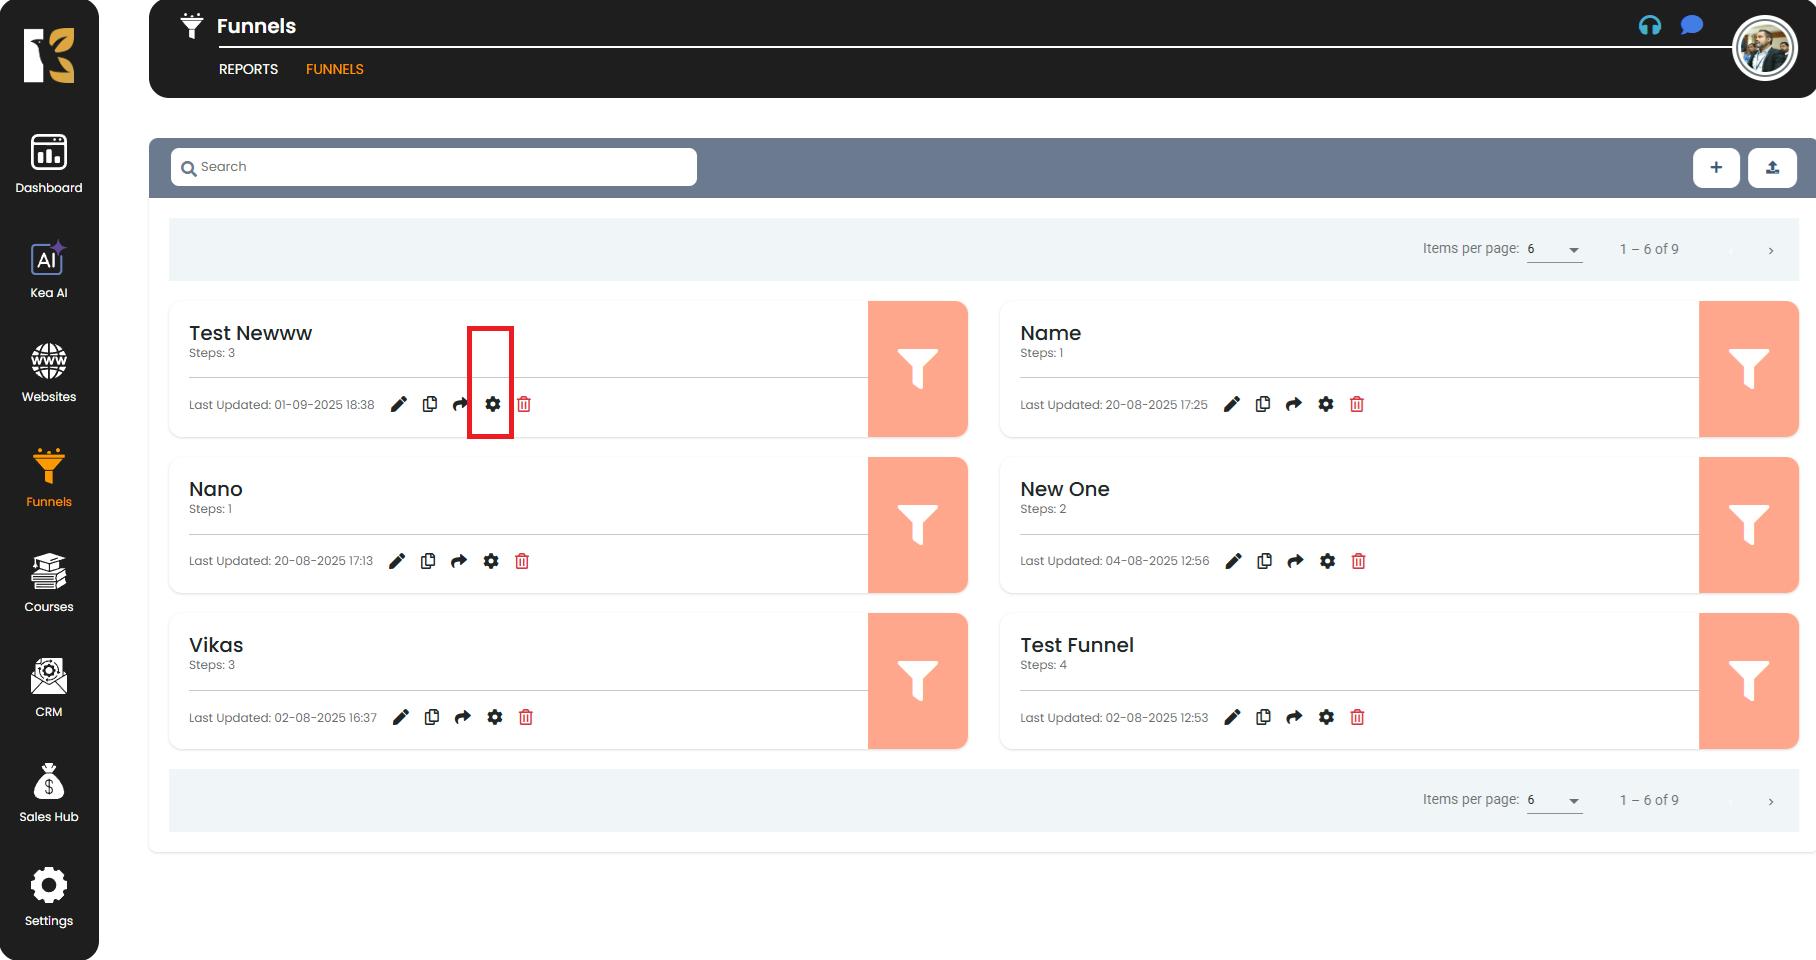
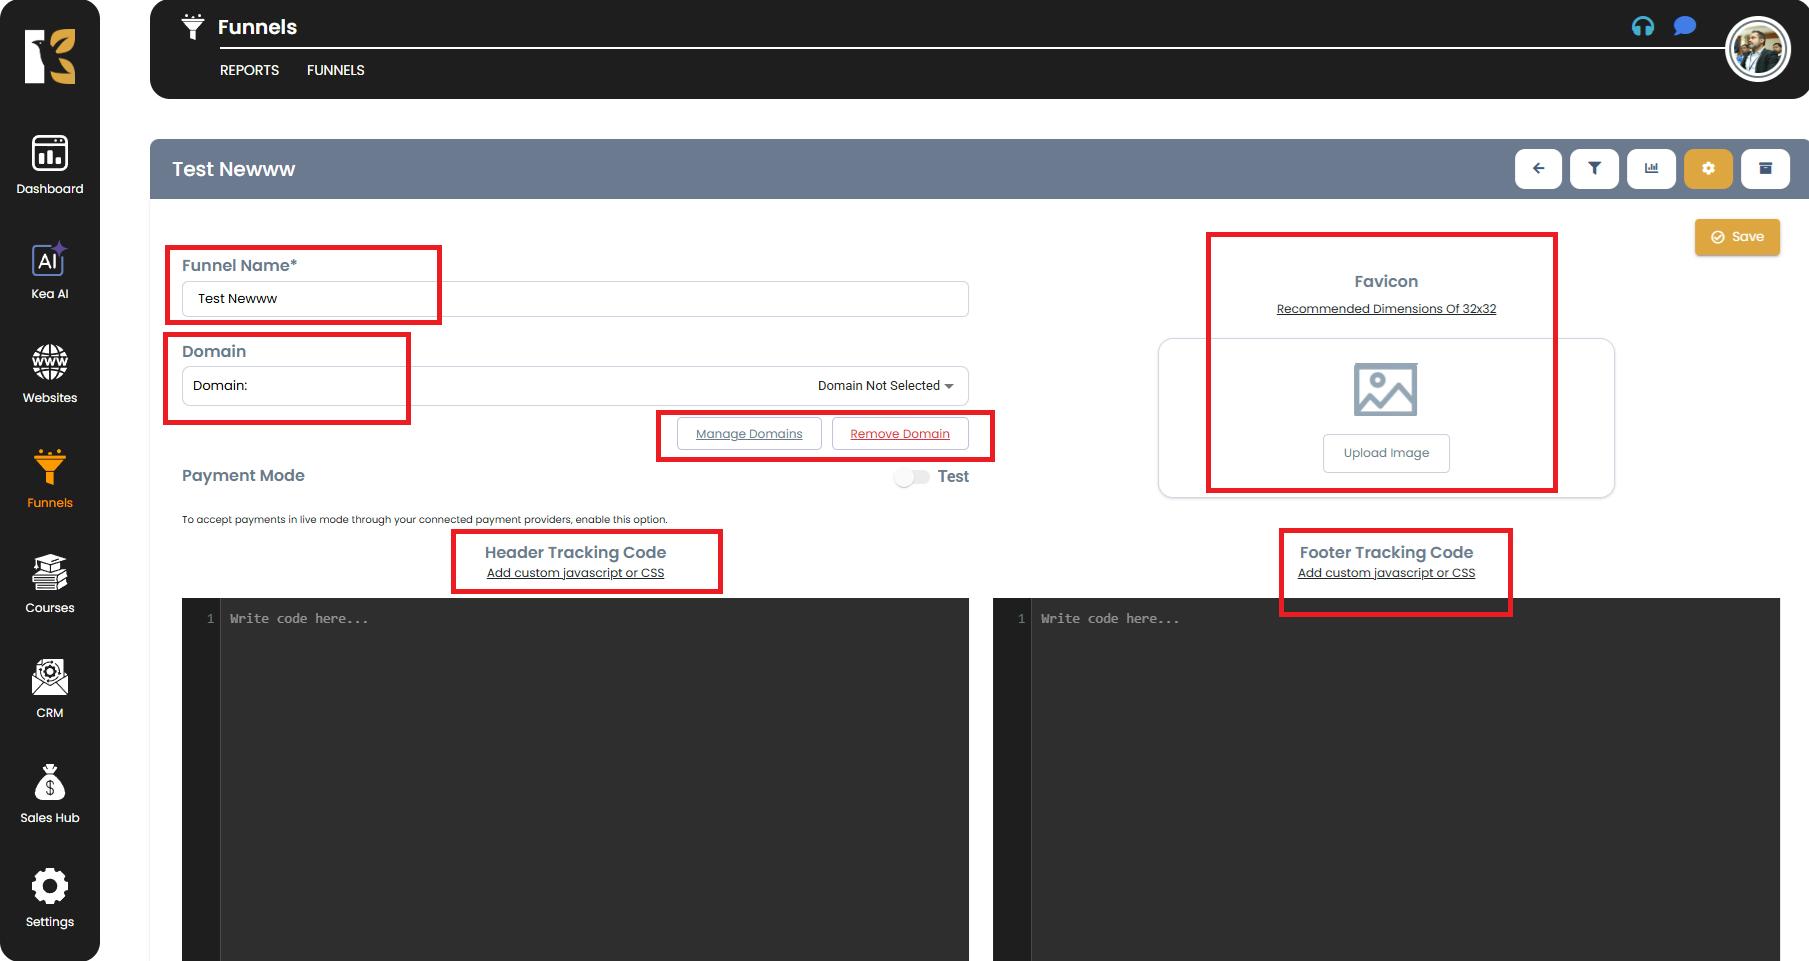
Step 4: Access Funnel Settings
Once you’ve selected the funnel, look for the “Settings” option or the settings icon (⚙️) next to the funnel.
Click it to be redirected to the Funnel Settings page.
-
Step 5: Update Your Funnel Name
On the Funnel Settings page you will see multiple customization options, for example:
- Funnel Name
- Domain
- Favicon
- Header & Footer Tracking Code
- Manage Domain
Locate the Funnel Name field.
Enter the new name for your funnel in the provided text box.
-
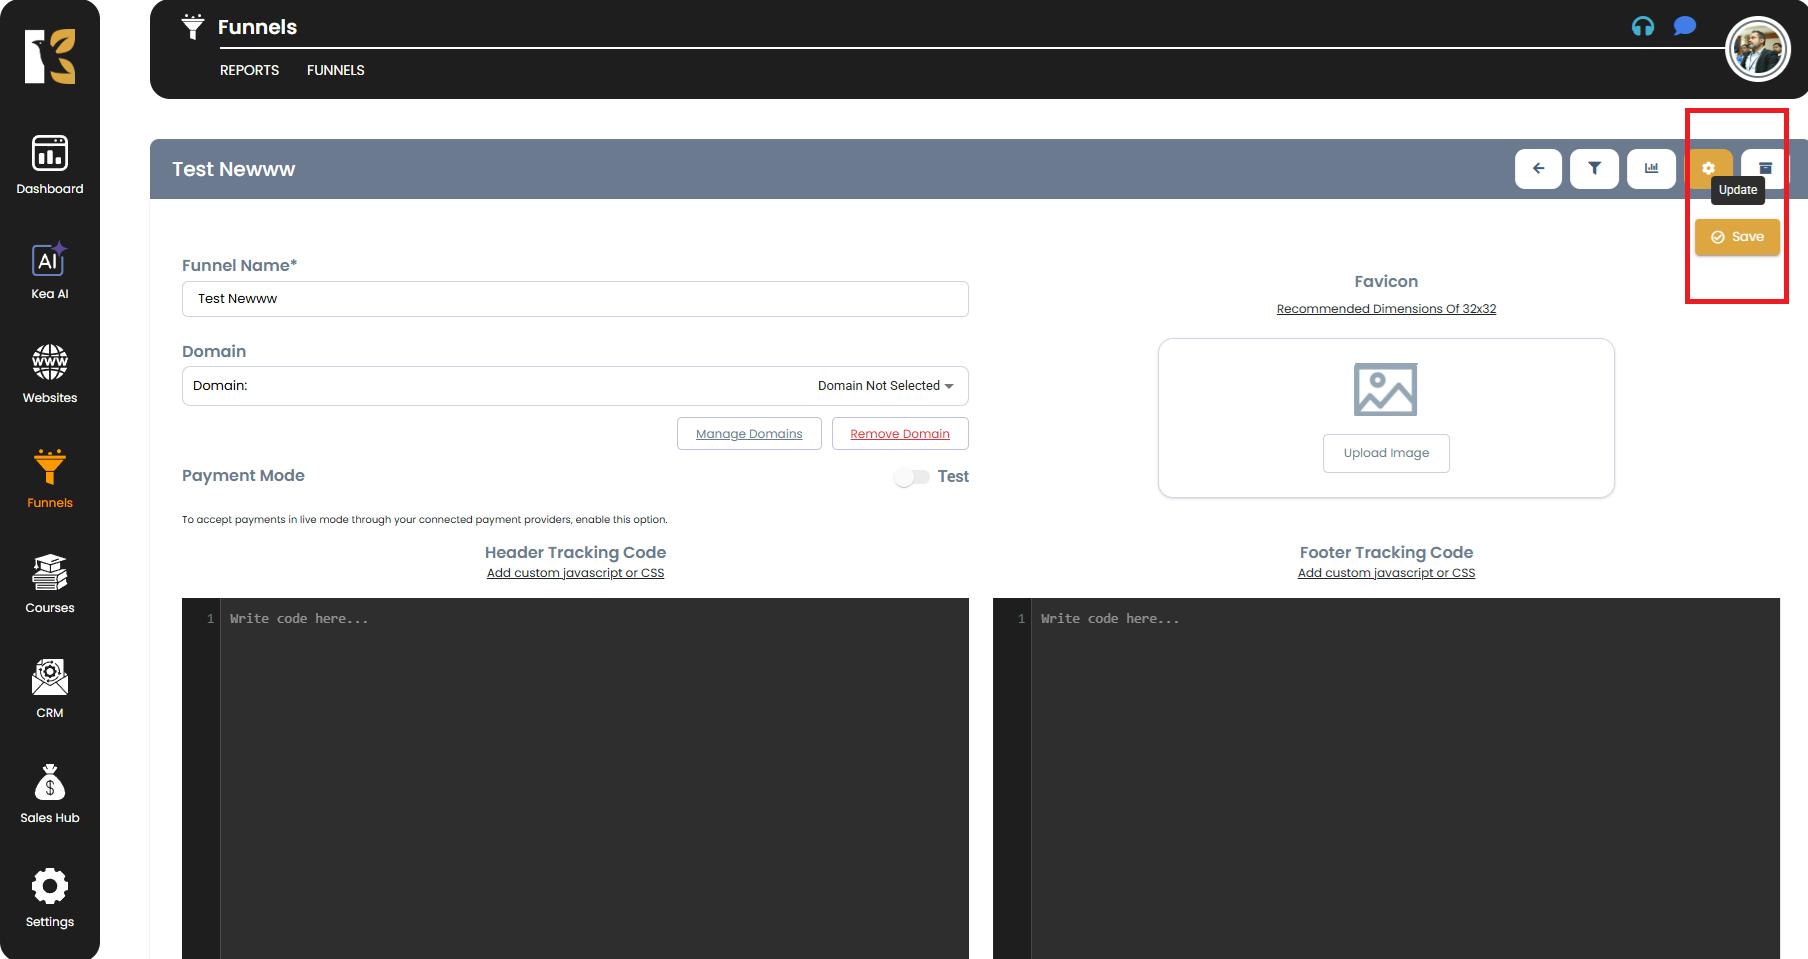
Step 6: Save the Changes
After entering the updated name, click the Save button (usually at the right side of the page).
Kea Builder will save your changes instantly.
-
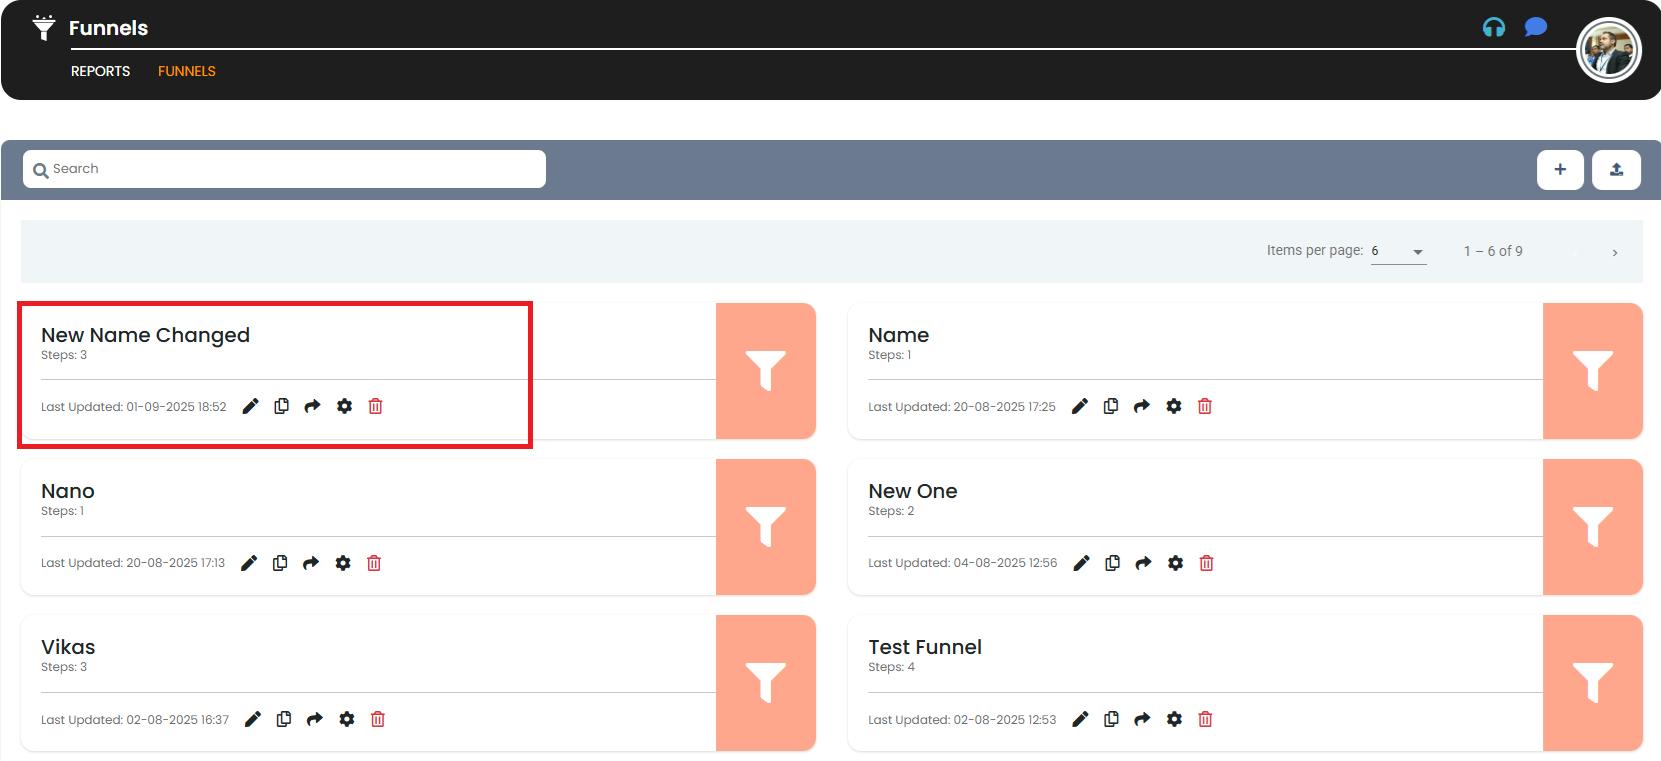
Step 7: Review Your Changes
Once saved, you can navigate back to your funnel list or funnel workspace to confirm the updated name.
Your funnel will now appear with its new name across the dashboard and funnel settings.
Quick Tips 💡
- Keep funnel names descriptive: This helps you easily identify them later.
- If your funnel is linked to a custom domain, ensure your changes don’t conflict with domain naming.
- Double-check the updated name before saving to avoid confusion.