How to Manage Your Domain in KeaBuilder
Managing your domain in KeaBuilder allows you to configure or update your domain settings such as DNS records, hosting values, or other technical requirements. This is essential to ensure your website, funnel, or membership pages are correctly connected and accessible through your custom domain.
Step-by-Step Guide
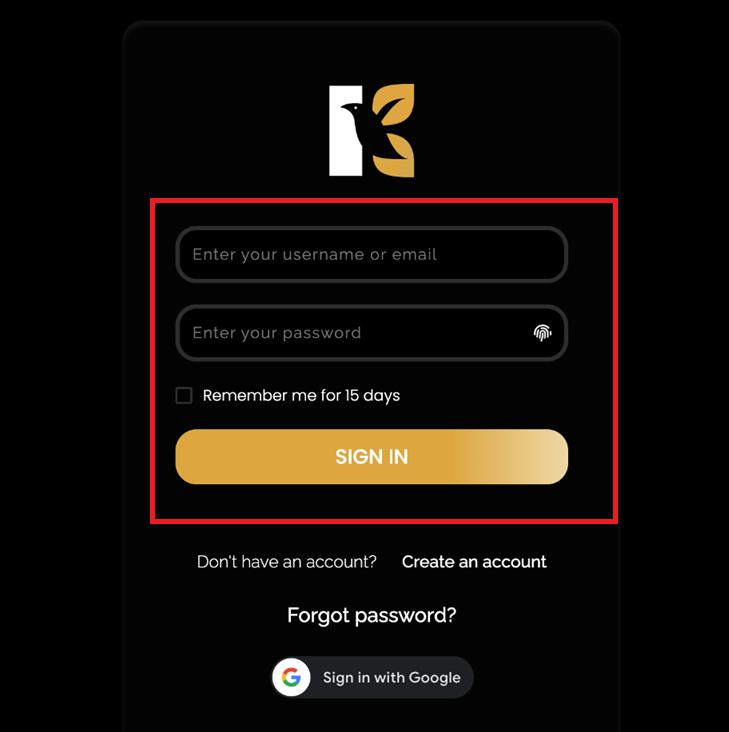
Login to KeaBuilder - Log in to your KeaBuilder account.
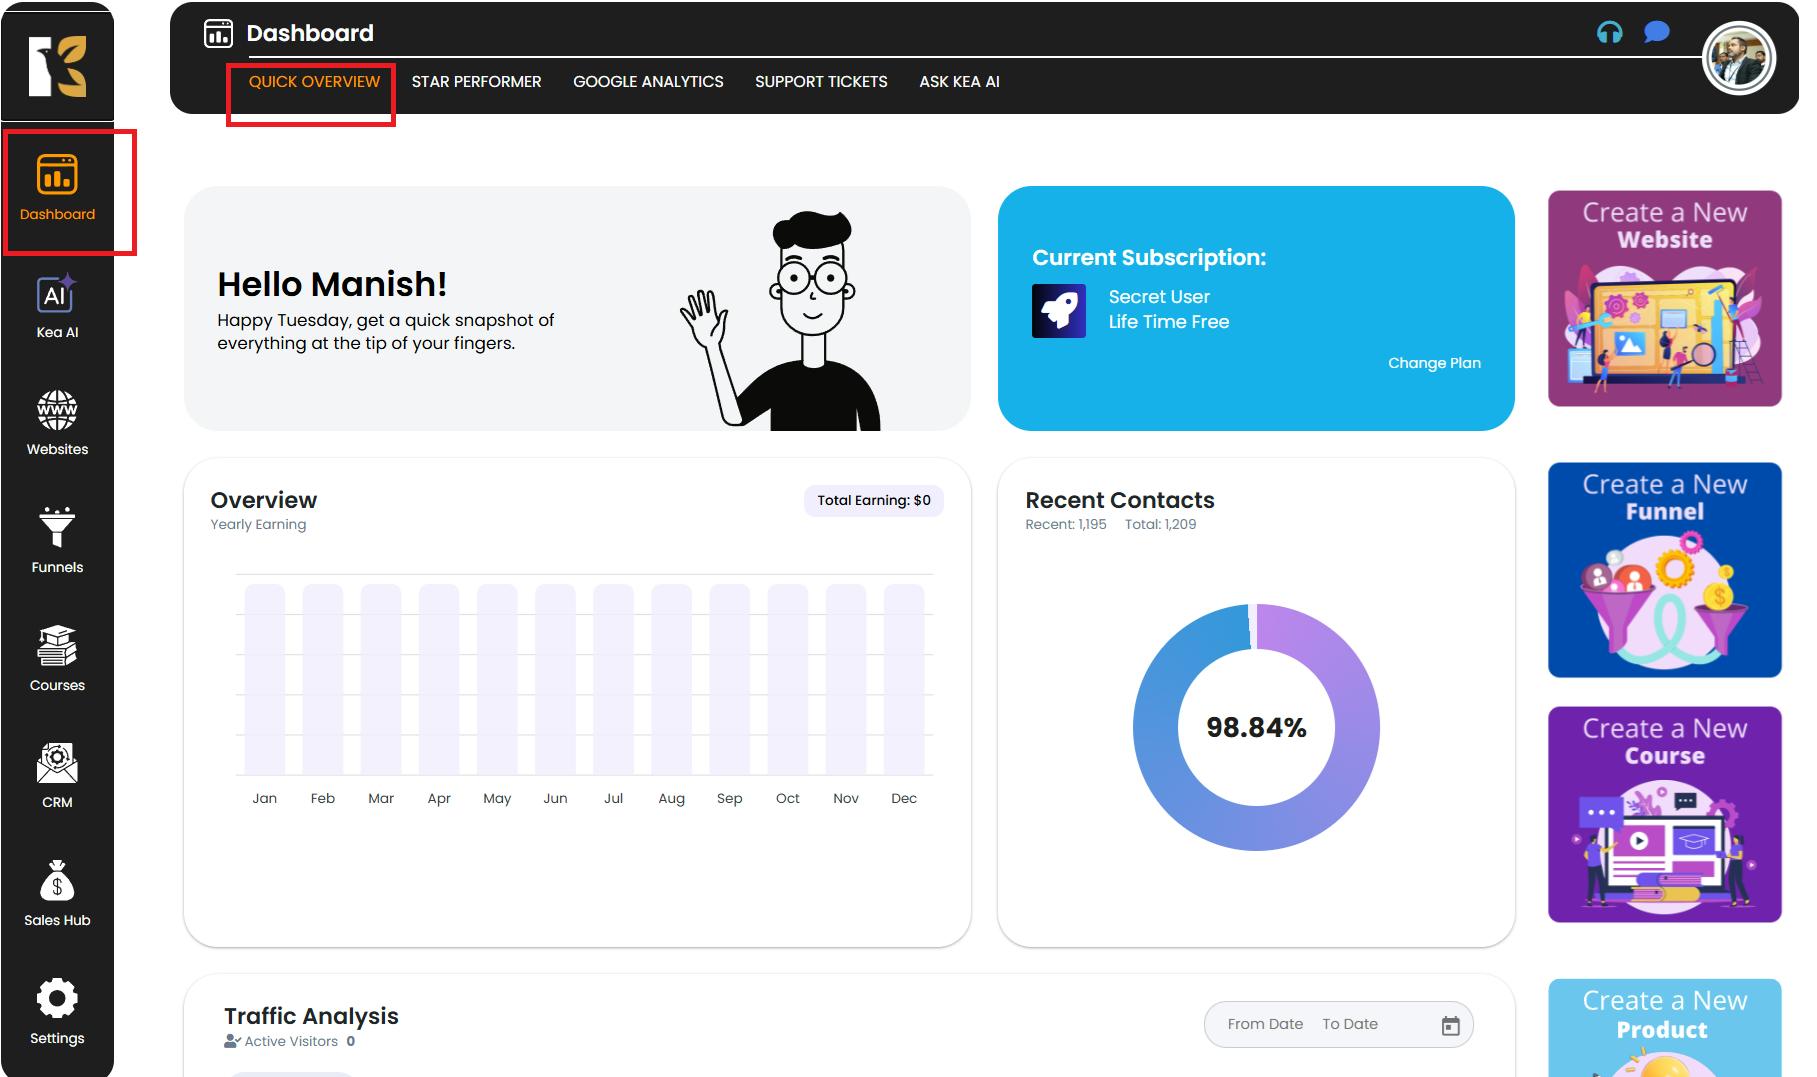
- You will land on the Main Dashboard.
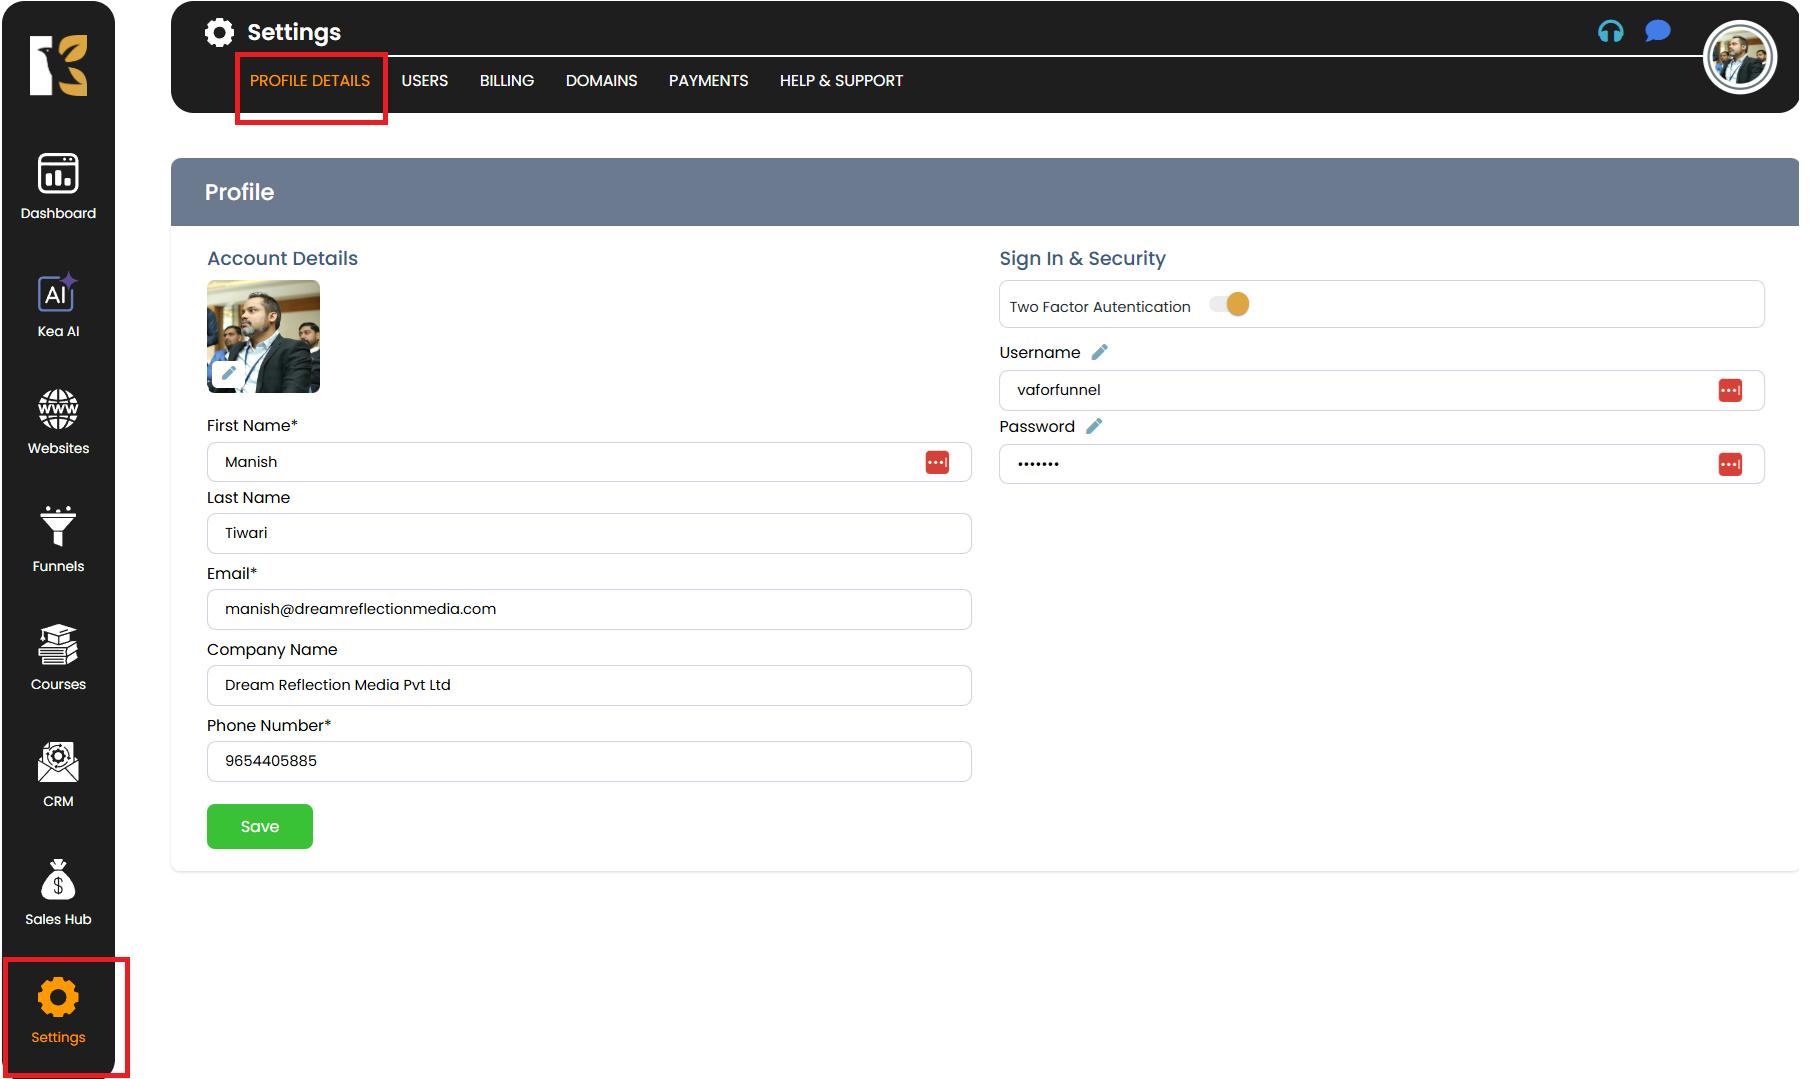
Go to Settings
- From the Vertical Menu & on the left, scroll down to Settings.
- Click on it to open your Profile Details & page where your user information is visible.
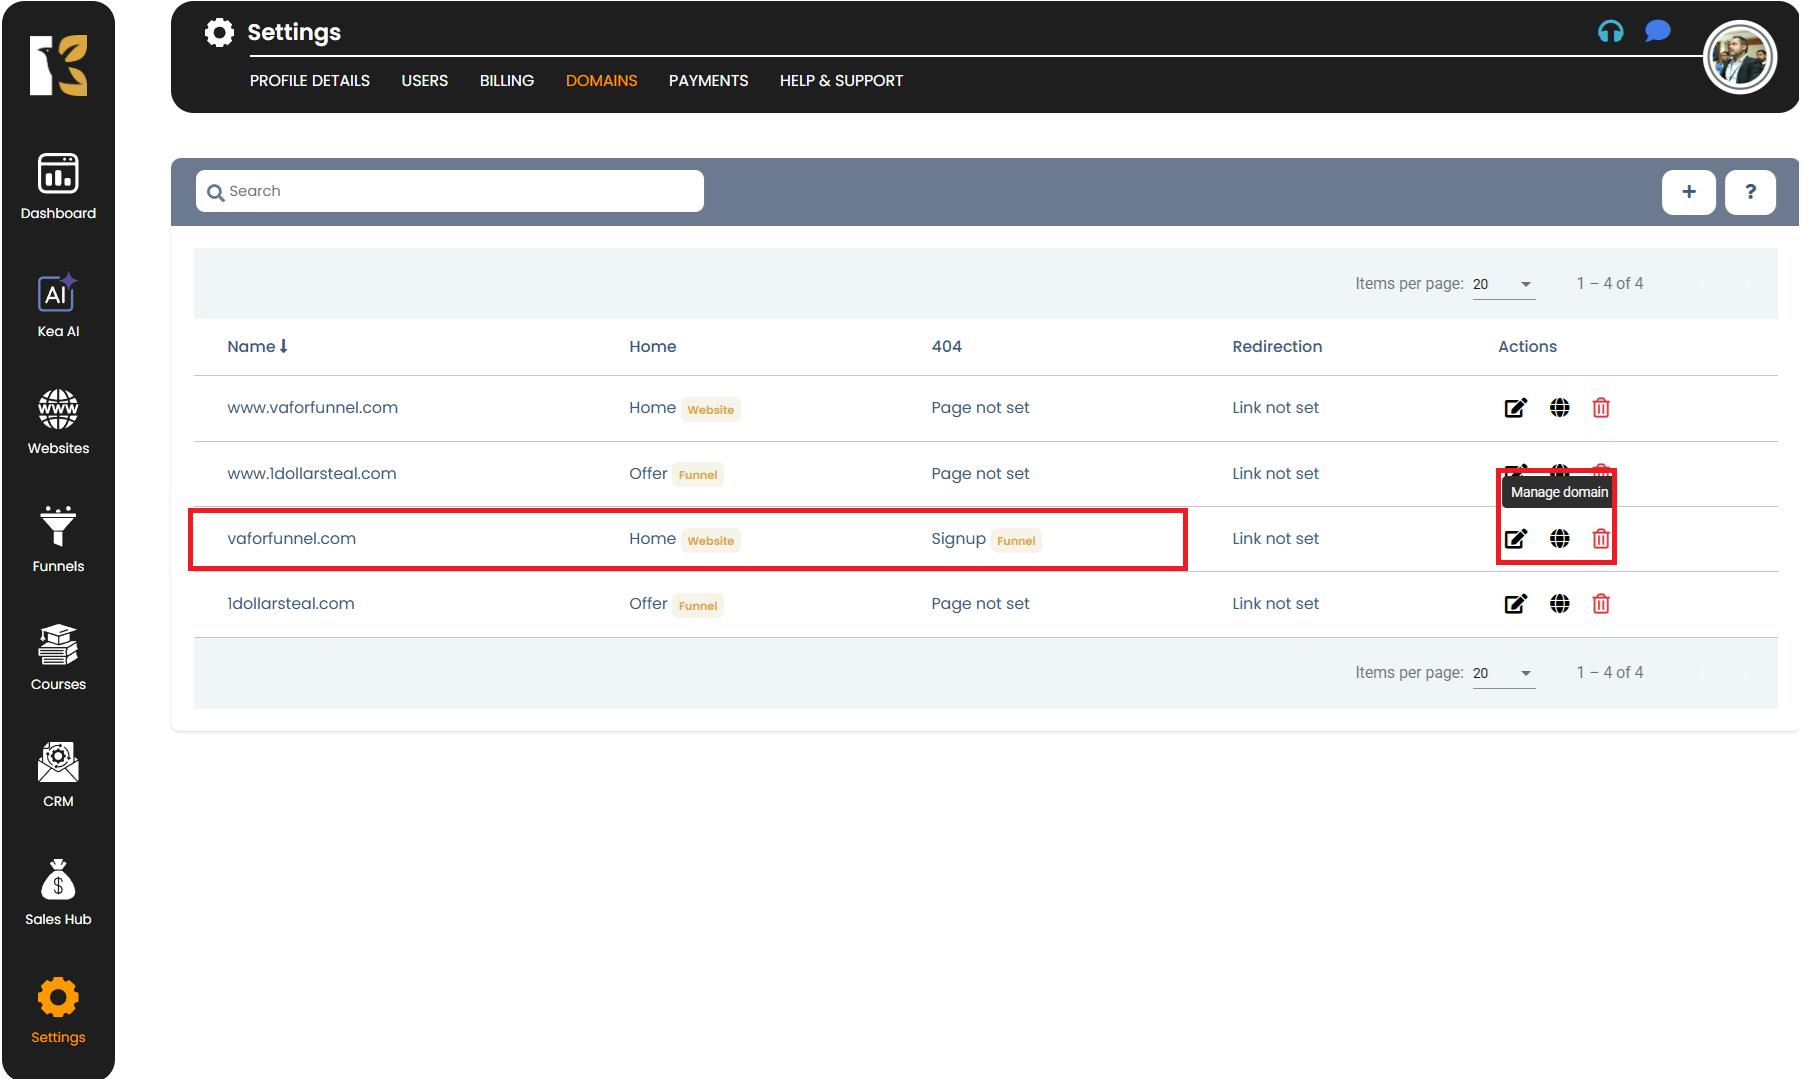
Open Domains Section
- From the Horizontal Menu & at the top, click on Domains.
- This will redirect you to the Domains Page , where you can view all domains you have added to your account.

Select and Manage the Domain
- Locate the domain you want to manage & from the list.
- Towards the extreme right, click on the Manage (Globe Icon).
- You’ll be redirected to a page with instructions to log in to your Domain Service Provider (third-party application).
Enter Domain Records
- On the page, you’ll find instructions to add/update the following information at your domain registrar:
- Record Type & (A, CNAME, TXT, etc.)
- Host
- Required Value / Destination
- Proxy Status & (if applicable)
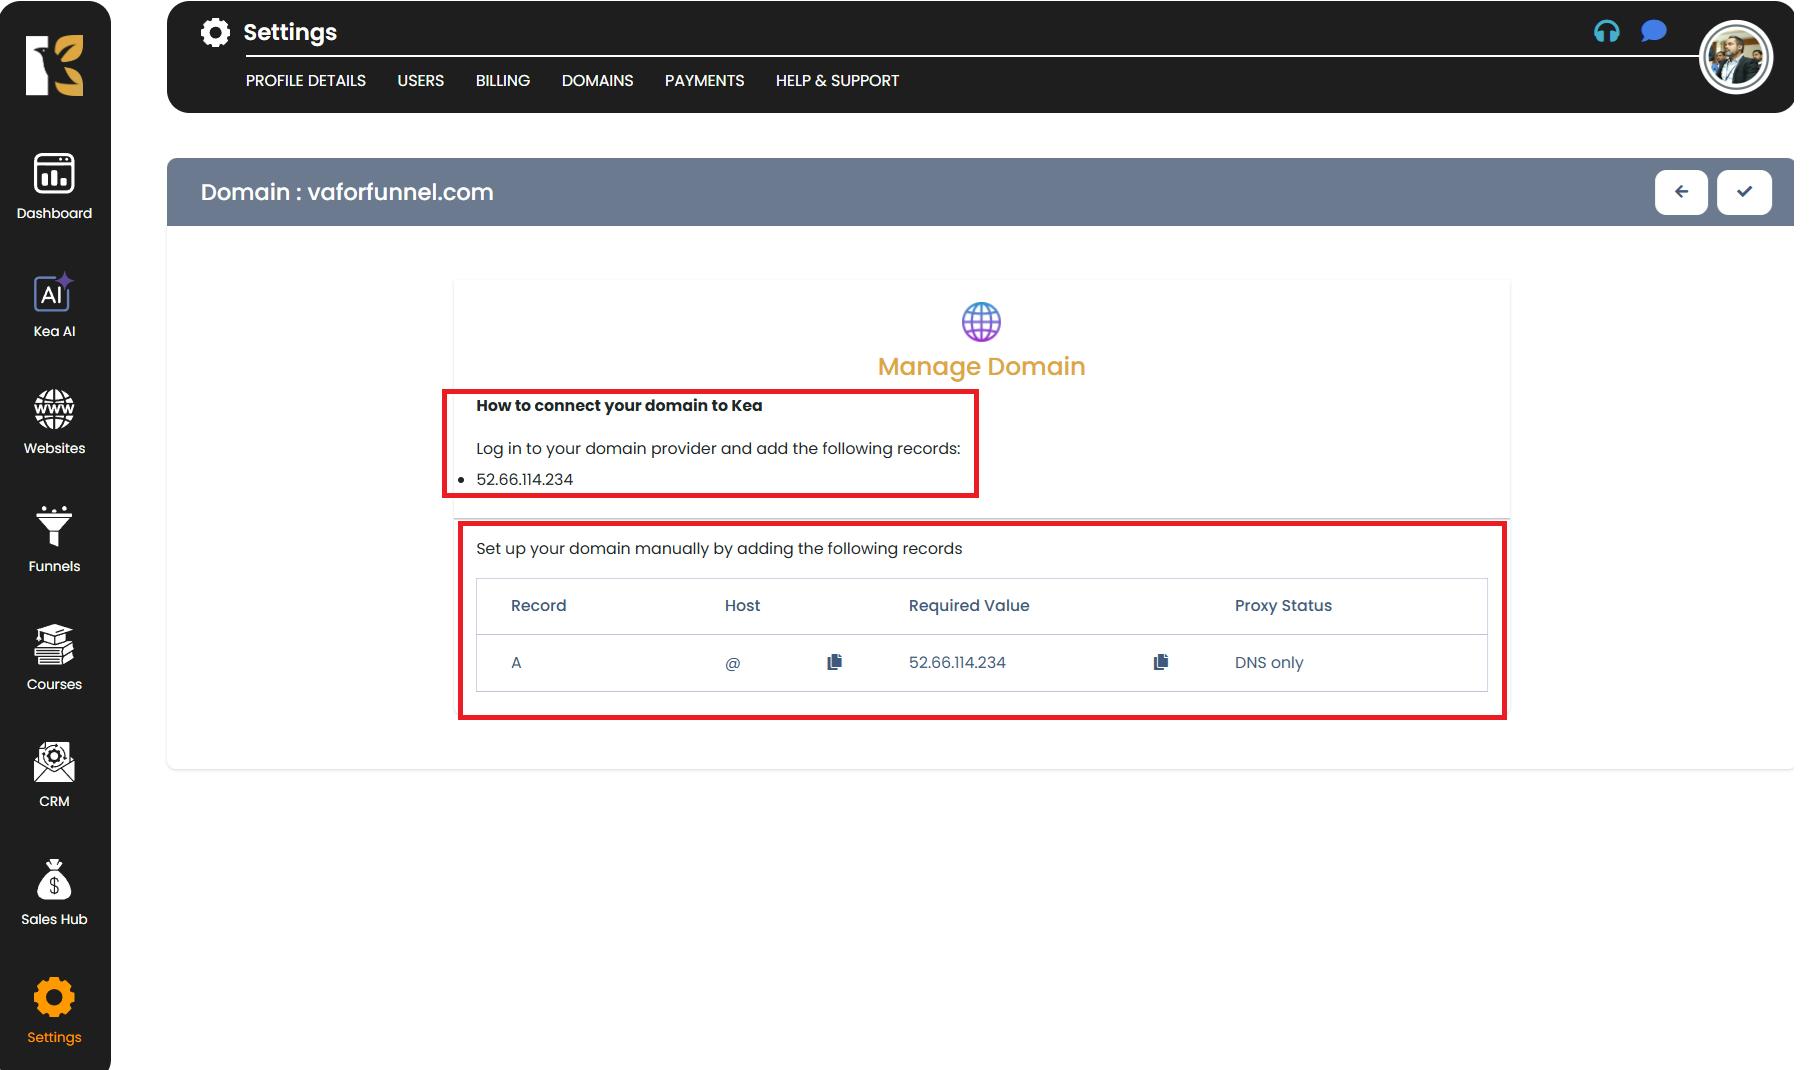
- After entering these details into your domain service provider, your domain will be connected and managed successfully.
Pro Tips for Managing Your Domain
- Keep your DNS records & handy before making changes—this will help avoid misconfiguration.
- Double-check the Record Type & (A, CNAME, TXT) before saving to ensure proper connection.
- Changes to DNS records can take up to 24–48 hours & to propagate across the internet.
- If you’re unsure about which values to add, reach out to KeaBuilder support or your domain registrar’s support team for clarification.
- Always test your domain after updating to confirm it’s correctly connected.