How to Customise a Menu in KeaBuilder
KeaBuilder gives you complete control over your website navigation, allowing you to edit, rename, and add custom links to your menus effortlessly. Whether you’re updating page names, changing URLs, or adding new items, customizing your menus ensures your website stays organized and user-friendly.
Step-by-Step Guide to Customising a Menu
- Login to Your KeaBuilder Account
- Visit www.keabuilder.com and click on Login.
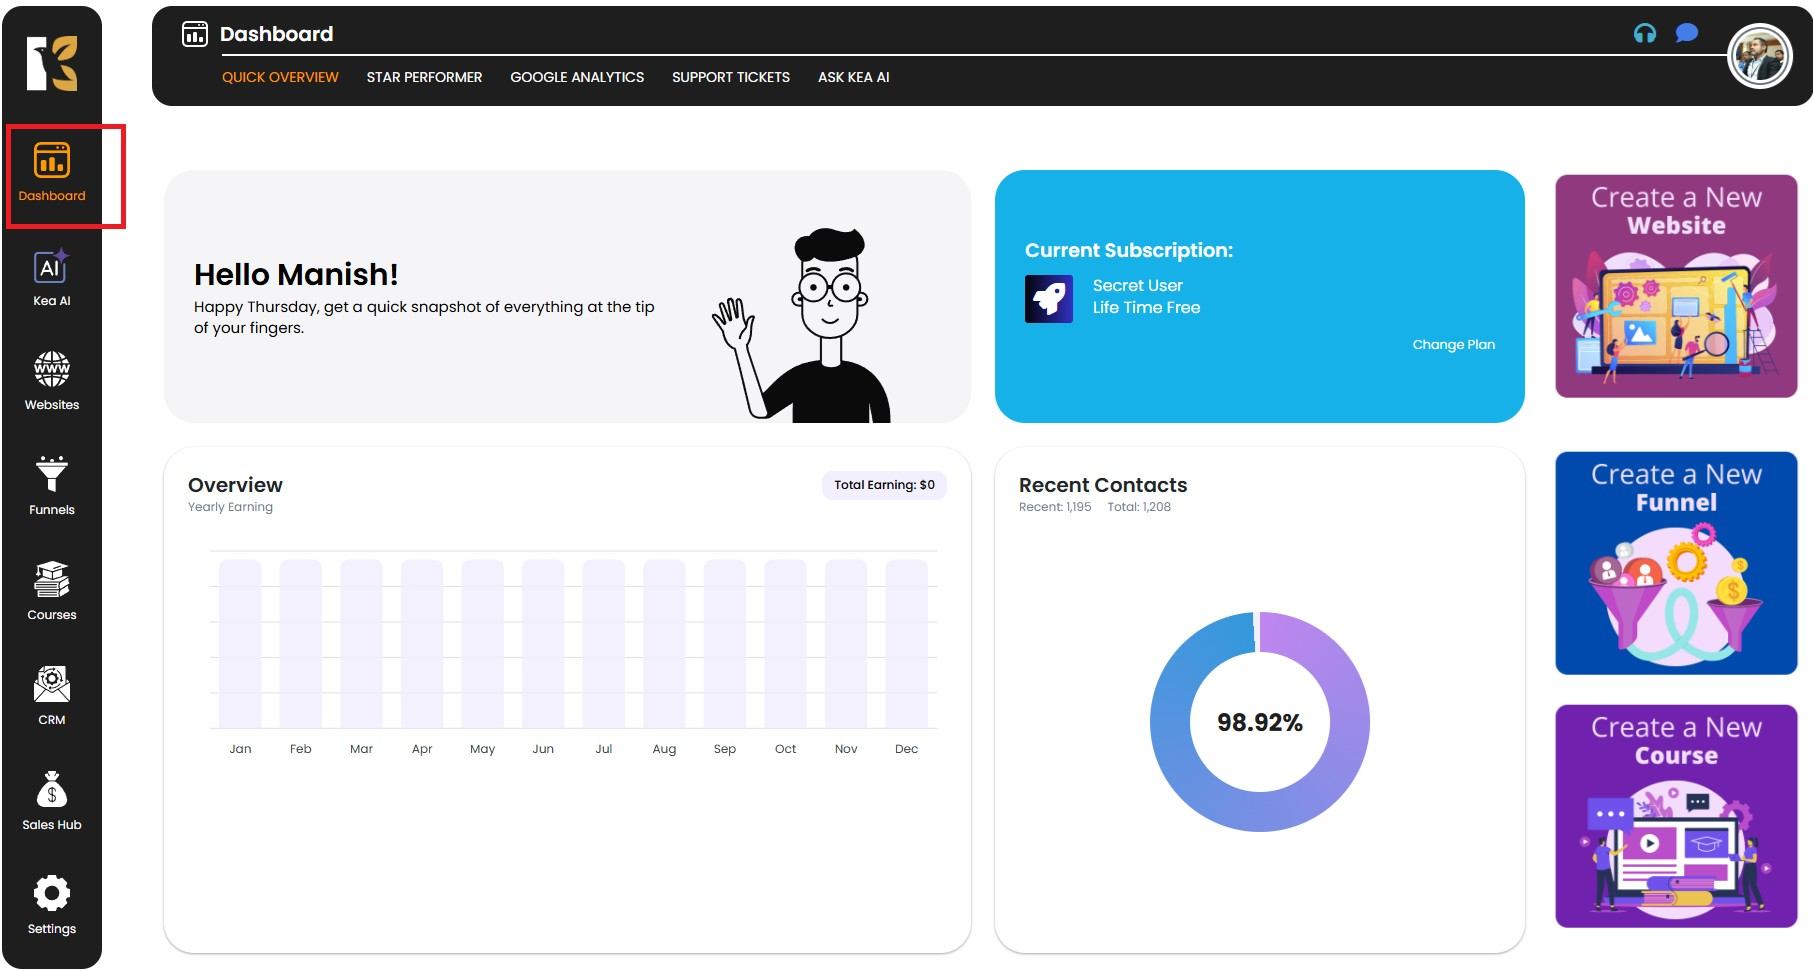
- Enter your credentials and you’ll be taken to the Main Dashboard.
- Navigate to the Website Section
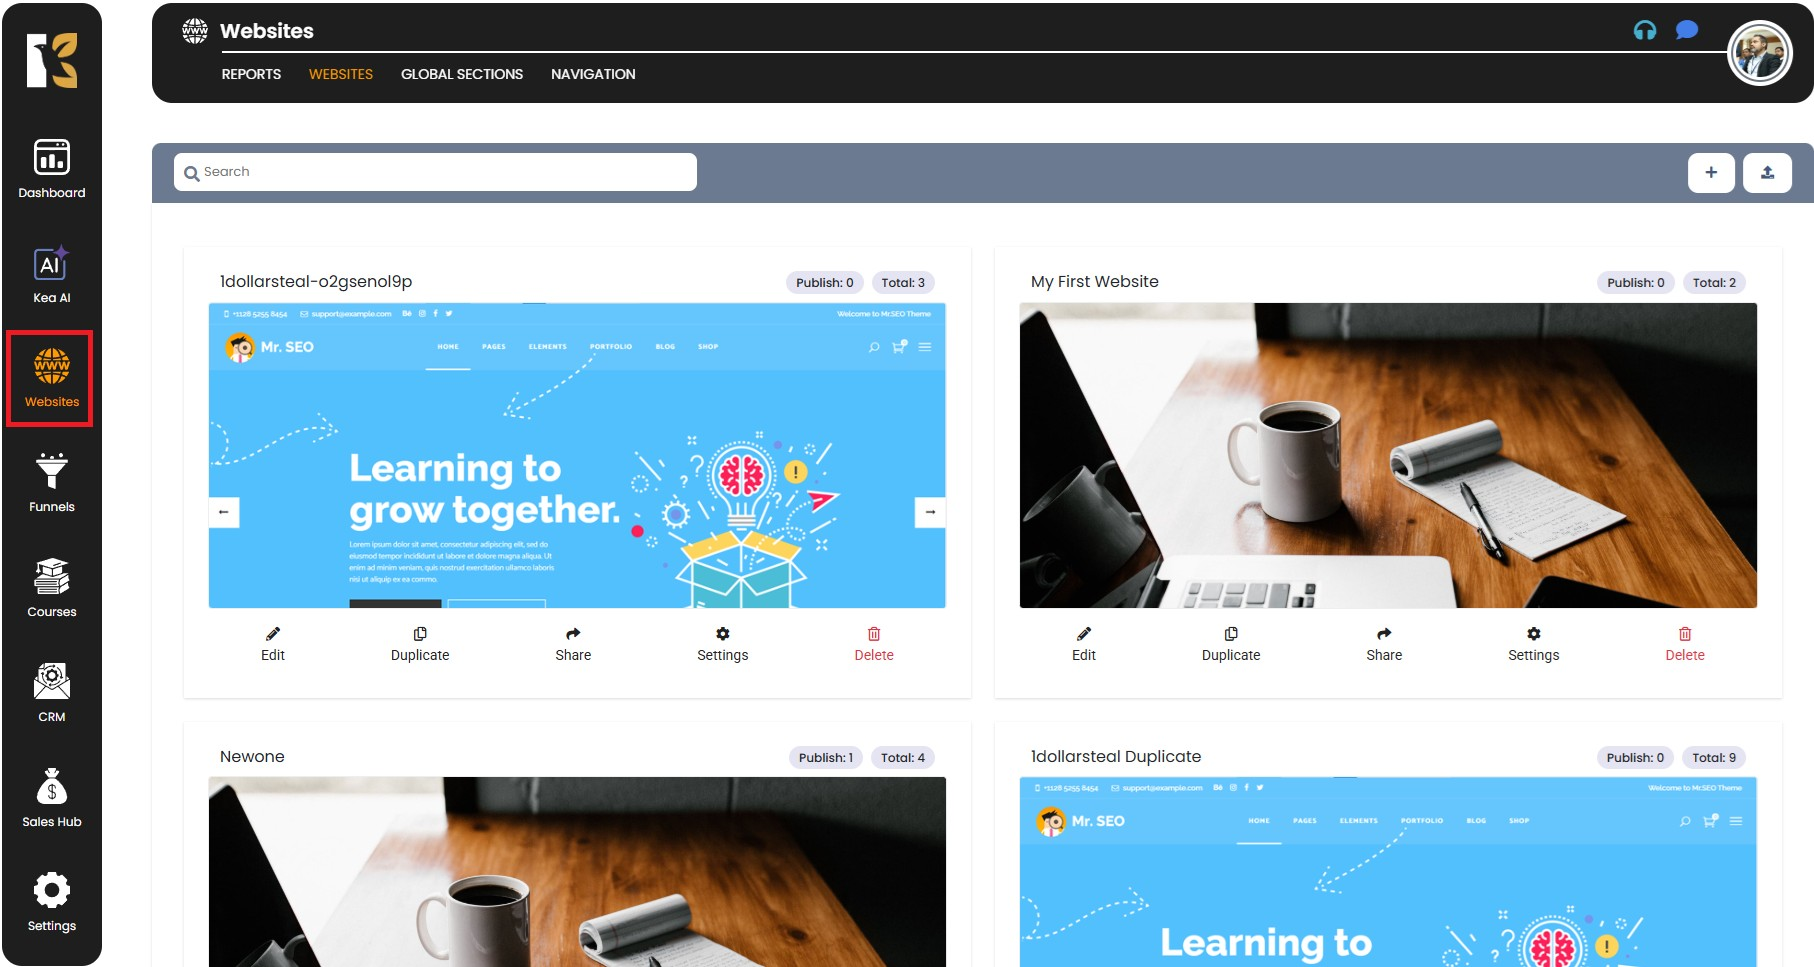
- From the Vertical Menu on the left-hand side, scroll down and click on Websites.
- This opens the Website Section, where you can see the list of all websites you’ve built.
- Access the Navigation Page
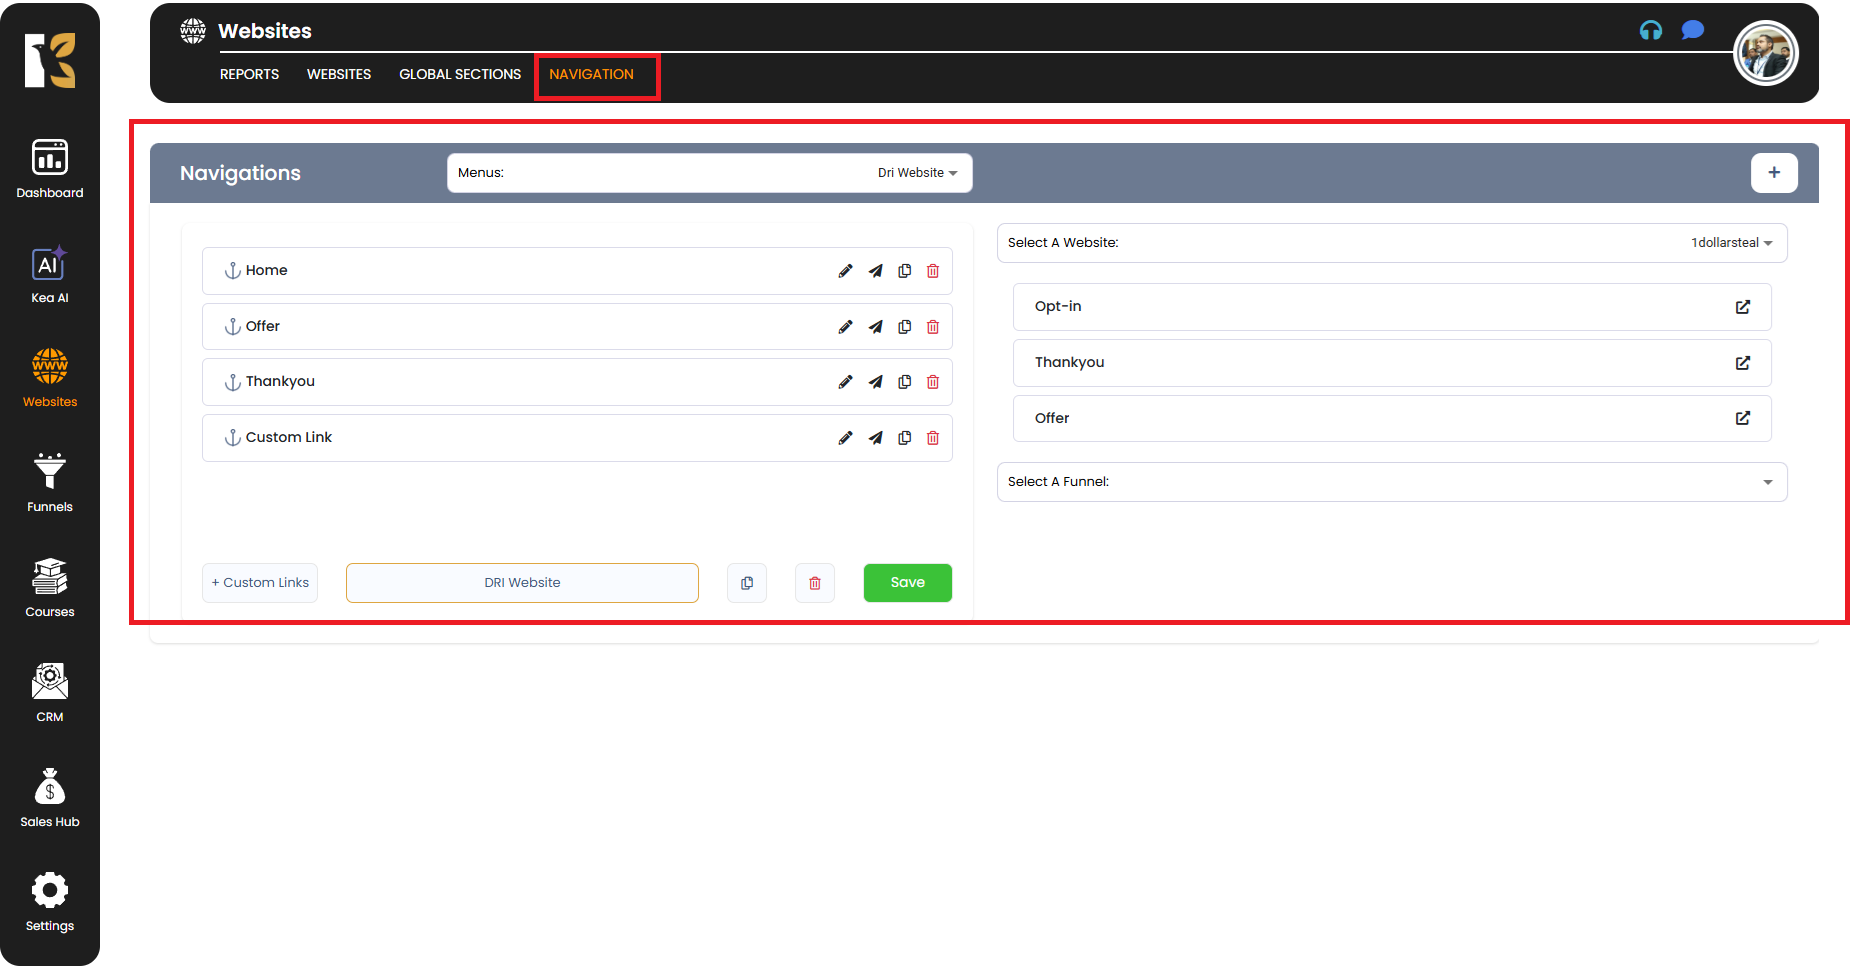
- From the Horizontal Menu of your selected website, click on Navigation.
- You’ll be redirected to the Navigation Page, where all your menus are managed.
- Locate the Menu to Customise
- Under the horizontal menu, you’ll find a dropdown list of all the menus you’ve recently created.
- Select the menu you want to customize.

- Open the Customisation Panel
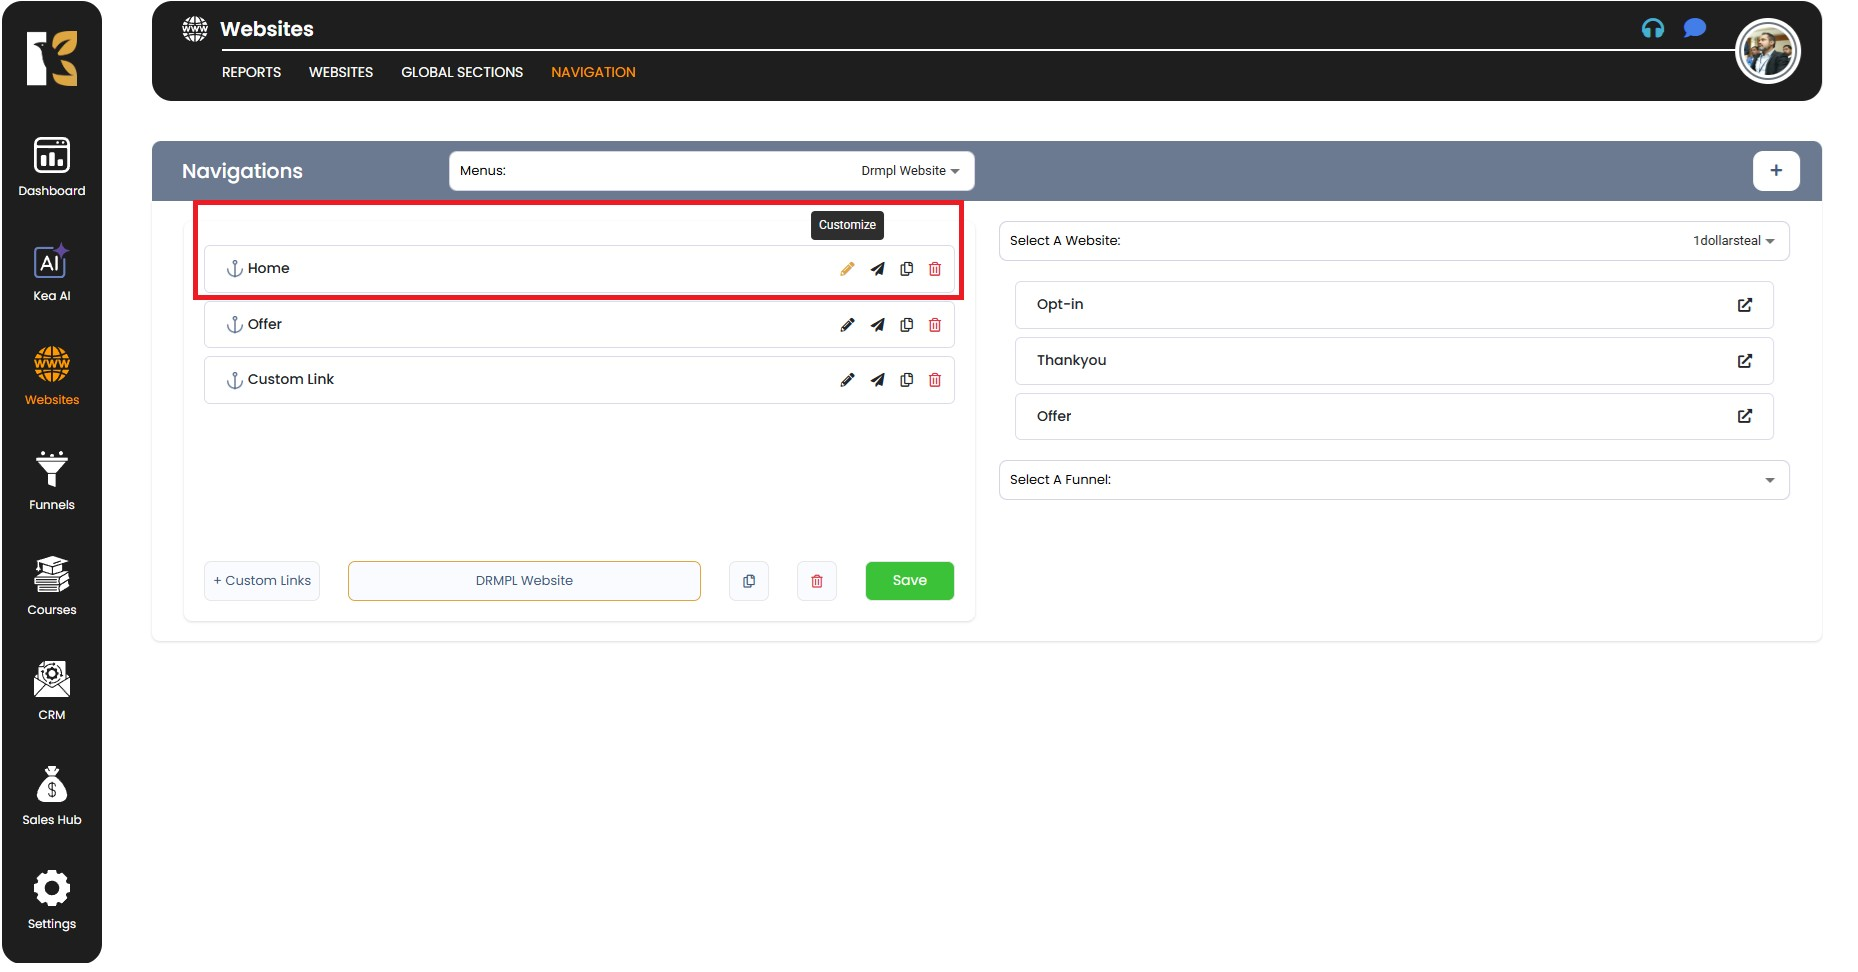
- Next to each menu item, you’ll see a Pencil Icon (Customize Button).
- Click the pencil icon for the menu item you want to modify.
- Edit Menu Name & Links
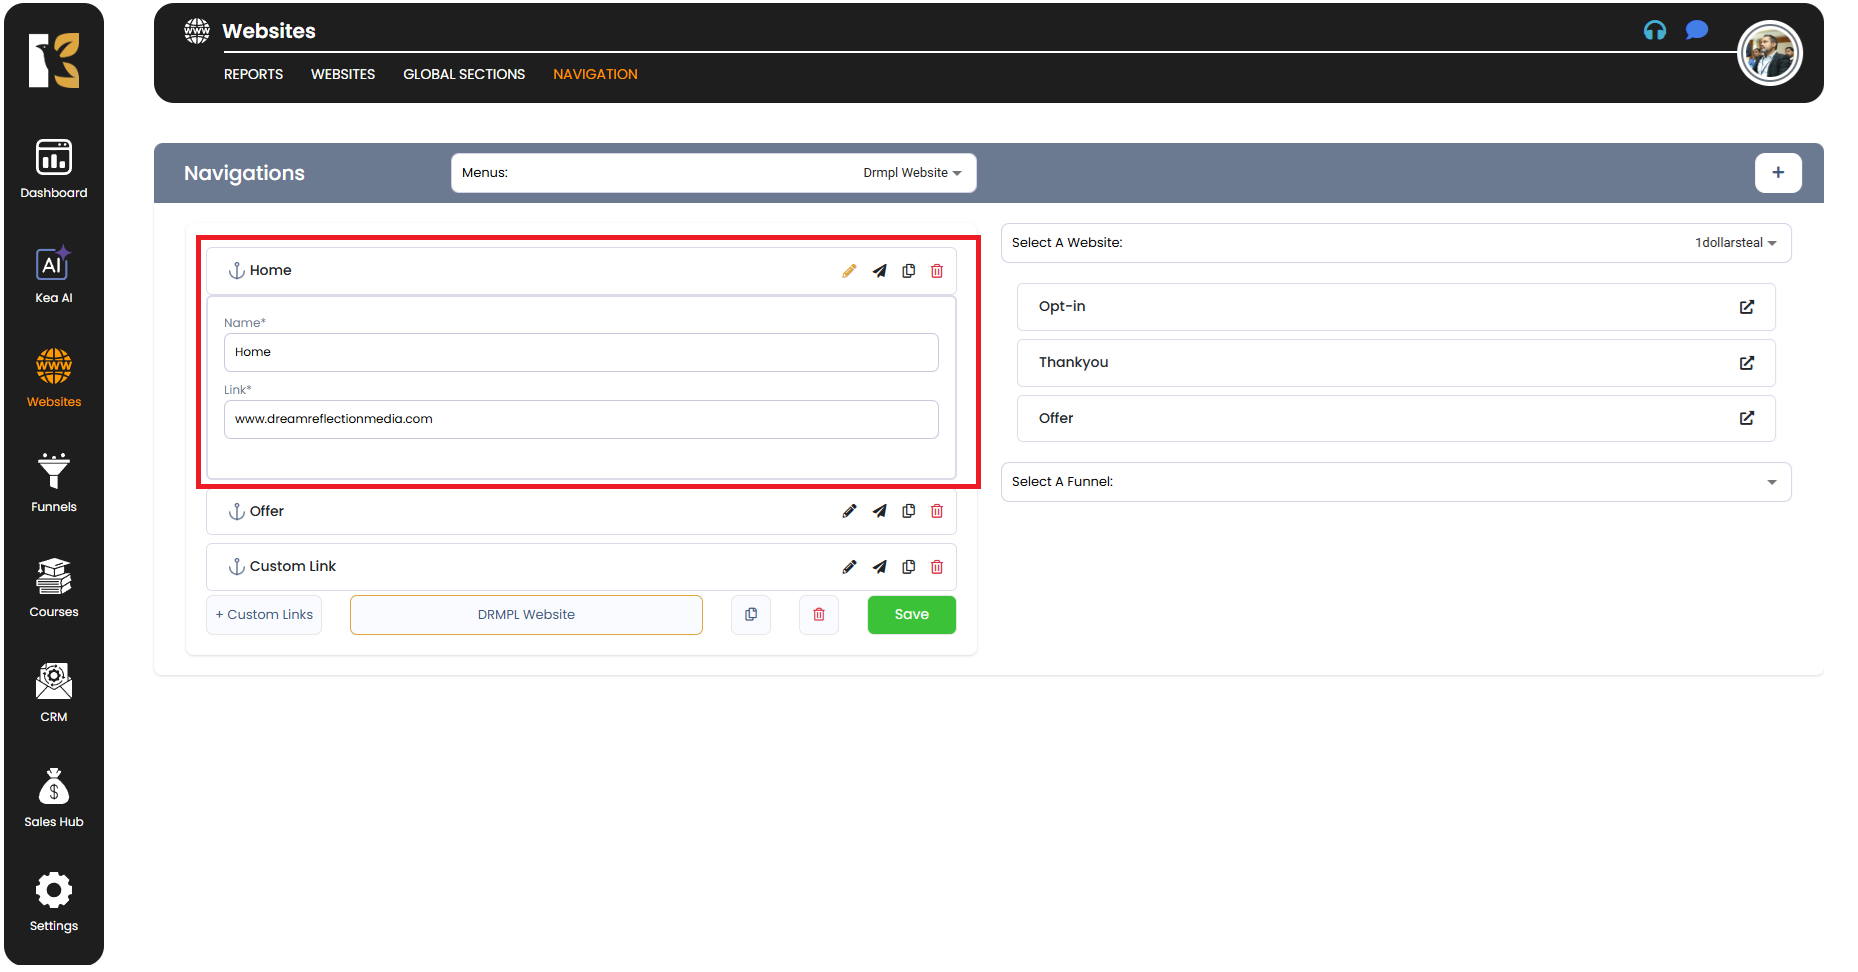
- When you click Customize, a new dropdown panel will open.
- Here, you can:
- Change the Menu Name (e.g., from “Services” to “Our Services”).
- Update the Associated Link/URL (redirecting visitors to the correct page).
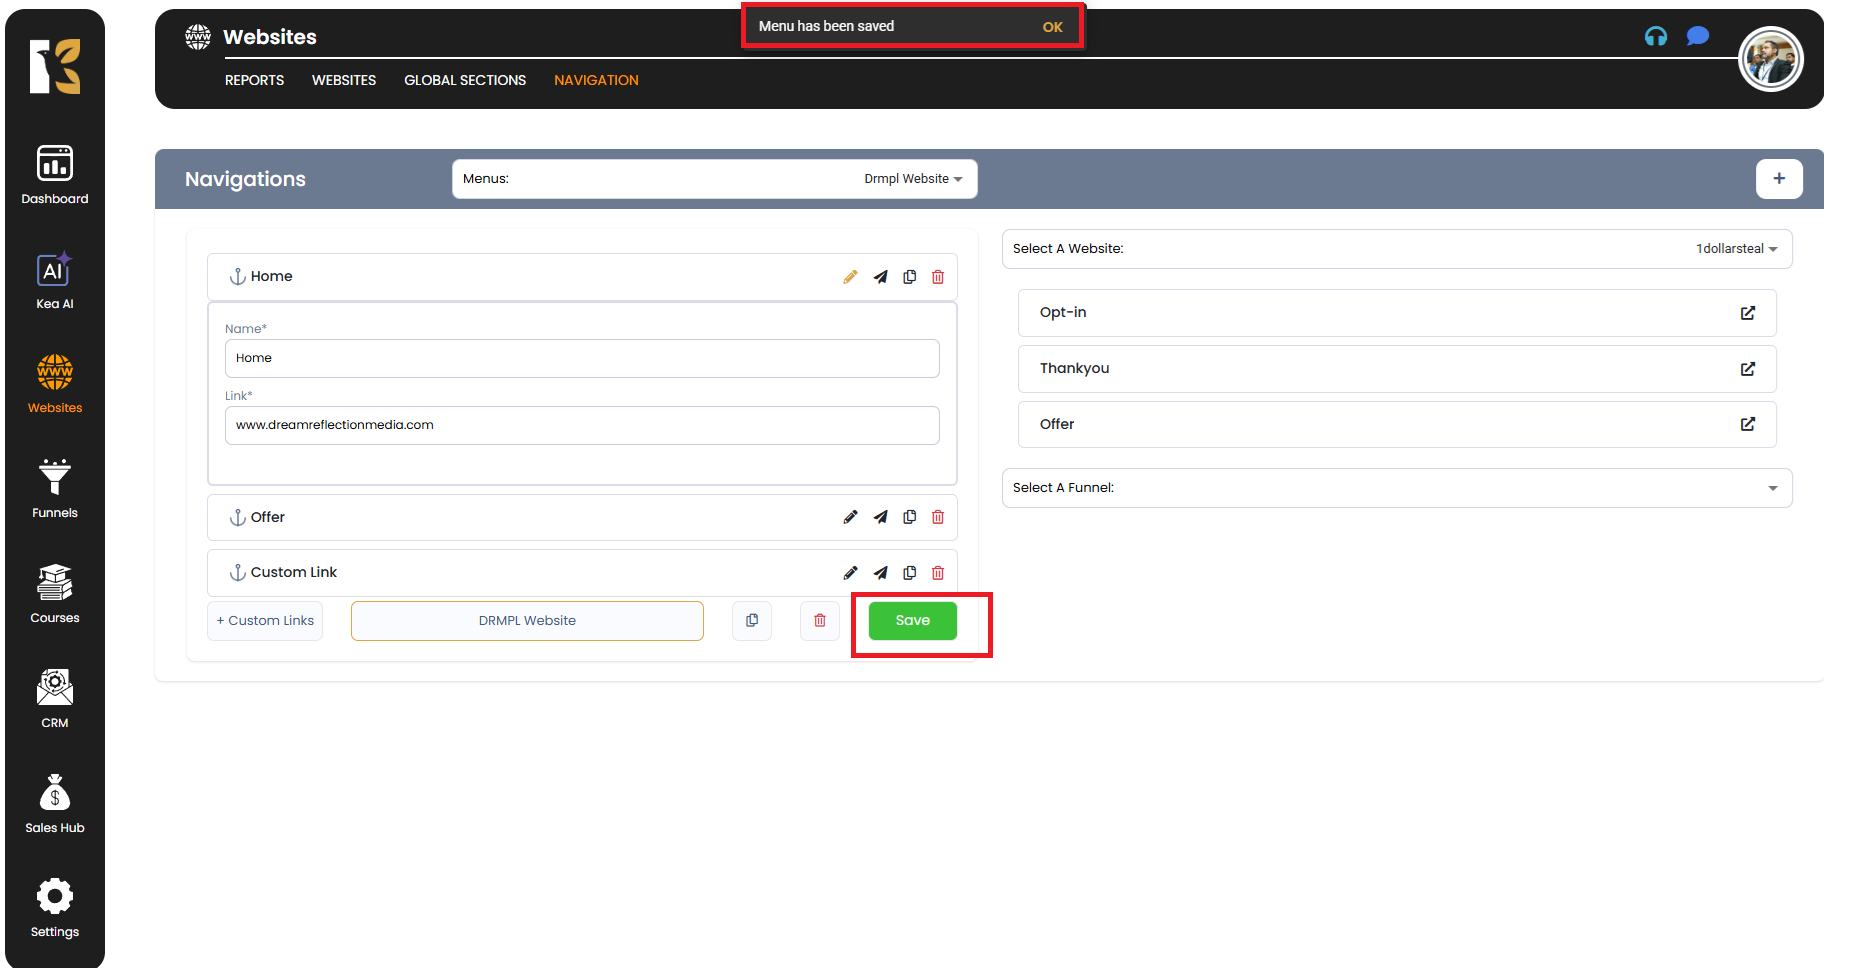
- After making your edits, click the Save Button at the bottom to apply changes.
- Repeat this process for any other menu items you wish to edit.
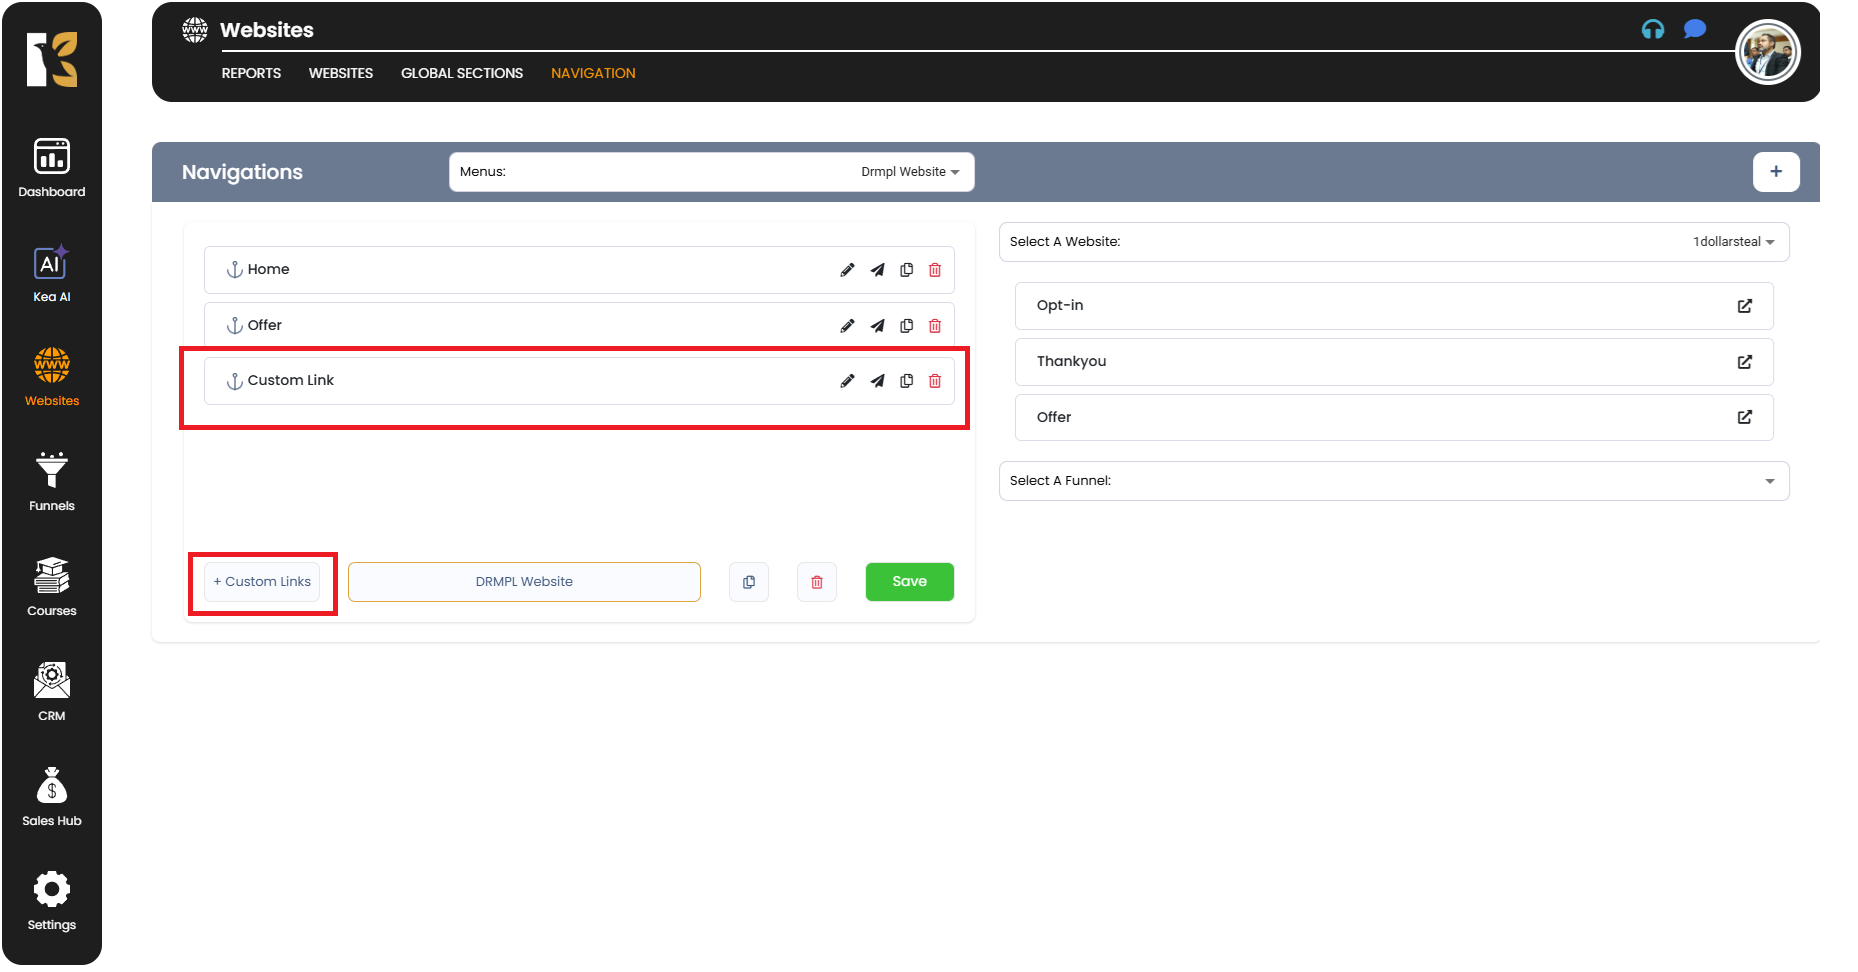
- Add Custom Links
- At the bottom of the menu editor, you’ll find an Add Custom Link option.
- This allows you to add entirely new menu items with custom names and links.
- Simply enter the Menu Name and Link, then save your changes.
- This process works the same as editing existing menu items, making it simple to expand your navigation.
- Save & Preview Changes
- After customizing your menus, click Save to ensure all changes are stored.
- Preview your website to confirm your updated navigation looks and works as expected.
Pro Tips
- 🖋️ Use Clear Labels – Make sure menu names are concise and descriptive for easy navigation.
- 🌐 Keep Links Updated – Regularly check that all URLs are correct to avoid broken links.
- 🧩 Group Related Pages – Organize menu items logically (e.g., Services > Subpages) to improve the user experience.
- 🔄 Preview Before Publishing – Always preview your changes to ensure everything appears correctly on your live site.