How to Add Tags in Your CRM
Tags help you organize and segment your contacts by adding meaningful labels. Whether for lead tracking, customer segmentation, or campaign targeting, tags make it easier to manage and filter records.
👣 Step-by-Step: Add a New Tag
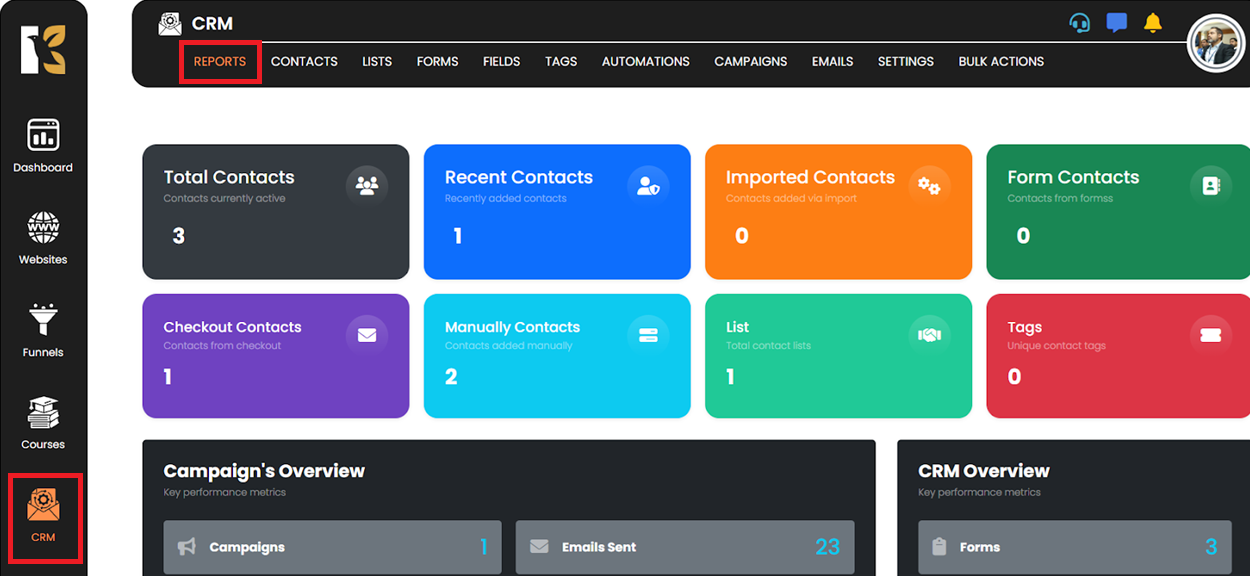
🔹 Step 1: Access the CRM
Navigate to the top menu and click on “CRM.”
🔹 Step 2: Open the Tags Section
In the CRM area, click on the “Tags” button.
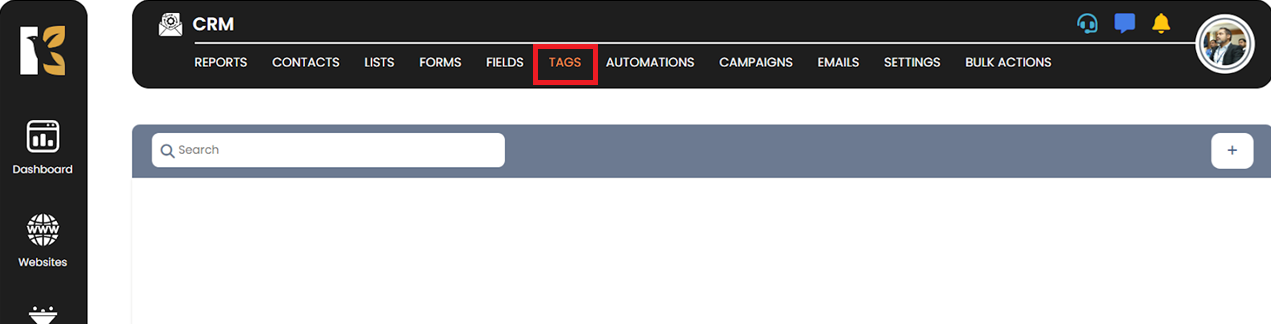
🔹 Step 3: Launch the Tags Panel
The Tags management area will open, showing your current tags.

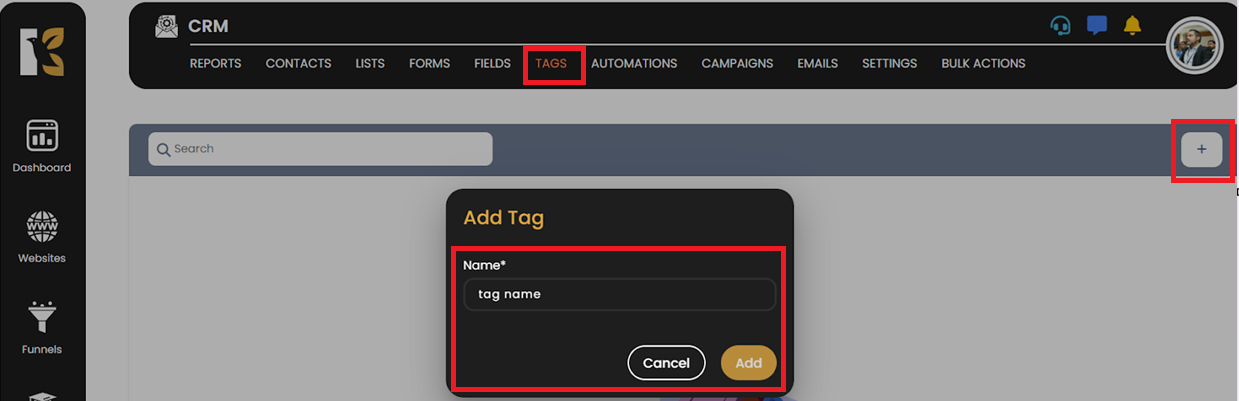
🔹 Step 4: Add a New Tag
Click on the “+” or the “Create Tag” button located at the top right corner.

🔹 Step 5: Enter Tag Details
In the popup dialog box:
- Type in the name of the new tag
- Click “Add”
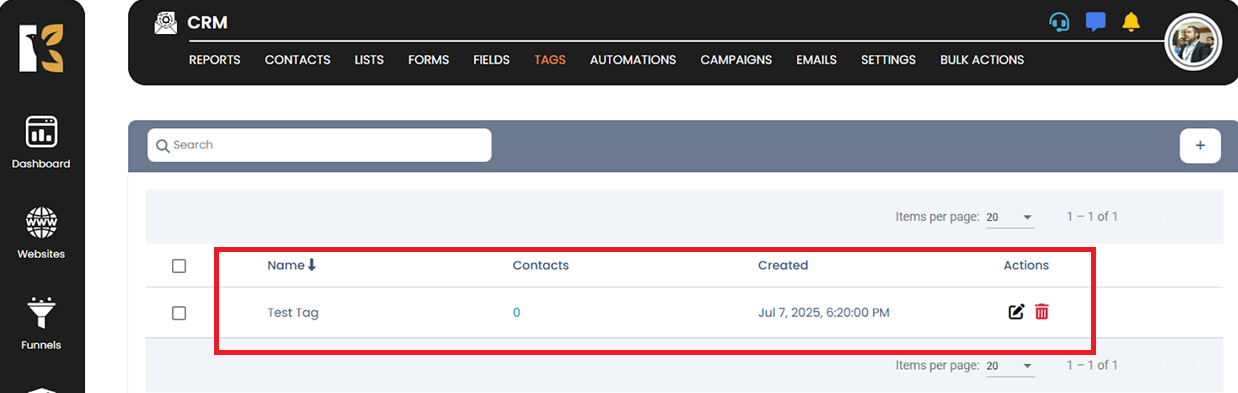
✅ Step 6: Tag Created
Your new tag will now be saved and available for use across your CRM.
💡 Tip:
Use short, meaningful tag names for easier filtering and campaign targeting.