How to View a Member in KeaBuilder
Viewing member details in KeaBuilder allows you to access essential information about each subscriber, such as their contact details, membership status, and associated lists. This feature is useful for managing relationships, resolving issues, or updating member information quickly.
Step-by-Step Guide
Login to KeaBuilder
- Enter your credentials to log in.
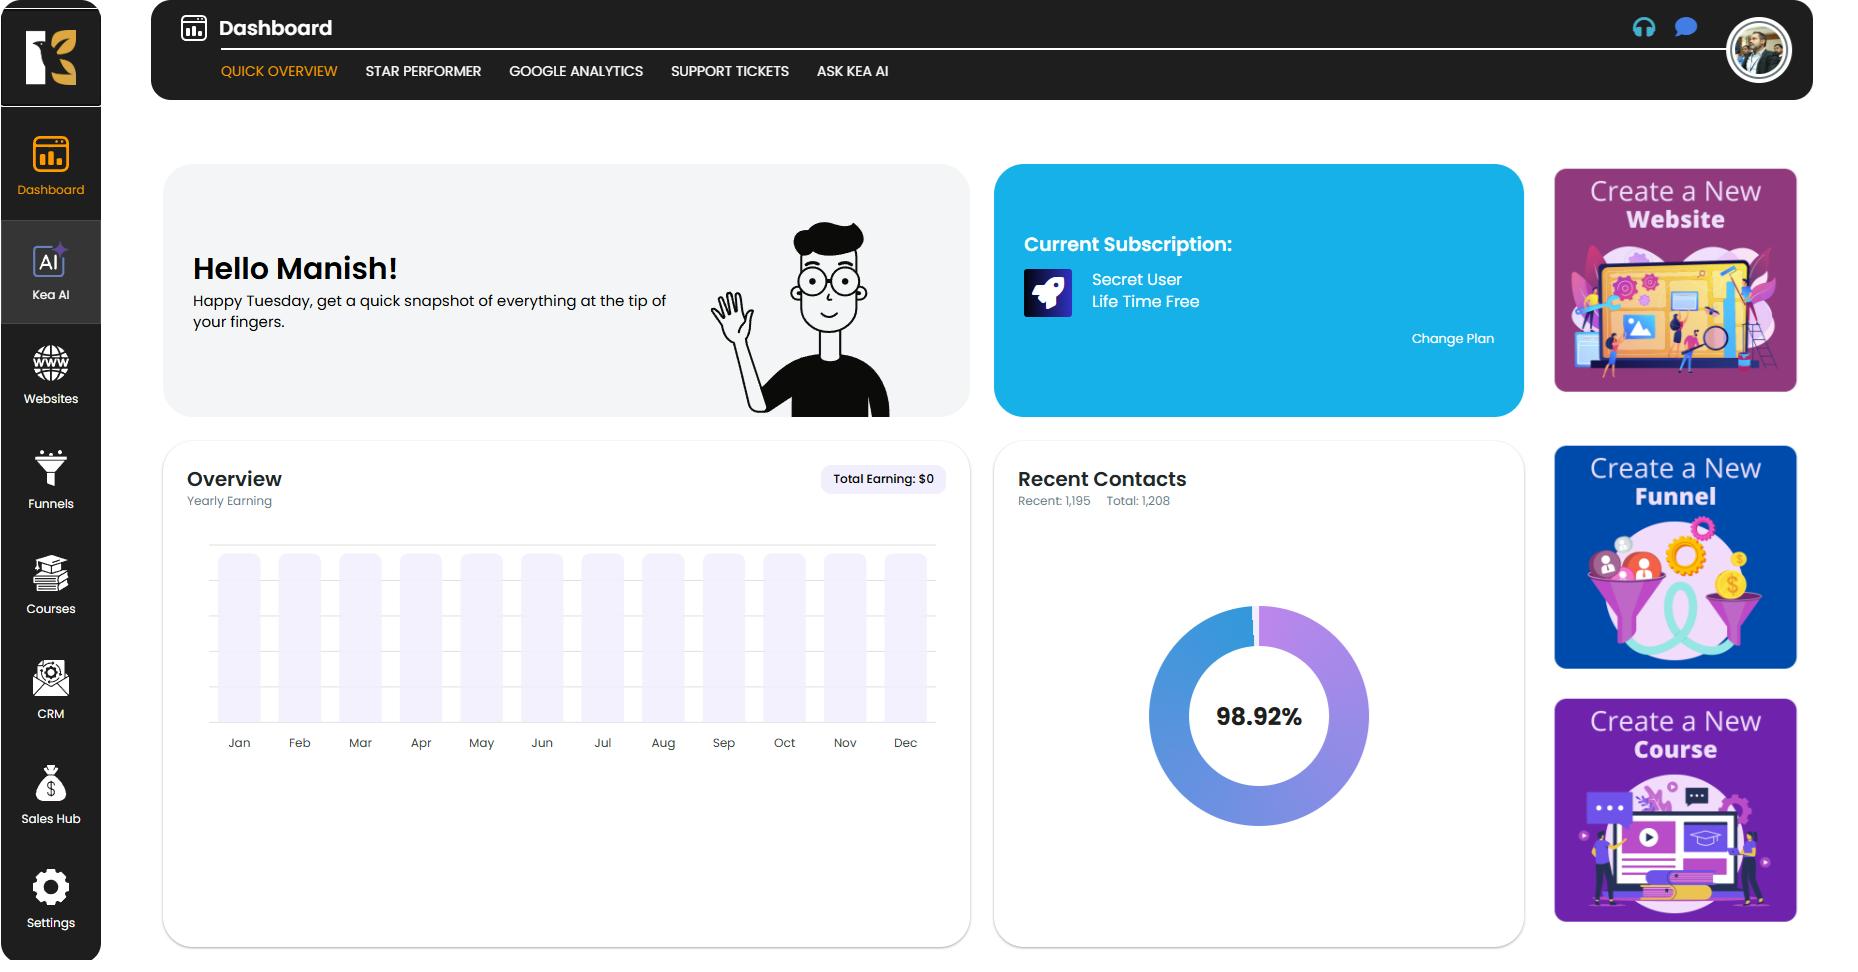
- After a successful login, you’ll land on the Main Dashboard, which displays key tools and features.
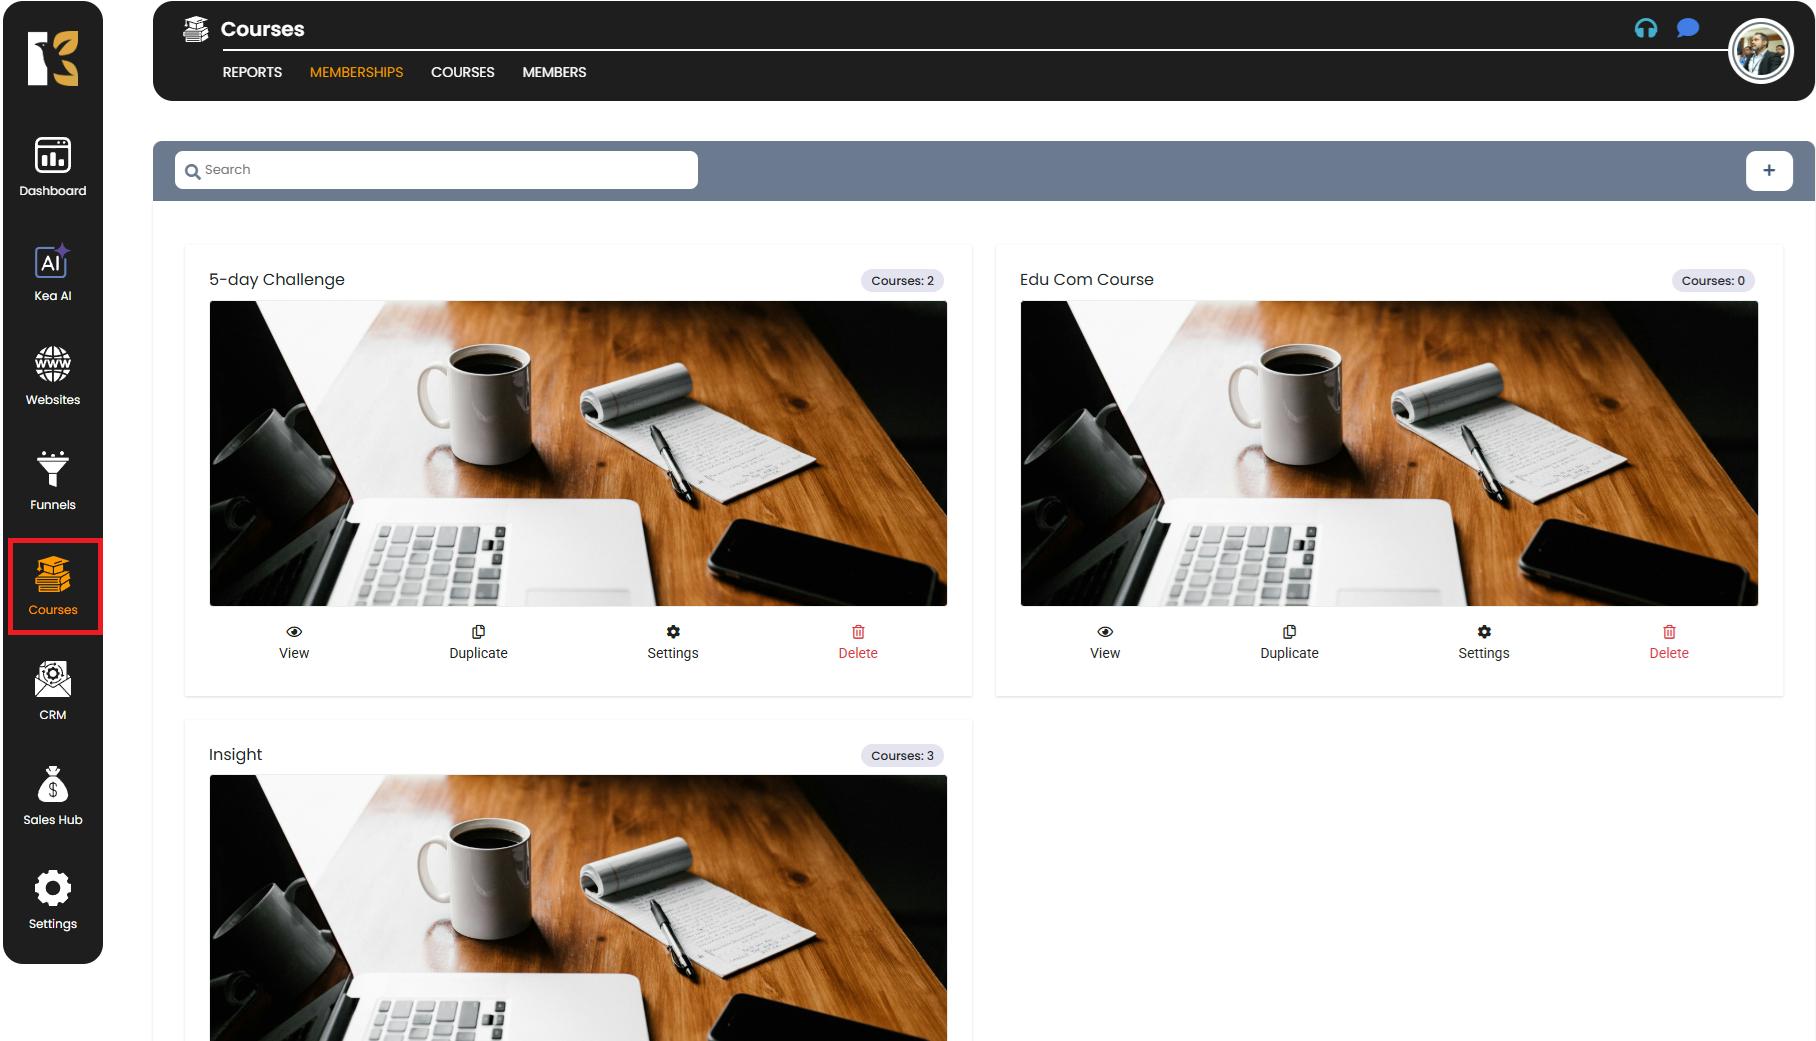
Navigate to the Courses Section
- From the Vertical Menu (left sidebar), scroll down and click on Courses.
- You’ll be redirected to the Memberships Section where you can see all the memberships you’ve created (if any).
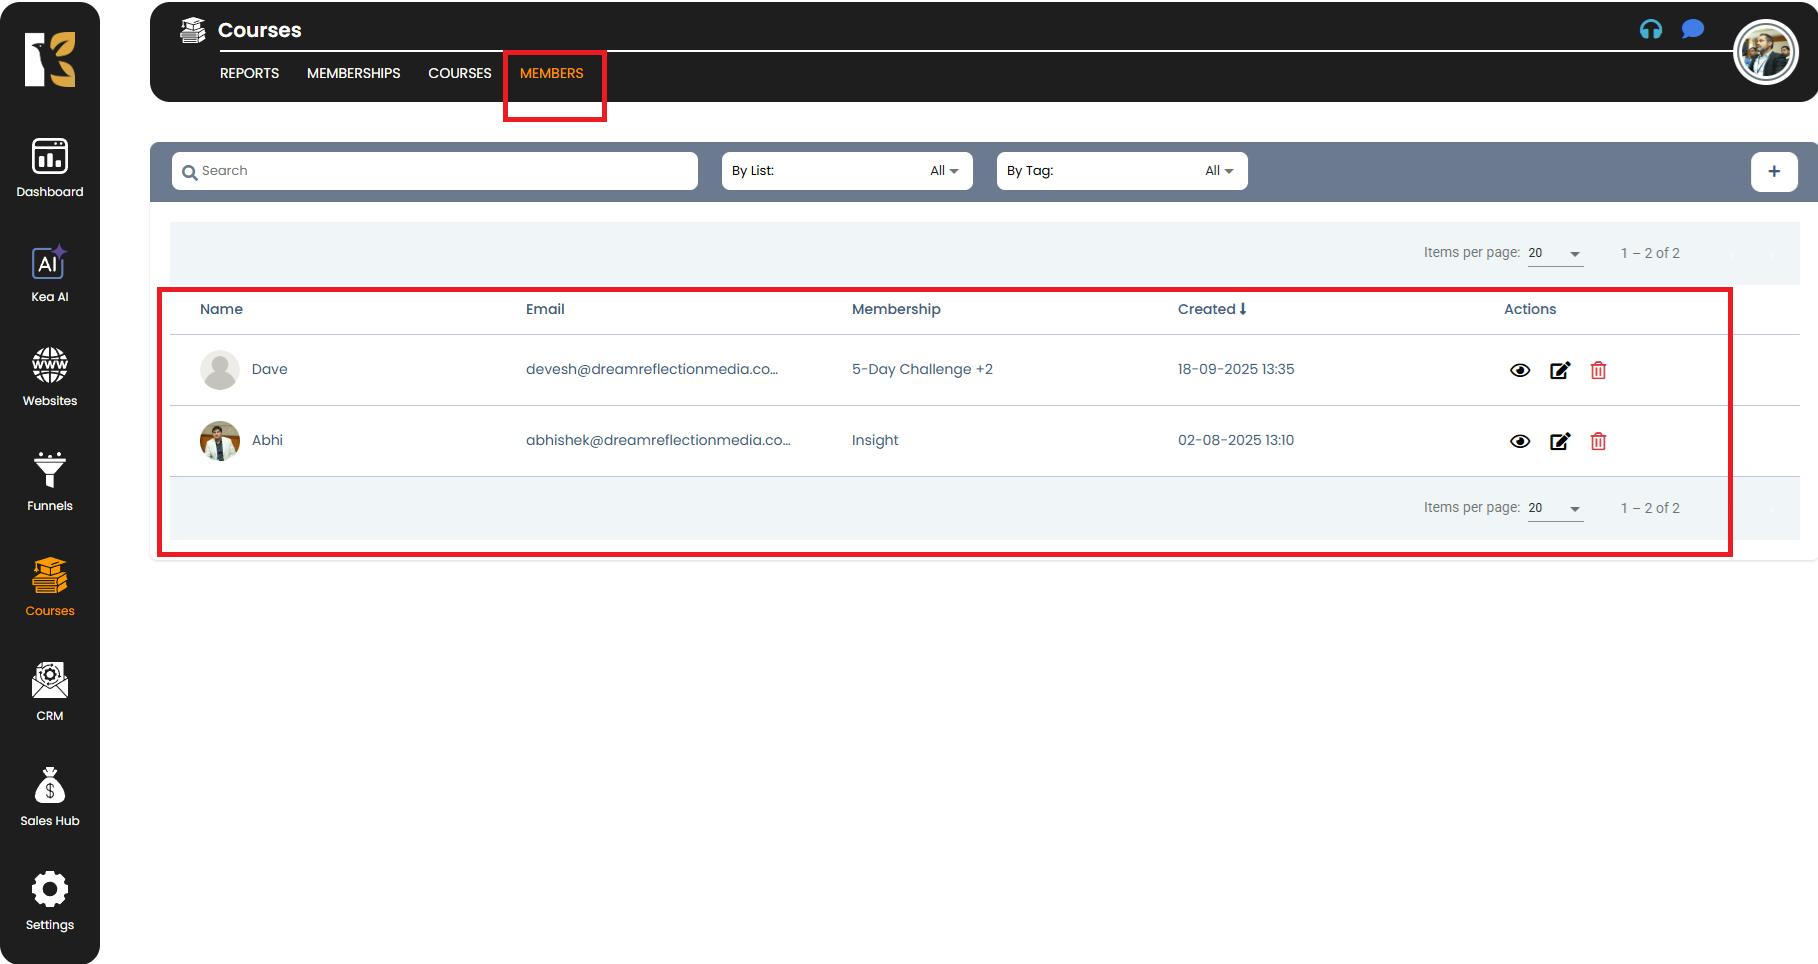
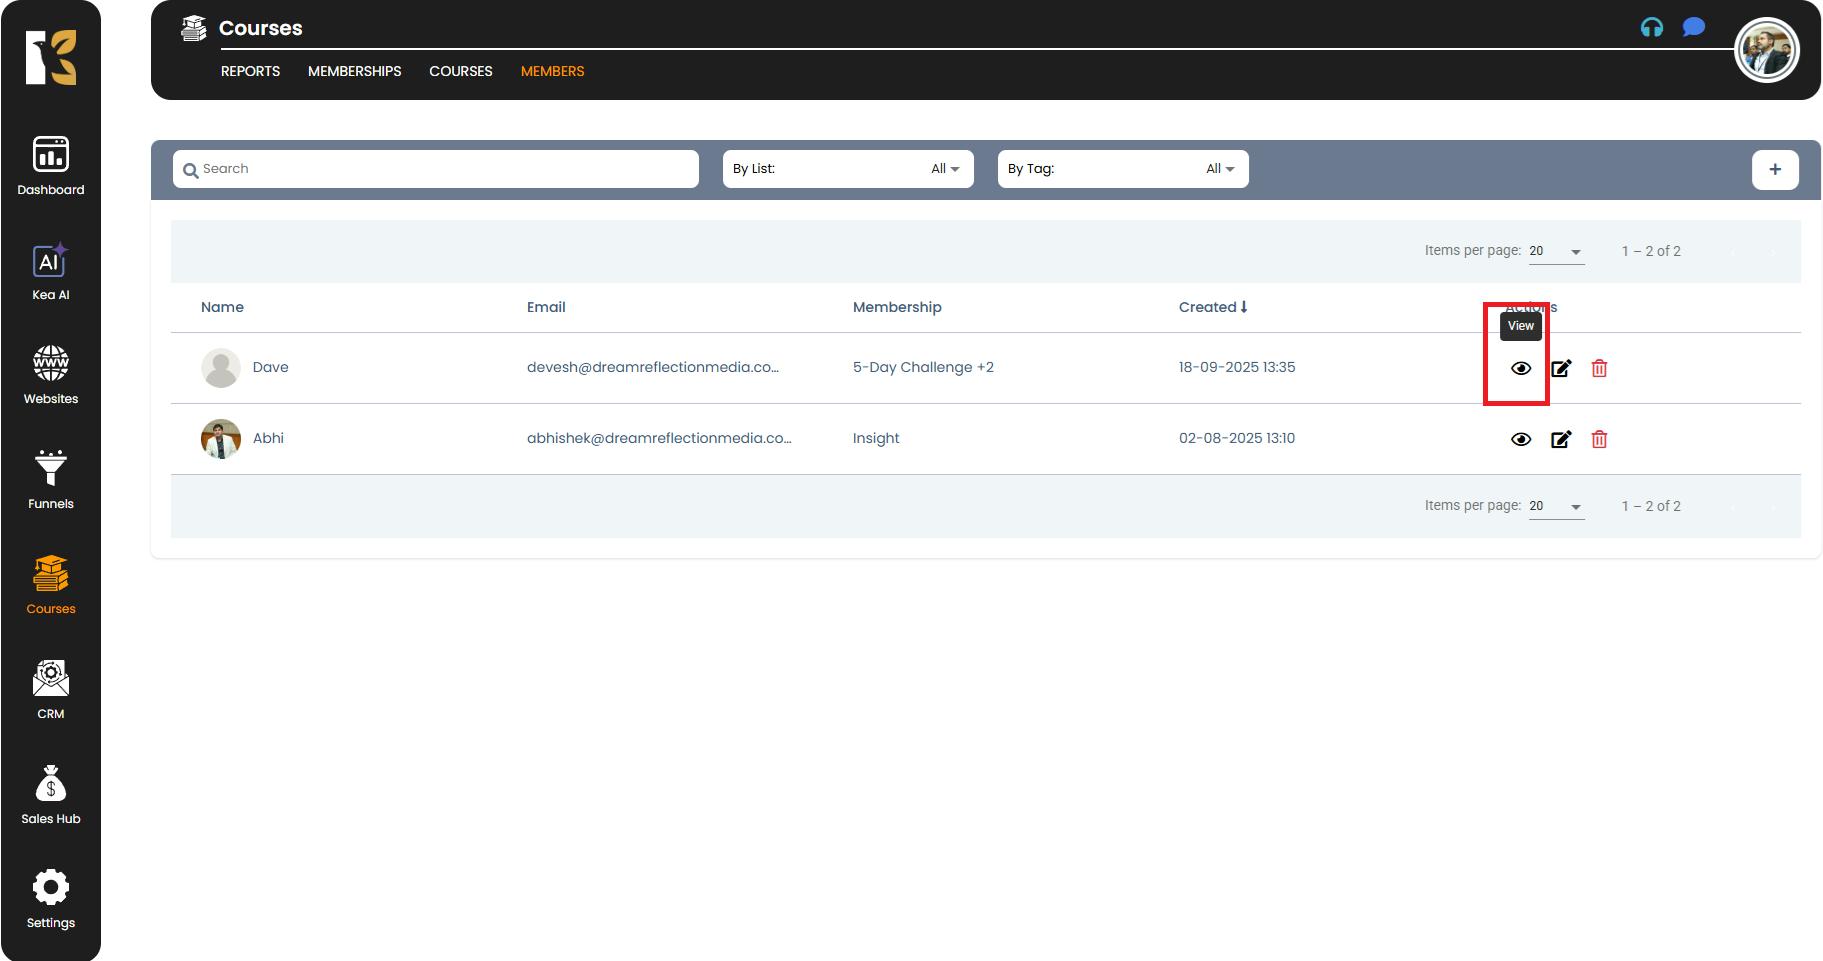
Open the Members Section
- Next to Memberships, click on the Members Tab.
- This will take you to the Members Page, which displays a list of all the members you’ve added.

View Members List
- On the Members Page, you can view the following details for each member at a glance:
- Name
- Membership Subscribed
- Created Date
- Actions (Edit/View)
View Detailed Member Information
- To see more detailed information about a member, click on the View Button (eye icon) next to the member’s entry.
- You’ll be redirected to the Member Details Page, which contains in-depth information such as:
- Subscribe List
- First Name & Last Name
- Email Address
- Phone Number
- Date Added
- Country
- Address
- Company
- Other Linked Details
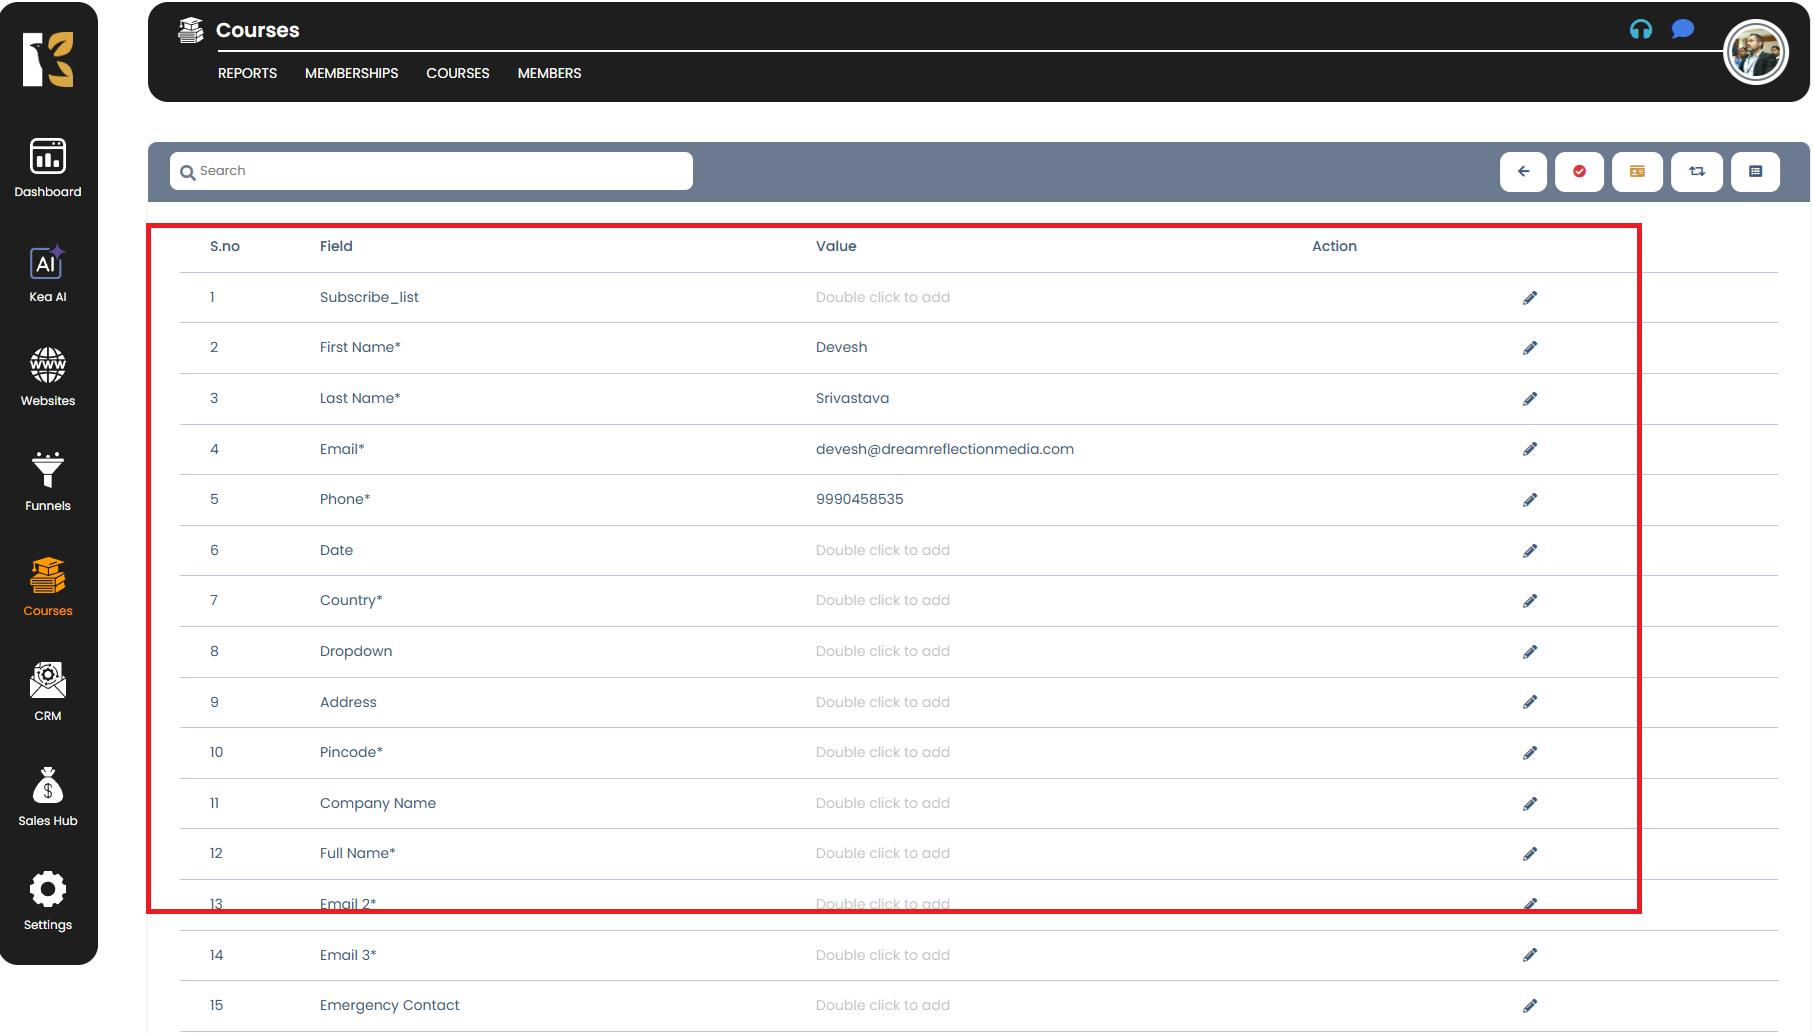
This page allows you to access all member-related data in one place for better management.
✅ Pro Tips for Viewing Members
- Quick Check with the Members List – Use the main Members Page for a quick overview of active members and their subscriptions.
- Use the View Button for Details – Whenever you need specific information, always click the View (eye) icon to see the full profile.
- Keep Data Updated – If you notice outdated info, edit the member’s details directly from the Members Page to maintain accuracy.
- Segment Members – Use the “Subscribe List” and “Tags” features to group members for marketing or communication purposes.
- Export if Needed – If you need offline data, check if your plan allows exporting member details for reporting or analysis.