How to Manage Shadows for Individual Elements
Applying shadows to individual elements enhances your website's design by adding depth, dimension, and focus. Whether you're highlighting a call-to-action button, a section box, or an image card, shadows help separate elements from the background, creating a more engaging and modern user experience.
✅ Steps to Add or Customize Shadows for Elements in Kea Builder
- 🟢 Step 1: Open Element Settings
Click on the ⚙️ Element Settings icon in the top-right corner of the element you want to modify.
- 🌗 Step 2: Navigate to the ‘Shadow’ Tab
In the settings panel, scroll through the horizontal slider menu and click on “Shadow.”
- 🎯 Step 3: Select Shadow Type
Adjust the Shadow Position based on the desired effect:- Outer Shadow (for elevation)
- Inner Shadow (for inset appearance)

- 🔄 Step 4: Customize Shadow Properties
You can fine-tune the shadow effect using the following settings:- Horizontal Position – adjusts how far the shadow moves left or right
- Vertical Position – moves the shadow up or down
- Blur Strength – controls how soft or sharp the shadow appears
- Spread Strength – determines how far the shadow extends

- 🎨 Step 5: Choose Shadow Color
Use the color picker to apply a color that blends seamlessly with your design, or contrasts to highlight the element.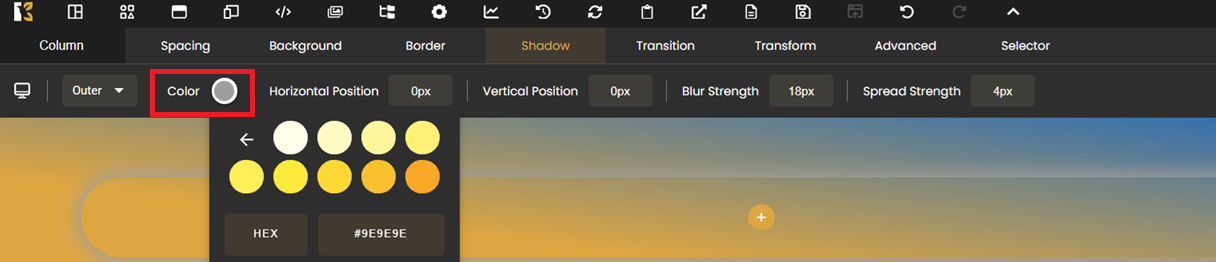
💡 Pro Tips:
- Use subtle shadows on text boxes or images for a clean look.
- Stronger shadows work well for buttons and call-to-action blocks.
- Preview on all devices to make sure the effect works across screen sizes.
You can repeat these steps to apply shadows to any individual element on your webpage using Kea Builder.