How to Manage Spacing for Elements on Your Webpage
Spacing refers to the margins and paddings that define the distance between elements on your webpage. It's a key part of clean, modern web design—affecting both the visual appeal and usability of your site.
Well-managed spacing:
- Enhances readability
- Improves layout structure
- Makes content more digestible
- Provides a clean and professional look
✅ Steps to Manage Spacing in Kea Builder
- 🟢 Step 1: Open Element Settings
Click on the section, row, or element you'd like to edit.
Then, select the ⚙️ Element Settings icon.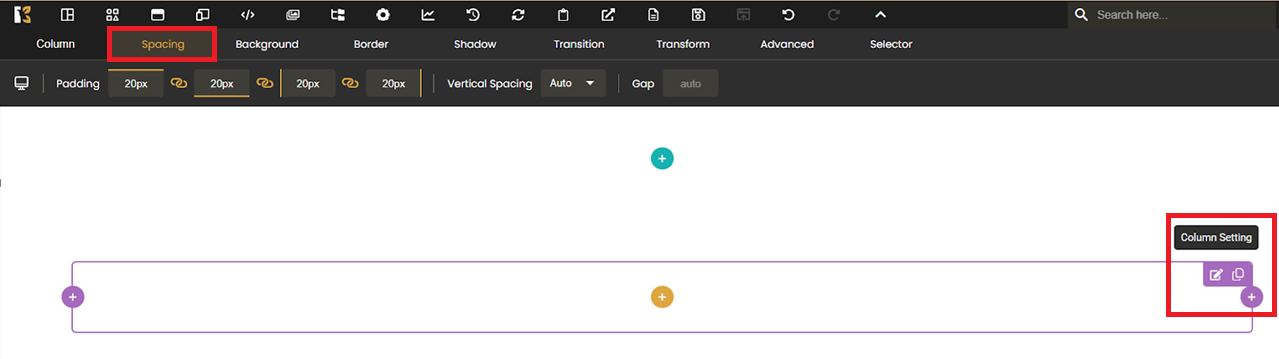
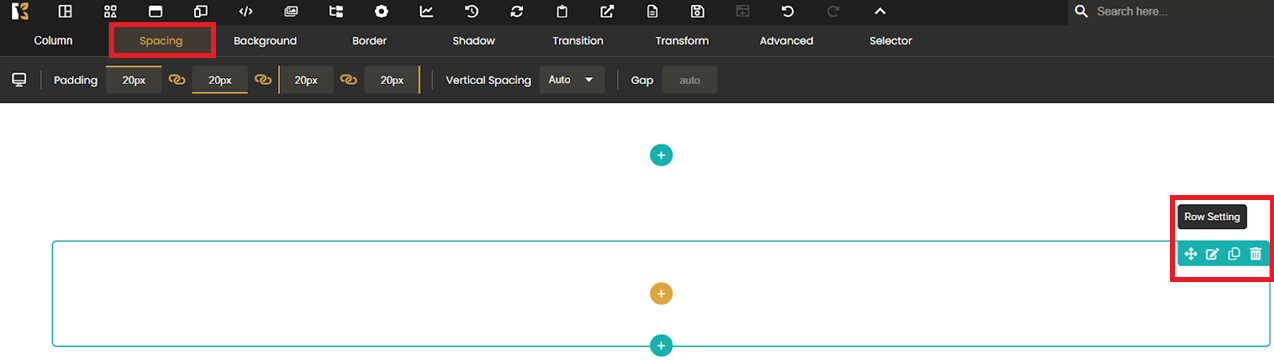
- 📐 Step 2: Go to the 'Spacing' Tab
In the settings panel, click on the “Spacing” option.
This will open controls to manage margin and padding values.
- ✏️ Step 3: Adjust Margin & Padding
You can now enter custom values for:- Top
- Bottom
- Left
- Right
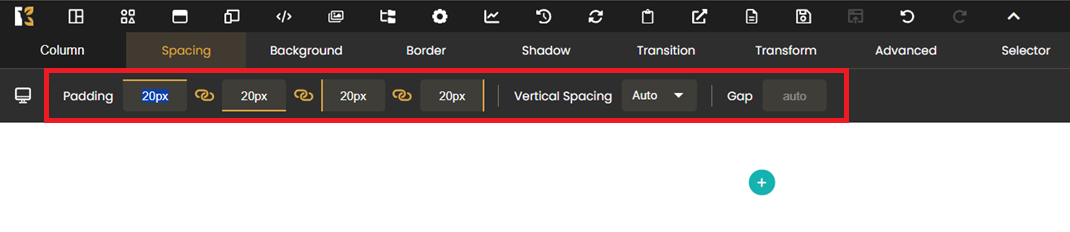 Use values in pixels (px), percentages (%), or rems/em based on your design preference.
 - 🔄 Apply to Any Component
This process works for:- Individual elements (like images, text, buttons)
- Rows within layouts
- Full sections
- Or your entire webpage container
💡 Pro Tips:
- Use padding to add space inside elements.
- Use margin to create space outside elements.
- Maintain consistent spacing across pages for a cohesive design.
- Always preview your layout on desktop, tablet, and mobile for responsive alignment.
With Kea Builder, adjusting spacing is simple and powerful—giving you complete control over the layout, flow, and visual hierarchy of your website.