How to Manage Memberships in KeaBuilder
Membership areas in KeaBuilder allow you to create exclusive spaces where only registered members can access specific content, resources, and services. These areas are ideal for offering online courses, premium materials, digital products, or community-driven content to a selected audience.
Managing memberships effectively ensures a seamless experience for both you and your members. This guide walks you through every step of how to manage memberships within KeaBuilder.
Step 1: Access the Membership Section
- From your KeaBuilder dashboard, navigate to the Vertical menu bar.
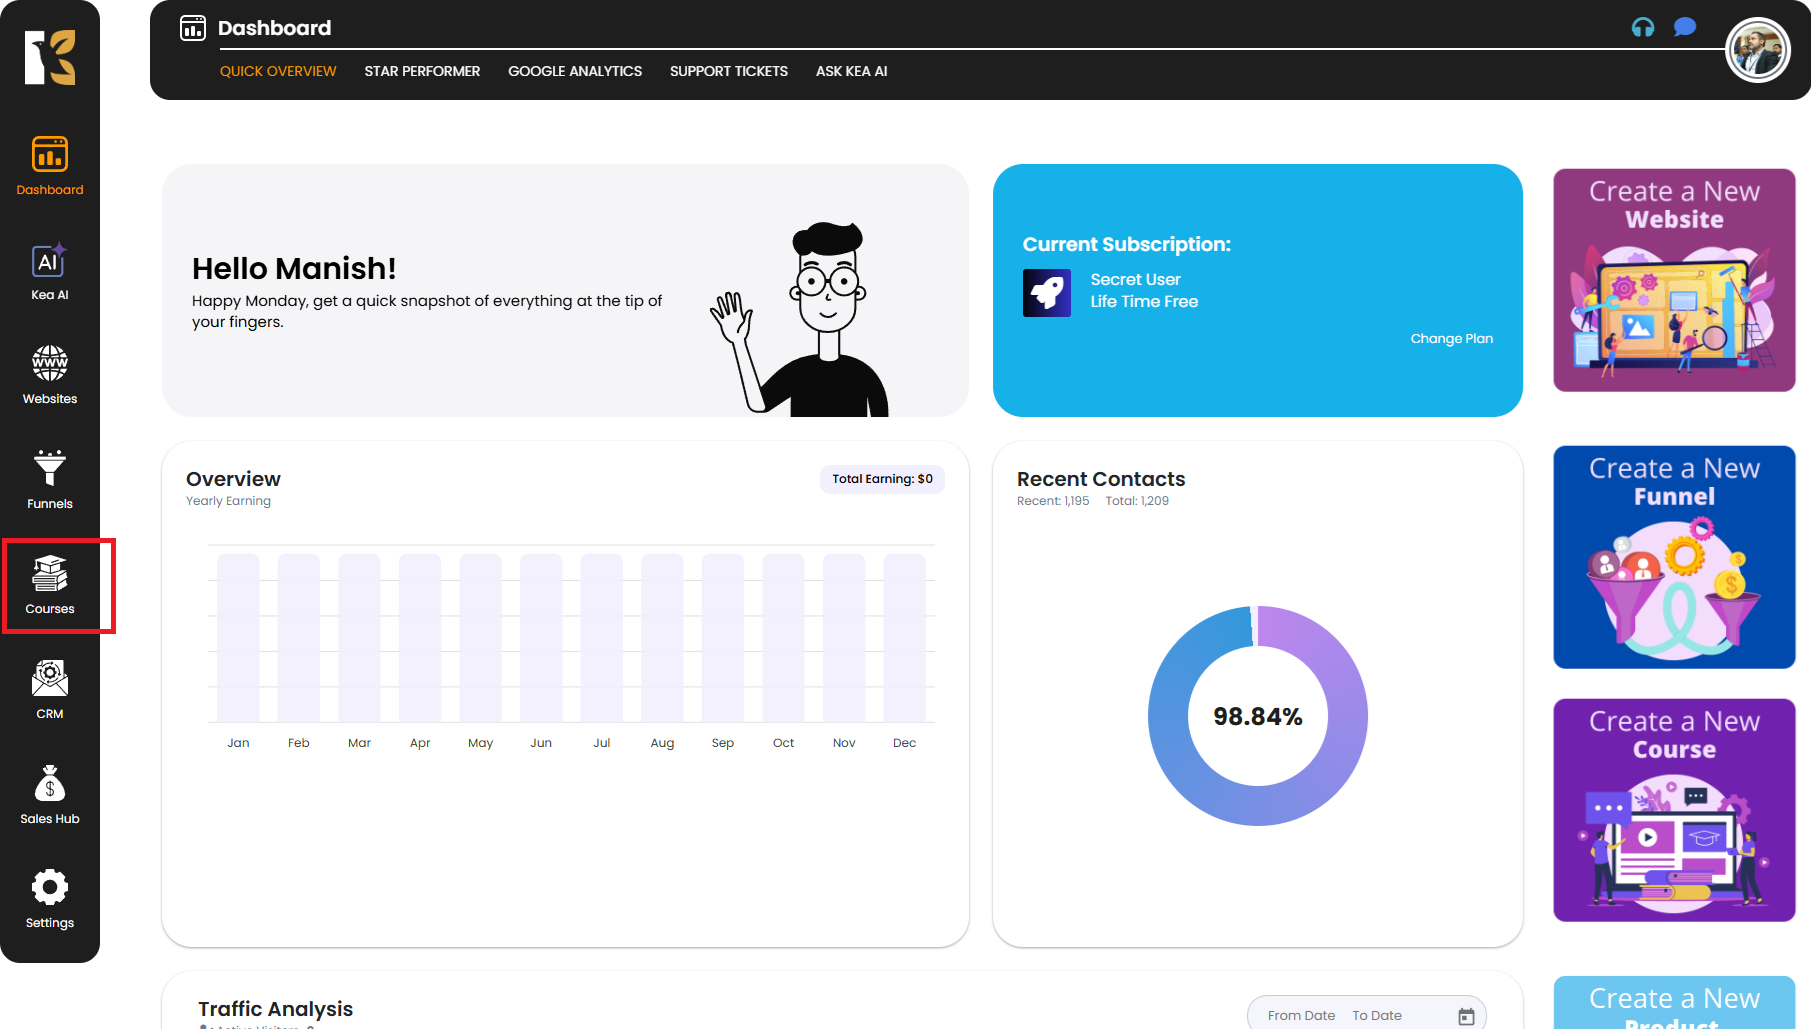
- Click on the “Courses” option to open the membership management panel.
This section acts as the control center for handling everything related to your memberships, including reports, courses, members, customization, and settings.
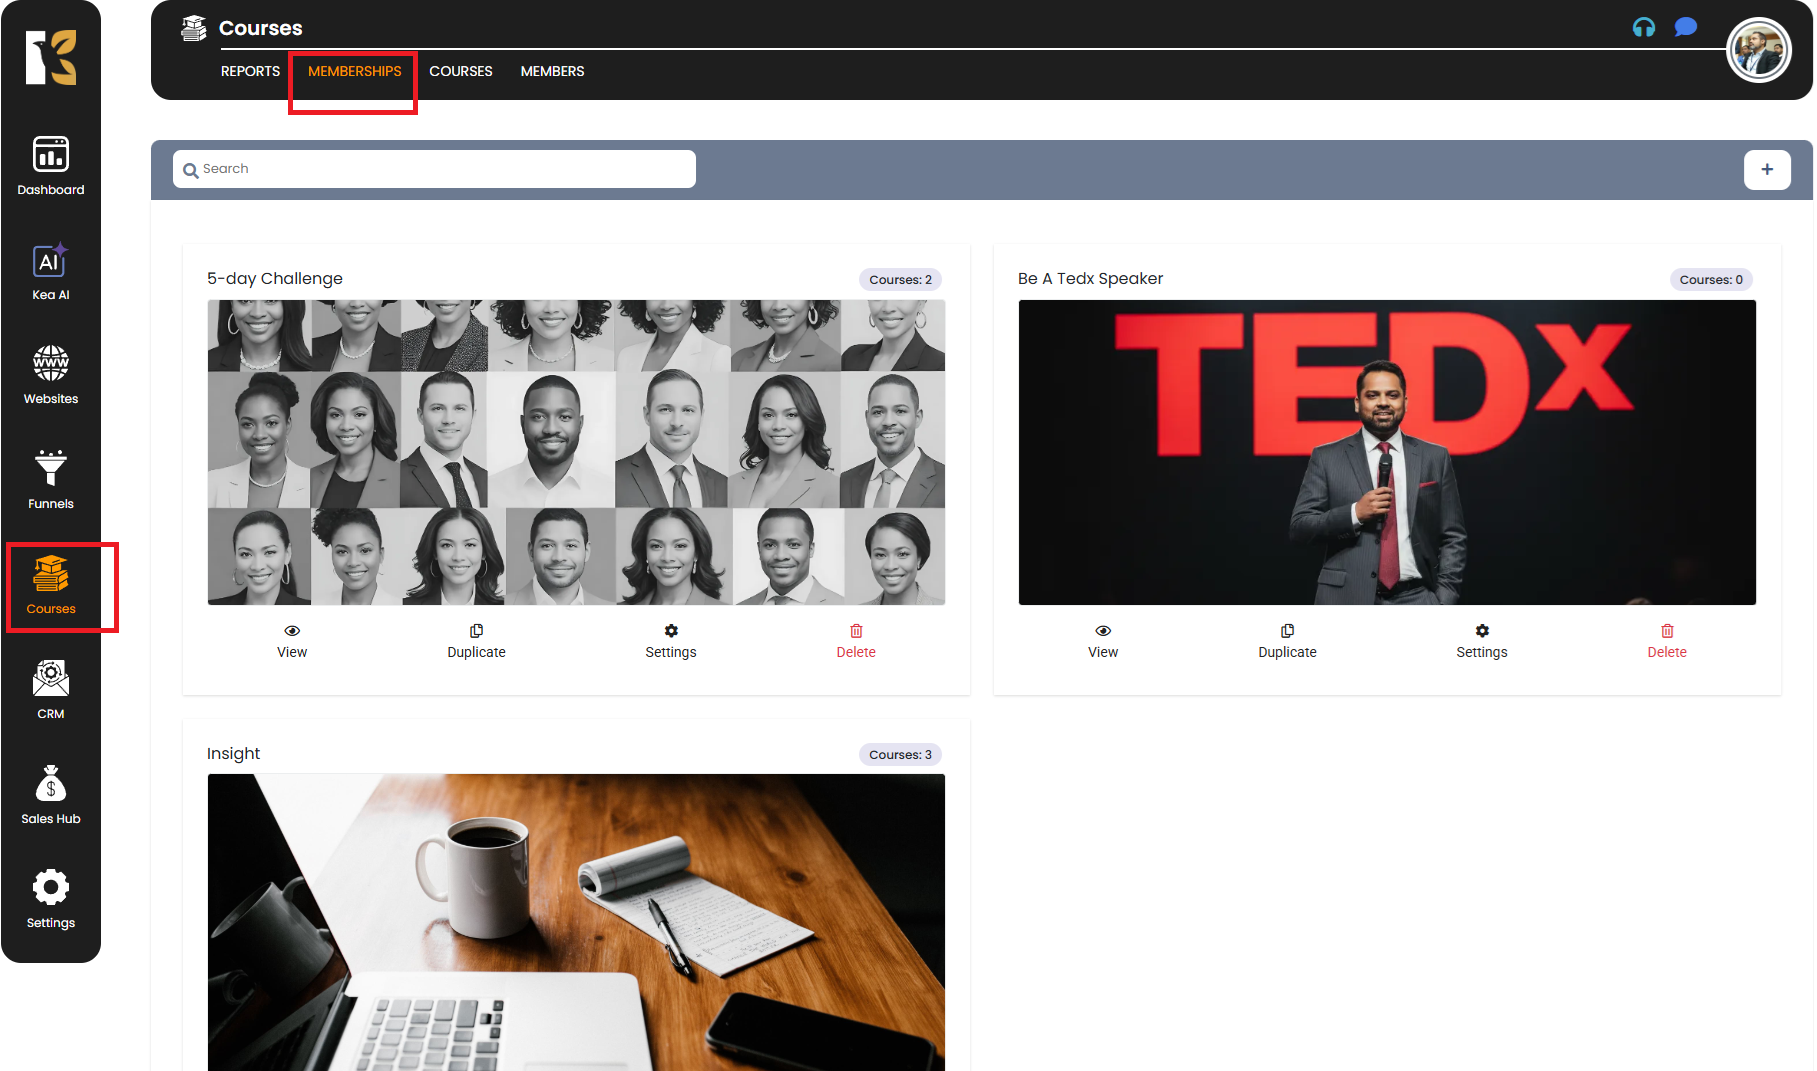
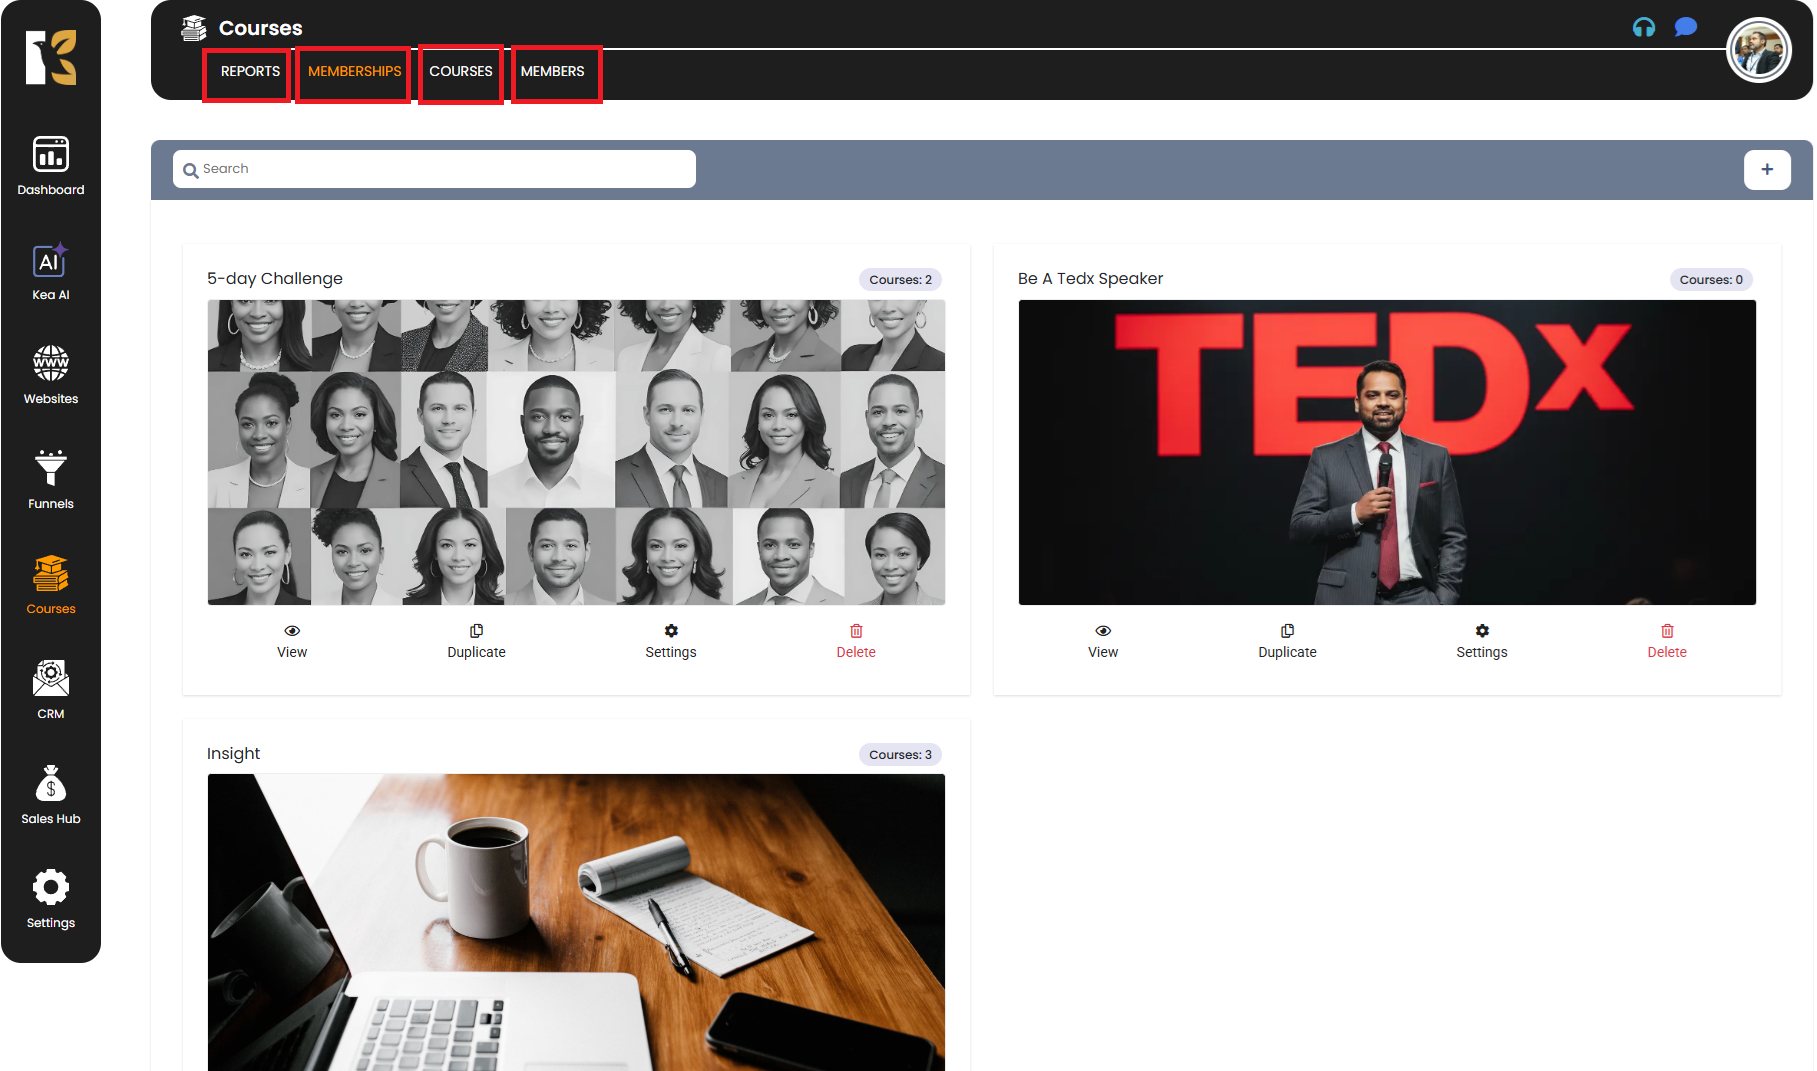
Step 2: Memberships Panel Overview
Once you open the Memberships Panel, you’ll find several dedicated tabs and tools to manage different aspects of your membership areas:
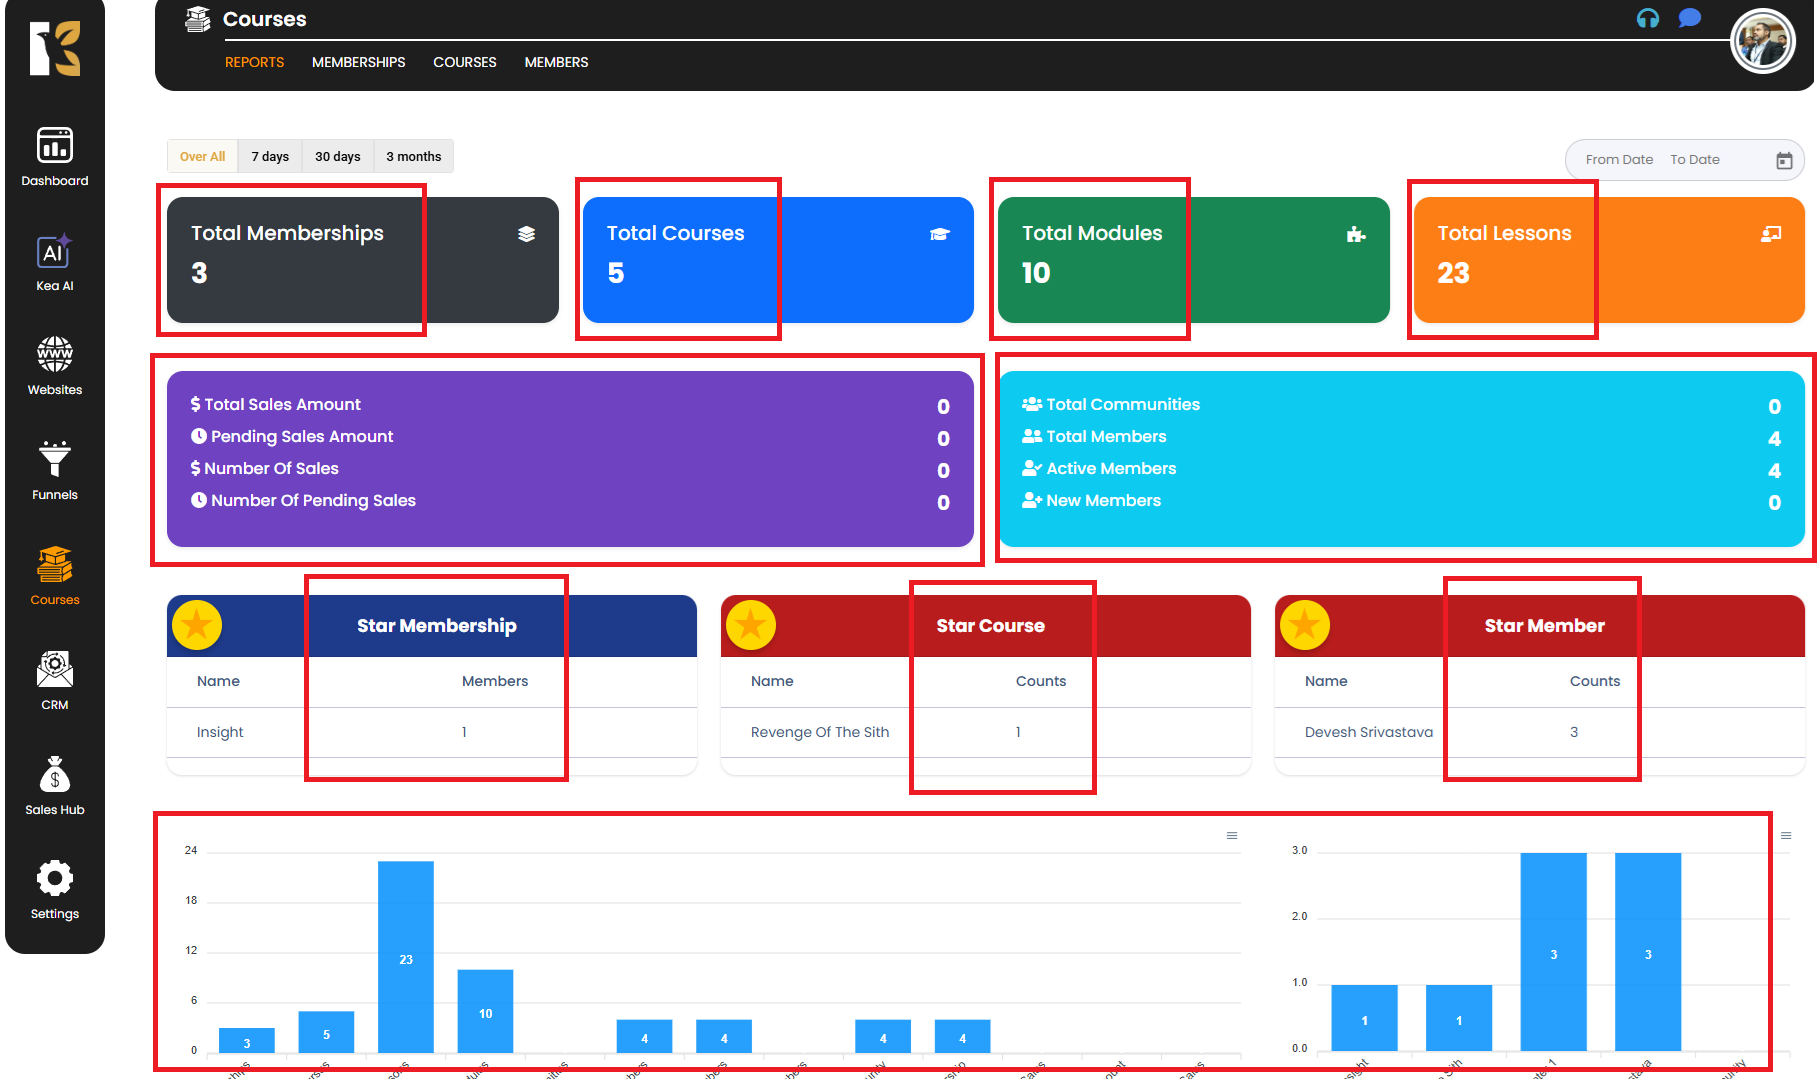
Step 3: Manage Membership Reports
- Inside the Reports tab, you can track the performance of your memberships.
- Access important analytics such as:
- Number of active memberships
- Number of Total Courses
- Number of Total Modules
- Number of Total Lessons
- Star Membership
- Star Members
- Star Course
- Insights Graphical Presentation
- Total Sales Amount
- These insights help you monitor growth, improve engagement, and optimize your offerings.
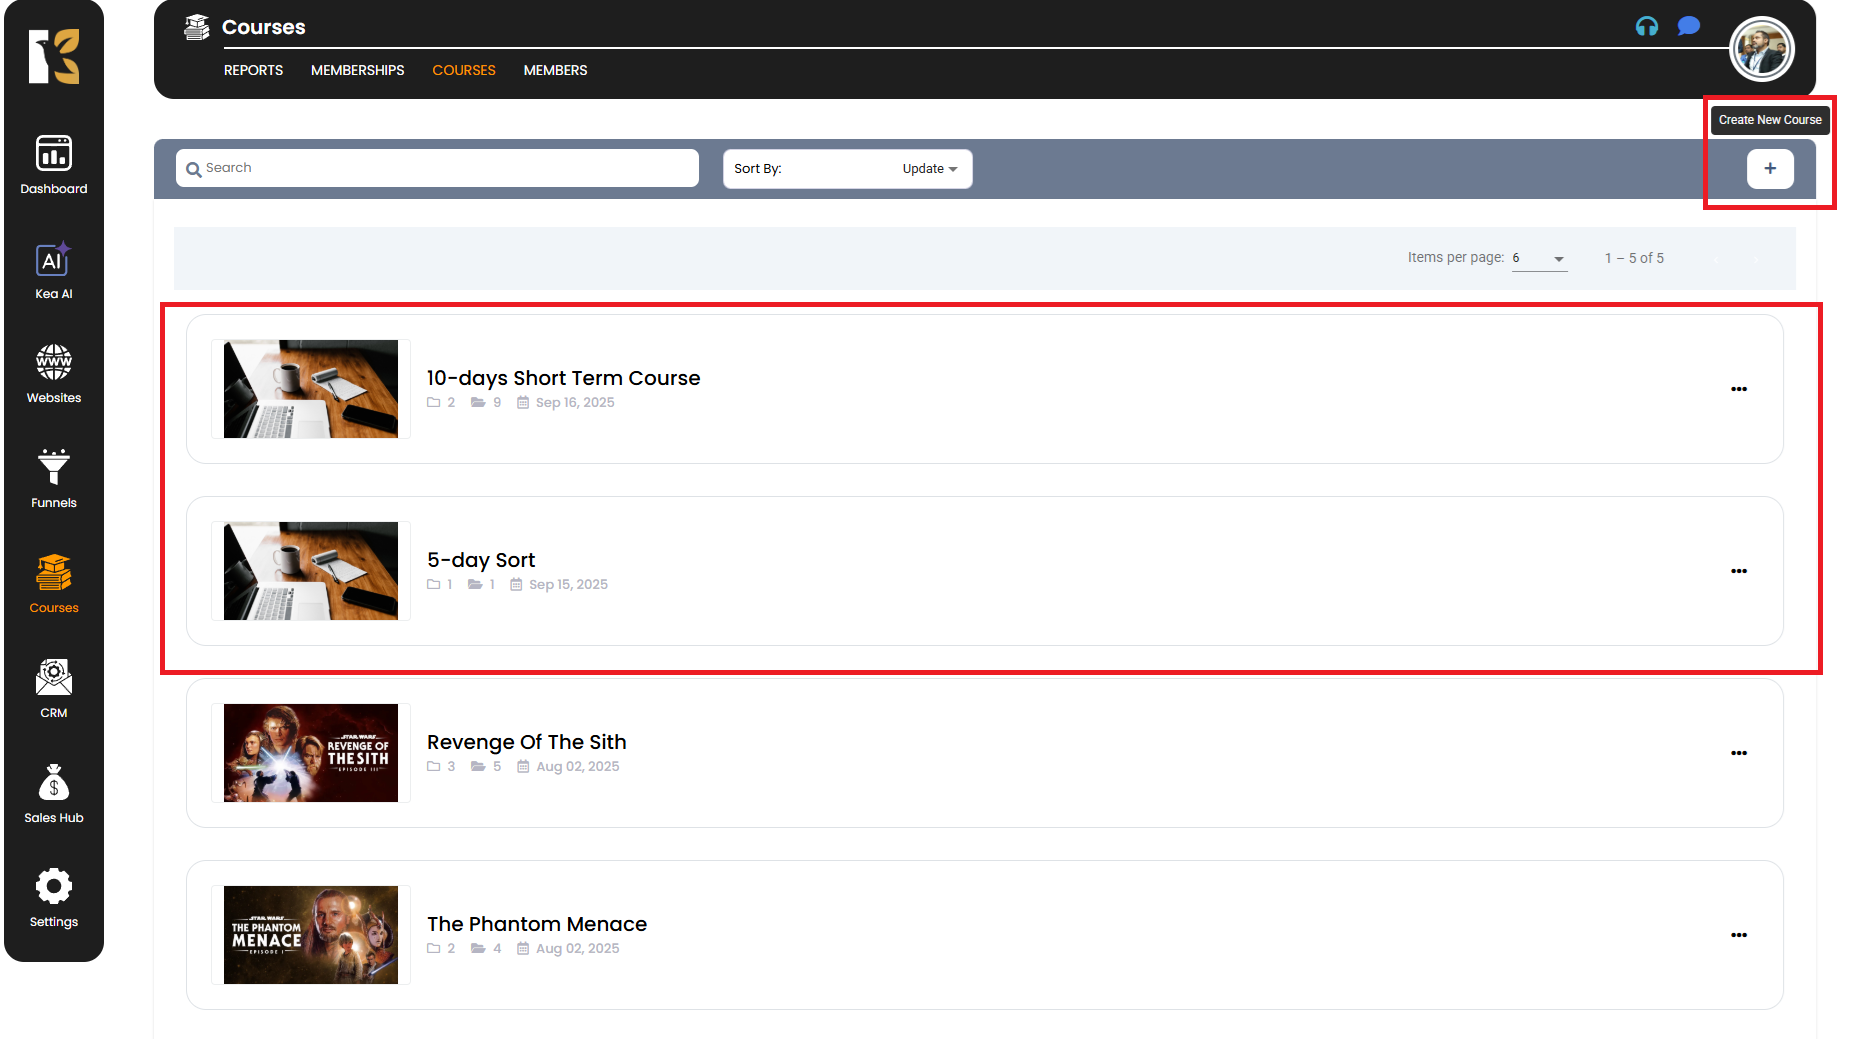
Step 4: Manage Courses Linked to Memberships
- Navigate to the Courses tab within the memberships panel.
- From here, you can:
- Create new courses
- Edit existing ones
- Organize modules within your courses
- If you’re offering multiple courses under different membership levels, this is where you control their structure and availability.
Step 5: Manage Members
- Go to the Members tab (next to the Courses tab).
- Here, you can:
- View a list of all registered members
- Manage member access and permissions
- Add or remove members manually
- Upgrade, downgrade, or revoke memberships if needed
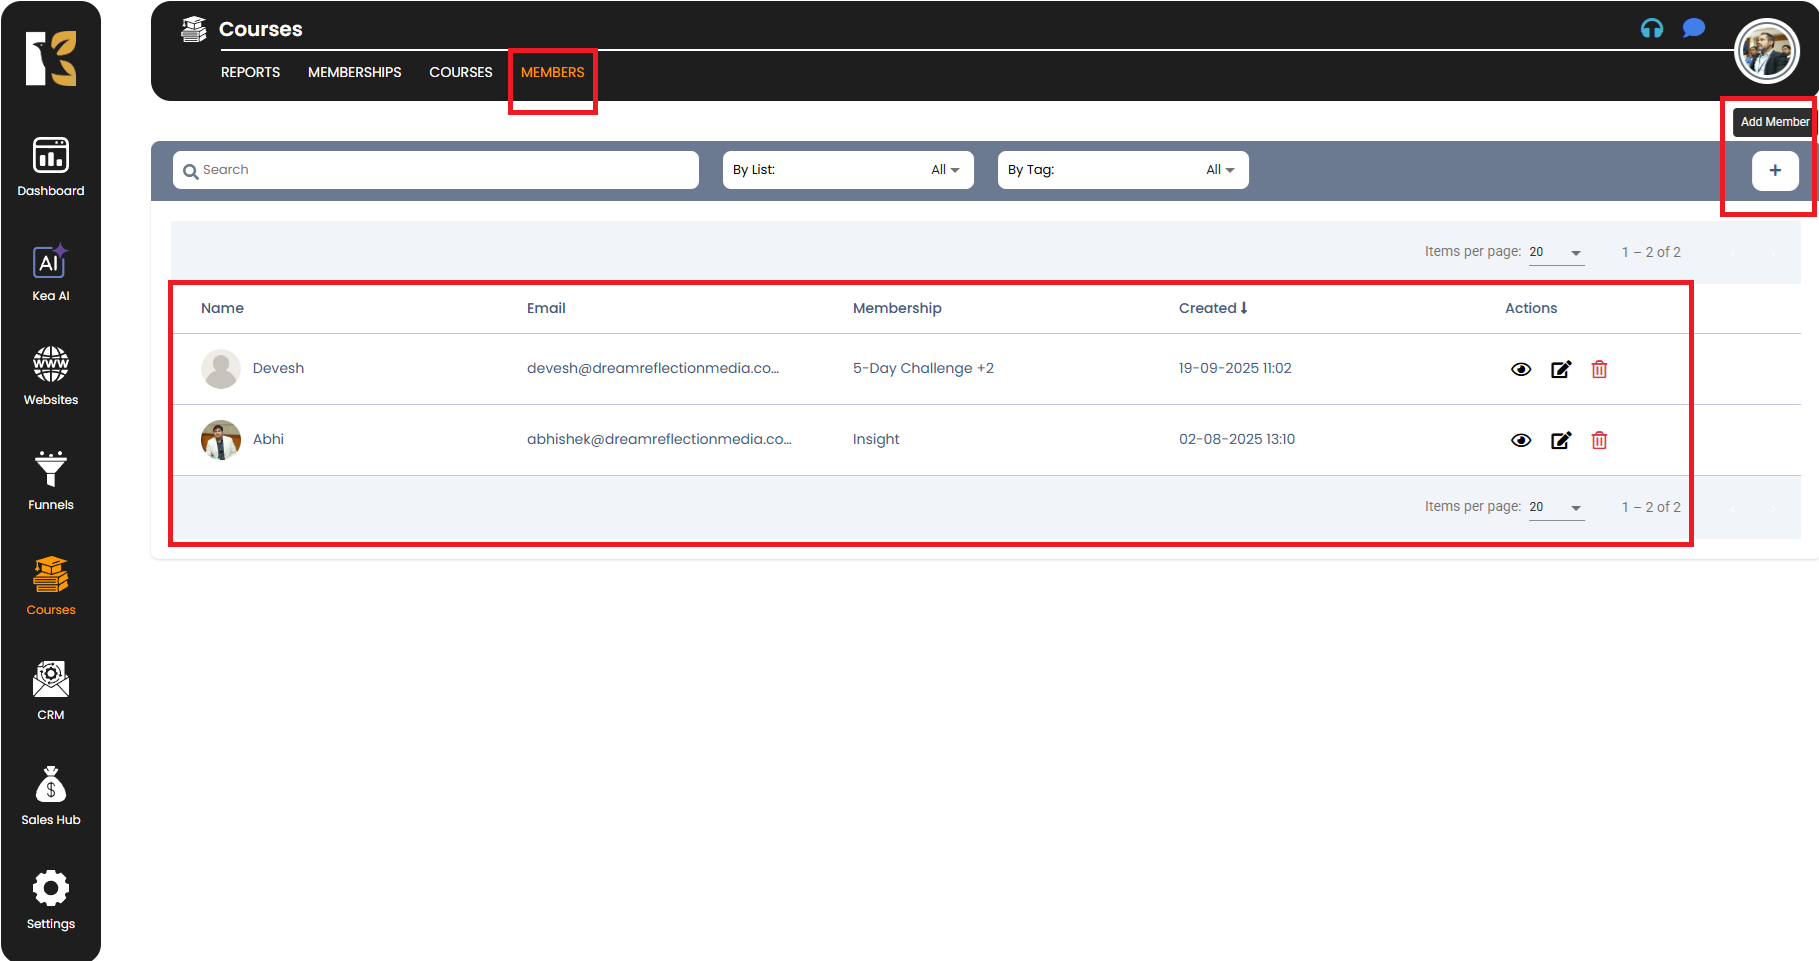
This area gives you complete control over who has access to your exclusive content.
Step 6: Customize Membership Areas
- Click on the Settings, then move to Customize tab to personalize the look and feel of your membership portals.
- You can modify:
- Library layouts – Organize course materials and resources neatly.
- Login pages – Design attractive and branded login interfaces.
- Member dashboards – Create a smooth and intuitive navigation experience for your users.
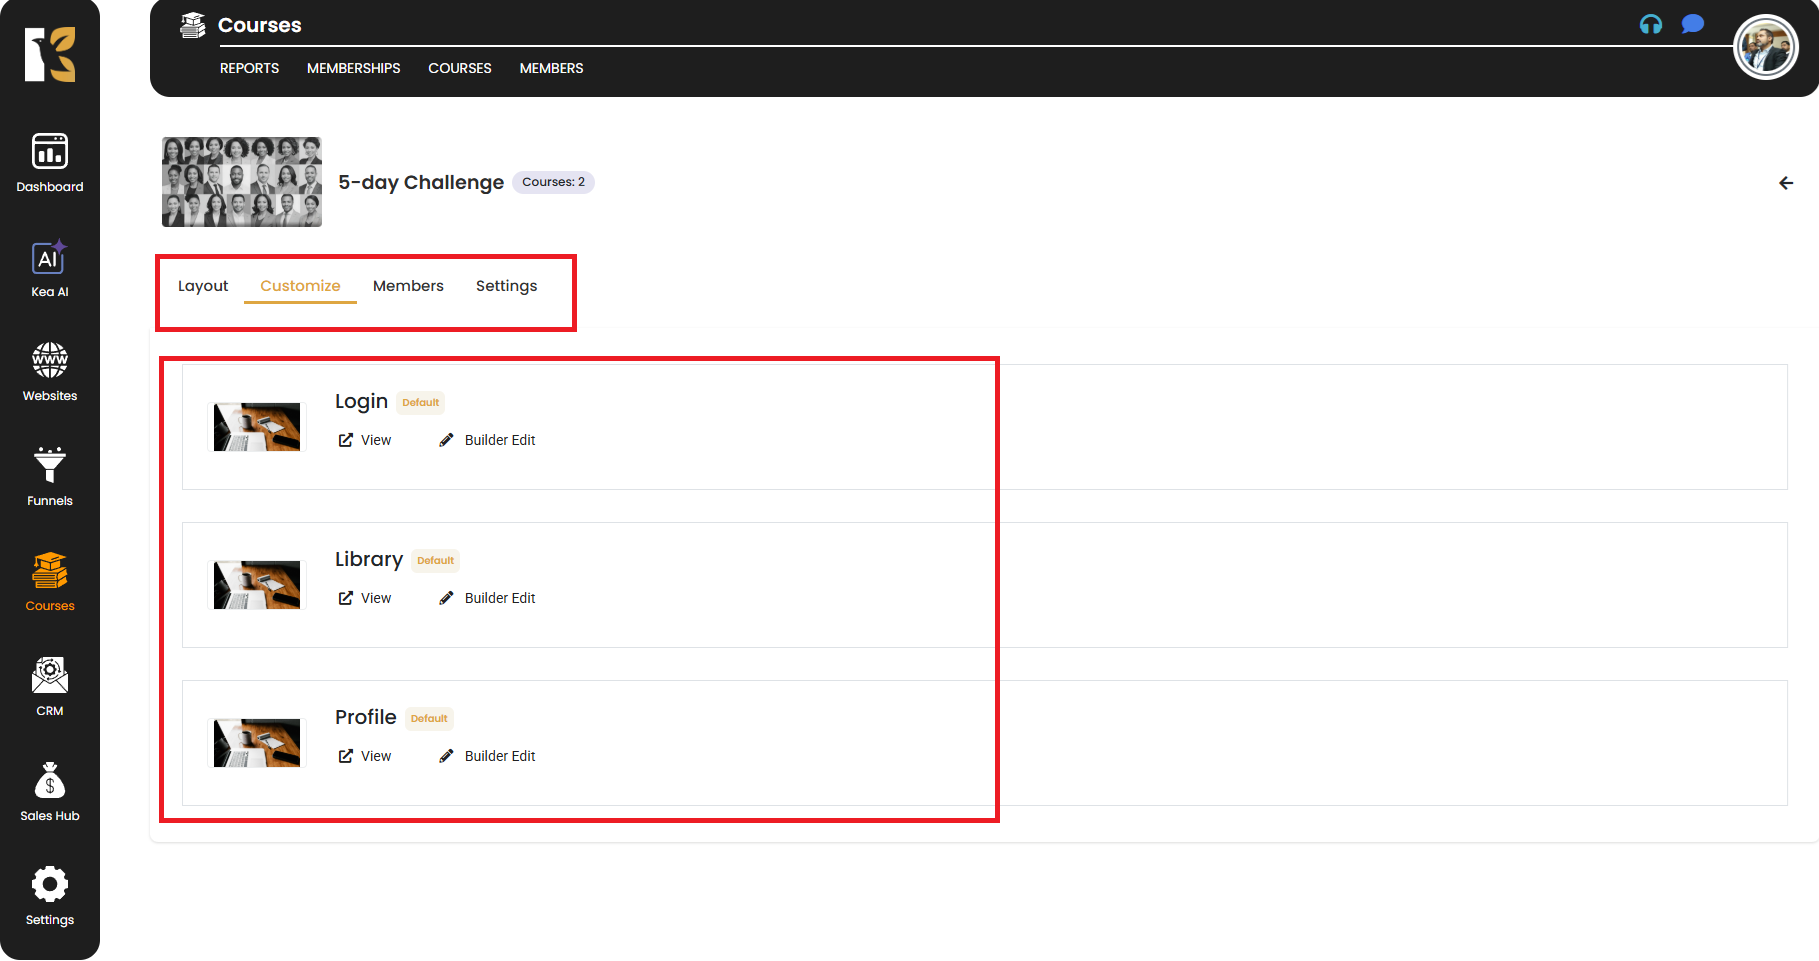
Customization ensures that your membership areas align perfectly with your brand identity.
Step 7: Configure Membership Settings
- Go to the Settings tab to manage overall membership configurations.
- From here, you can control:
- Domain Connection
- Membership Title
- Header & Footer Tracking Code
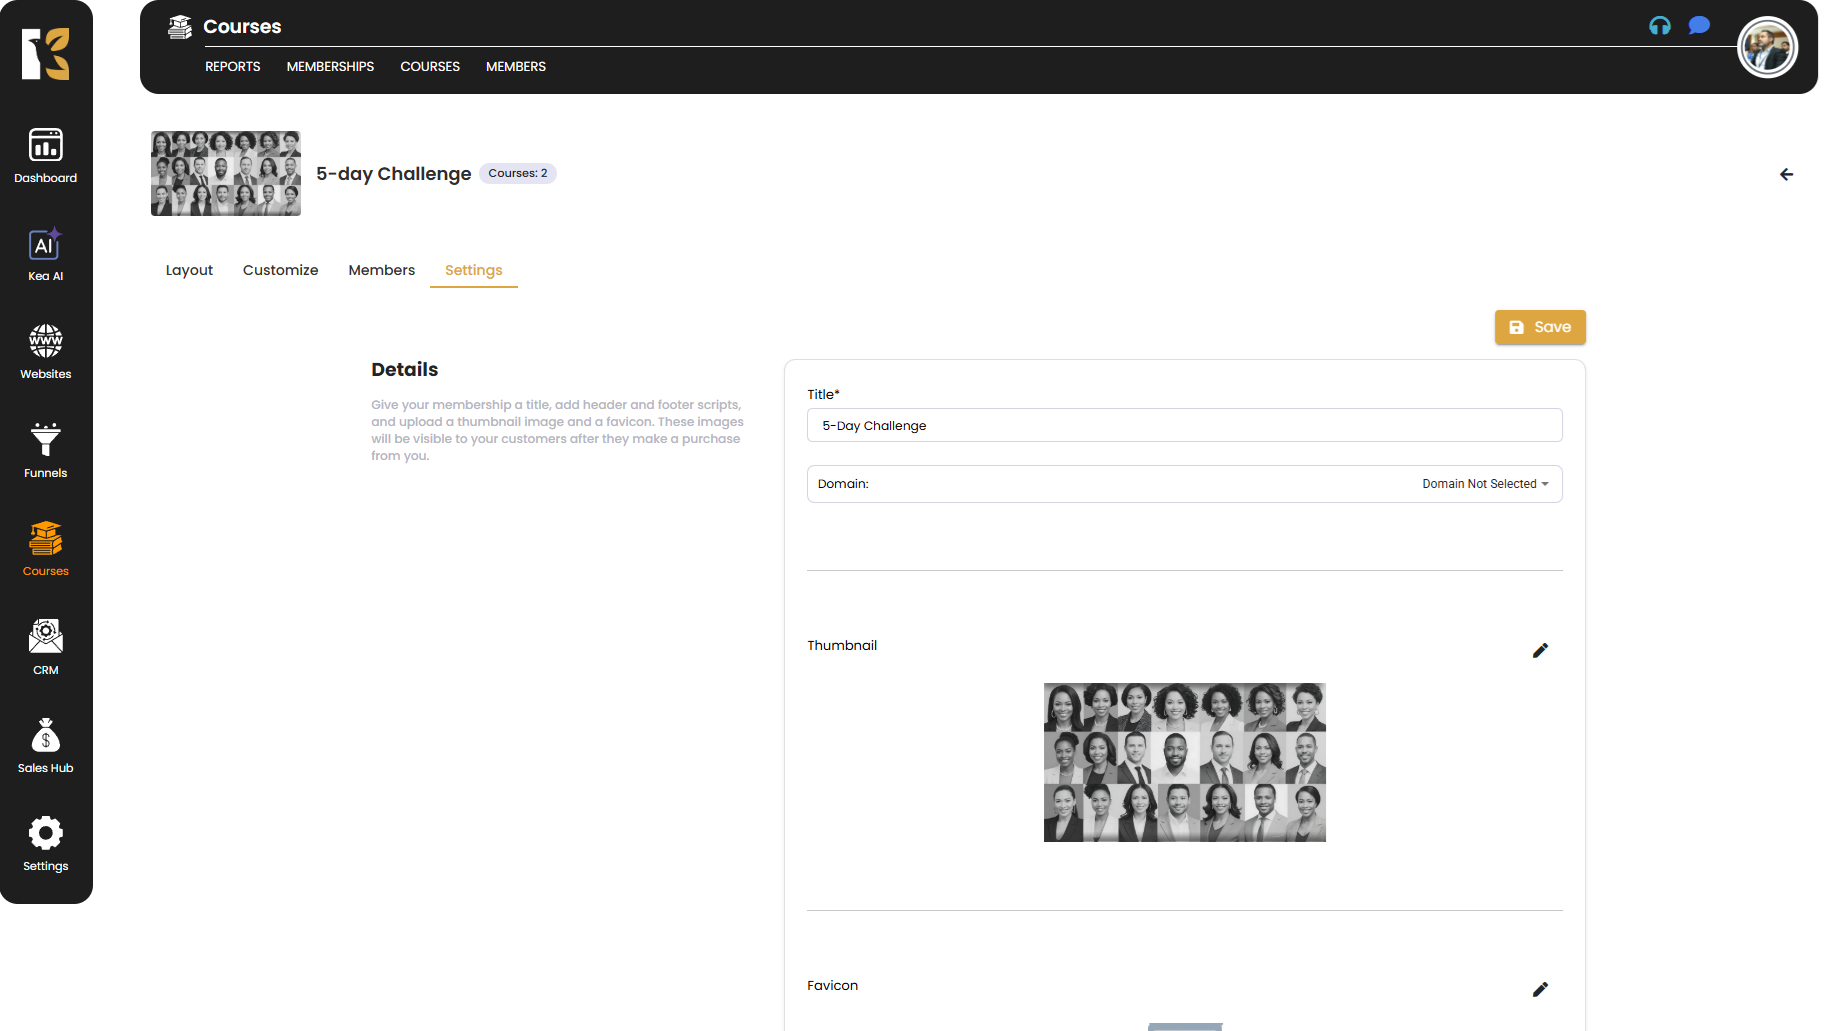
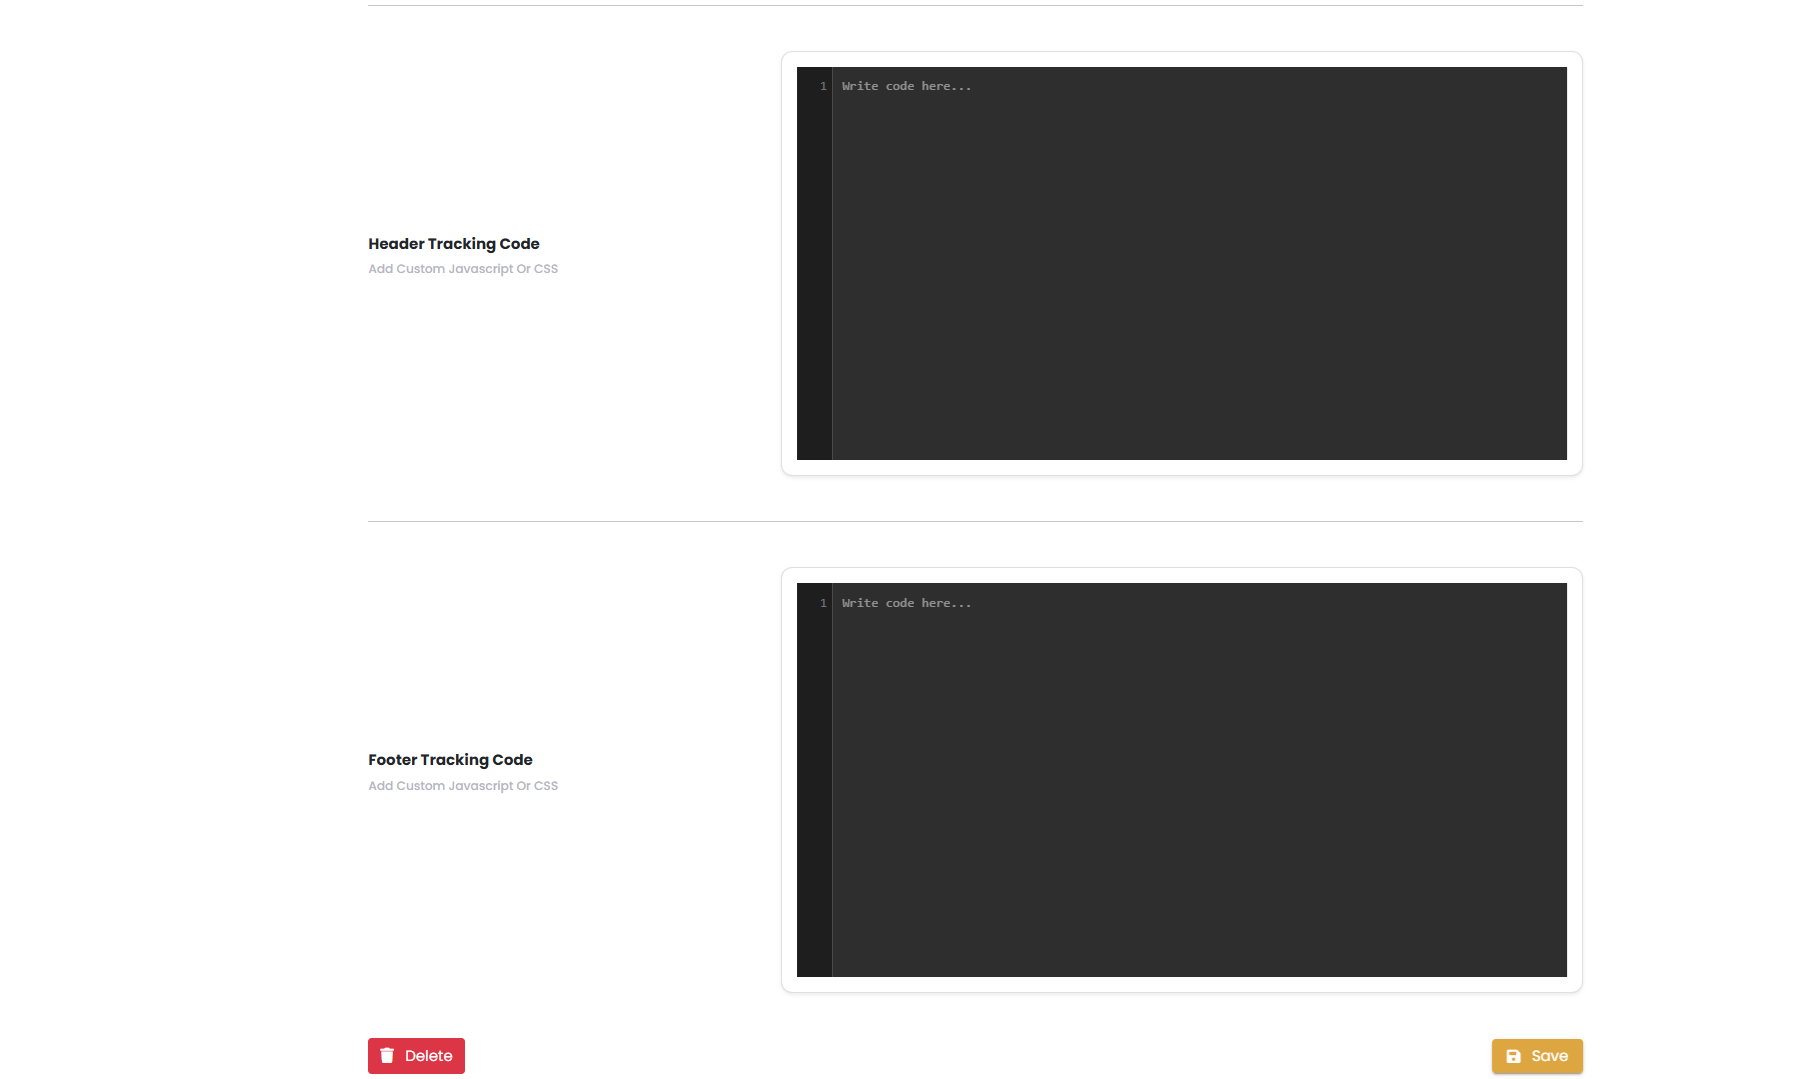
Proper configuration guarantees that your membership system runs smoothly and delivers a professional experience.
Pro Tips 💡
- Regularly review reports to understand how your memberships are performing.
- Keep your courses and modules organized to ensure learners can easily follow your content.
- Use custom branding to provide members with a polished and consistent experience.
- Always test member logins and flows to ensure there are no access issues.
By following these steps, you can effortlessly create, manage, and optimize your memberships in KeaBuilder. Whether you're running online courses, subscription programs, or exclusive content portals, KeaBuilder gives you full control and flexibility to deliver an exceptional member experience.