How to Manage Your Time Zone in KeaBuilder
Setting the correct Time Zone in KeaBuilder ensures that all your activities, reports, email campaigns, and CRM updates are aligned with your local time. This is especially important if you manage clients or teams across different regions, as it helps maintain accurate scheduling, reporting, and communication. By configuring your time zone, you ensure that timestamps in the system match your actual working hours, avoiding confusion and missed deadlines.
Step-by-Step Guide
Login to KeaBuilder
- Start by signing in to your KeaBuilder account.
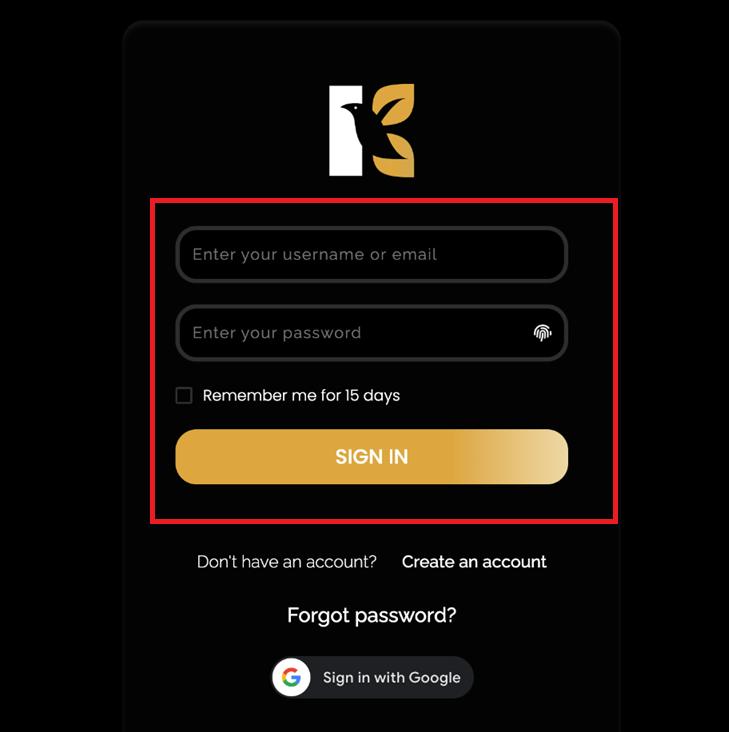
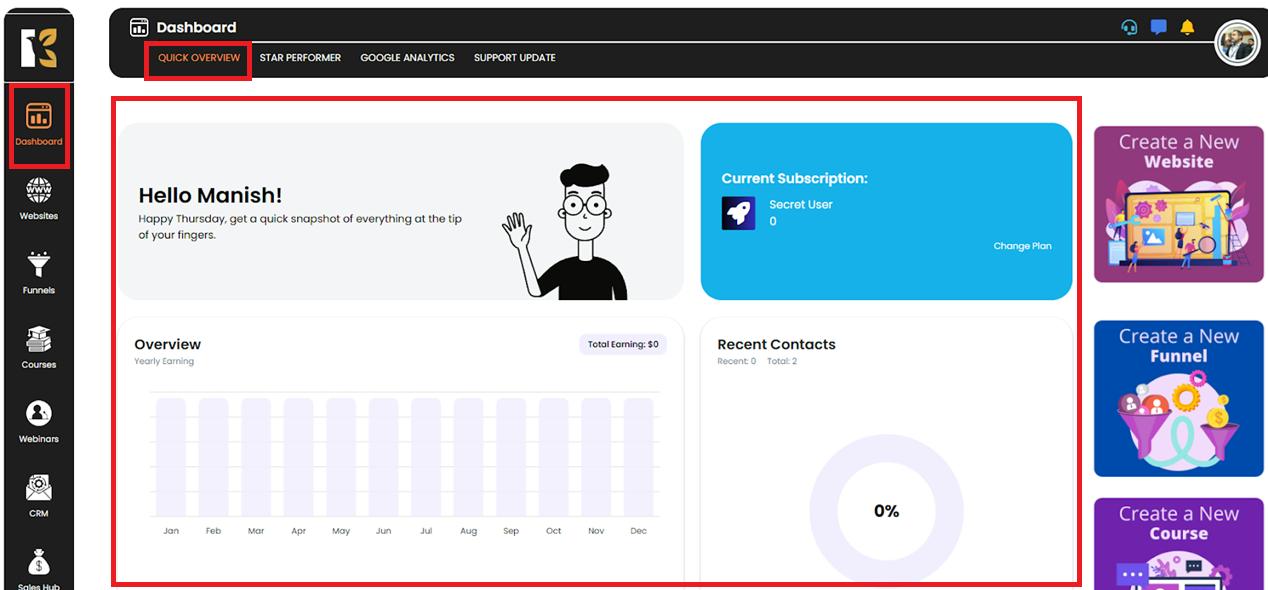
- Once logged in, you’ll land on the Main Dashboard, where all your modules are accessible.
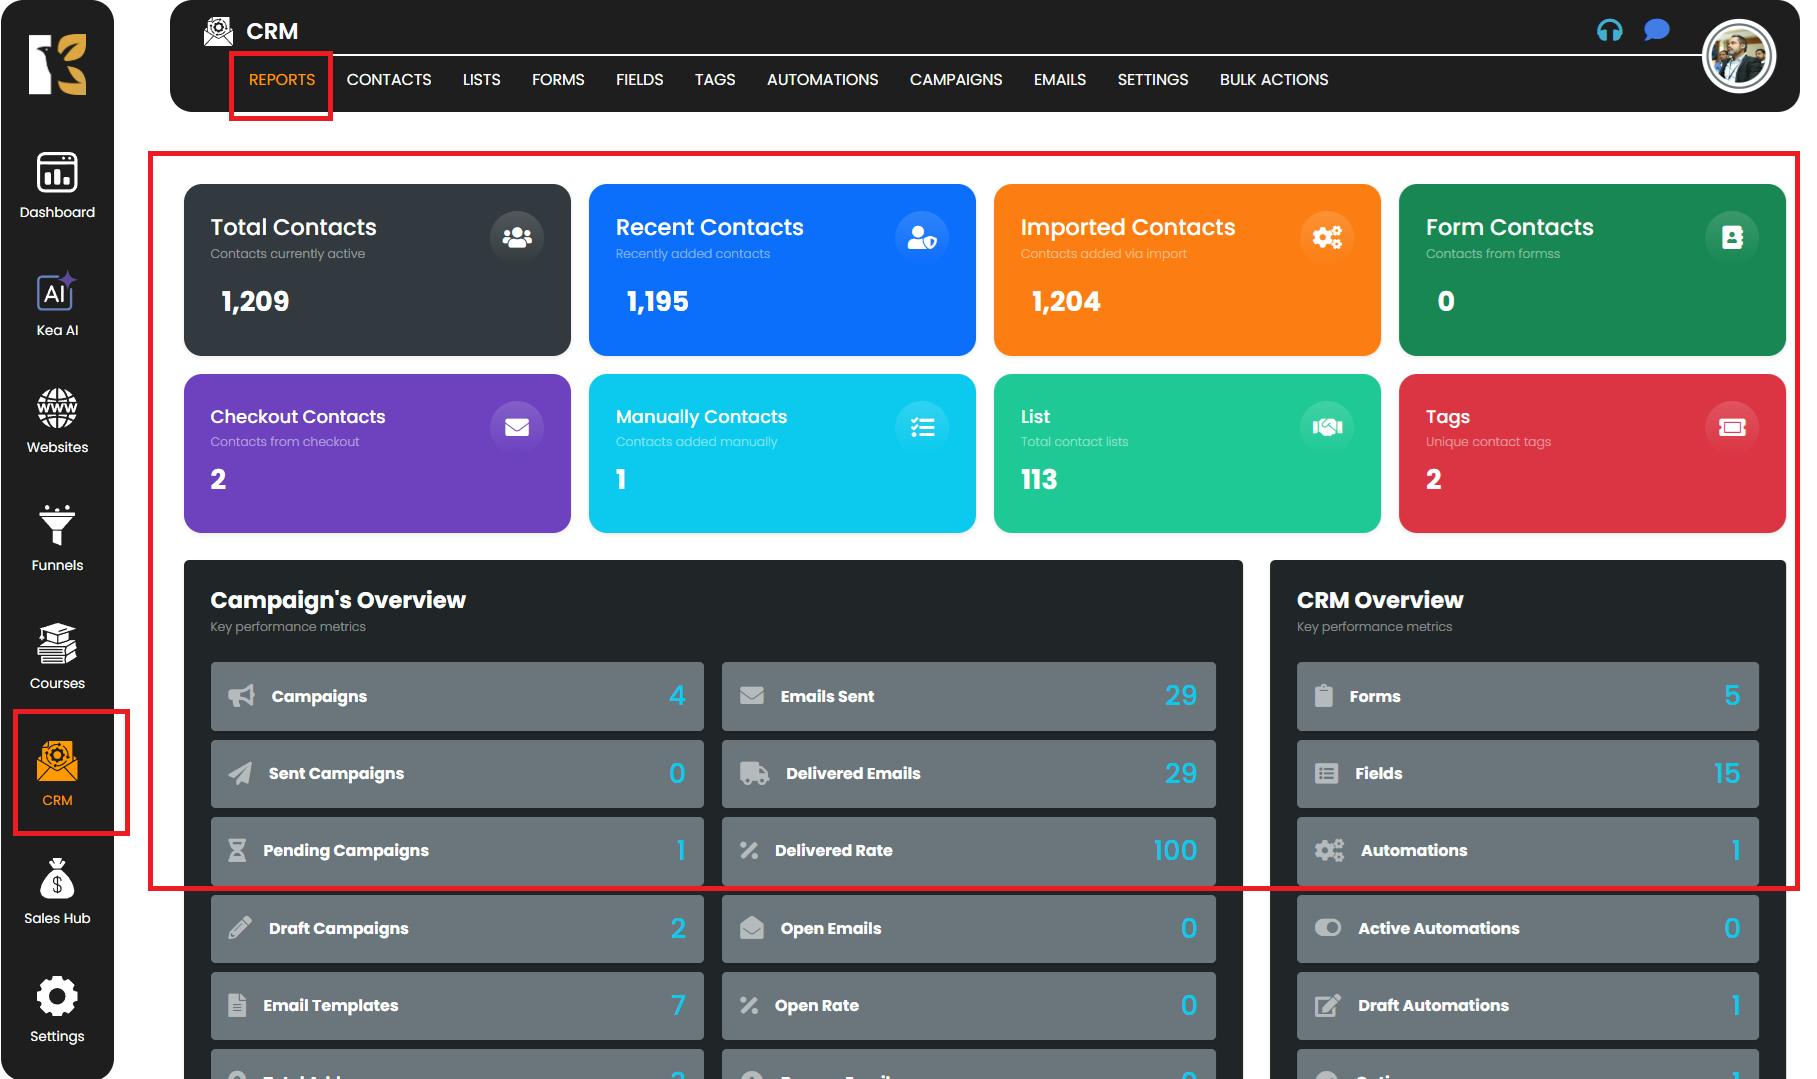
Access the CRM Dashboard
- From the Vertical Menu on the left-hand side, scroll down to CRM’s.
- Click on it to be redirected to the CRM Dashboard, where you can view overall reports related to your CRM.
Open CRM Settings
- From the Horizontal Menu (at the top of the CRM dashboard), locate Reports.
- Next to it, click on Settings.
- You’ll be redirected to the SMTP Settings Page, where you can see the list of SMTP servers connected (if any).
- For first-time users, the page may be blank, and you’ll need to set up your Time Zone.
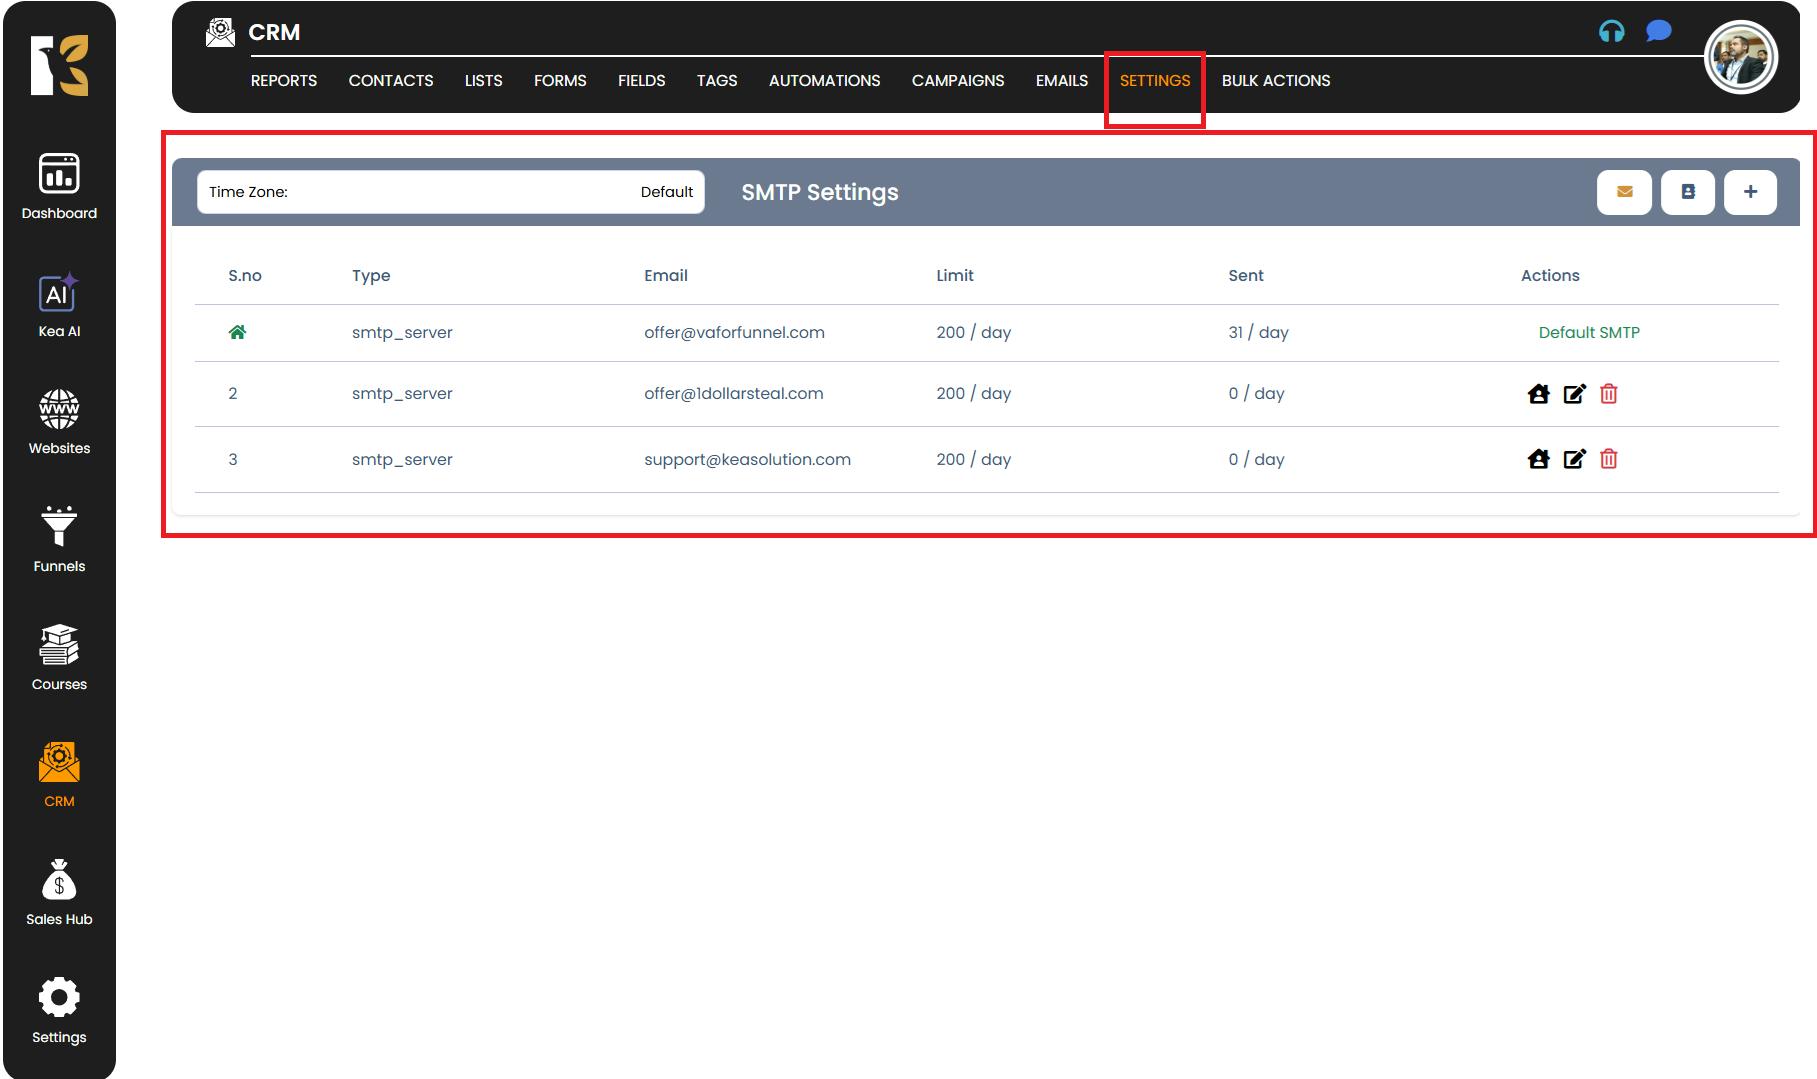
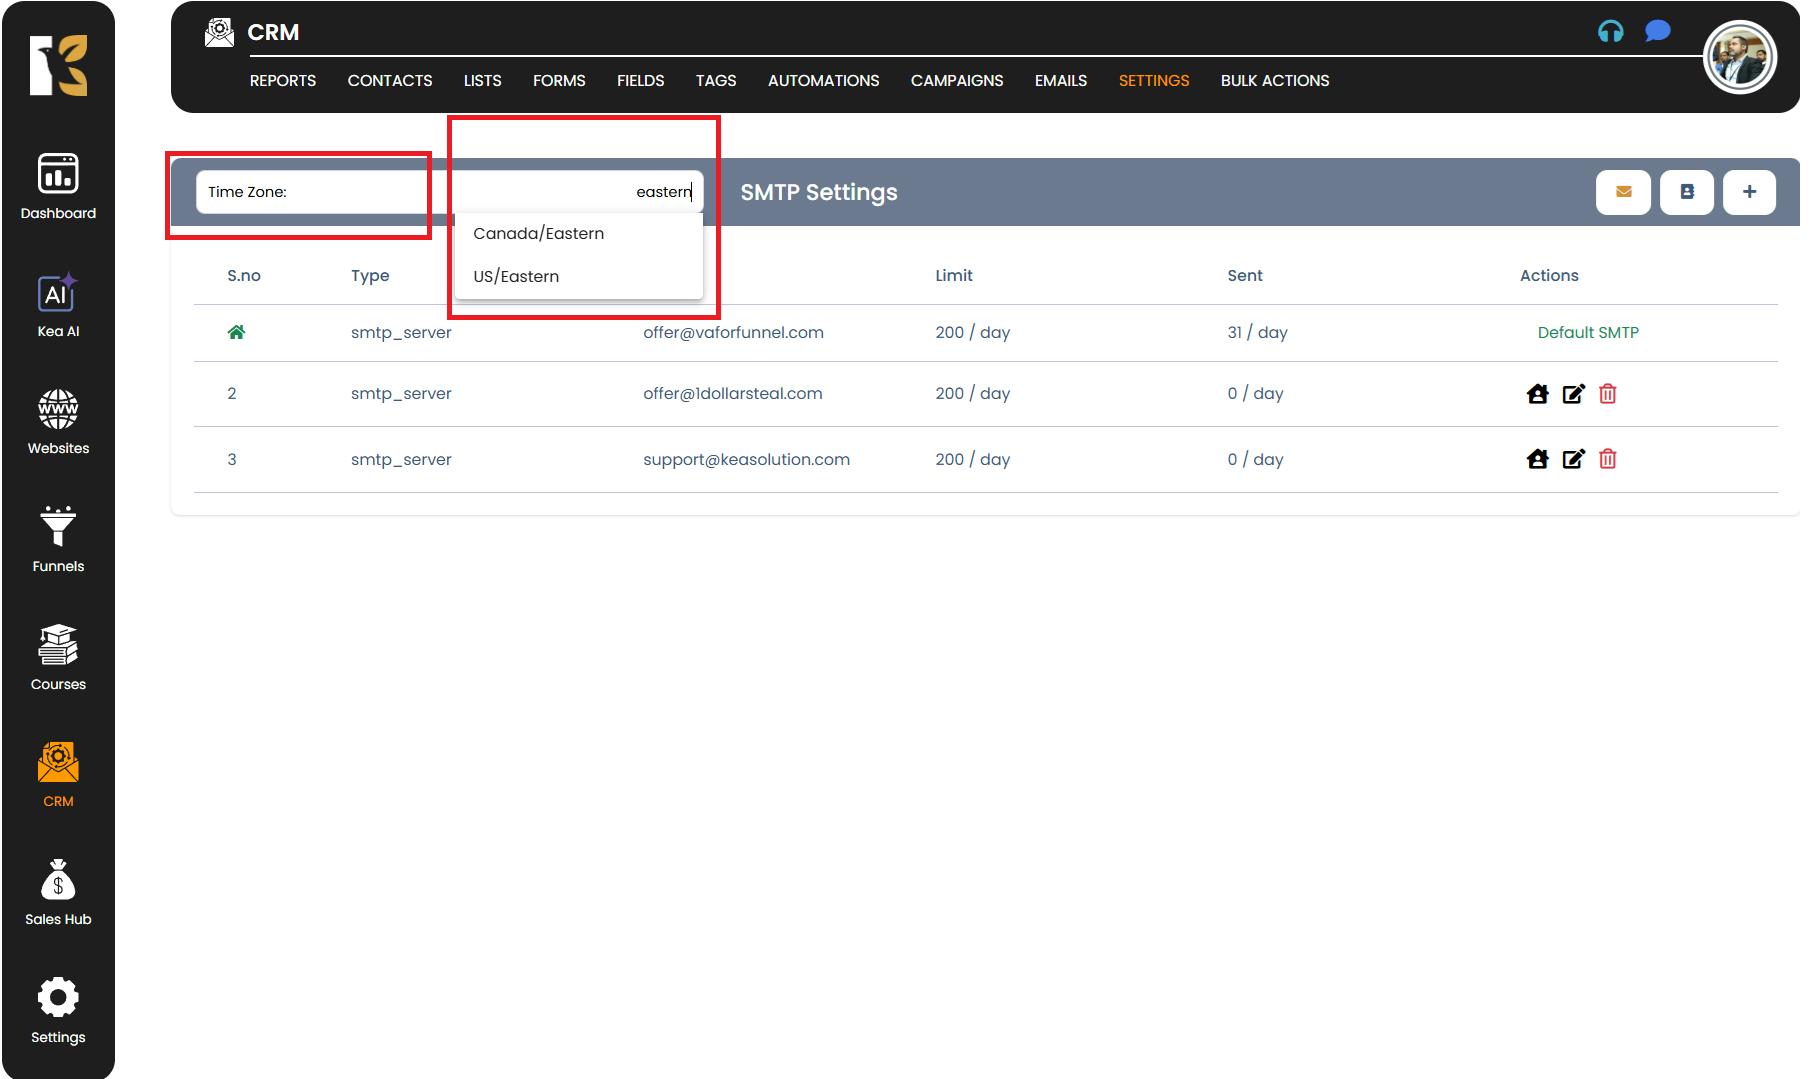
Select Your Default Time Zone
- Below the Horizontal Menu, you’ll find a Search Bar to configure your time zone.
- Click on Default, then type the name of your time zone (for example, “Eastern US”).
- An option that best matches your search will appear—select it.
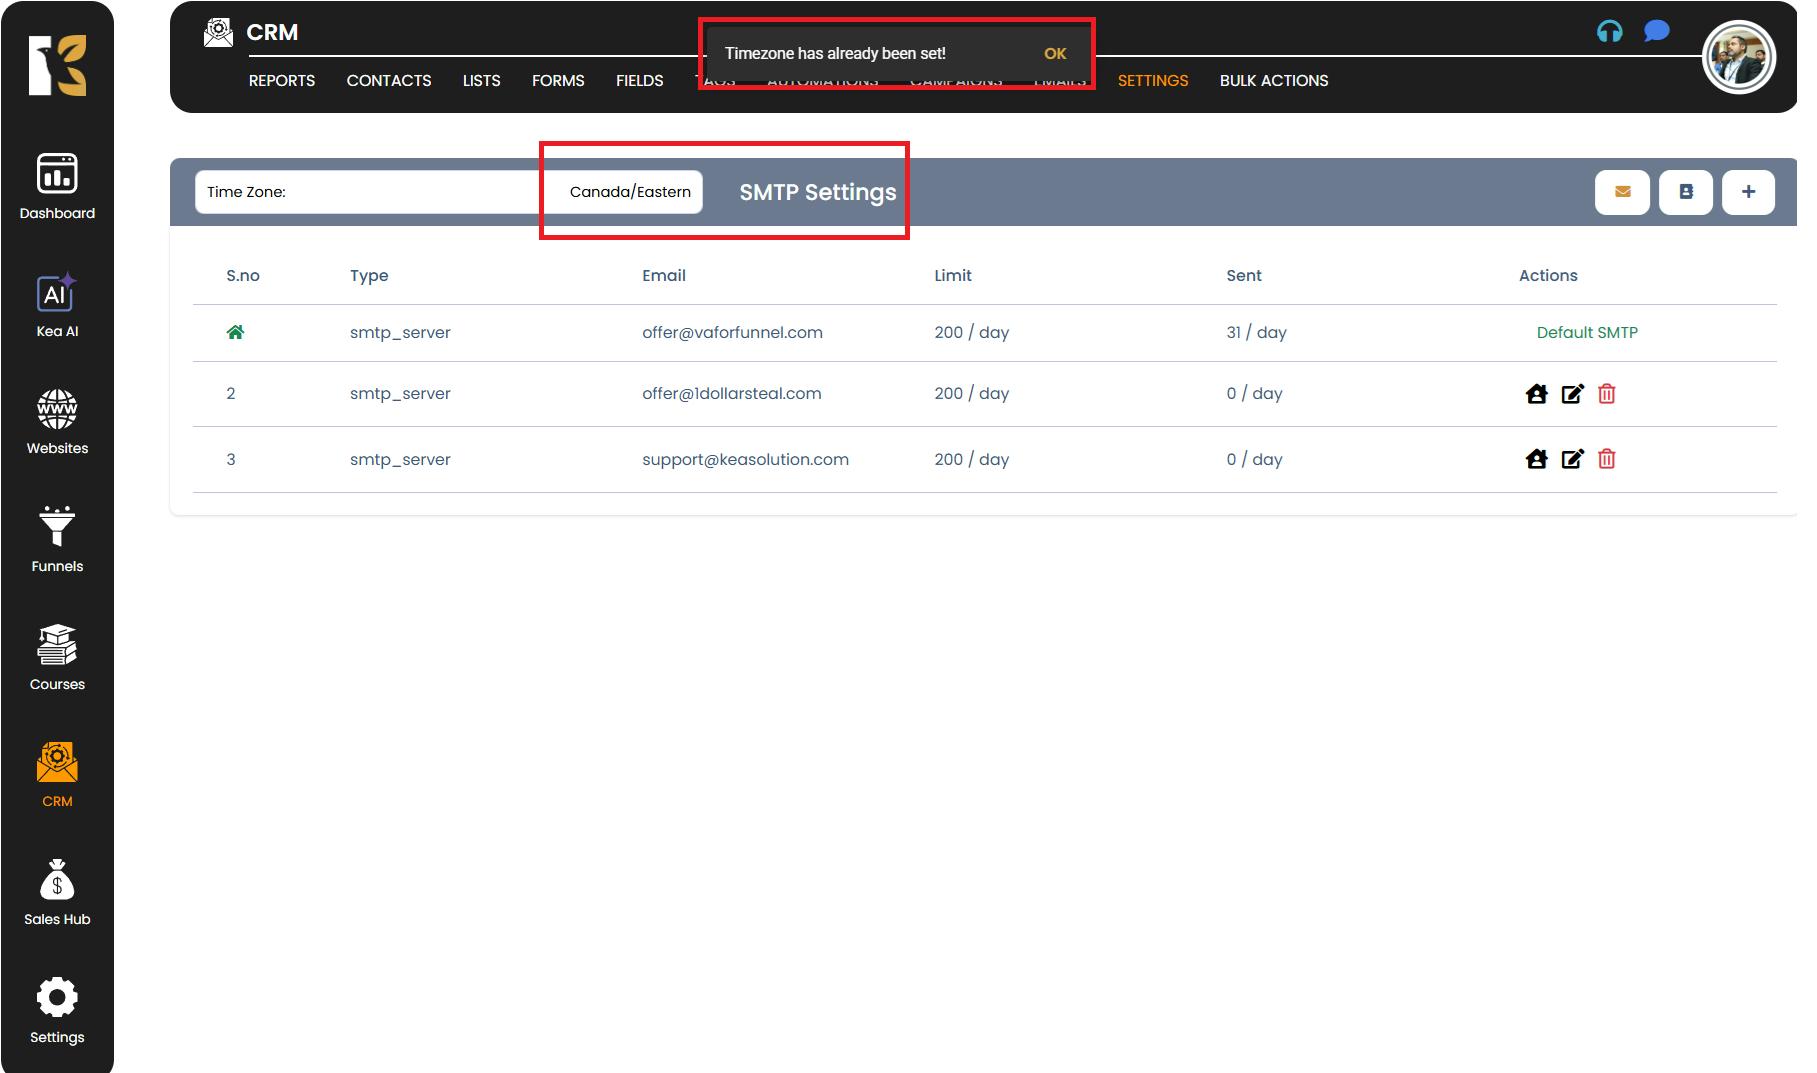
- Once selected, the time zone will be saved automatically.
Edit or Update Your Time Zone Anytime
- You can repeat this process anytime to update or change your time zone settings according to your requirements and it will get saved automatically.
Pro Tips for Managing Your Time Zone
- Match Your Location – Always select the time zone that matches your primary working location to keep records accurate.
- Sync with Team or Clients – If working internationally, align your time zone settings with your team or client schedules for smoother collaboration.
- Check Before Campaigns – Before launching emails or automations, verify your time zone to ensure correct scheduling.
- Use Common Names – When searching for your time zone, use widely recognized names like “Eastern US” or “Pacific US” to find the right option quickly.
- Update After Moving – If you travel or relocate, update your time zone promptly to avoid misaligned reports or notifications.