How to Change Tags for a Contact in Your CRM
Tags are essential for segmenting your contact list and tailoring communication effectively. By updating or modifying tags, you can better manage your contact categories and improve targeting. Follow the steps below to change tags for a contact in your Kea Builder CRM.
👣 Step-by-Step: Update Contact Tags
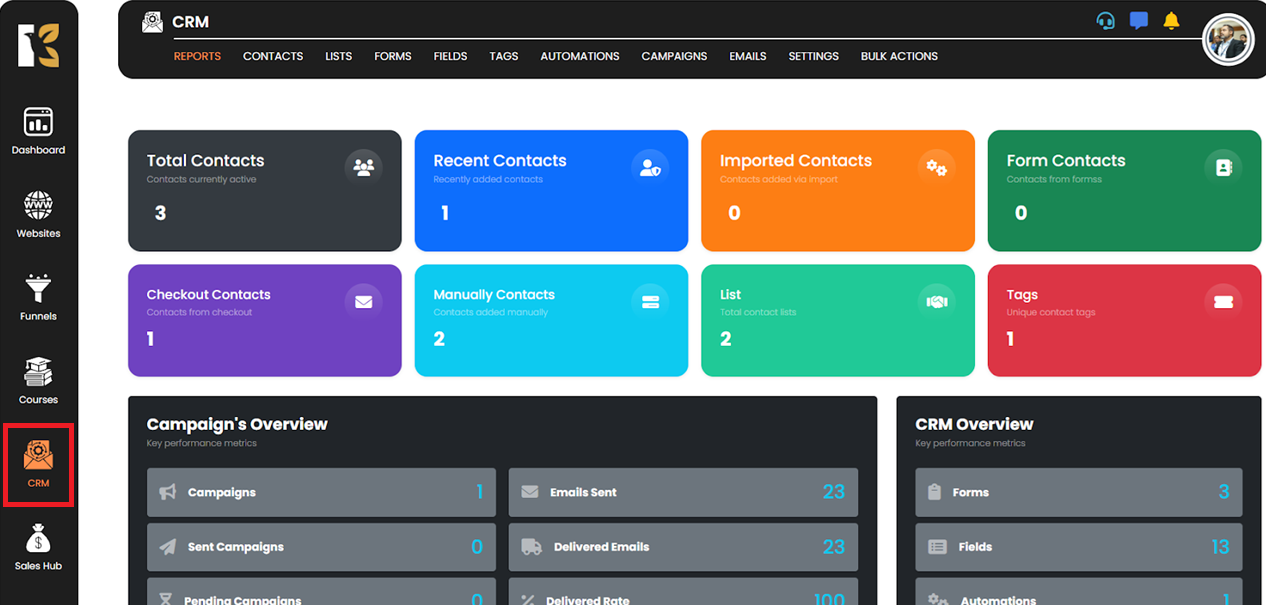
🔹 Step 1: Open the CRM Panel
Navigate to the side menu and click on “CRM.”
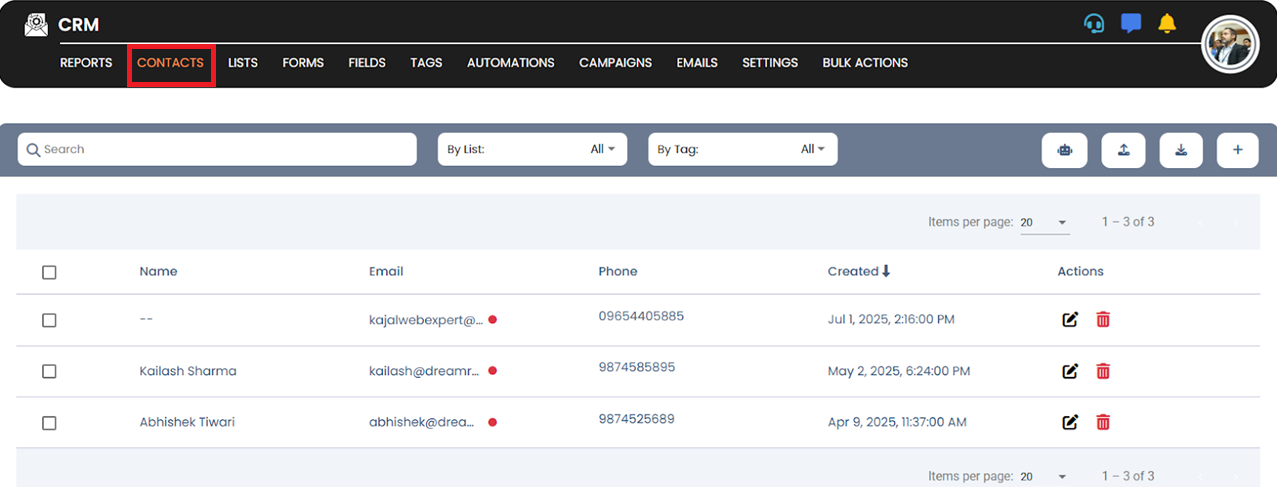
🔹 Step 2: Access the Contacts Section
Click on “Contacts” to view your full contact list.
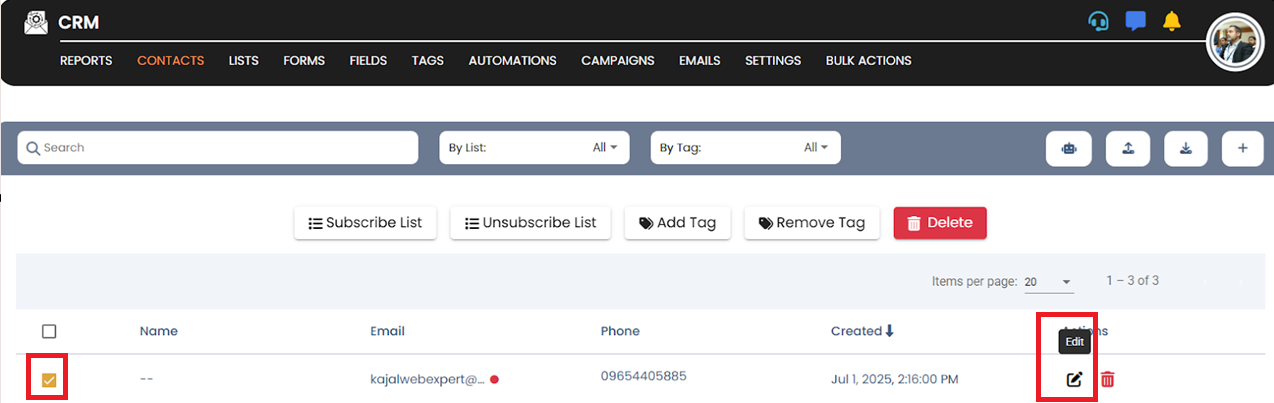
🔹 Step 3: Edit a Contact
Find the contact you want to update.
Click on the “Edit” button under the Actions column.
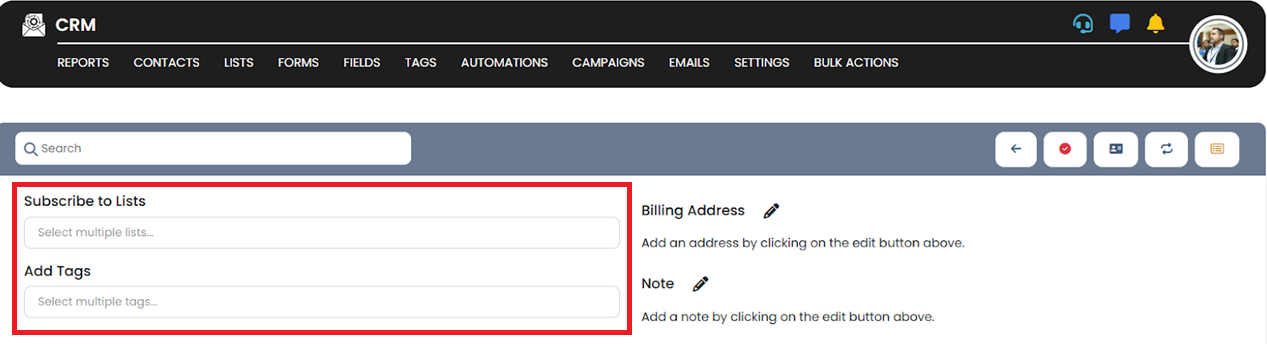
🔹 Step 4: Modify Tags and Subscribe Lists
In the top-right corner of the contact's profile, click on “Options.”
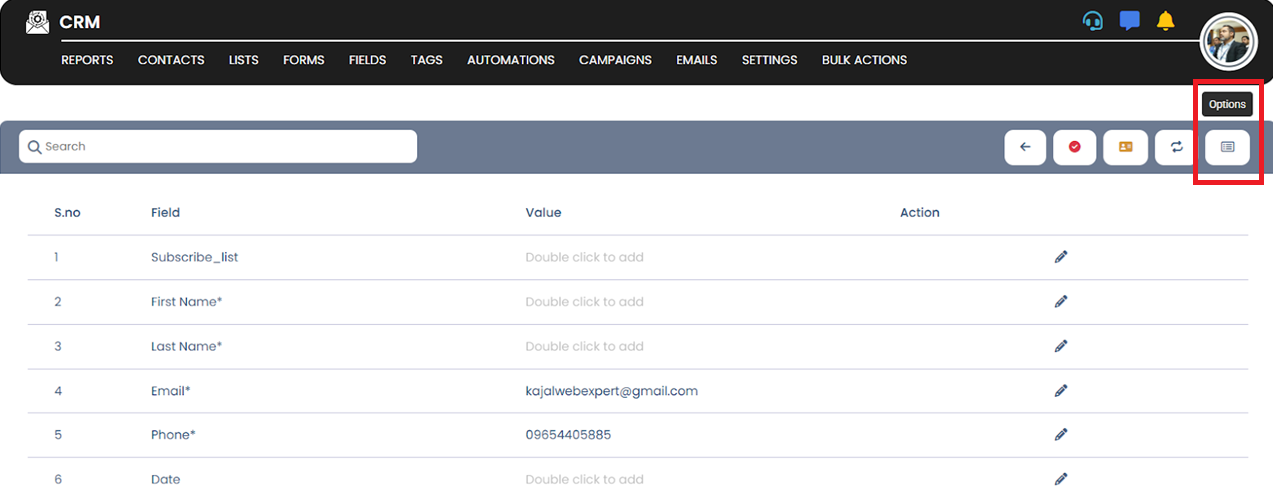
From here, you can edit or change the contact’s Tags and Subscribe Lists.
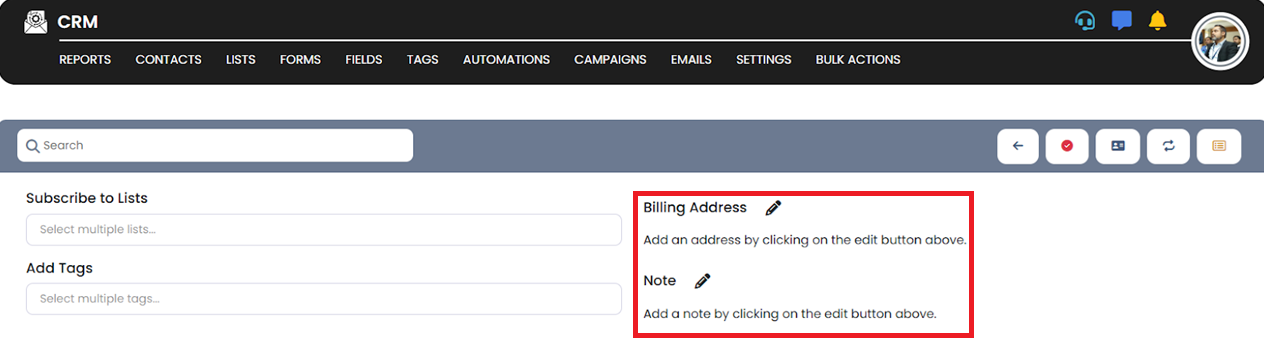
🔹 Optional: Add Notes
Scroll to the bottom of the contact details page to find the “Notes” section.
✅ Pro Tip:
Use clear and consistent tag names to maintain organized and searchable contact segments.