How to Add a Field in a Form
Fields are the core components of any form. They allow users to input specific data, such as names, emails, phone numbers, or custom entries. Each field you add contributes to the form’s structure and helps capture the necessary information. Follow these steps to easily add custom fields to your CRM forms in Kea Builder.
👣 Step-by-Step: Add a New Field
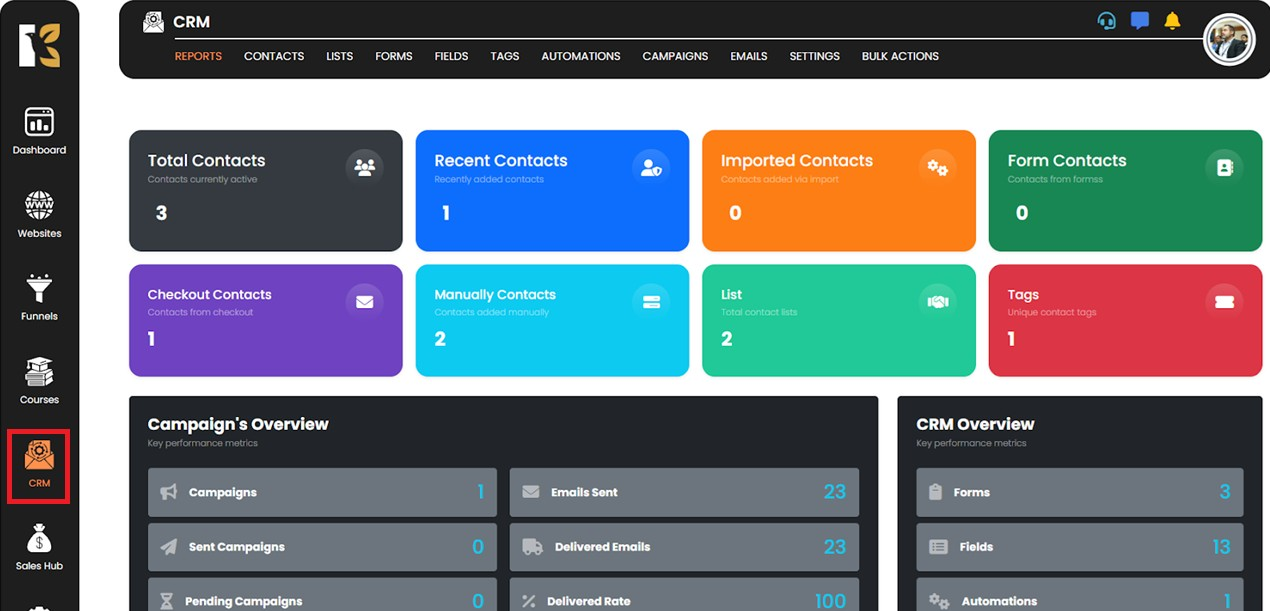
🔹 Step 1: Navigate to CRM
From the side menu, click on the “CRM” option.
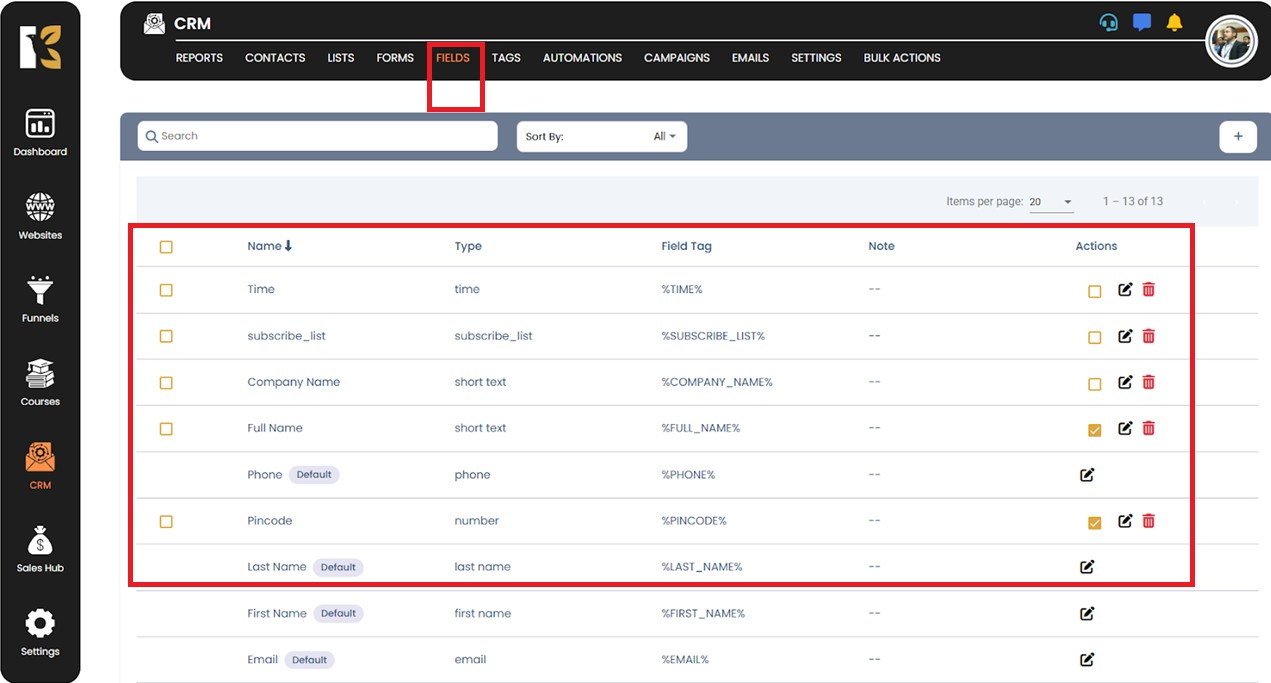
🔹 Step 2: Open the Fields Panel
Click on the “Fields” button inside the CRM dashboard.
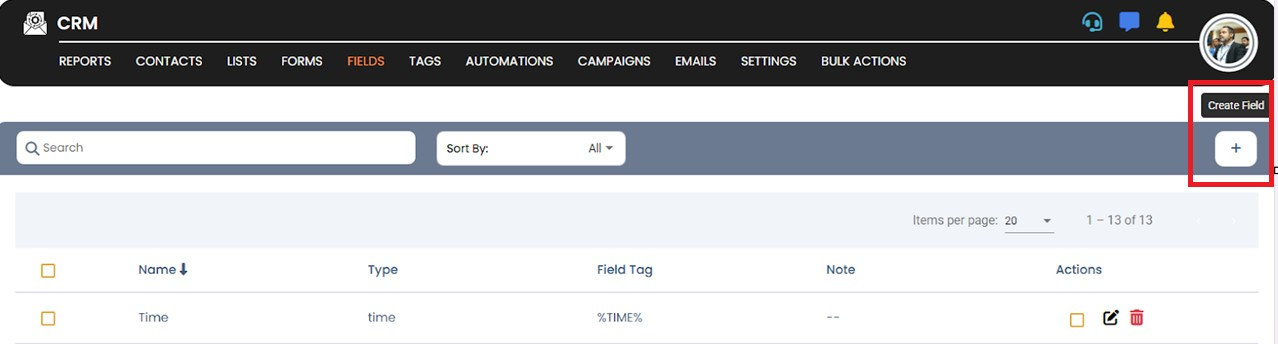
🔹 Step 3: Begin Adding a New Field
Click on the “Create Field” button.
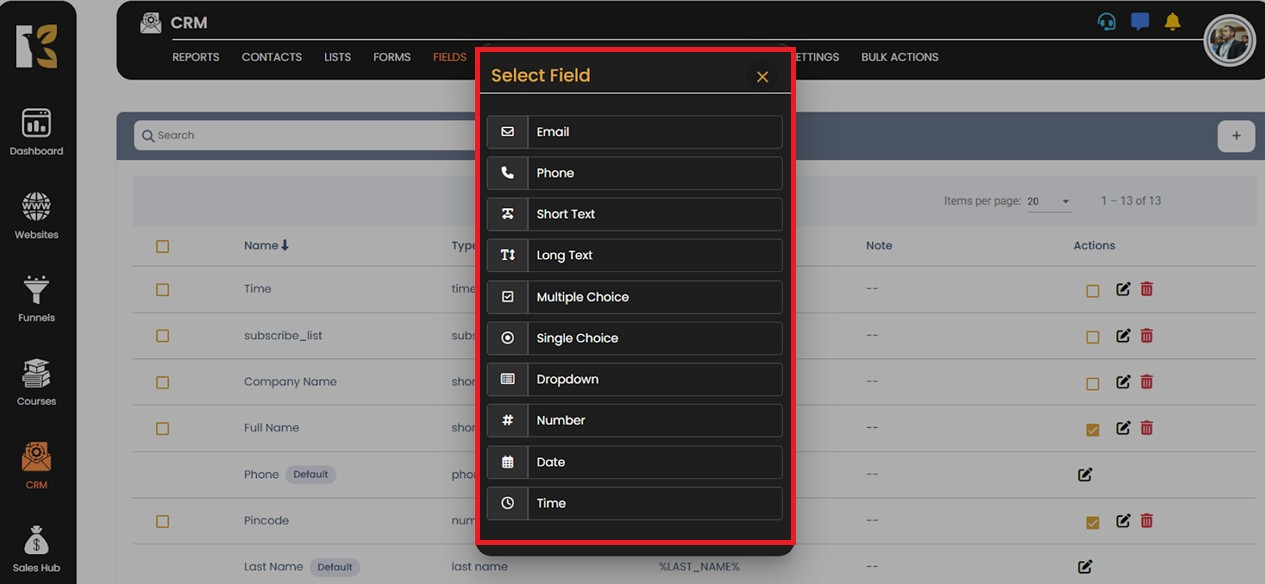
🔹 Step 4: Choose the Field Type
From the dropdown or list, select the type of field you want to add (e.g., email, phone, short text, long text, Multiple choice, Single choice, dropdown, number, date, time, etc.).
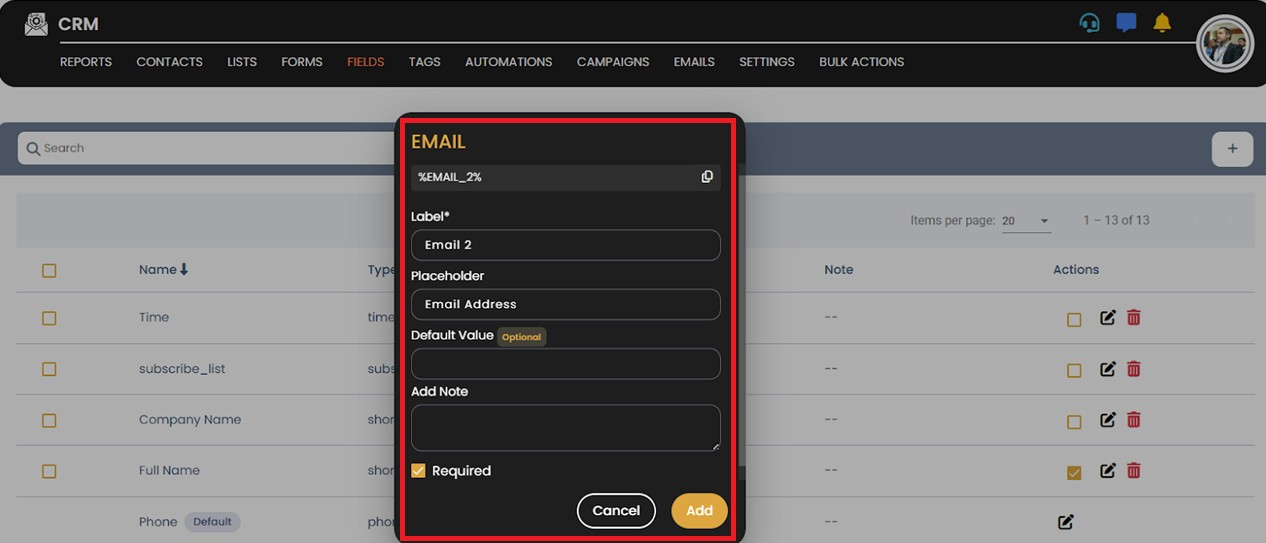
🔹 Step 5: Configure Field Settings
Fill out the required details in the dialog box—this typically includes the field label, placeholder, and field rules if any.
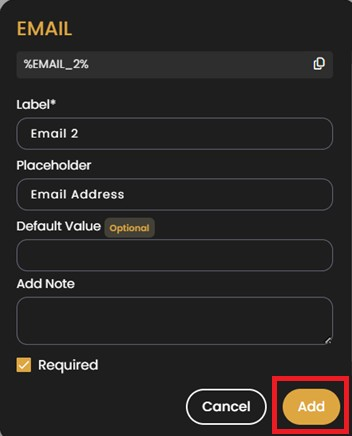
🔹 Step 6: Save Your Field
After entering the information, click the “Add” button.
🔹 Step 7: Confirmation
Your new field will now be successfully saved and available for use in your forms.

✅ Tip:
You can repeat this process to create and manage multiple fields, giving you complete control over the structure and flow of your form.