How to Add Bulk Actions to Your Contacts in CRM
Managing a large number of contacts individually can be time-consuming, which is why the Bulk Action feature in your CRM comes in handy. It allows you to import or export multiple contacts in one go, saving time and ensuring better data management. Follow the steps below to easily upload or download contacts in bulk:
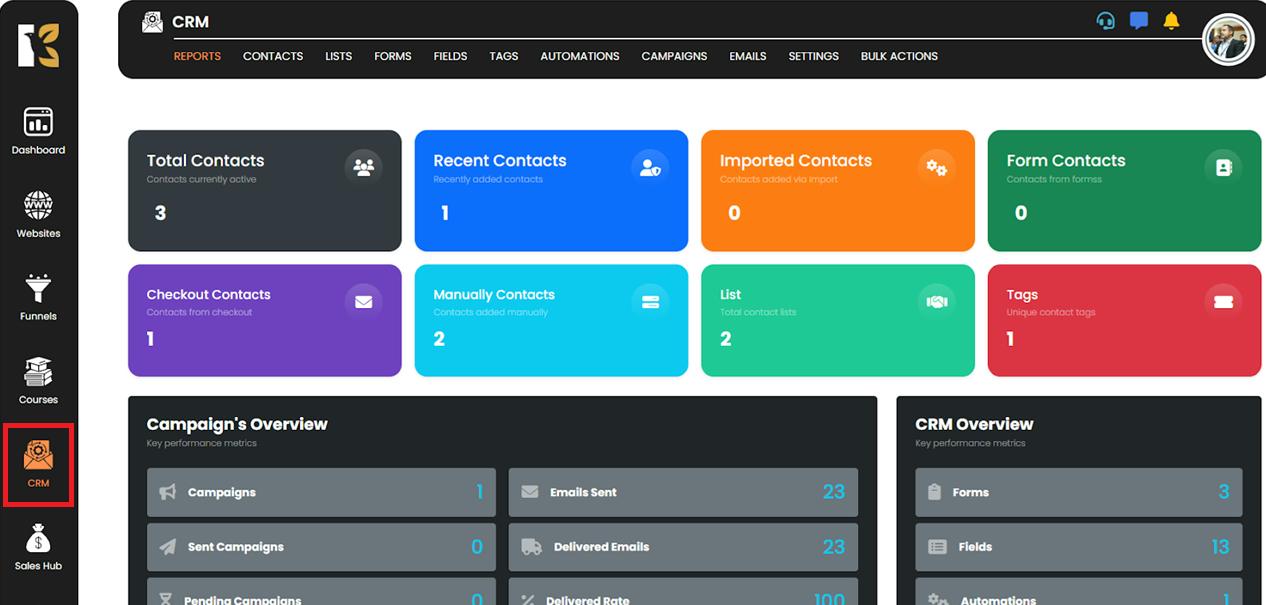
Step 1: Open the CRM
- From the left-side navigation menu, click on the CRM option.
- This will take you to the main CRM dashboard, where you can manage all your contacts.
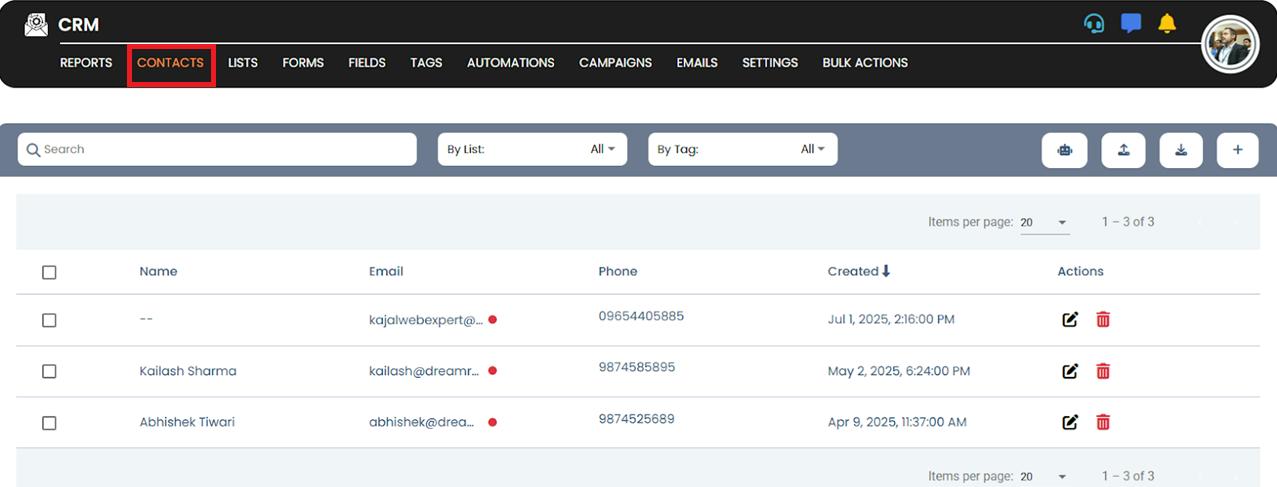
Step 2: Go to the Contacts Section
- At the top of the CRM interface, click on the Contacts tab to access your Contacts Dashboard.
- Here, you’ll be able to see your entire contact list, along with options to manage, edit, sort, and perform bulk actions.
Step 3: Locate the Bulk Action Options
- Just below the horizontal menu bar, you’ll find two key options:
- Import Contacts – to upload multiple contacts into the CRM.
- Export Contacts – to download your contact list for backup, reporting, or external usage.
- These options make it easy to handle large sets of data quickly.

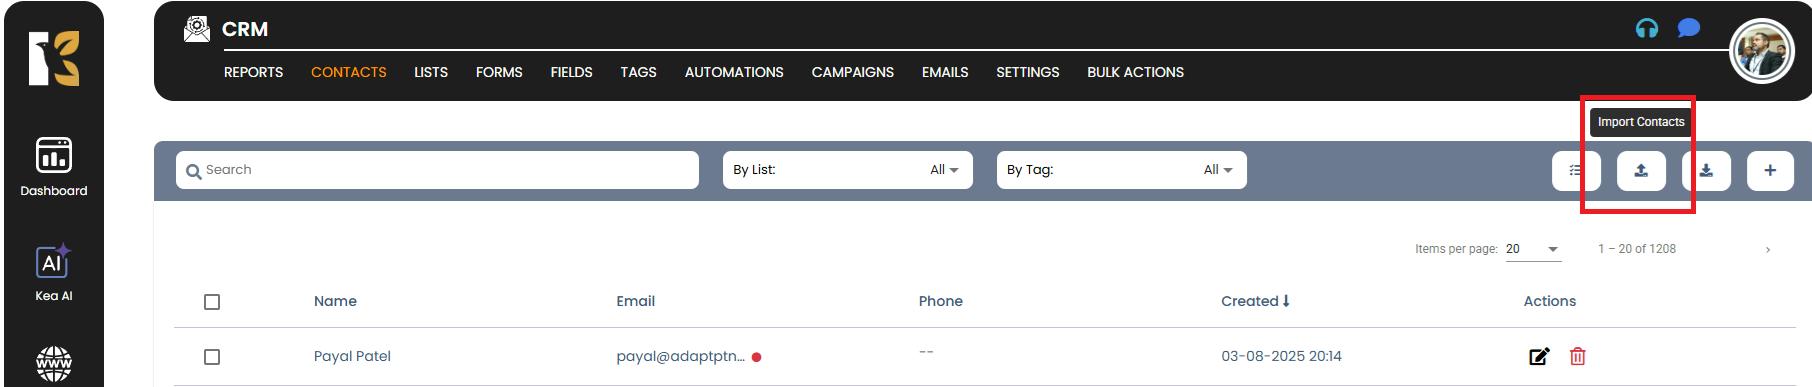
Step 4: Upload Contacts in Bulk
- To import contacts, click on the Up-Arrow Icon (Upload button).
- A pop-up window will appear, prompting you to select the file you want to upload.
- The supported formats are:
- .xlsx (Excel files)
- .json (JSON files)
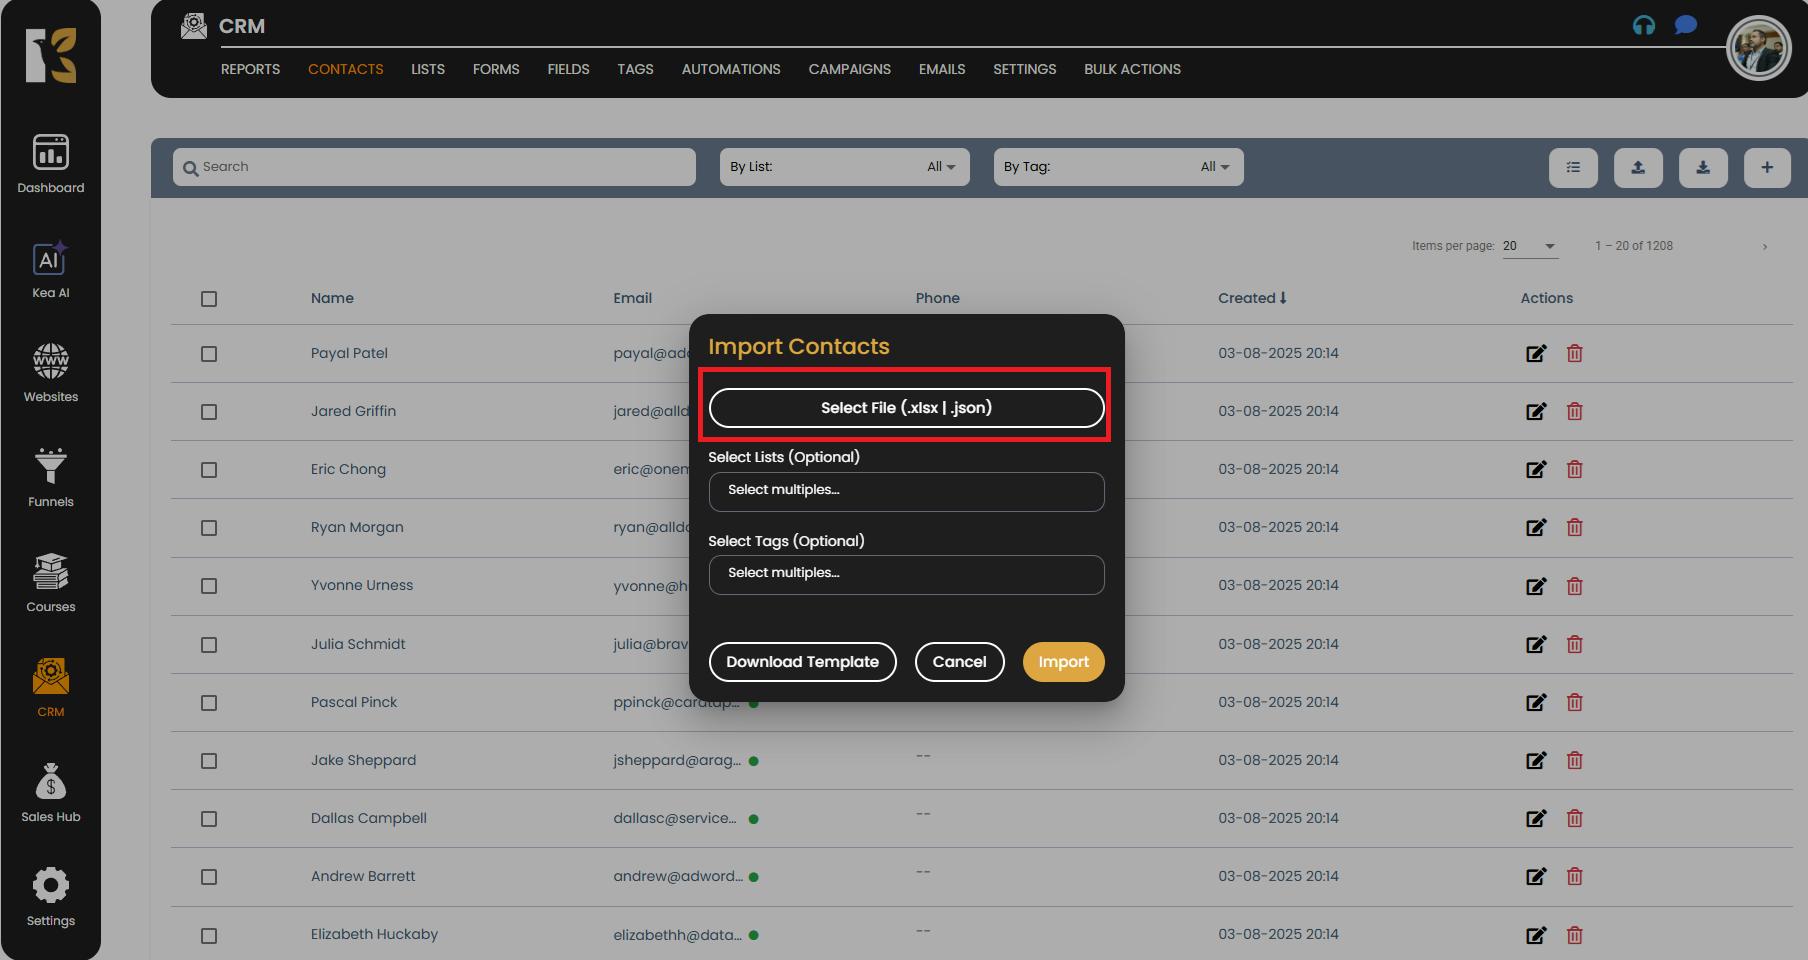
Step 5: Follow the Template Format
- Make sure your file follows the correct data structure.
- If you’re unsure about the required format, click on “Download Template” within the pop-up window.
- Update your data in this template to avoid mismatches or failed uploads.
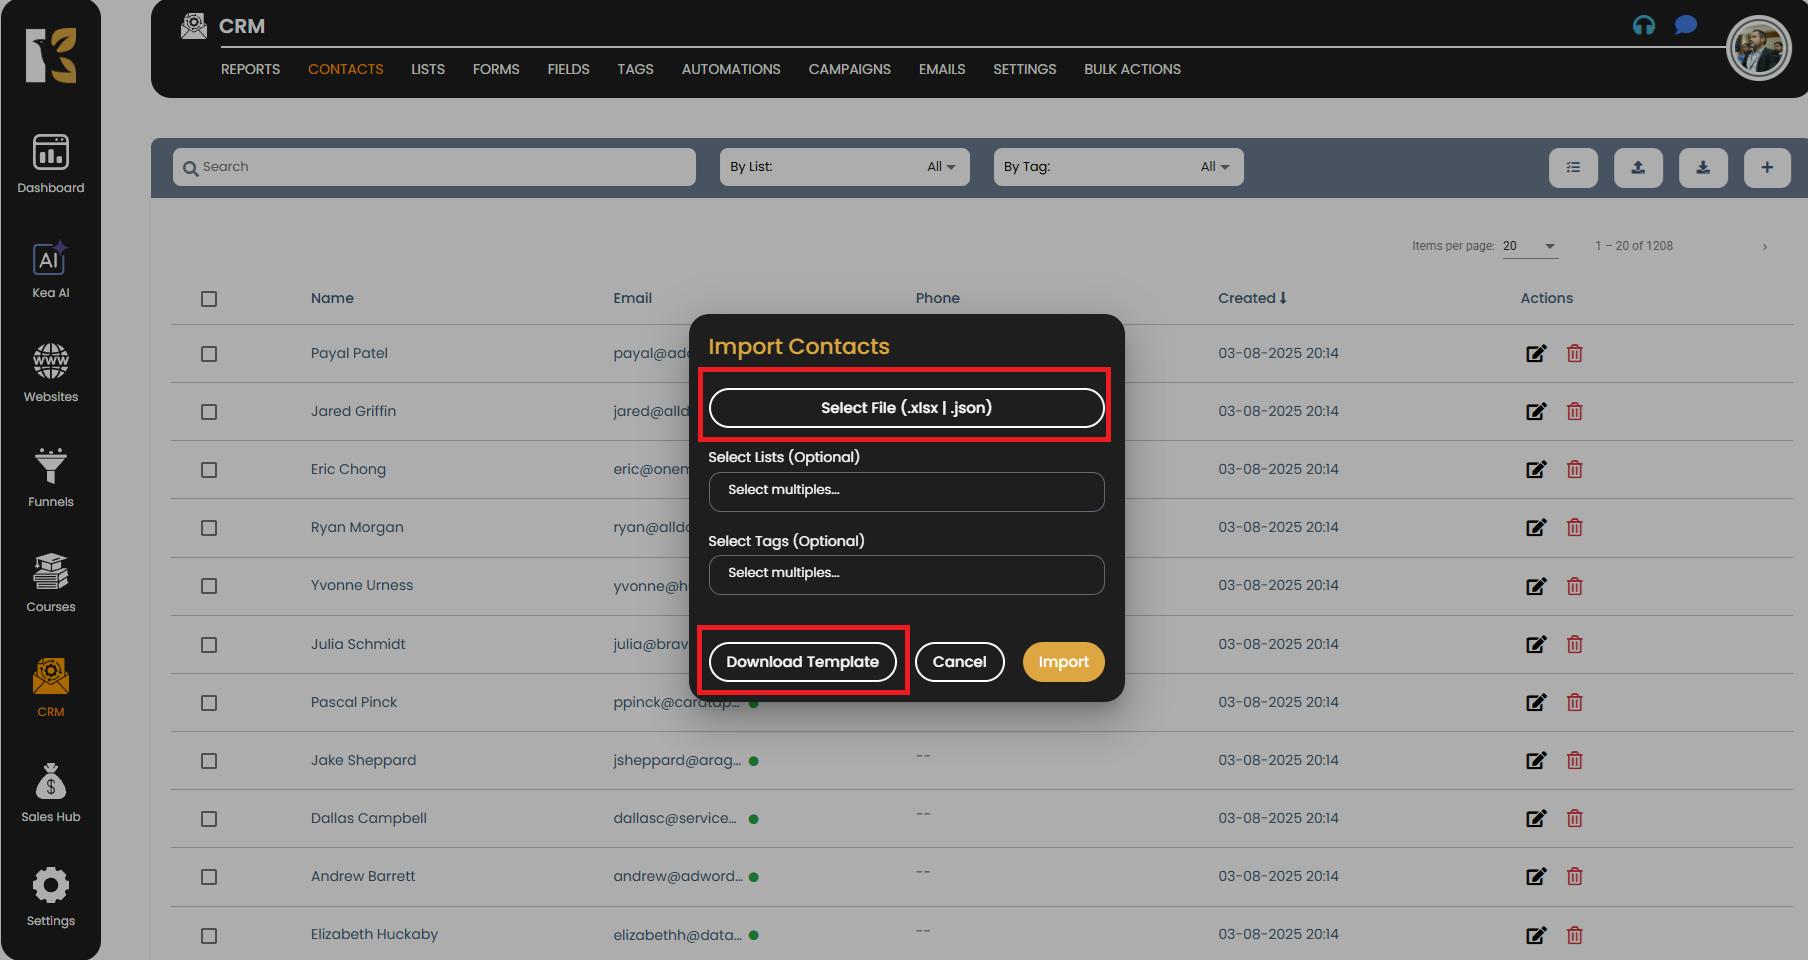
Step 6: Import the File
- Once your file is ready and selected, click on the Import button.
- The system will start uploading your contacts in bulk.
- Note: The upload process may take a few minutes, depending on the size of your file and number of contacts.

Step 7: Verify Uploaded Contacts
- After the import process is completed, refresh your Contacts Dashboard.
- The newly uploaded contacts will now be visible in your list.
- If there are any errors, the system may highlight them, so you can correct and re-upload.
Key Notes & Best Practices
- ✅ Always use the provided template for smooth uploads.
- ✅ Double-check your data for accuracy before uploading.
- ✅ Use the Export Contacts option regularly to maintain backups.
- ⚠️ Large files may take a little longer to upload — be patient and avoid refreshing the page during the process.