How to Add a Contact to Your CRM
Maintaining a well-organized contact database is key to effective customer management. With Kea Builder’s CRM, you can easily add individual contacts or upload multiple contacts at once. This guide walks you through the simple process of adding contacts to your CRM system.
👣 Step-by-Step: Add a Contact
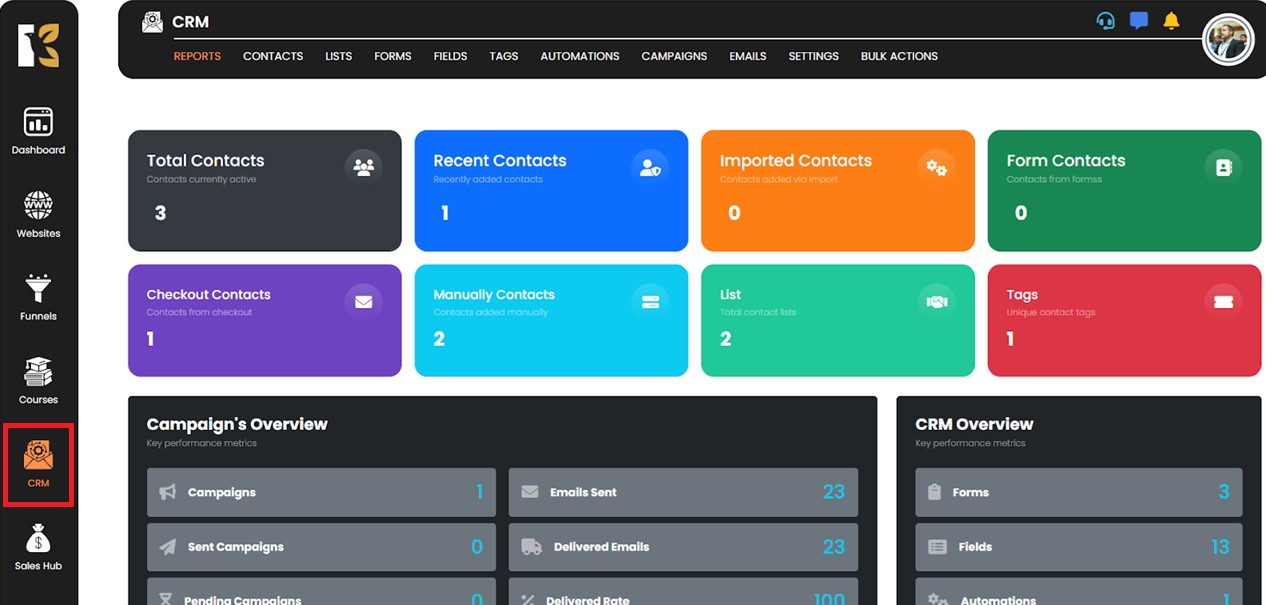
🔹 Step 1: Open the CRM Panel
Navigate to the side menu and click on “CRM.”
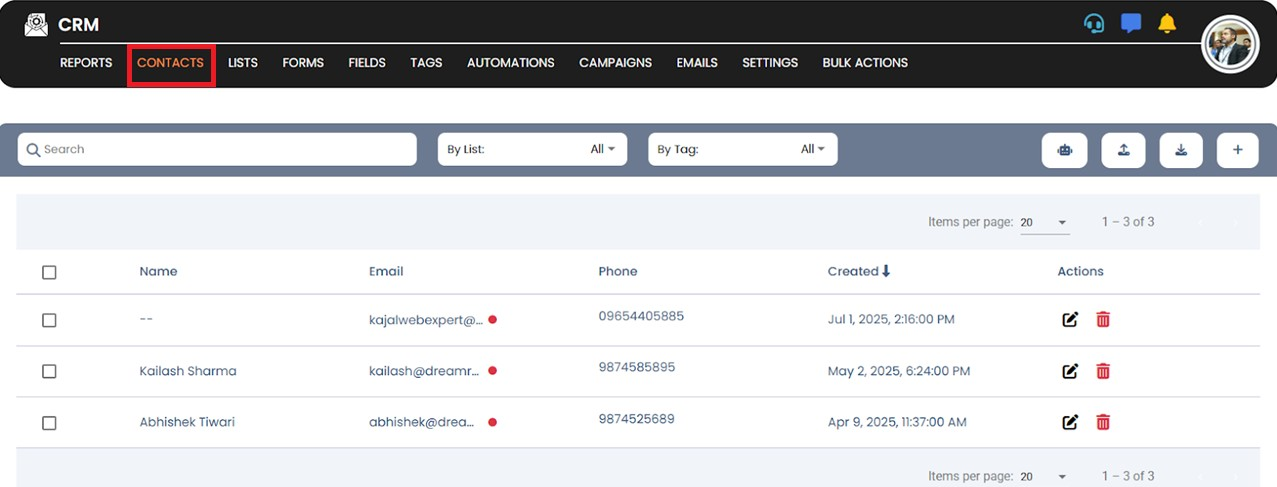
🔹 Step 2: Go to the Contacts Section
Click on “Contacts” in the CRM panel to access your contact list.

🔹 Step 3: Choose How You Want to Add Contacts
In the top-right corner, you will see two options (Up-Arrow & Down-Arrow):

- Import: Use this to bulk-upload contacts via an .xlsx file.

- Add Contact: Use this to manually add an individual contact.
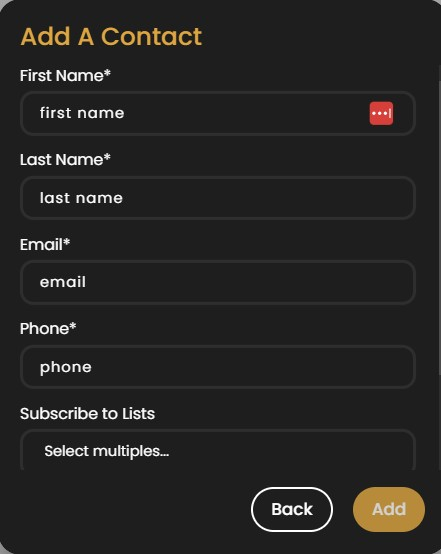
🔹 Step 4: Add a Contact Manually
Click on the “Add Contact” button.
A dialogue box will appear. Enter the following details:
- First Name
- Last Name
- Email Address
- Phone Number
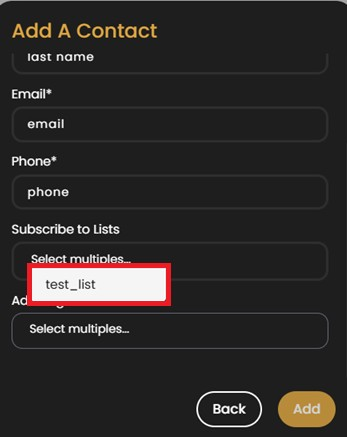
Then, select the List to subscribe the contact to.
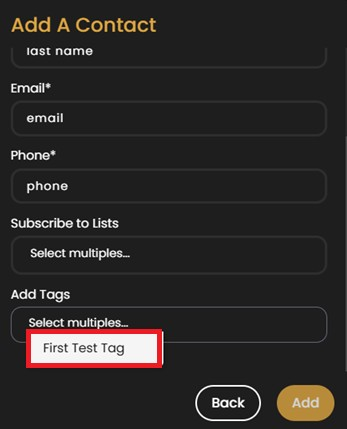
Optionally, assign Tags for better segmentation and filtering.
✅ That’s it! Your contact has been successfully added to the CRM.
💡 Tip:
Use tags and lists strategically to enhance email targeting, automation, and reporting.