How to Add/Integrate Your RazorPay Account in KeaBuilder
Integrating your Razorpay account with KeaBuilder allows you to securely accept online payments for your products, services, or memberships. By connecting Razorpay, you can offer seamless checkout to your customers and manage all transactions directly from your KeaBuilder dashboard.
Step-by-Step Guide
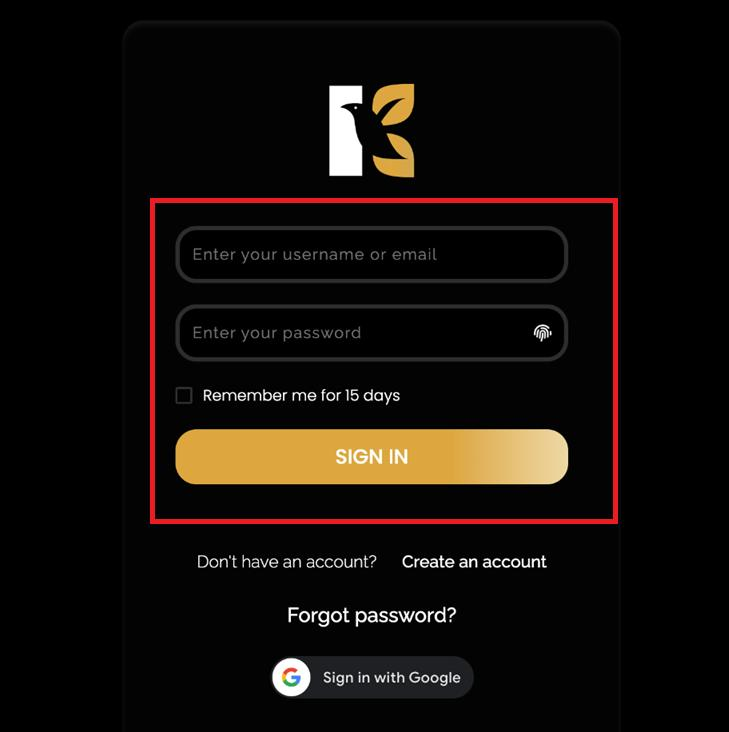
Log in to KeaBuilder
Sign in to your KeaBuilder account using your credentials.
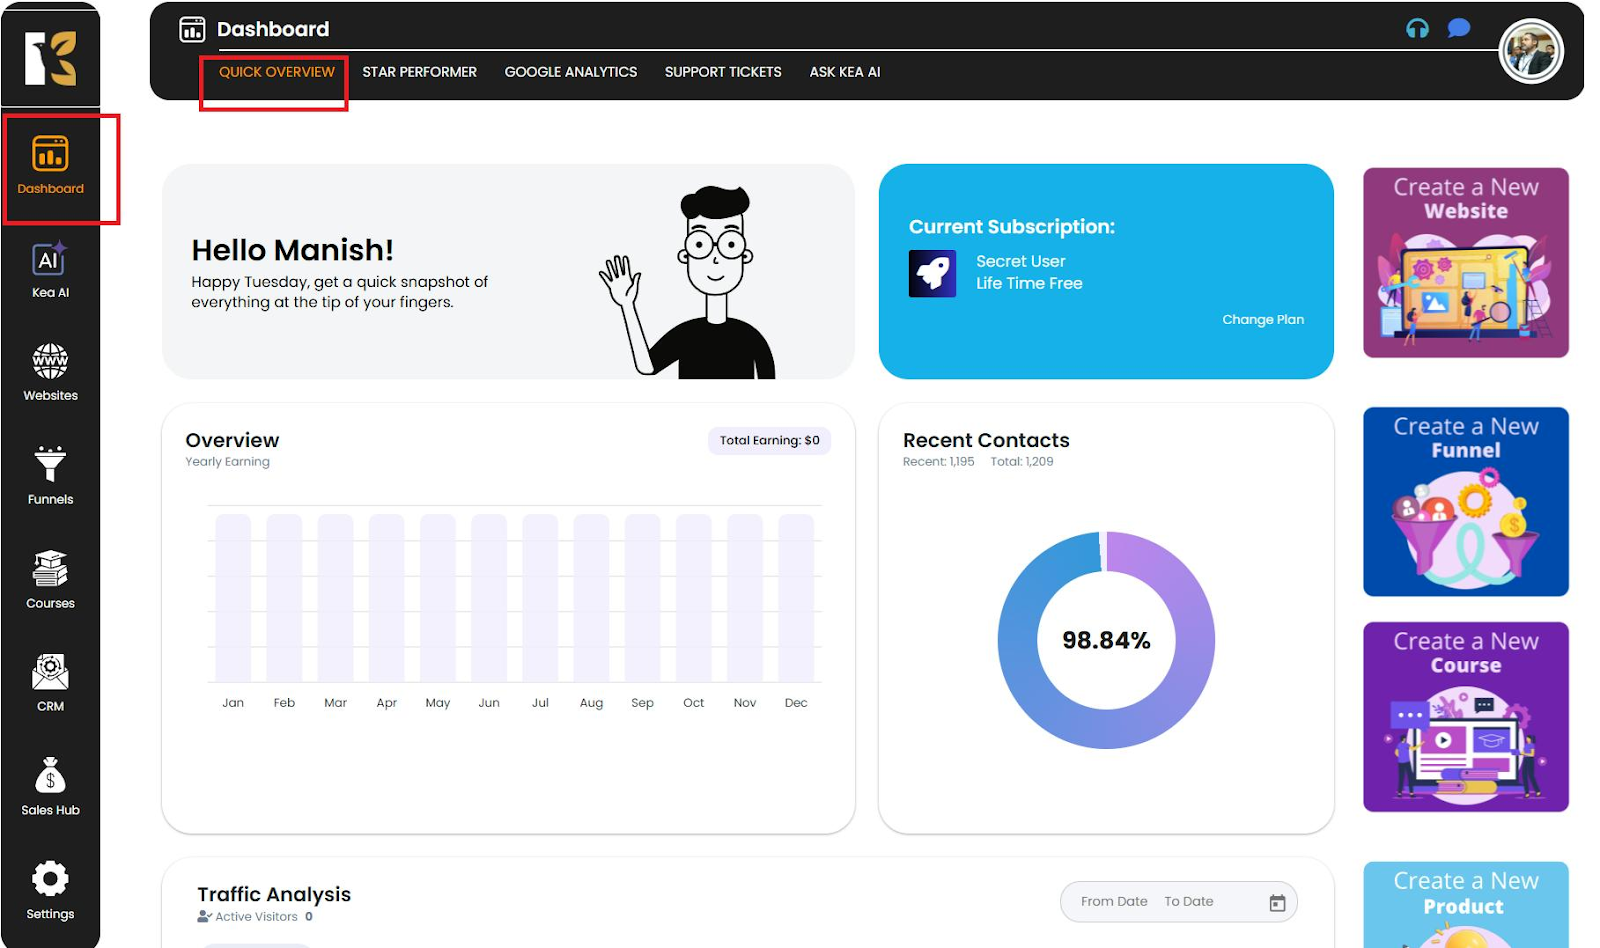
After logging in, you’ll land on the Main Dashboard.
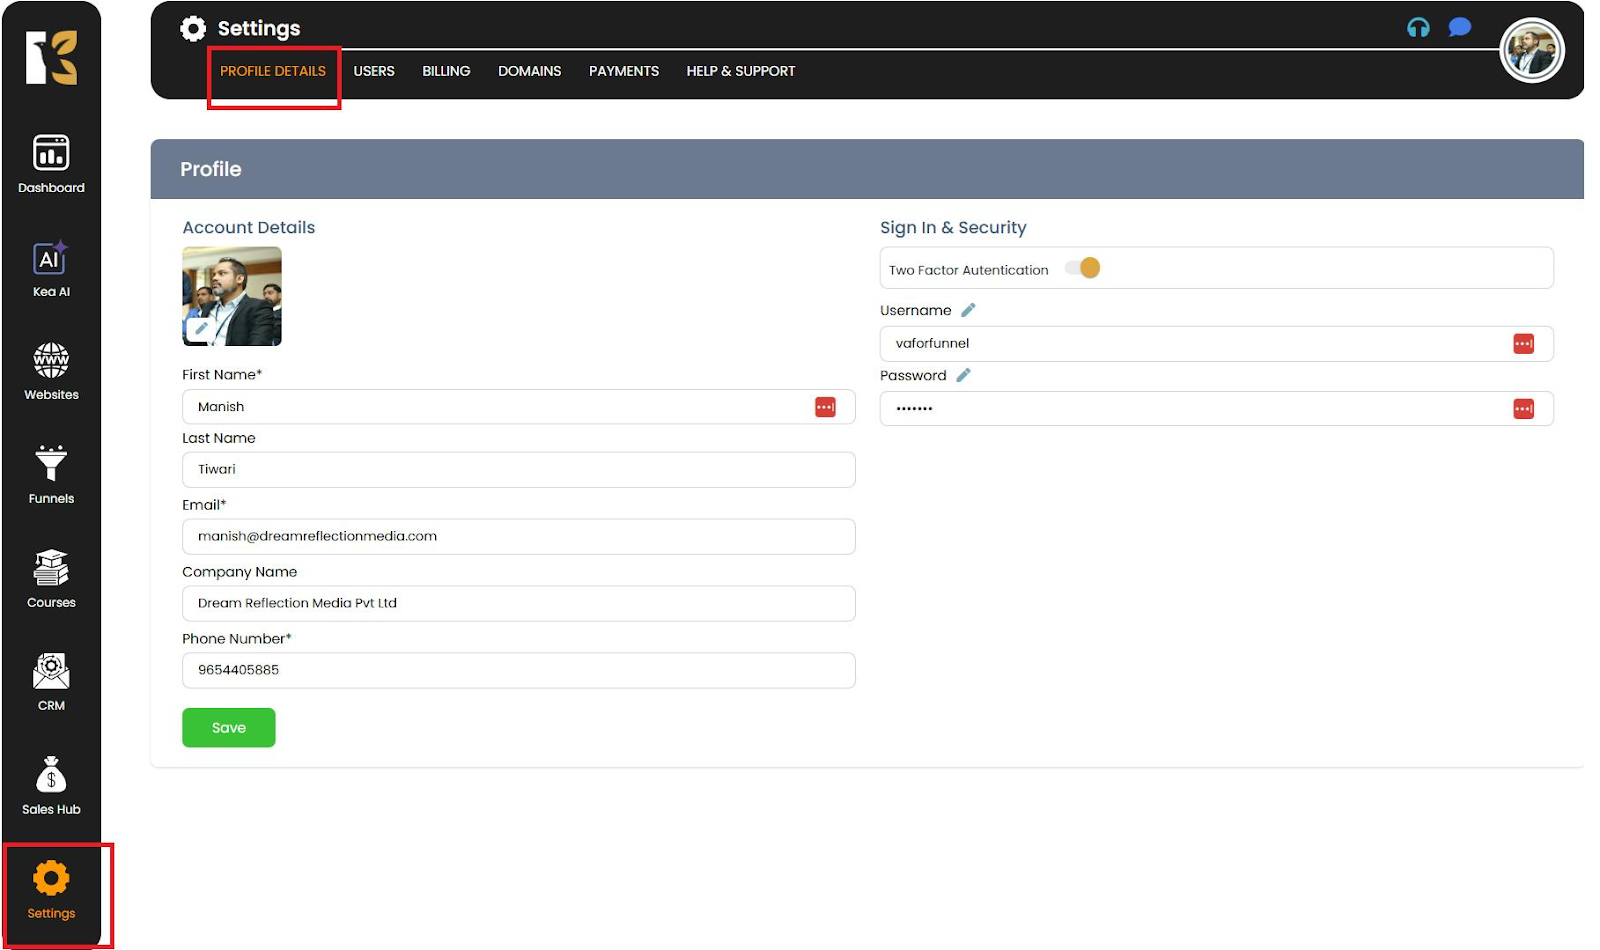
Access the Settings Menu
From the Vertical Menu on the left side, scroll down to Settings. Click on it to open your Profile Details, where your user information appears.
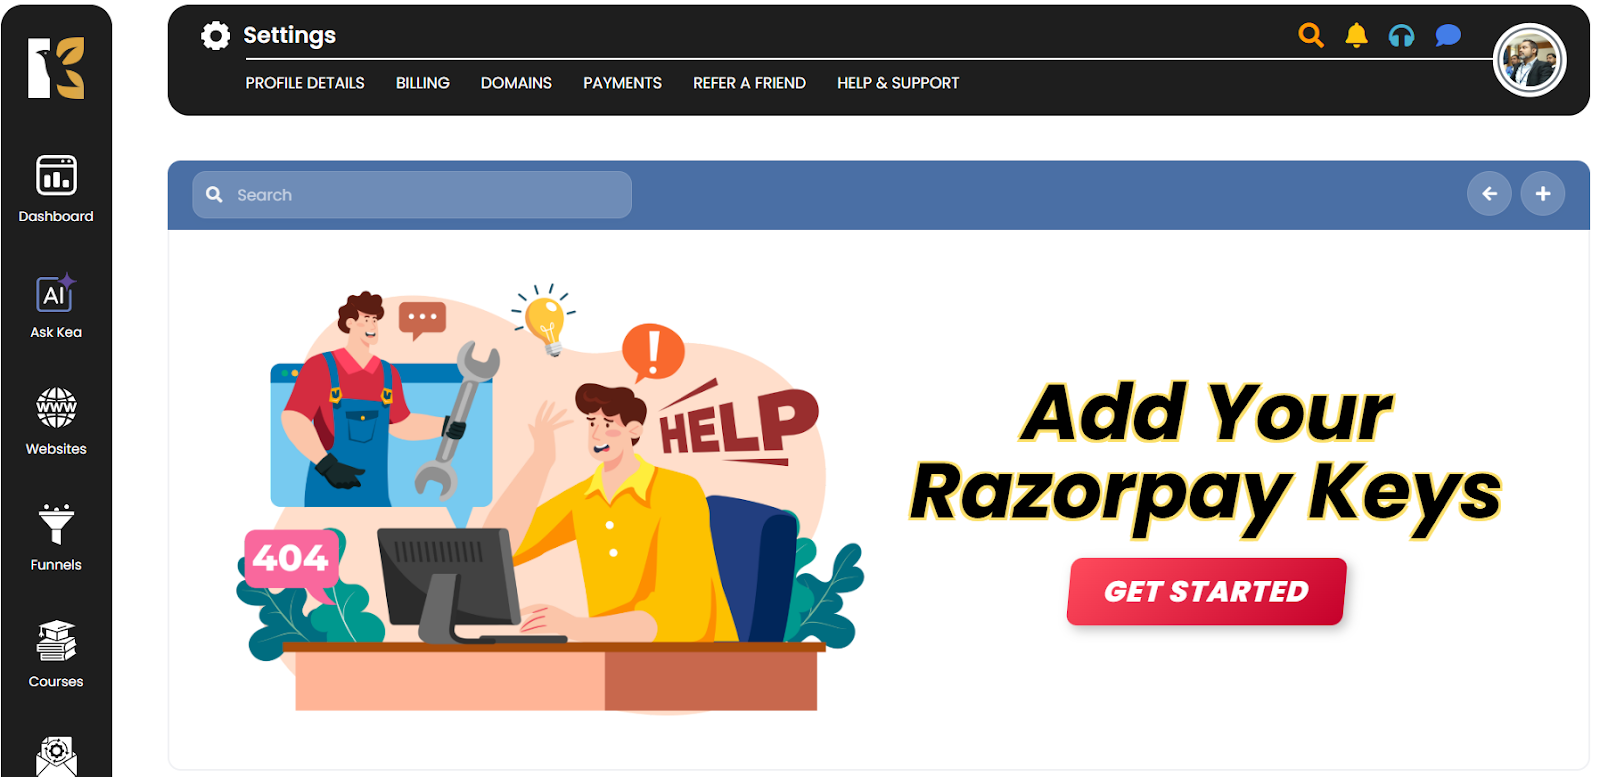
Open Payments Section
From the Horizontal Menu at the top, click on Payments. You’ll be redirected to the Payment Gateways Page, where you will see the available integration options.
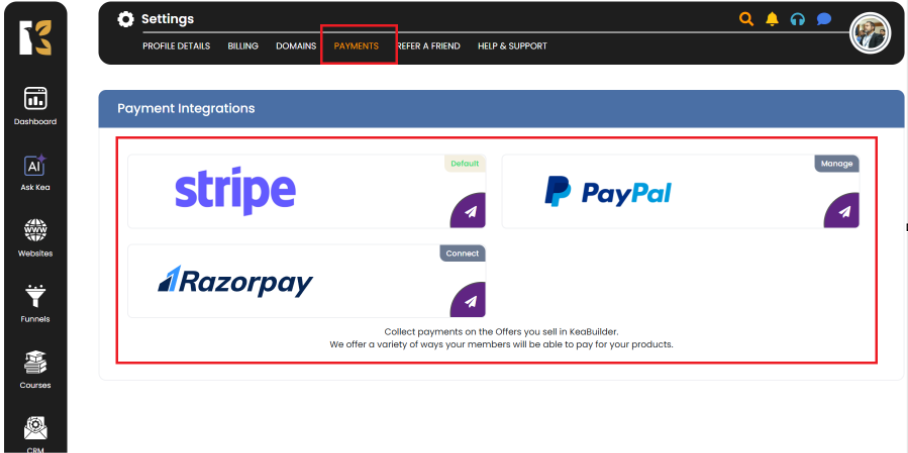
Connecting Razorpay
Select Razorpay
Click on Razorpay from the list of payment gateway options.

You’ll be redirected to the Razorpay Payment Gateway Page within KeaBuilder.
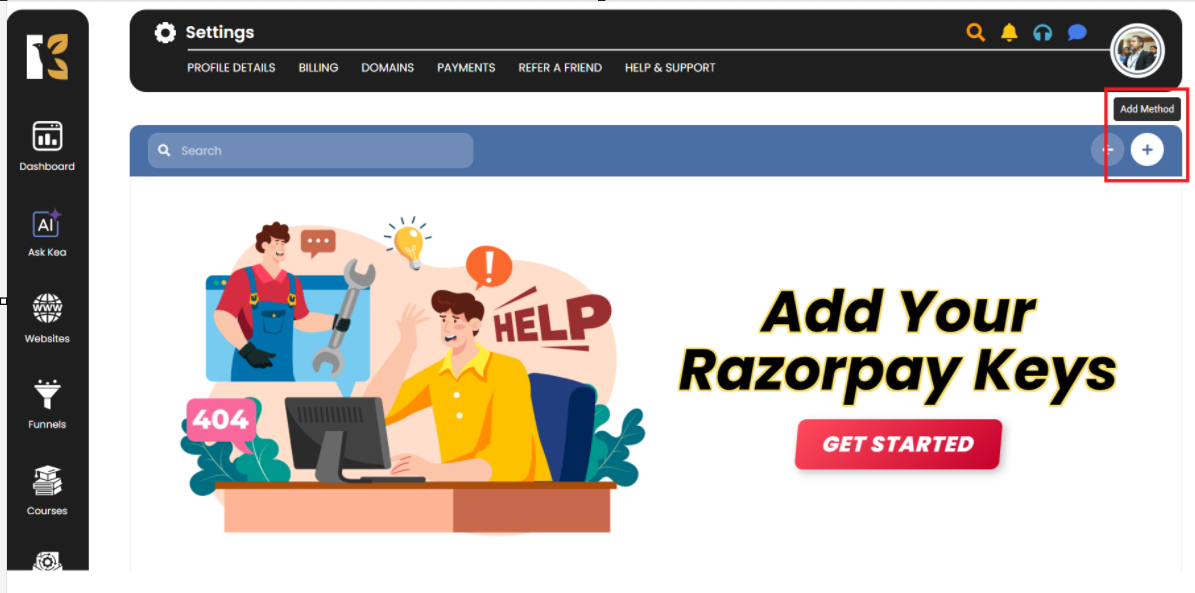
Add Your Razorpay Account
Click on Add Method (+ Icon).
A form will appear asking you to enter the following details from your Razorpay Dashboard:
- Method Name (e.g., Razorpay Main Account)
- Razorpay Live Key ID
- Razorpay Live Secret Key
- Razorpay Test Key ID
- Razorpay Test Secret Key
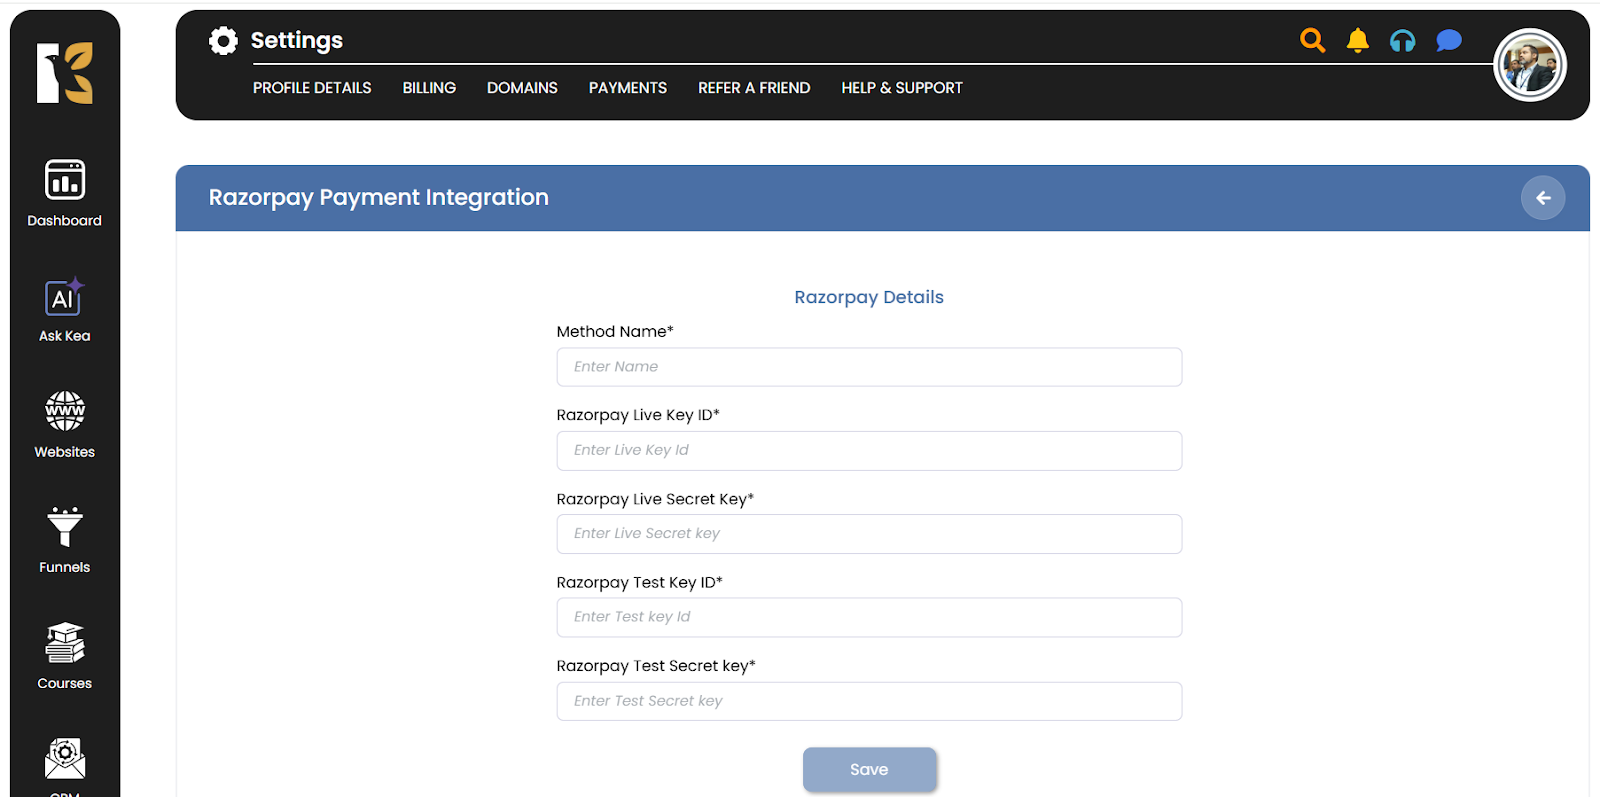
Save Your Razorpay Details
After entering all the required information, click Save. Your Razorpay credentials will now be securely stored and displayed on your Payment Gateway Integration Page in KeaBuilder.
Pro Tips for Adding Razorpay
- Always use Test Keys first to verify that the integration is working properly before switching to Live Keys.
- Double-check all key values to avoid failed transactions.
- Use a clear Method Name, such as “Razorpay Primary” if you plan to connect multiple accounts.
- Once setup is complete, run a test transaction to ensure everything is functioning smoothly.