How to Style Your Emails in the CRM
Styling your emails is an essential step to make them look professional, engaging, and visually appealing. With the CRM's built-in Email Builder, you can customize every aspect of your emails using an intuitive drag-and-drop interface and a wide range of styling options. Follow these detailed steps to style your emails effectively:
Step 1: Open the CRM
- Navigate to the left-hand side menu of your dashboard.
- Click on the CRM option to access your customer relationship management tools.
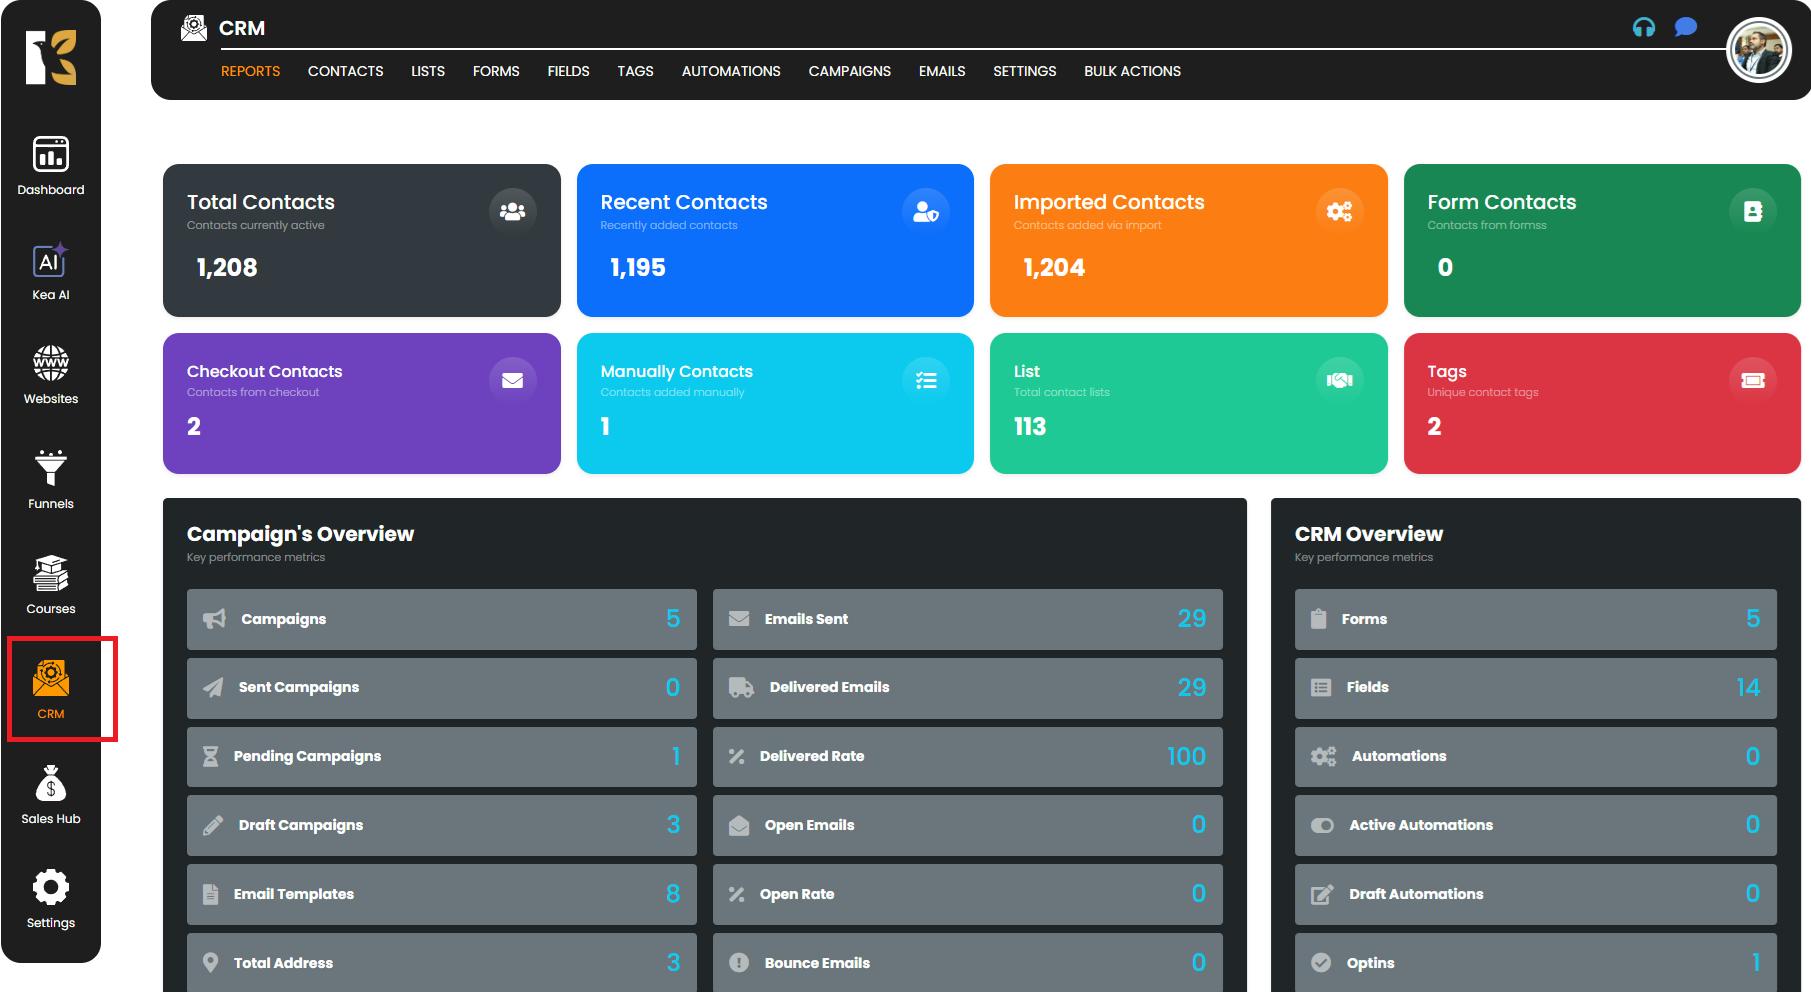
Step 2: Go to the Emails Section
- Inside the CRM, locate and click on the "Emails" tab.
- This will open your email dashboard, where you can view, create, and manage all your email campaigns.

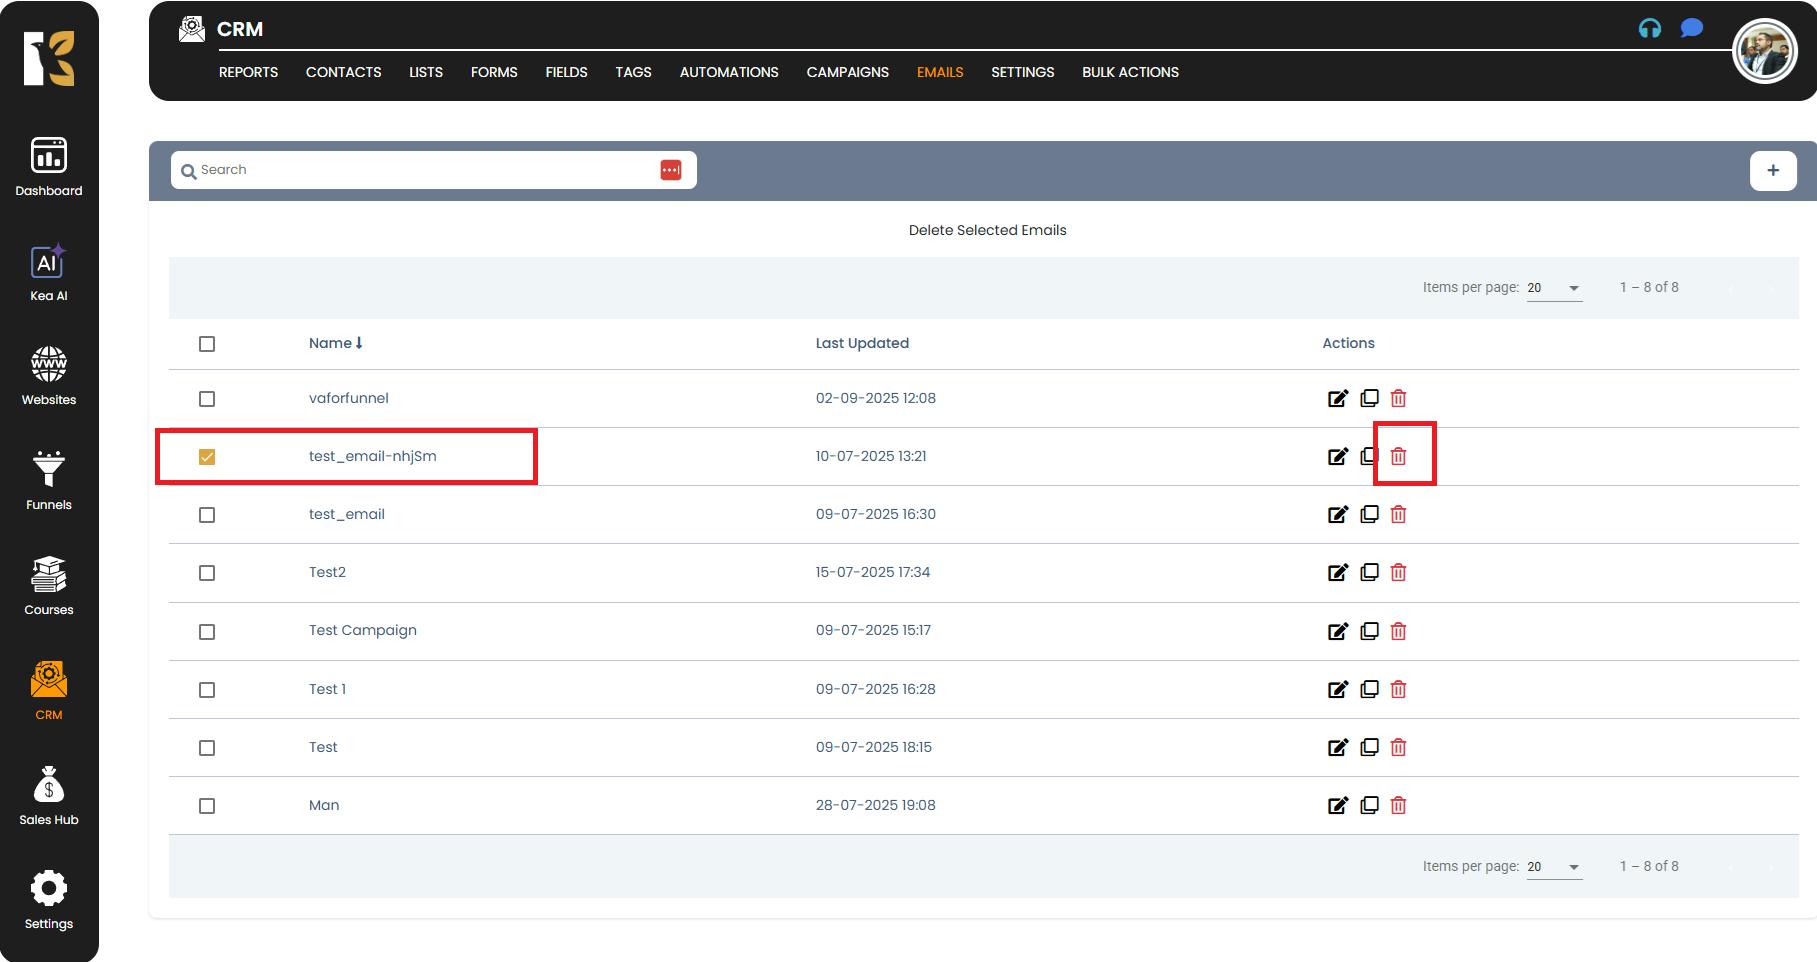
Step 3: Select the Email You Want to Style
- From the list of existing emails, locate the email you wish to edit.
- On the far right side of the email name, click on the Edit icon (pencil symbol).
- This will open the Email Builder.
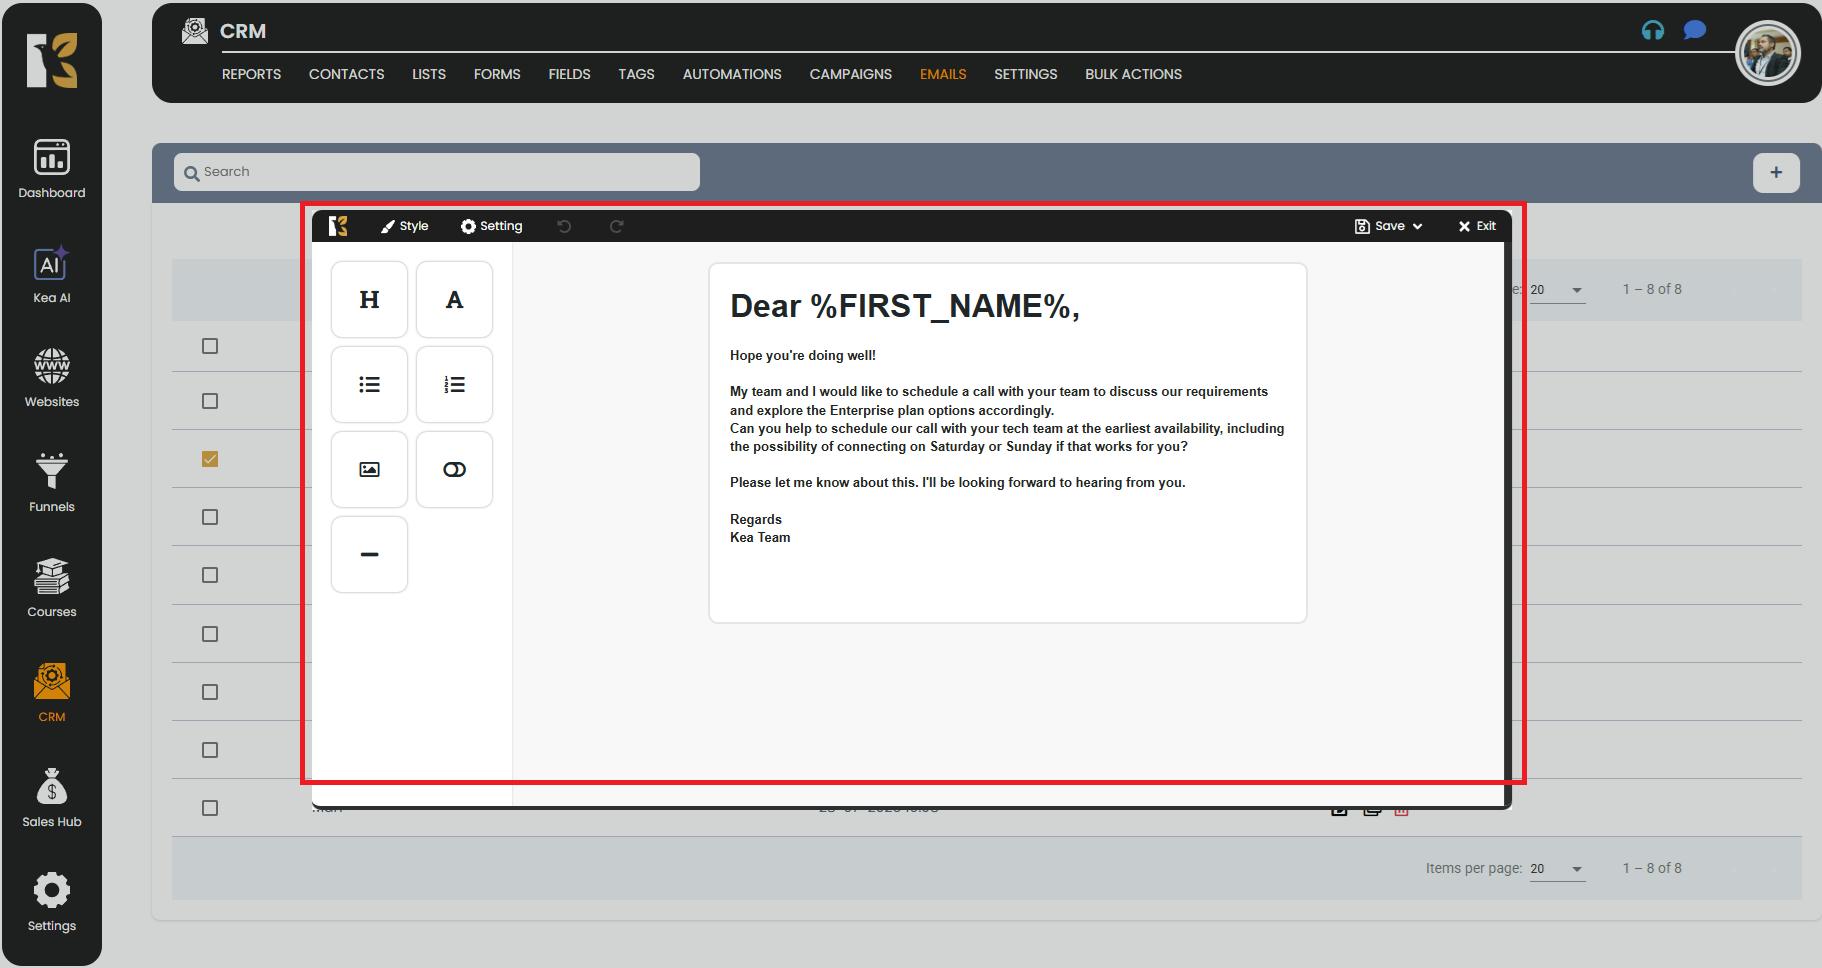
Step 4: Access the Email Builder
- Once the Email Builder opens, you can see the email that you created previously and you can see the changes that you want to make in your email.
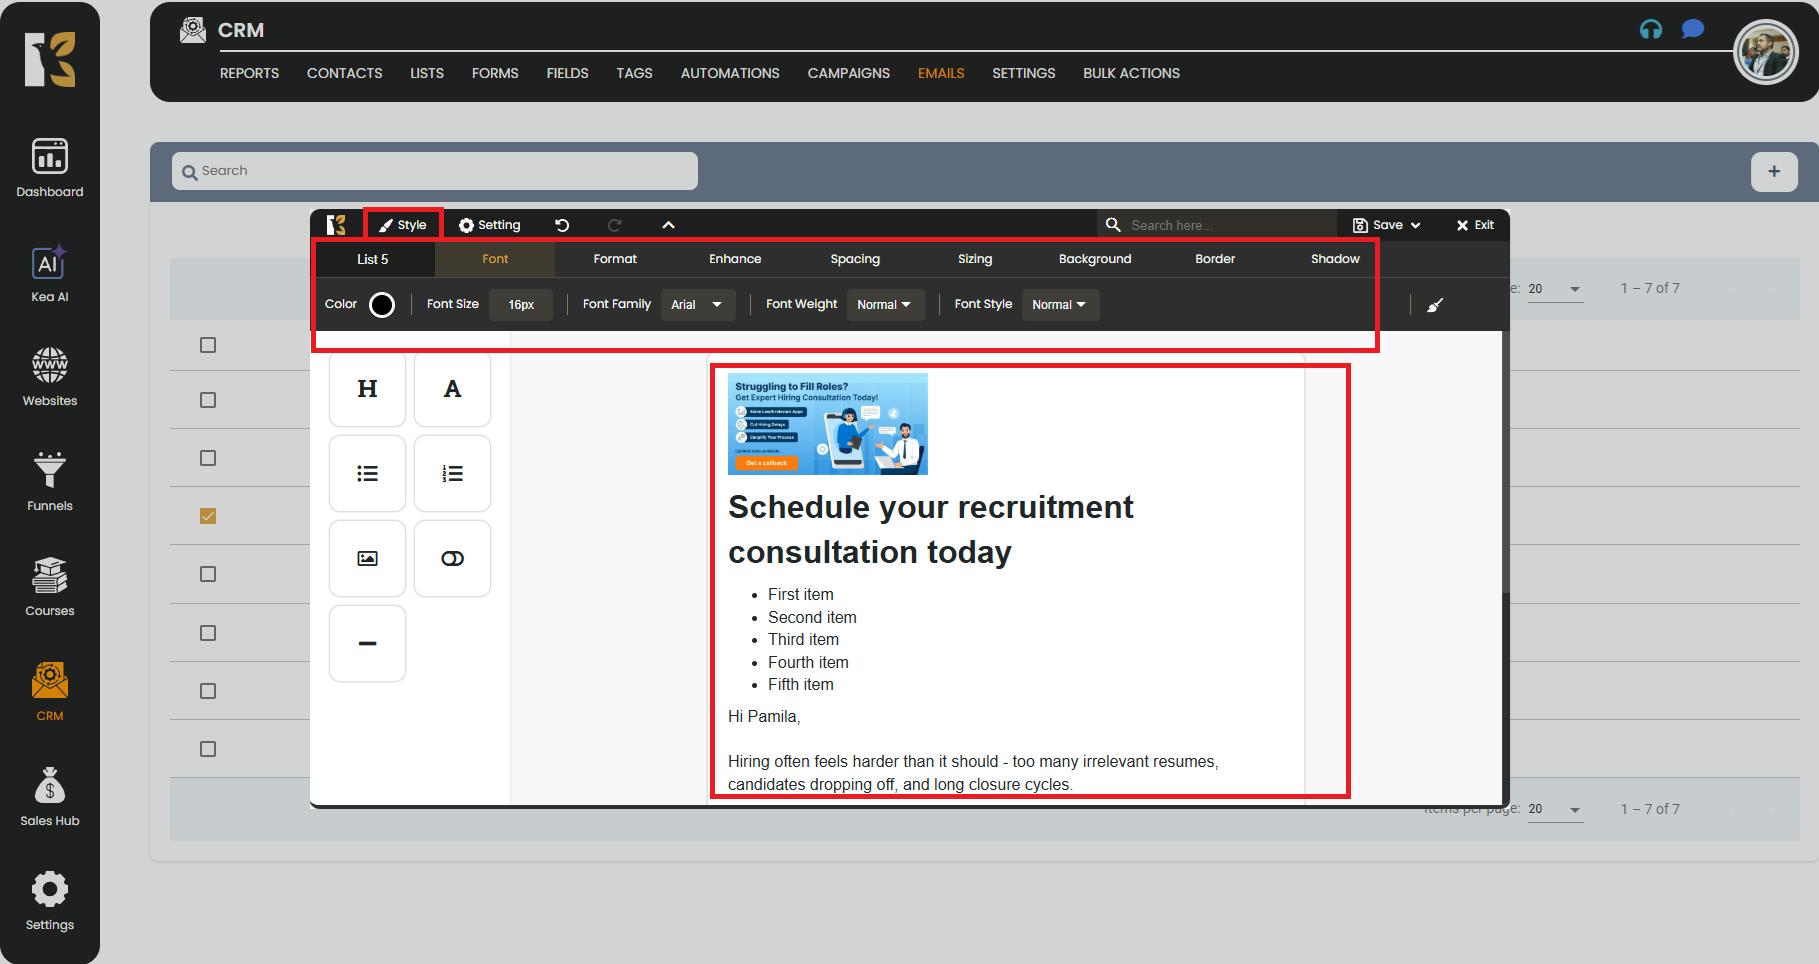
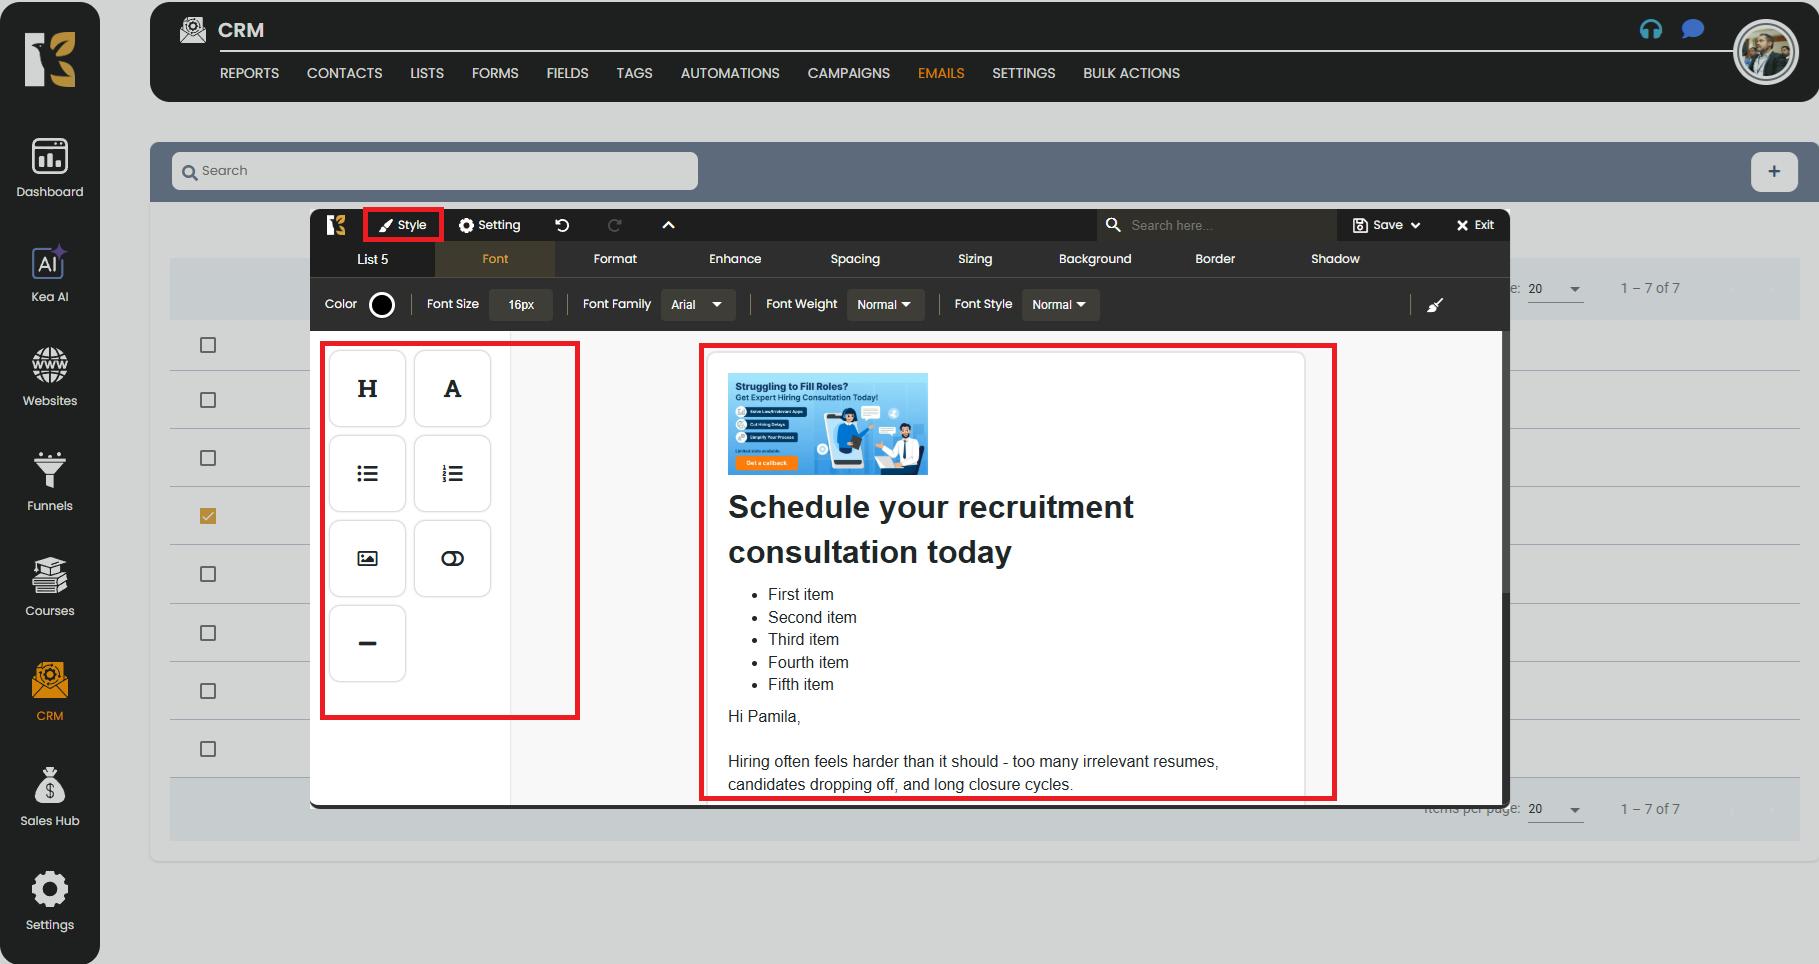
Step 5: Customize the Email Style
- On the top-left corner of the Email Builder, click on the “Style” tab.
- Here, you’ll find various tools to design your email exactly how you want, such as:
- Spacing & Padding → Adjust the gaps between elements.
- Sizing → Set the width and height of your email sections.
- Background → Add colors, gradients, or custom backgrounds.
- Borders & Shadows → Make sections stand out with elegant designs.
- Margins → Control the spacing around each element for a neat layout.
Step 6: Add & Arrange Elements Using Drag & Drop
- From the horizontal menu at the top, you can easily drag and drop different elements into your email, including:
- Headers – Create attention-grabbing titles.
- Text Content – Add descriptive or promotional content.
- Images – Showcase products, banners, or branding.
- Links & Buttons – Drive readers to landing pages or offers.
- Arrange these elements creatively to build a visually appealing and professional email layout.
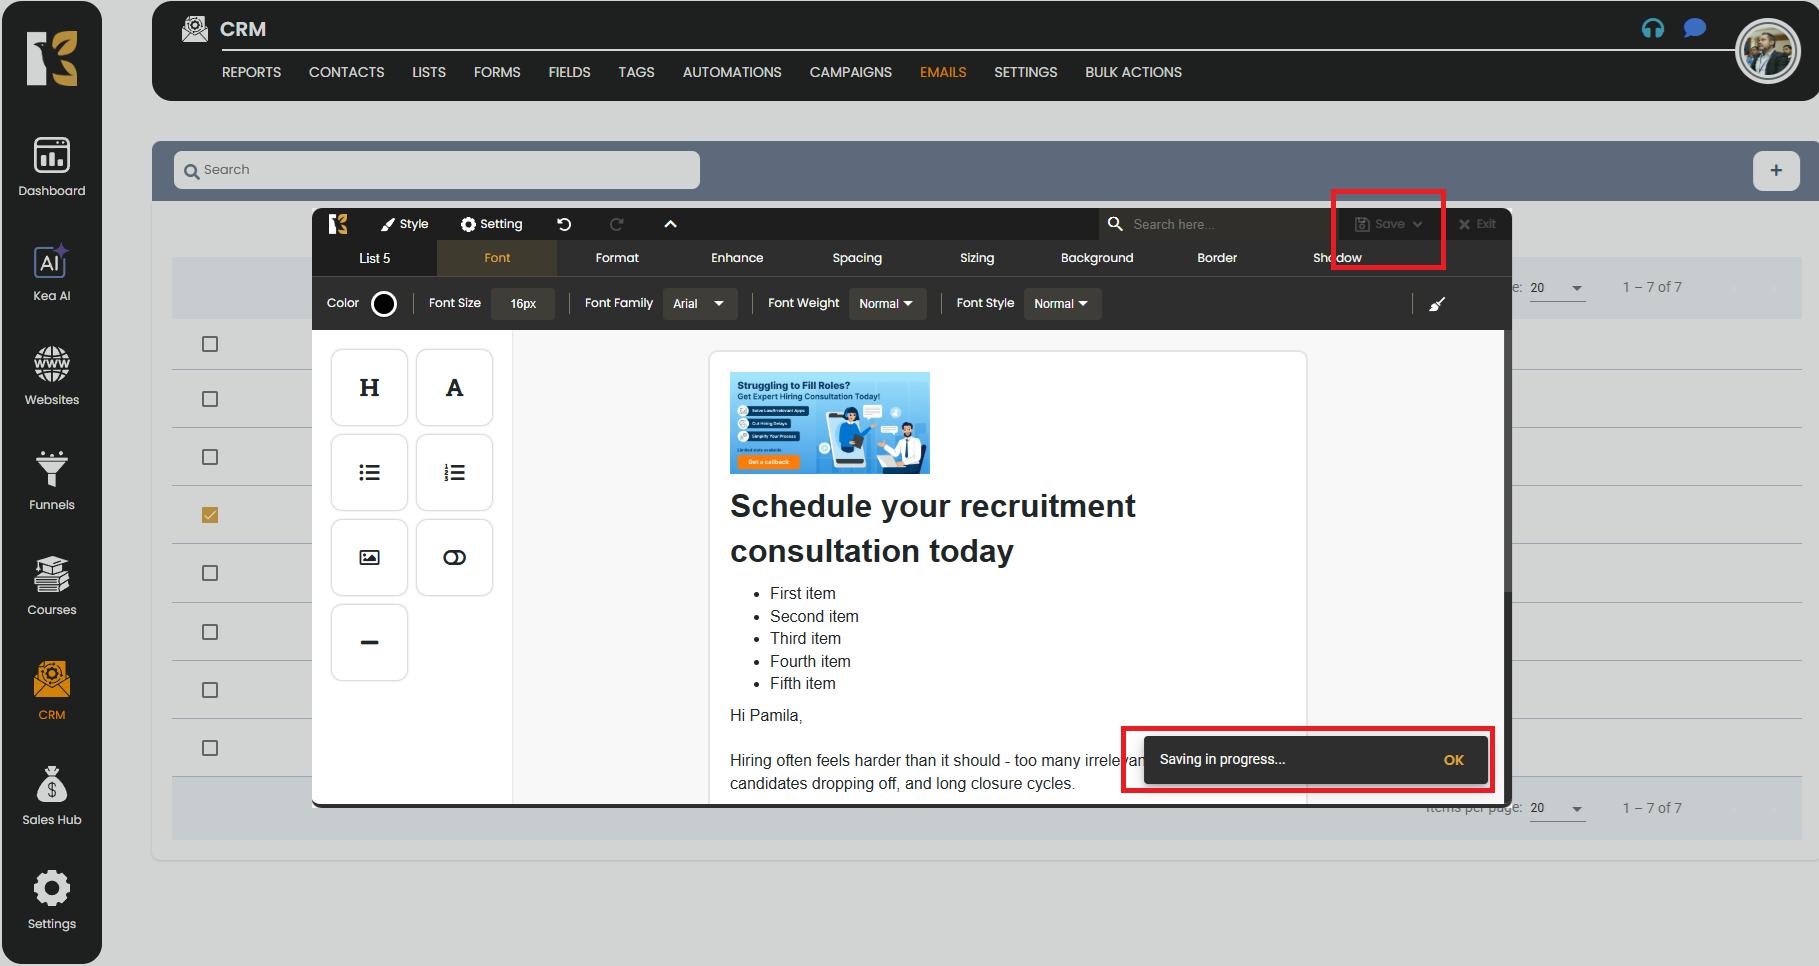
Step 7: Save Your Changes
- Once you are happy with your design, click on the “Save & Exit” button.
- Your styled email will now be updated and ready to send.
Pro Tips for Professional Email Styling
- Keep it clean → Avoid overcrowding your email with too many elements.
- Maintain brand consistency → Use your brand’s colors, fonts, and imagery.
- Mobile-friendly design → Preview your email for both desktop and mobile views.
- Highlight CTAs → Use clear, eye-catching buttons to drive action.