KeaBuilder + Make.com Integration
Overview
Make.com (formerly Integromat) is a no-code automation platform that lets you visually build workflows (“scenarios”) connecting KeaBuilder with thousands of apps and services. Using this integration, you can automate actions like creating contacts, tracking events, managing lists, and syncing data across tools — all without writing code.
This guide explains how to set up your Make.com automation (scenario) with KeaBuilder, how triggers and actions work, and how to test and launch your workflow.
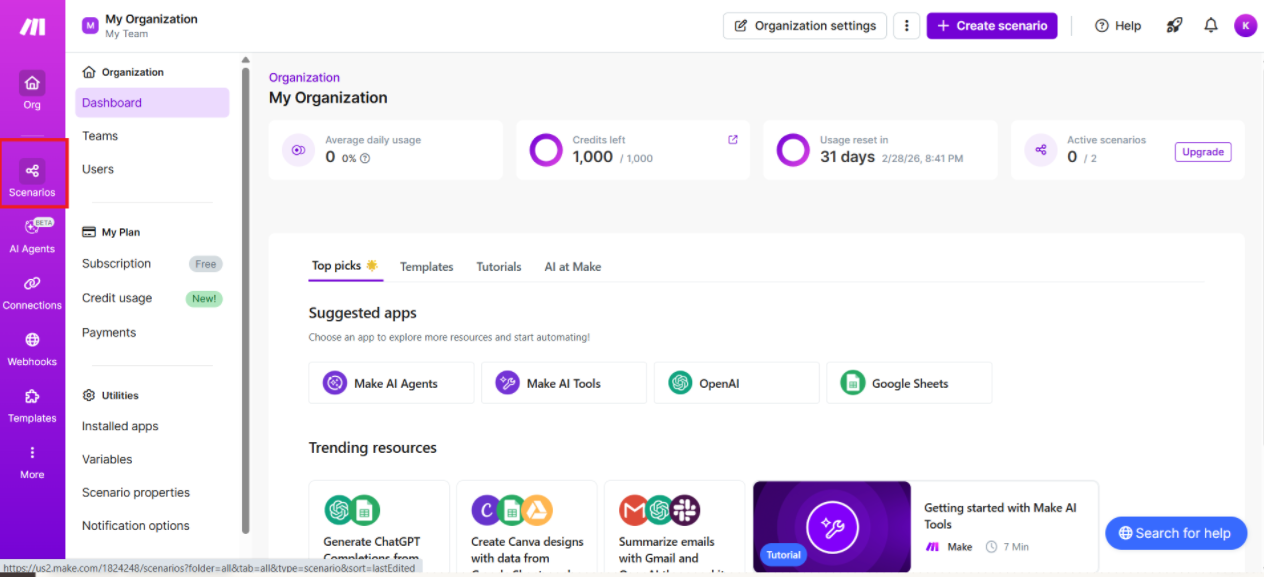
Step 1: Log In to Make.com
- Open your Make.com dashboard.
- Sign in with your Make.com credentials.
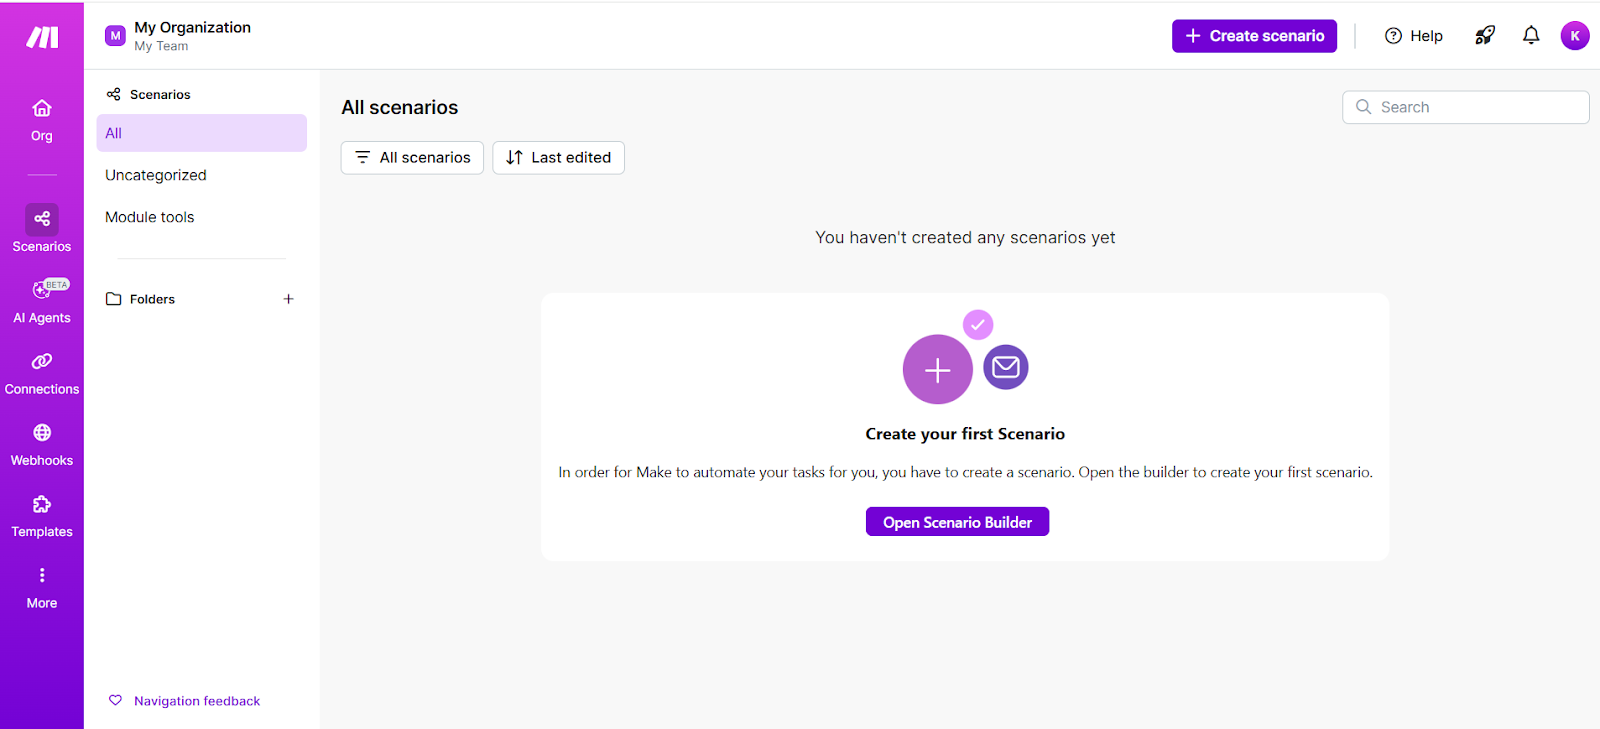
Step 2: Create a New Scenario
- From your Make.com home screen, click Create a new scenario.
- You’ll be taken to the visual scenario builder where automations are designed
Step 3: Select KeaBuilder as a Module
- In the scenario builder, click the “+” icon to add your first module.
- Search for KeaBuilder in the list of apps.
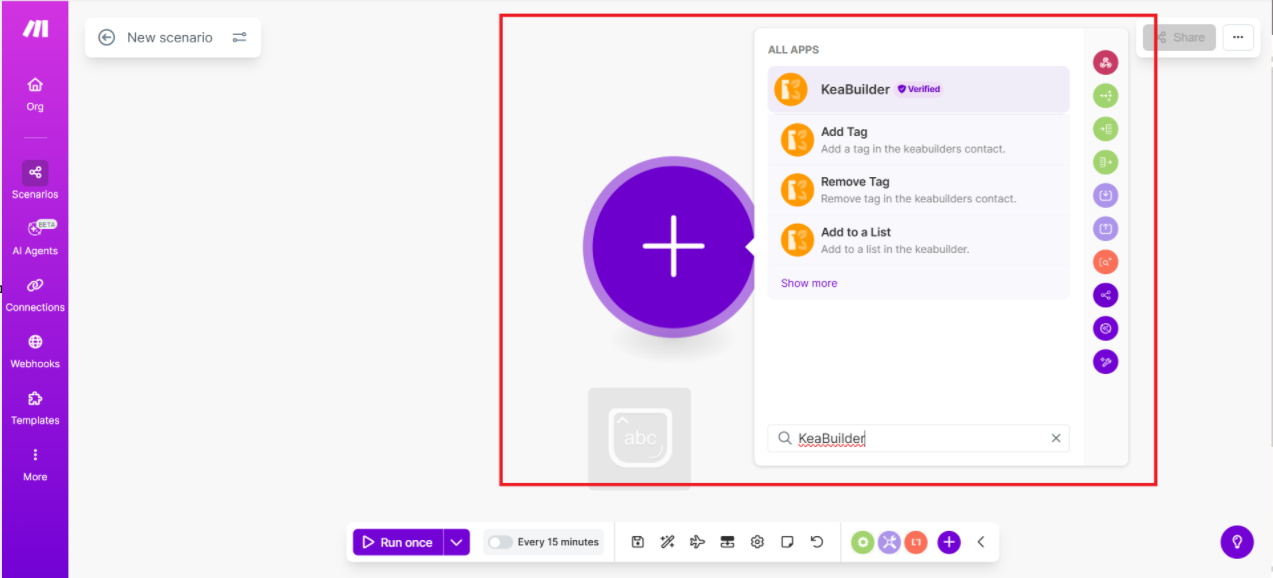
- You’ll see available triggers and actions supported by the KeaBuilder Make integration
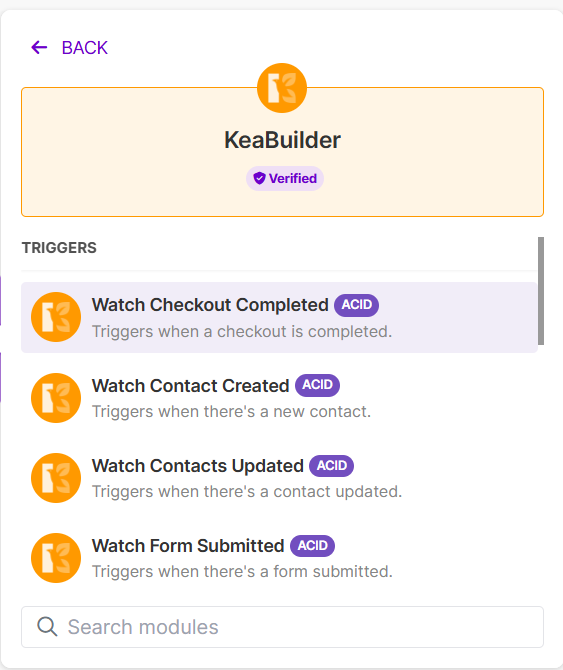
Available KeaBuilder Modules
Triggers (events that start your scenario):
- Watch Contact Created – Fires when a new contact is added.
- Watch Contacts Updated – Fires when an existing contact is changed.
- Watch Checkout Completed – Fires when a checkout event happens.
Actions (events your scenario performs):
- Create Contact – Adds a contact to KeaBuilder.
- Update Contact – Updates contact data.
- Add to a List / Add Tag / Remove Tag / Remove From a List – Standard list and tag actions.
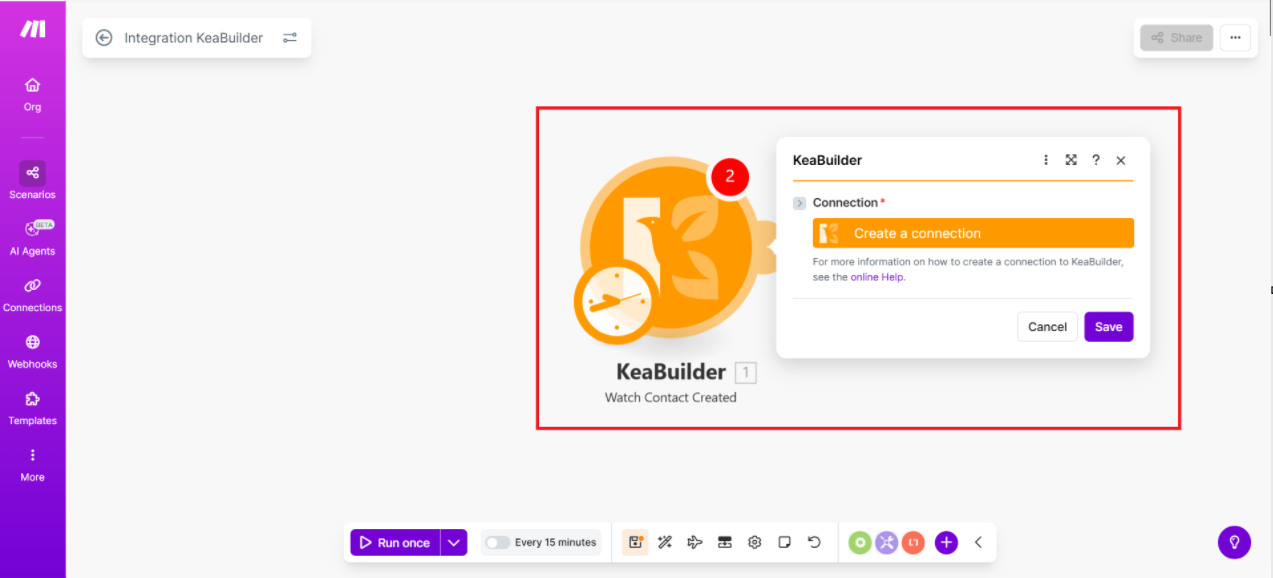
Step 4: Configure Your KeaBuilder Module
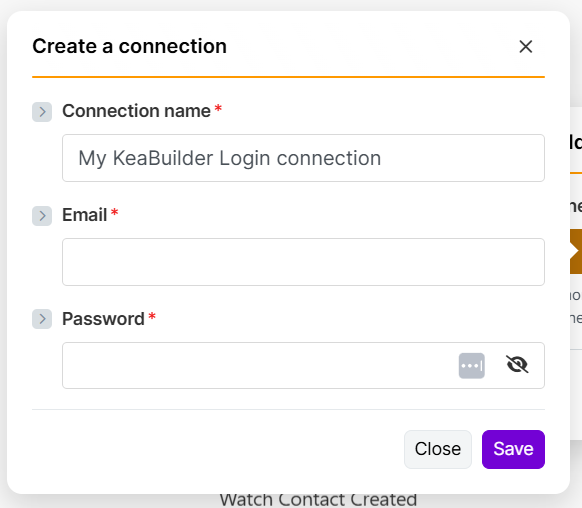
- After selecting the KeaBuilder module, you will be asked to connect your KeaBuilder account:
- Enter your KeaBuilder API key or credentials (from your KeaBuilder dashboard).
- Authorize the connection.
- Save the connection — you’ll now be able to use KeaBuilder modules in this scenario.
Step 5: Add Additional Apps or Modules
- Add other apps you want to integrate with KeaBuilder (e.g., Google Sheets, CRM, Email tools).
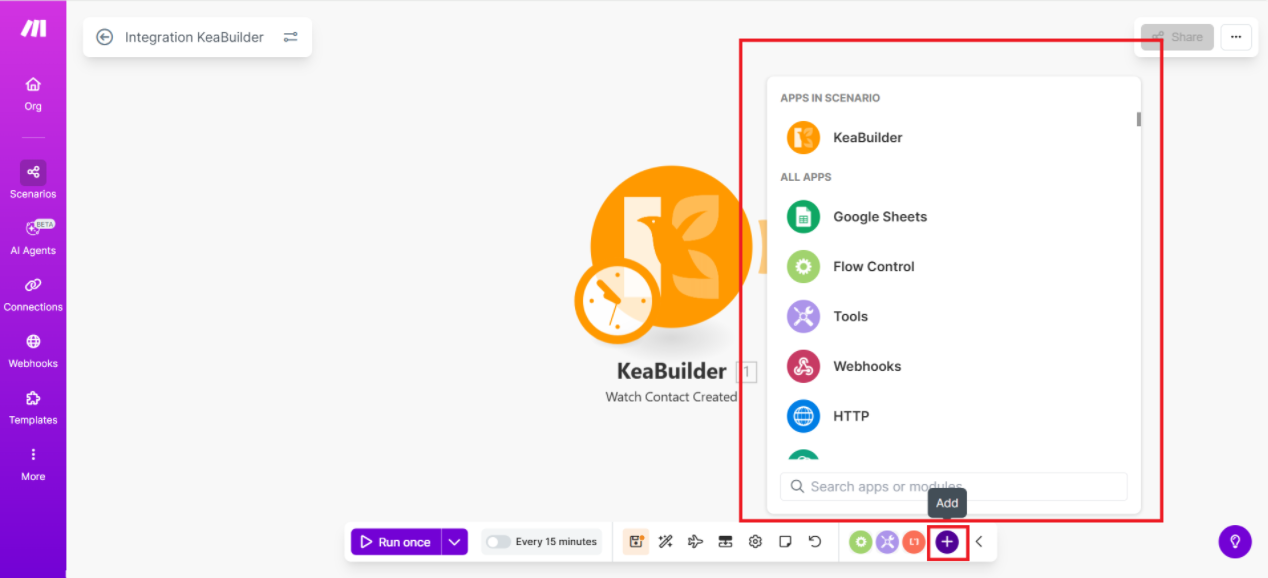
- Choose the corresponding trigger or action from those apps.
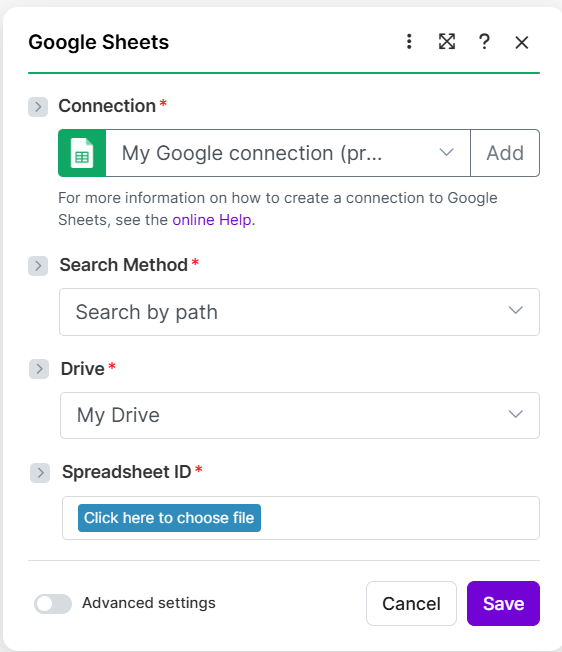
- Map the data fields between KeaBuilder and the other app to tell Make how to use/transfer data.
Step 6: Test Your Scenario
- Click the Run Once button to test your automation.
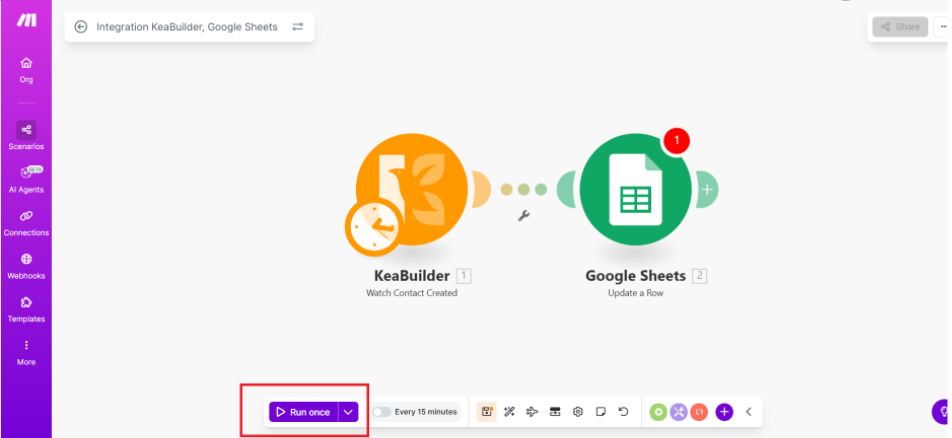
- Make.com will execute the workflow based on sample data or live input to confirm that everything works as expected.
- Review the output — if errors occur, Make provides debugging messages.
Step 7: Turn On the Scenario
- Once the test runs successfully, click Save.
- Toggle the Scenario ON to enable automatic execution whenever trigger conditions are met.