How to Add a Product Price in Sales Hub
The Product Price feature in the Sales Hub of KeaBuilder CRM allows you to define, manage, and customize the pricing structure for each of your products. Whether you’re offering a one-time purchase, a recurring subscription, membership plans, or webinars, this section ensures you can set up flexible pricing options that suit your business model.
Follow this step-by-step guide to add a product effectively.
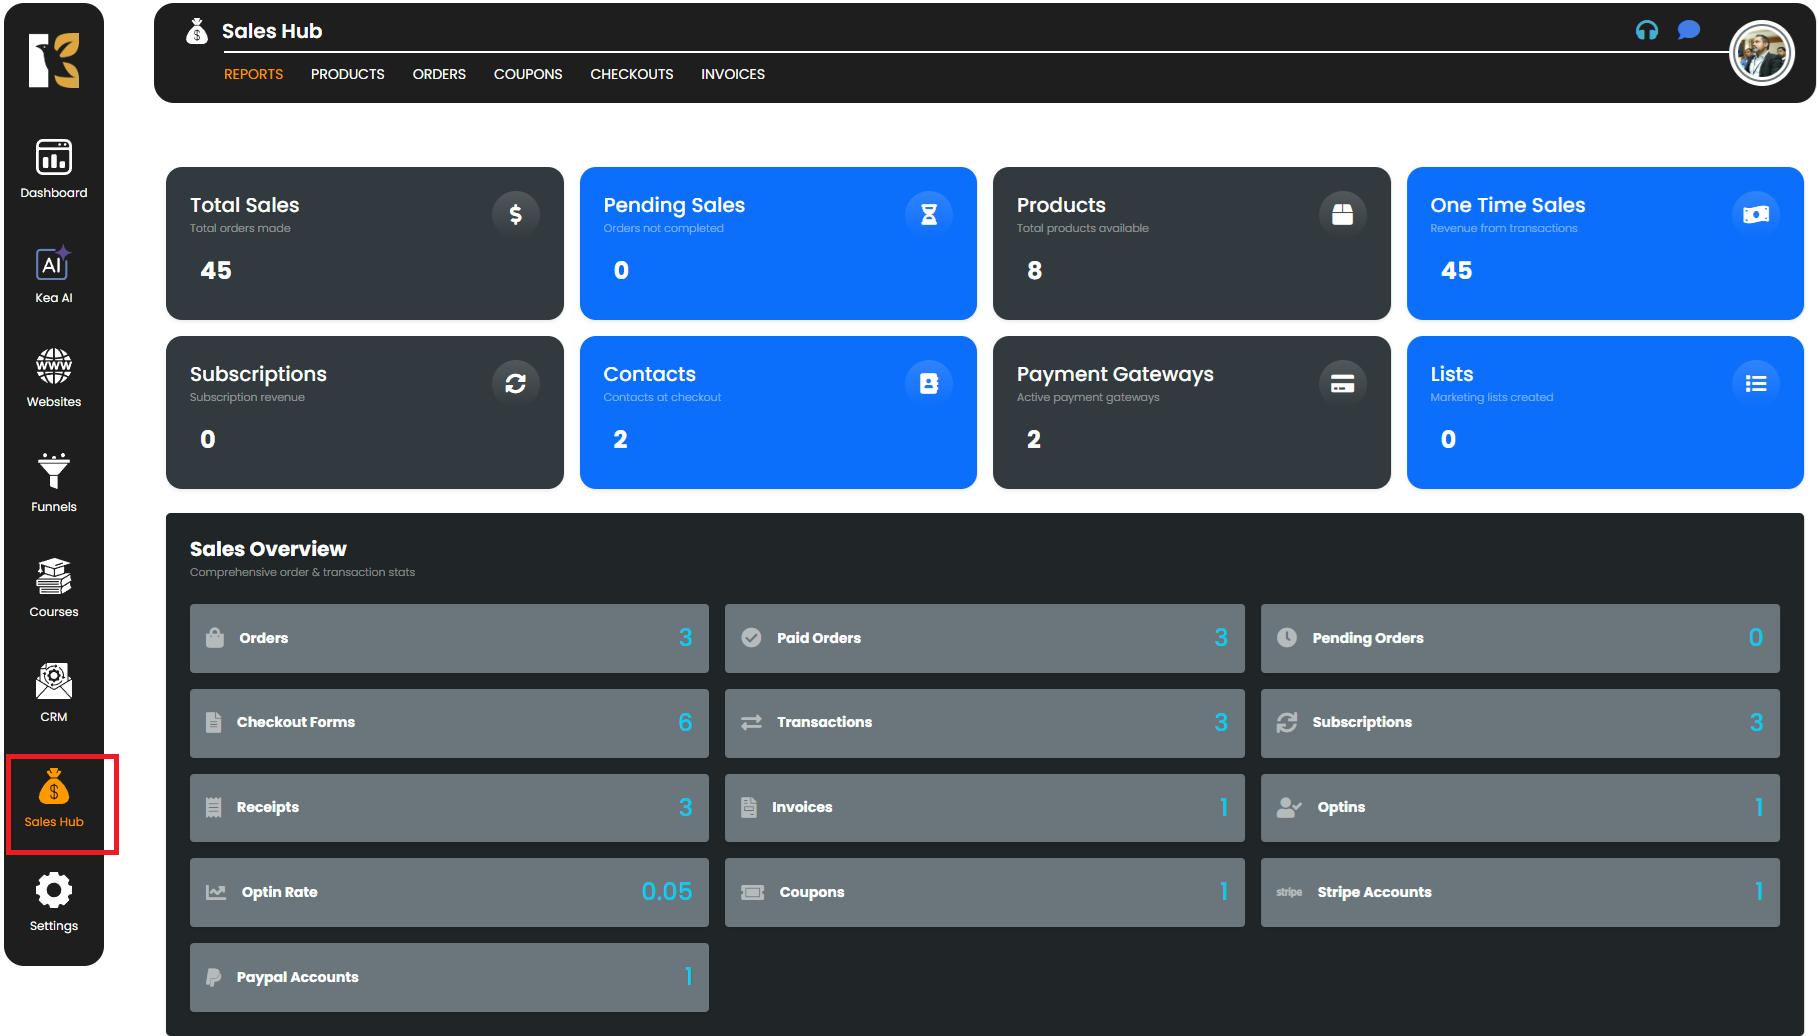
Step 1: Open the Sales Hub
- From the KeaBuilder CRM Dashboard, navigate to the left-side menu.
- Click on Sales Hub to open the sales management panel.
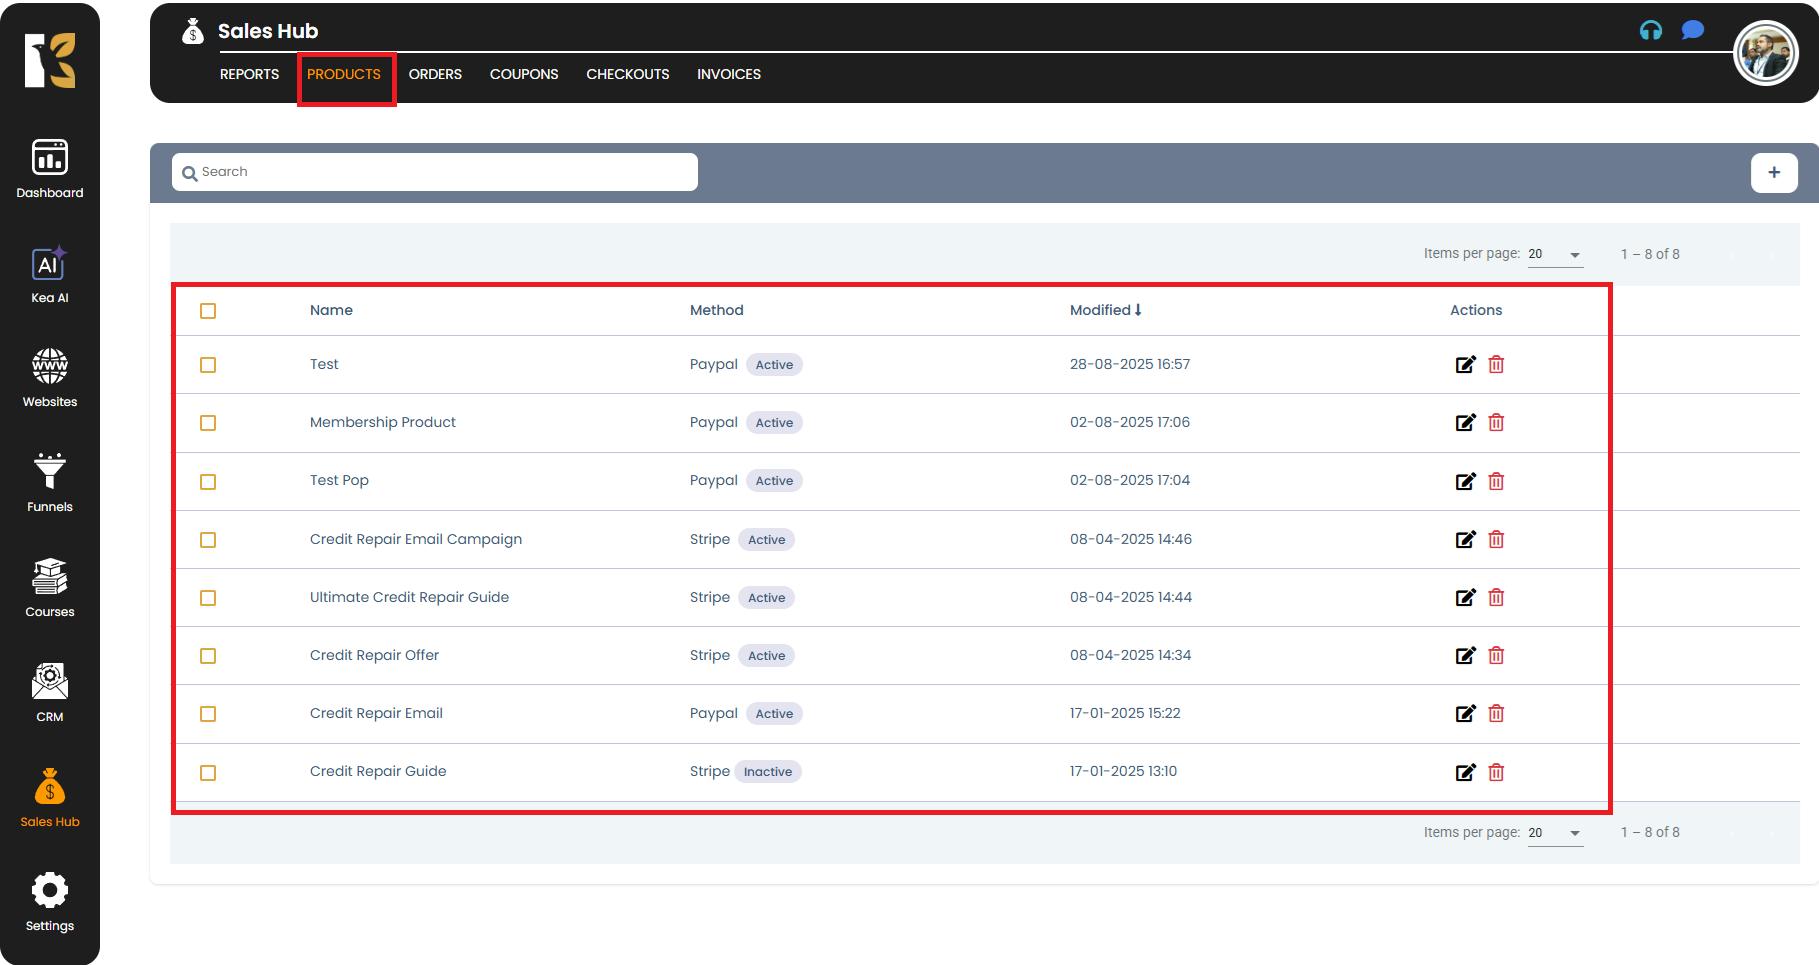
Step 2: Access the Products Section
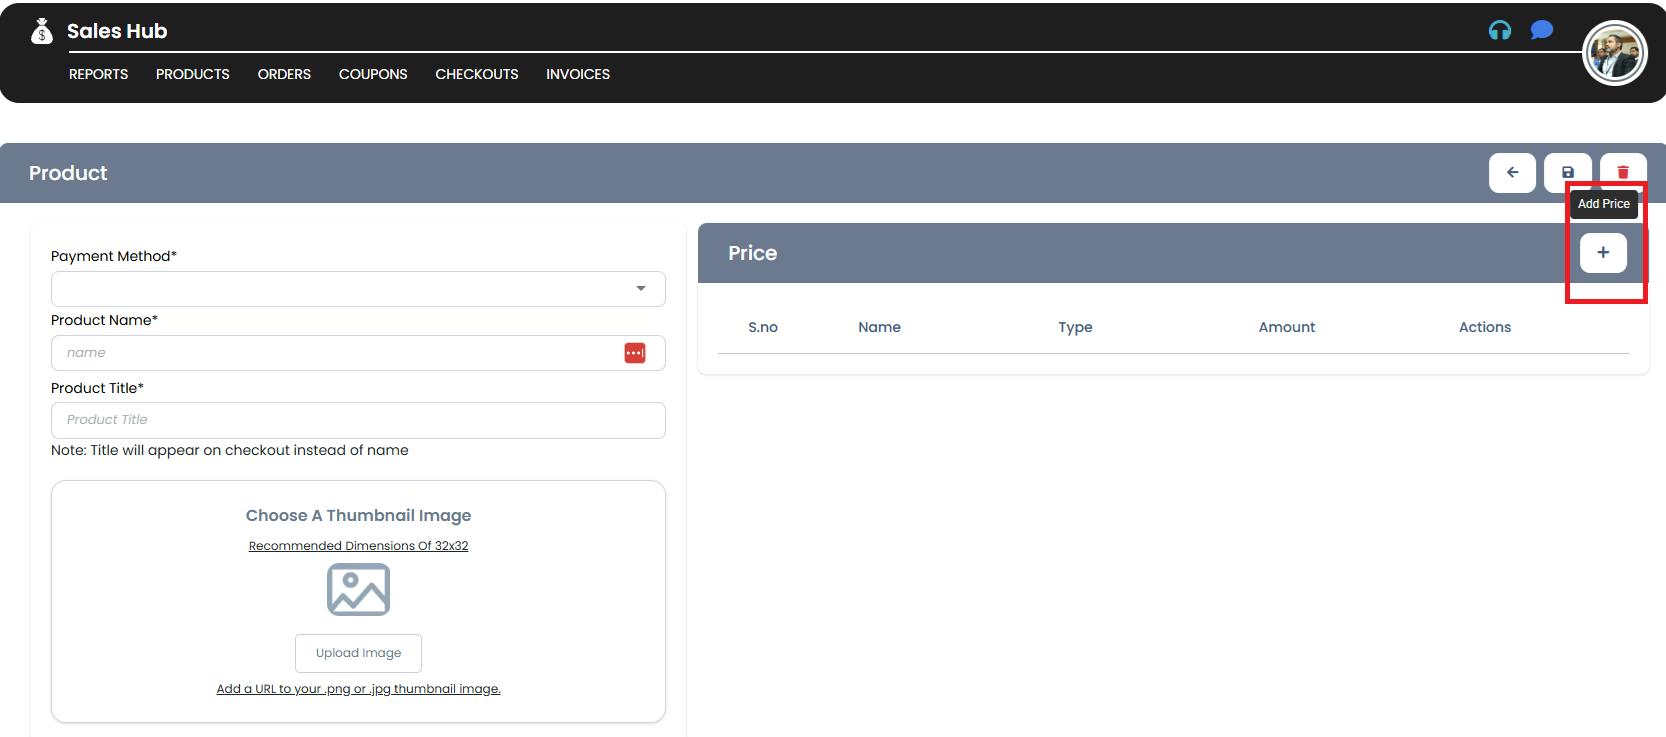
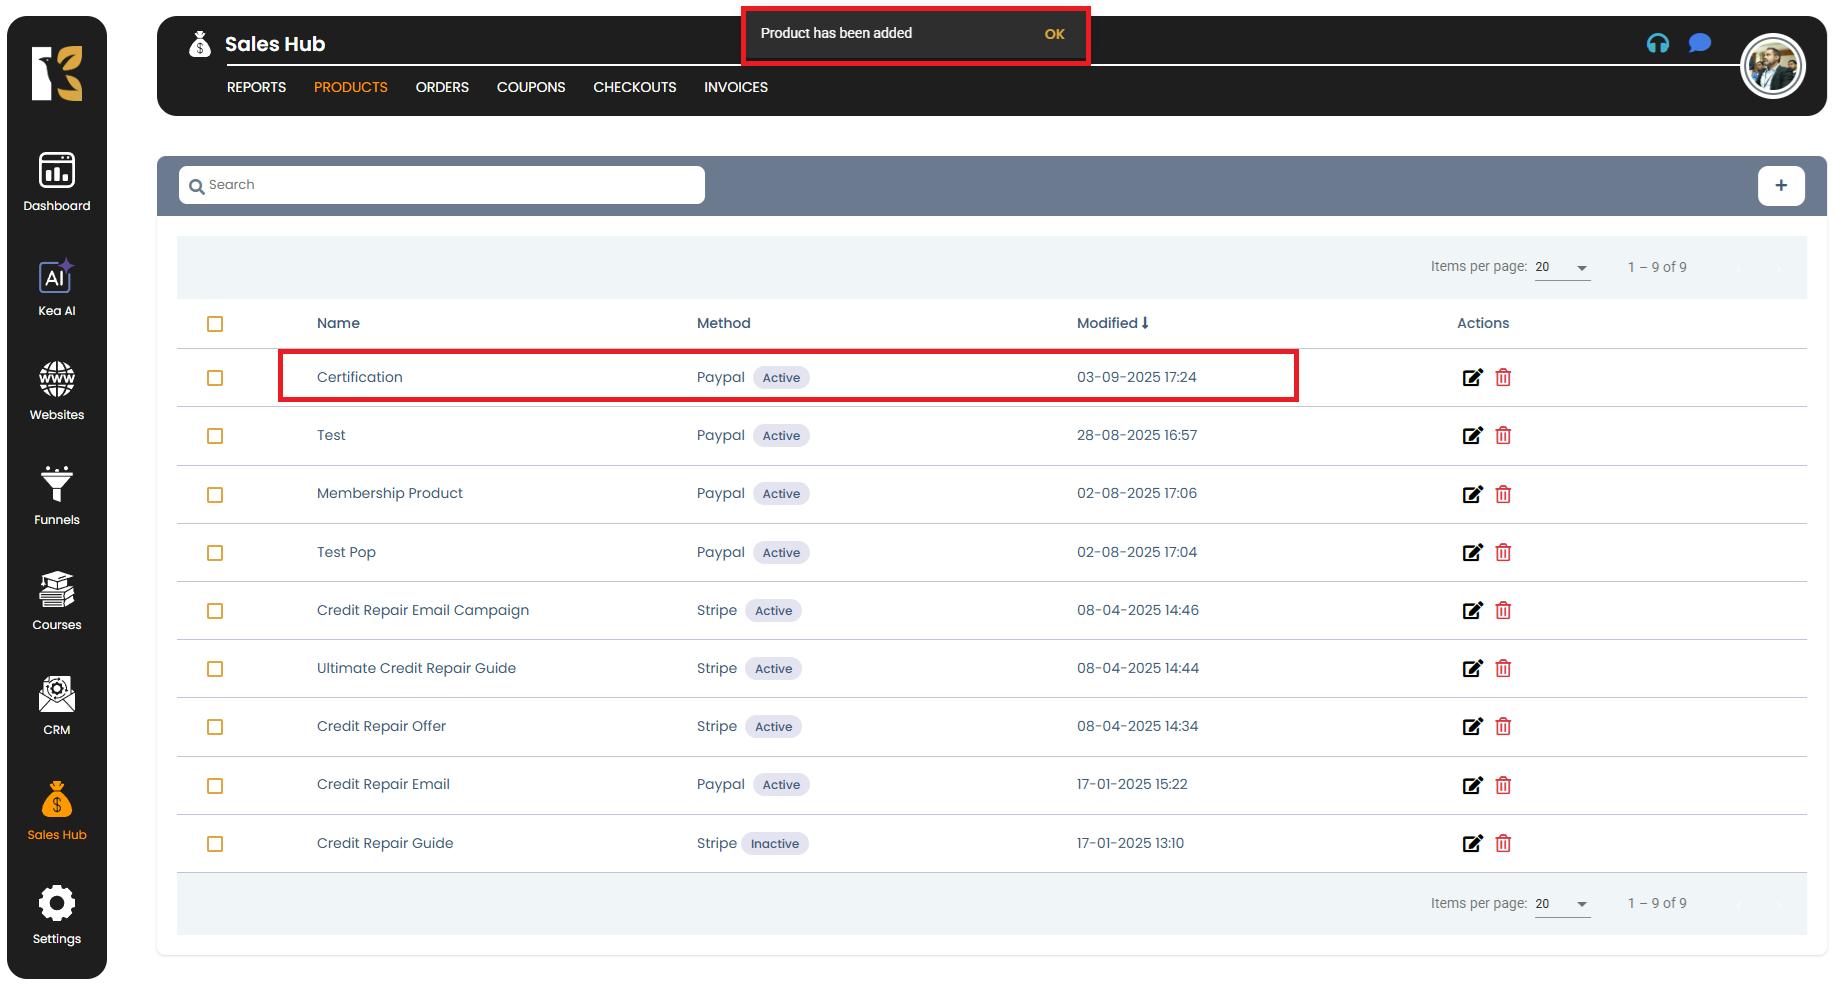
- Inside the Sales Hub, locate and click on the Products option from the top horizontal menu.
- This will take you to the Products Dashboard, where all your existing products are displayed.
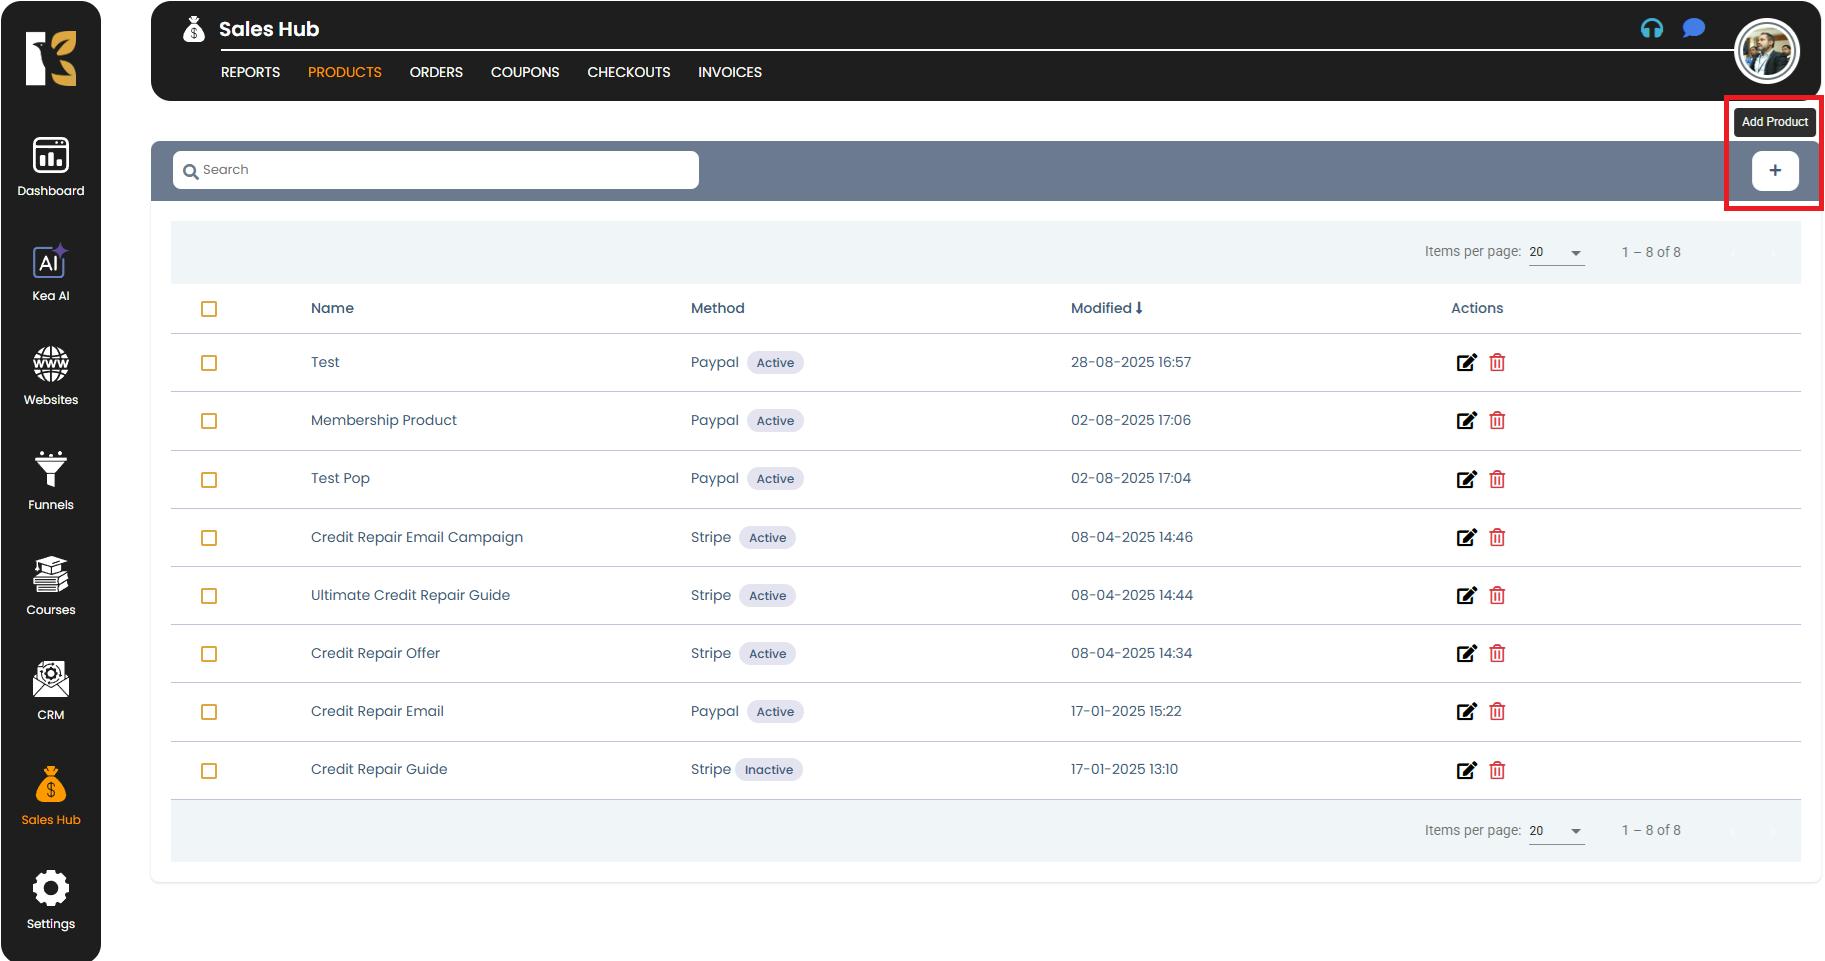
Step 3: Create a New Product
- On the Products Dashboard, look just below the horizontal menu.
- Click on the “+” (Create Product) button to add a new product.
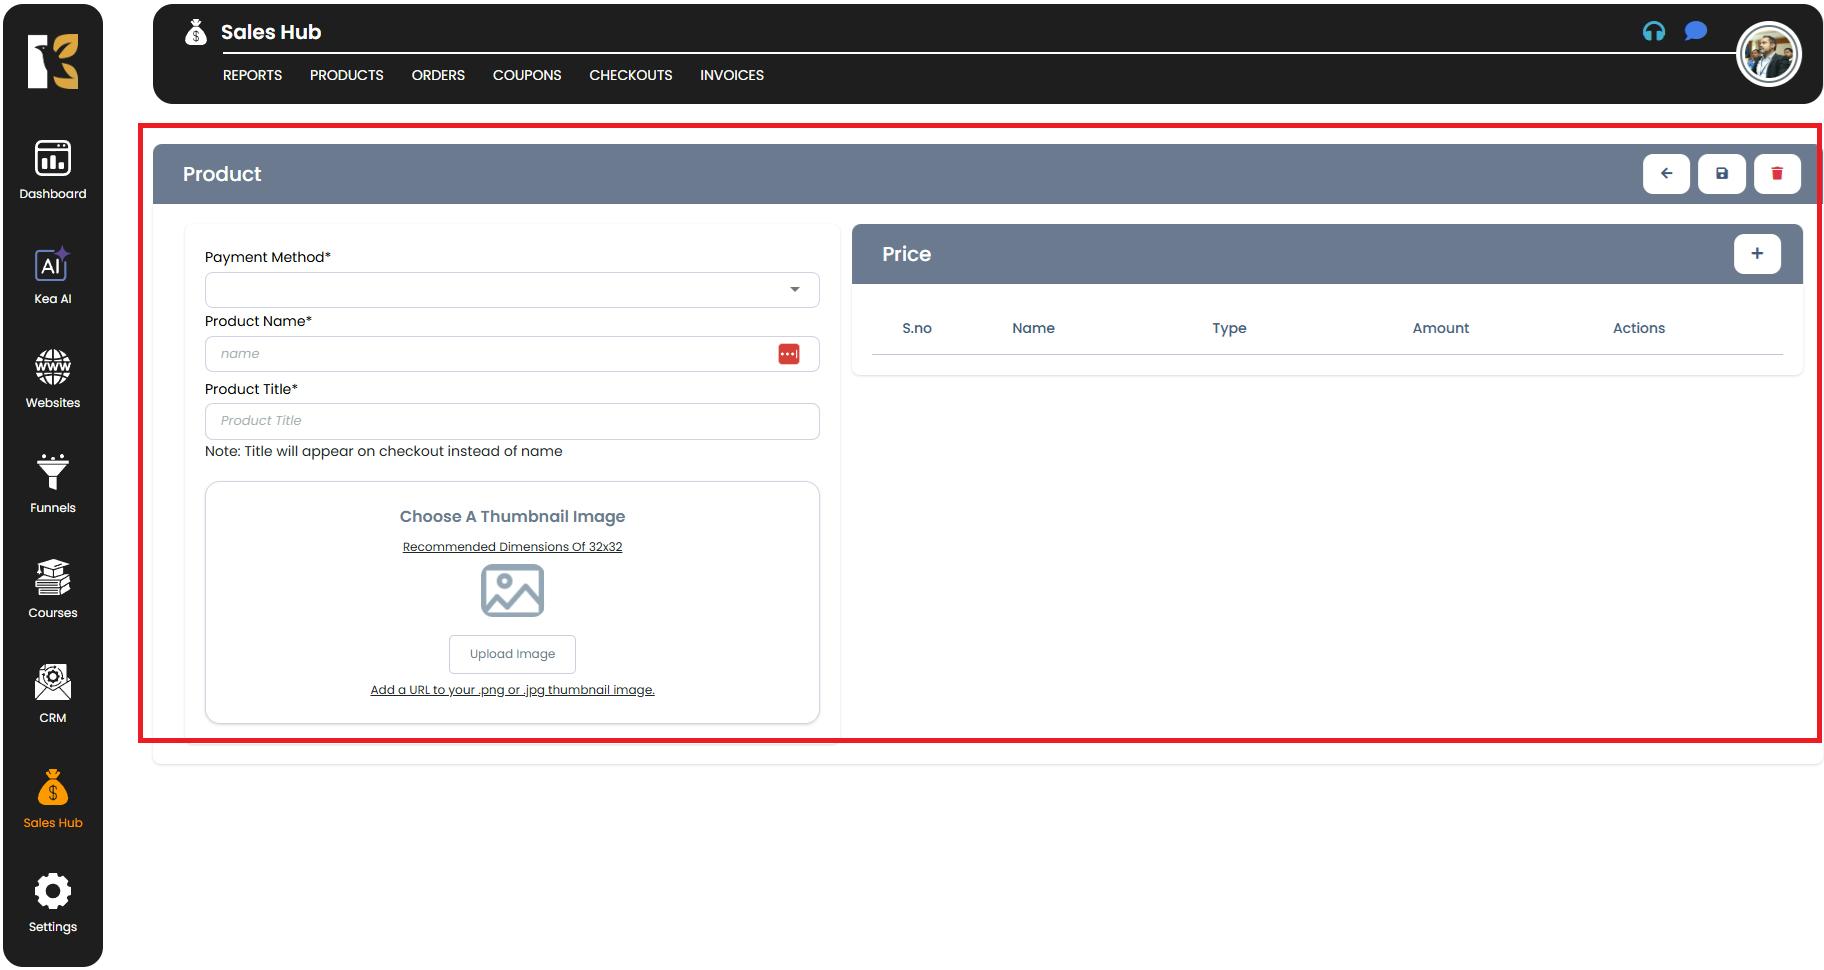
Step 4: Fill in Product Details
Once you click the create button, a New Product Page will open where you need to enter the essential details:
- Product Name → Give your product a short and unique name.
- Product Title → Add a descriptive title that will be visible to your customers.
- Product Image → Upload an image that visually represents your product.
- Payment Method → Select the integrated payment gateway(s) you want to use for this product.
- Product Price → Configure the pricing structure (explained in the next step).
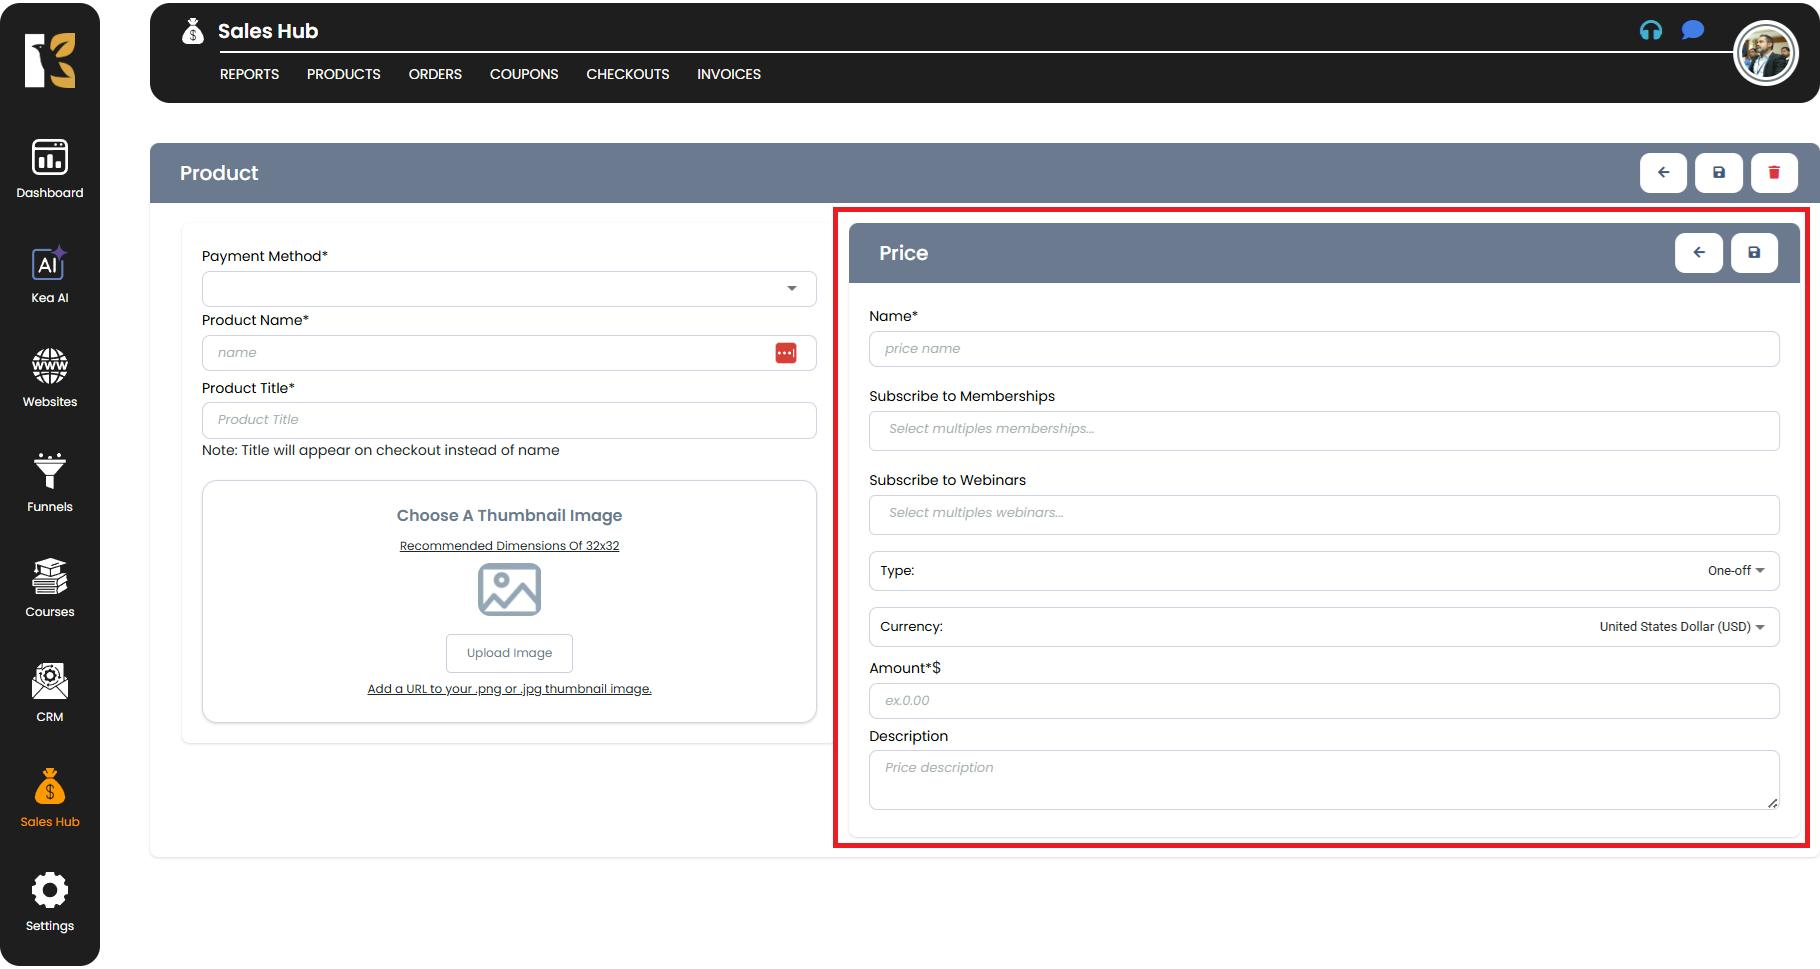
Step 5: Configure Pricing Options
Under the Pricing Section, you’ll find a dropdown menu offering multiple customization options:
- Price Name → Assign a label to differentiate pricing tiers (e.g., “Starter Plan” or “Premium Subscription”).
- Subscribe to Memberships → Link the product to a membership plan if applicable.
- Subscribe to Webinars → Attach the product to a webinar for seamless registrations.
- Type of Payment → Choose the payment structure:
- One-Time Payment → For single purchases.
- Recurring Subscription → For products billed periodically.
- Currency Type → Select the desired currency for this product.
- Amount → Enter the price or subscription amount.
- Description → Provide a detailed explanation of the product to inform your customers.
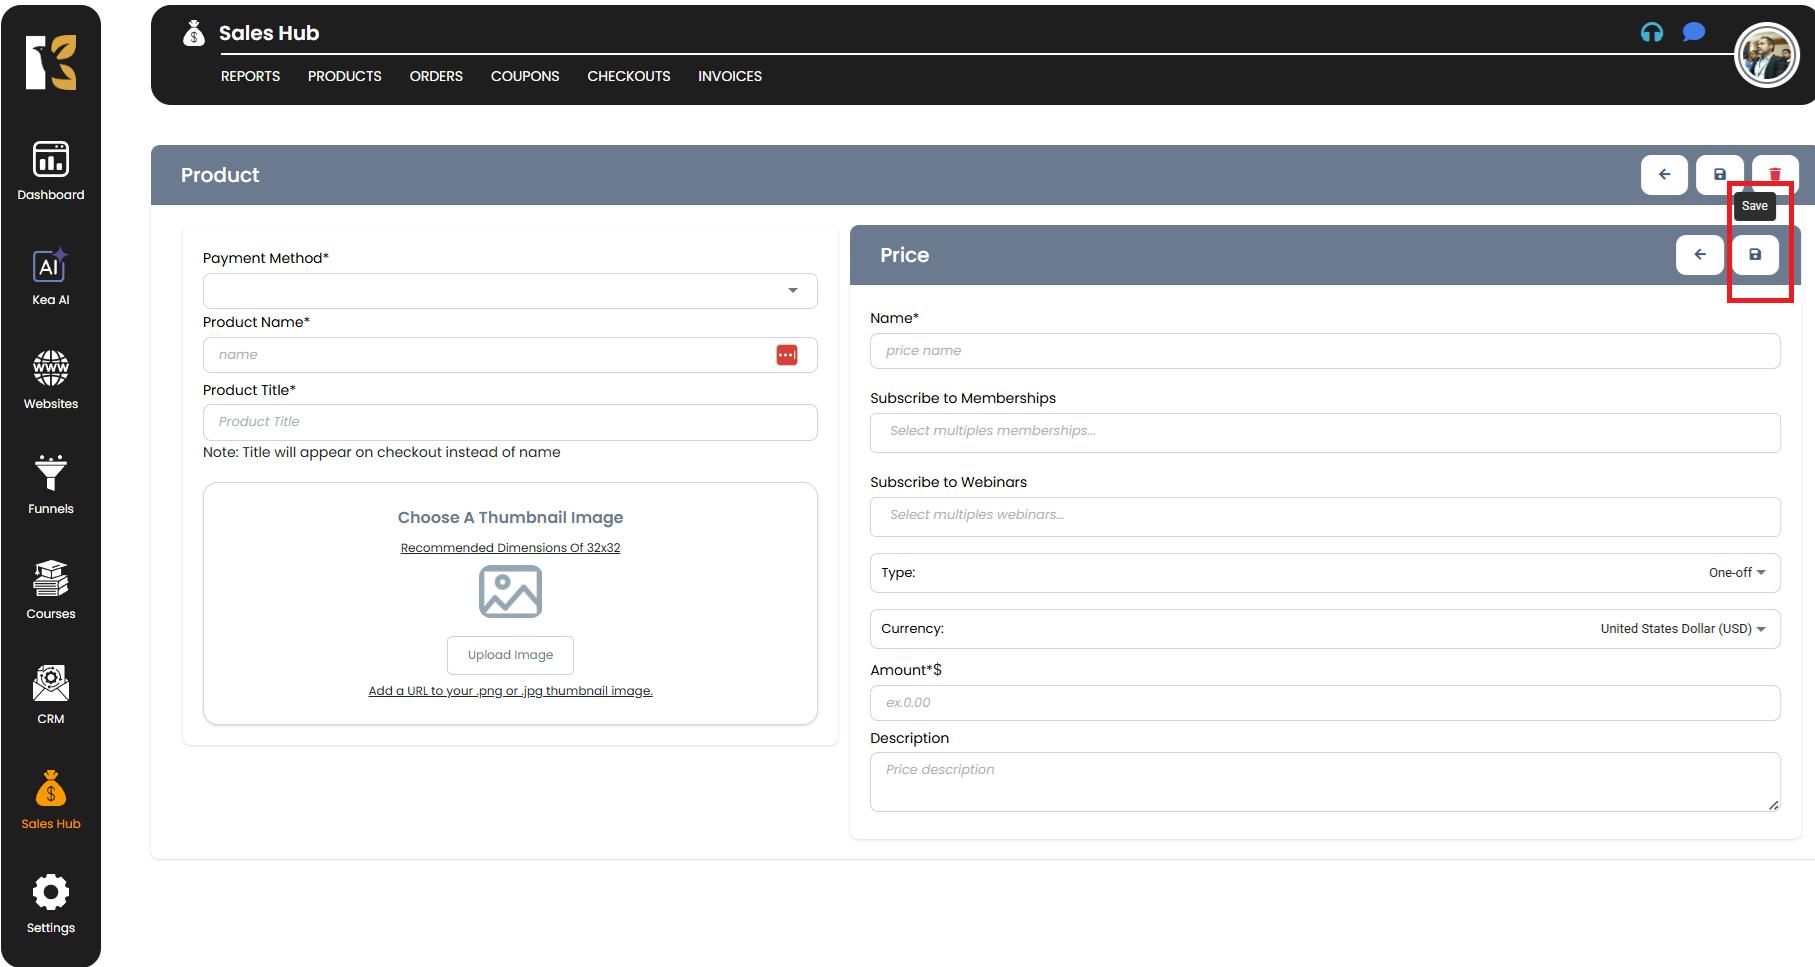
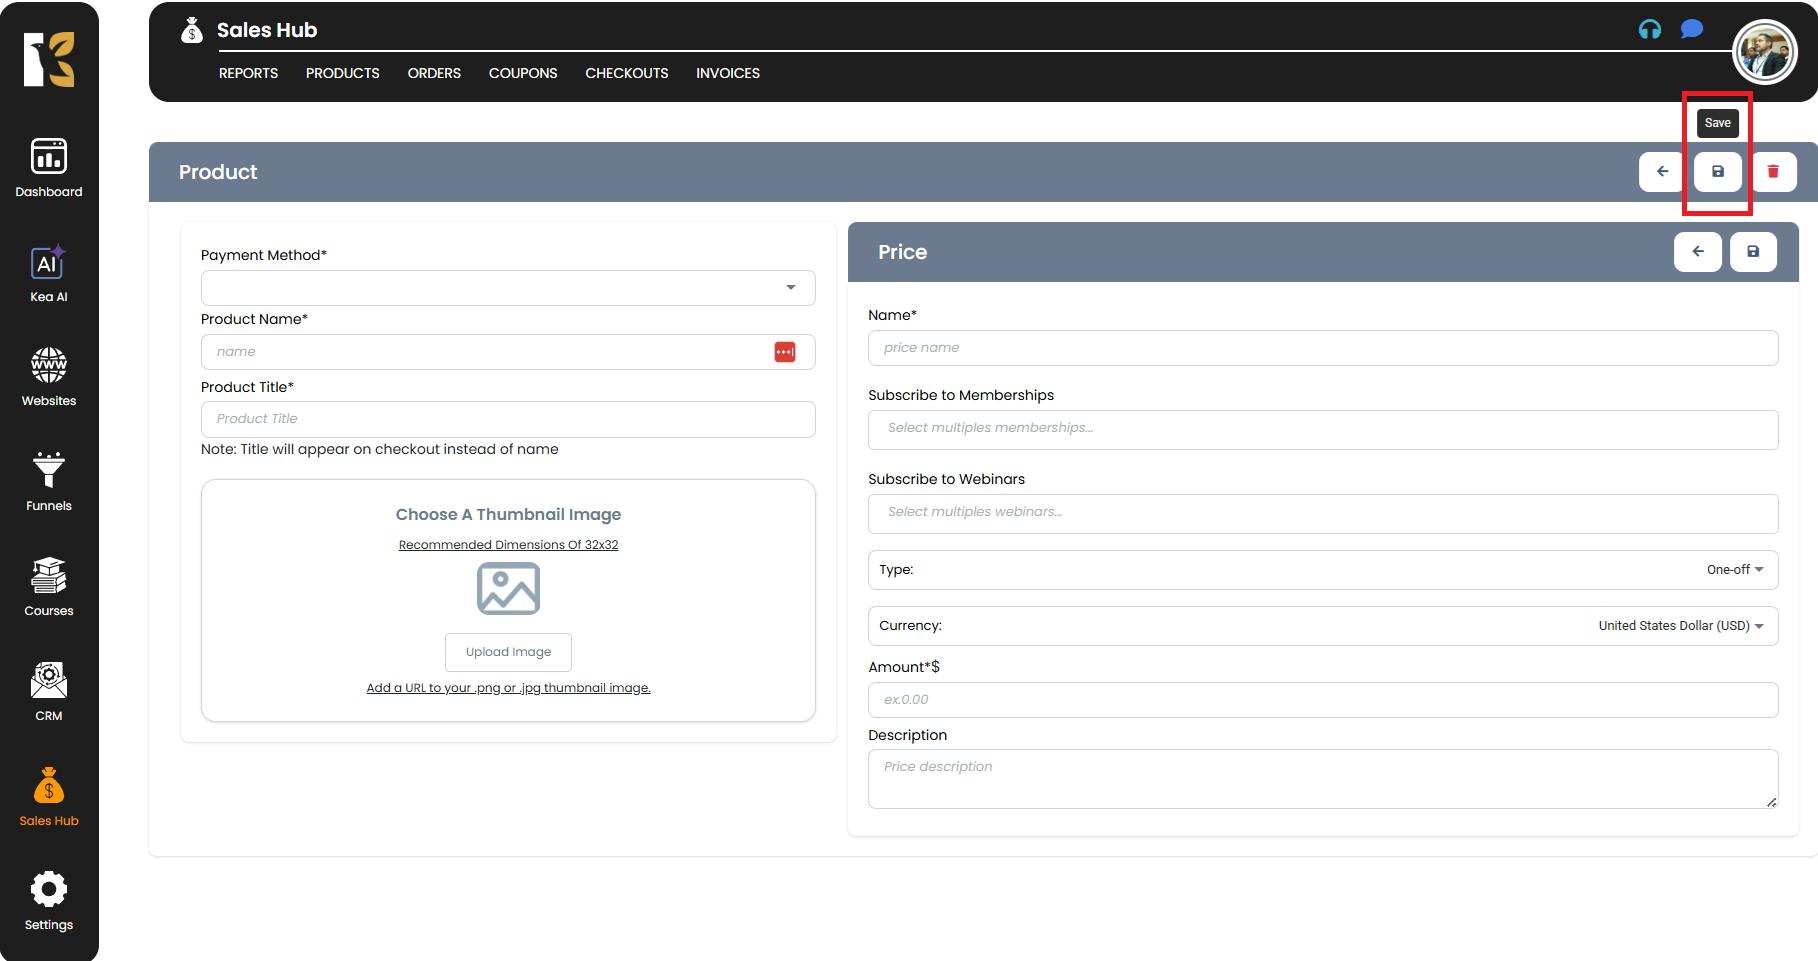
Step 6: Save the Product
- Once all the details are entered, click the Save button located at the top-right corner of the page.
- Your new product will now be stored in the system.
Step 7: Verify on the Products Dashboard
- After saving, your newly added product will appear in the Products Dashboard under the Sales Hub.
- From here, you can manage, edit, delete, or link the product with funnels, checkout forms, campaigns, and automations.
Pro Tips for Better Price Management
- Use tiered pricing → Offer multiple pricing plans (e.g., Starter, Pro, Premium) to cater to different audiences.
- Highlight subscriptions → Recurring revenue models often improve customer lifetime value.
- Add clear labels → Ensure customers understand what each price includes.
- Test pricing strategies → Experiment with different price points to see what converts best.
Summary
With KeaBuilder CRM’s Sales Hub, setting up product prices is straightforward yet highly customizable. You can create one-time payments, recurring subscriptions,
membership-linked pricing, and even webinar-specific offers — all from one central dashboard.
By managing your Product Prices efficiently, you can:
- Streamline the checkout process.
- Boost conversion rates with flexible pricing models.
- Integrate pricing with funnels, campaigns, and automations effortlessly.